NZ-666 Kshatriya
2016I’ve always been a fan of the Gundam series, and I built a number of gunpla models before as a kid, but they were all straight builds. This time, a few friends and I decided to go all out on our respective kits - we got spray paint, top coat, sandpaper, high quality nippers, the whole deal.
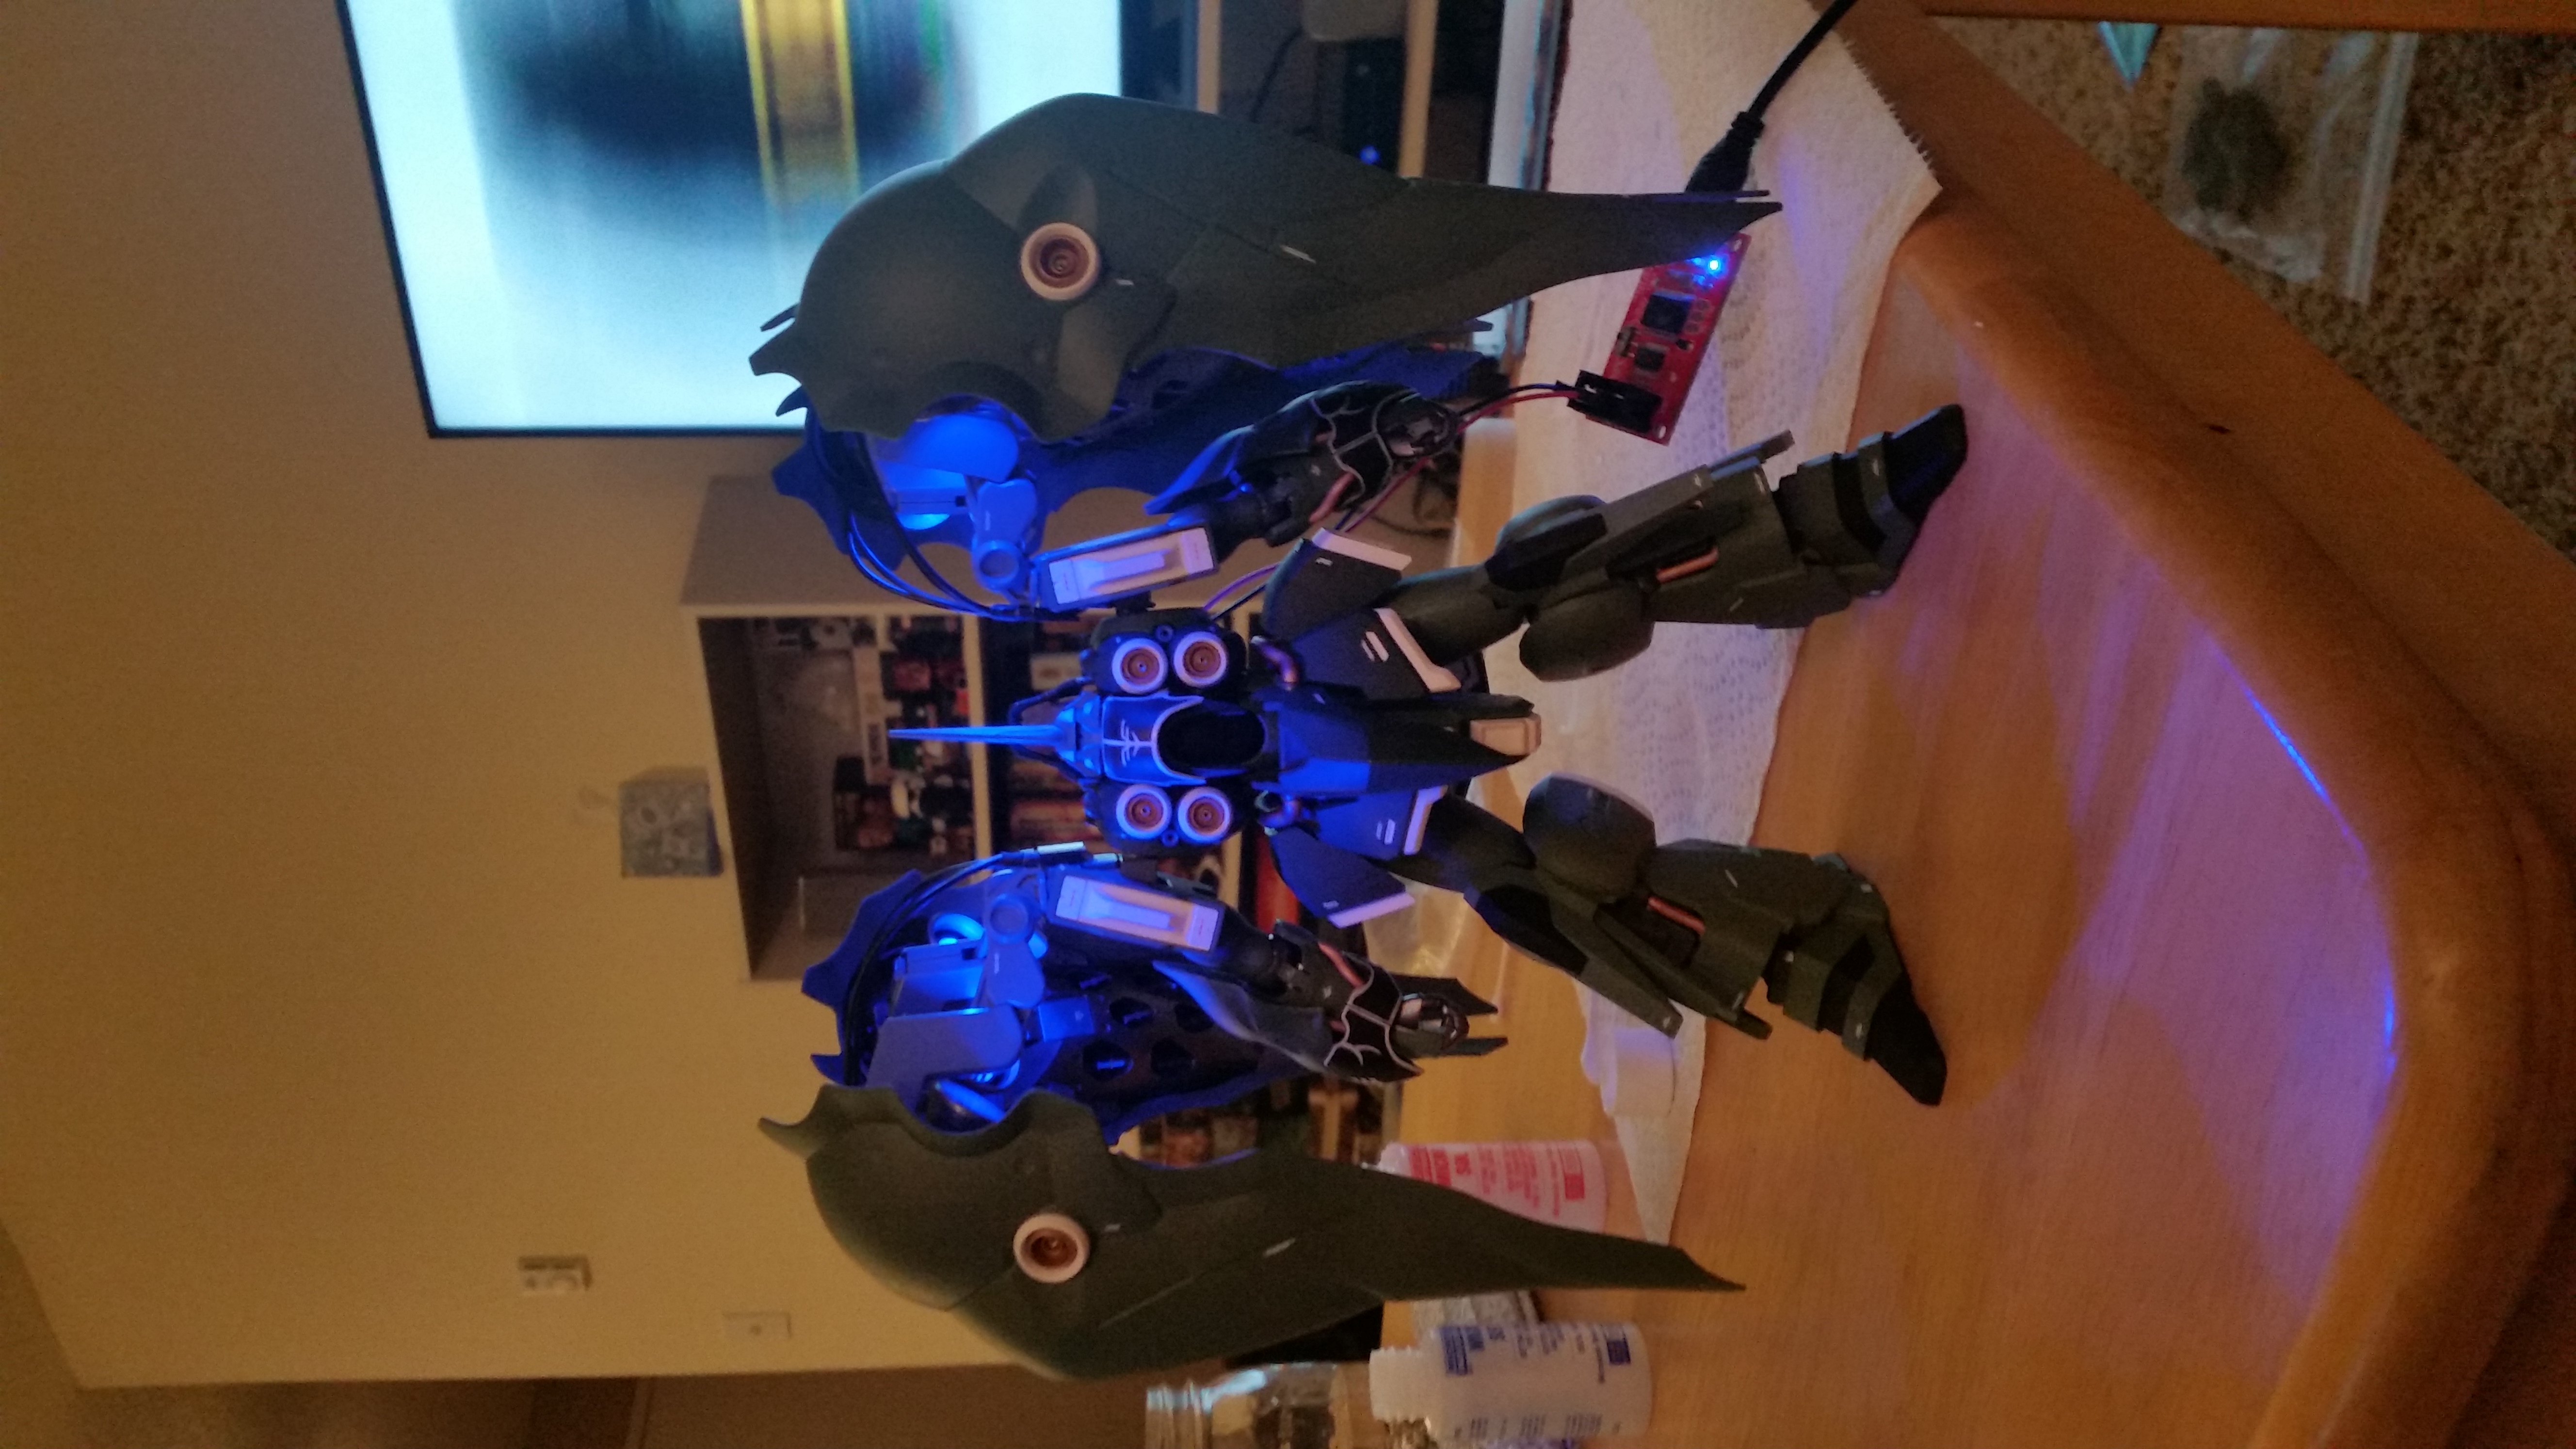
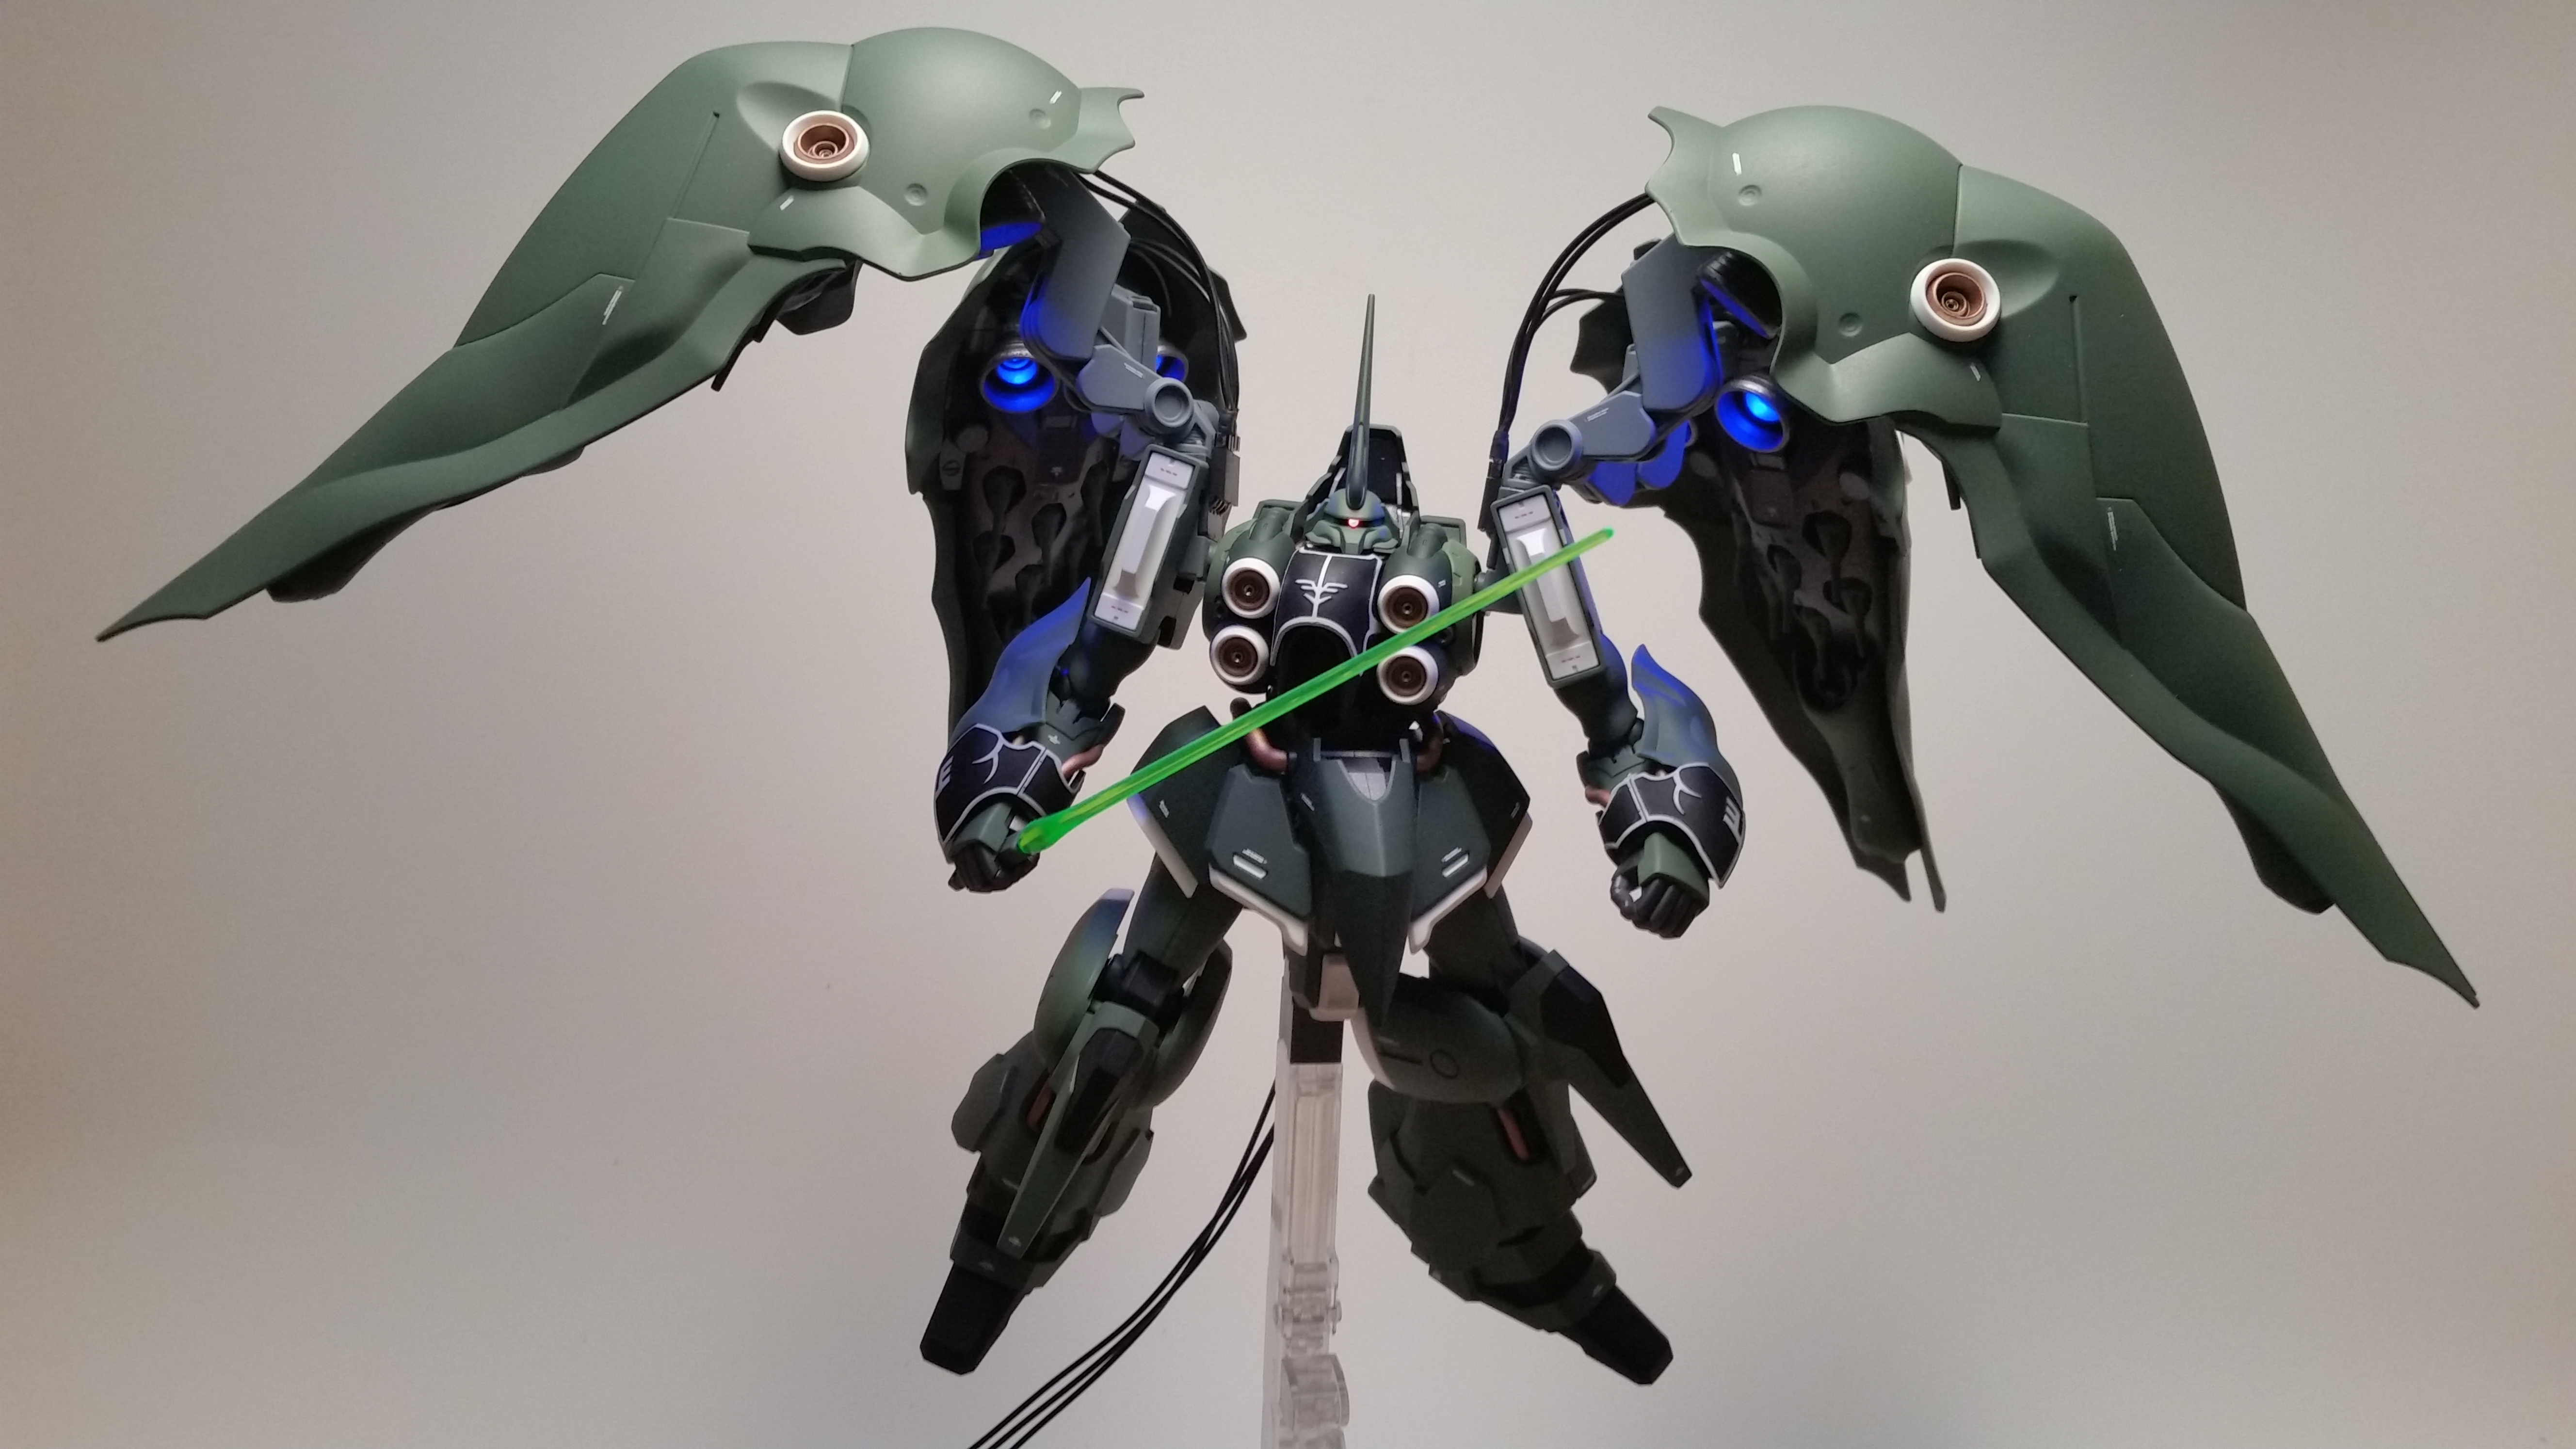
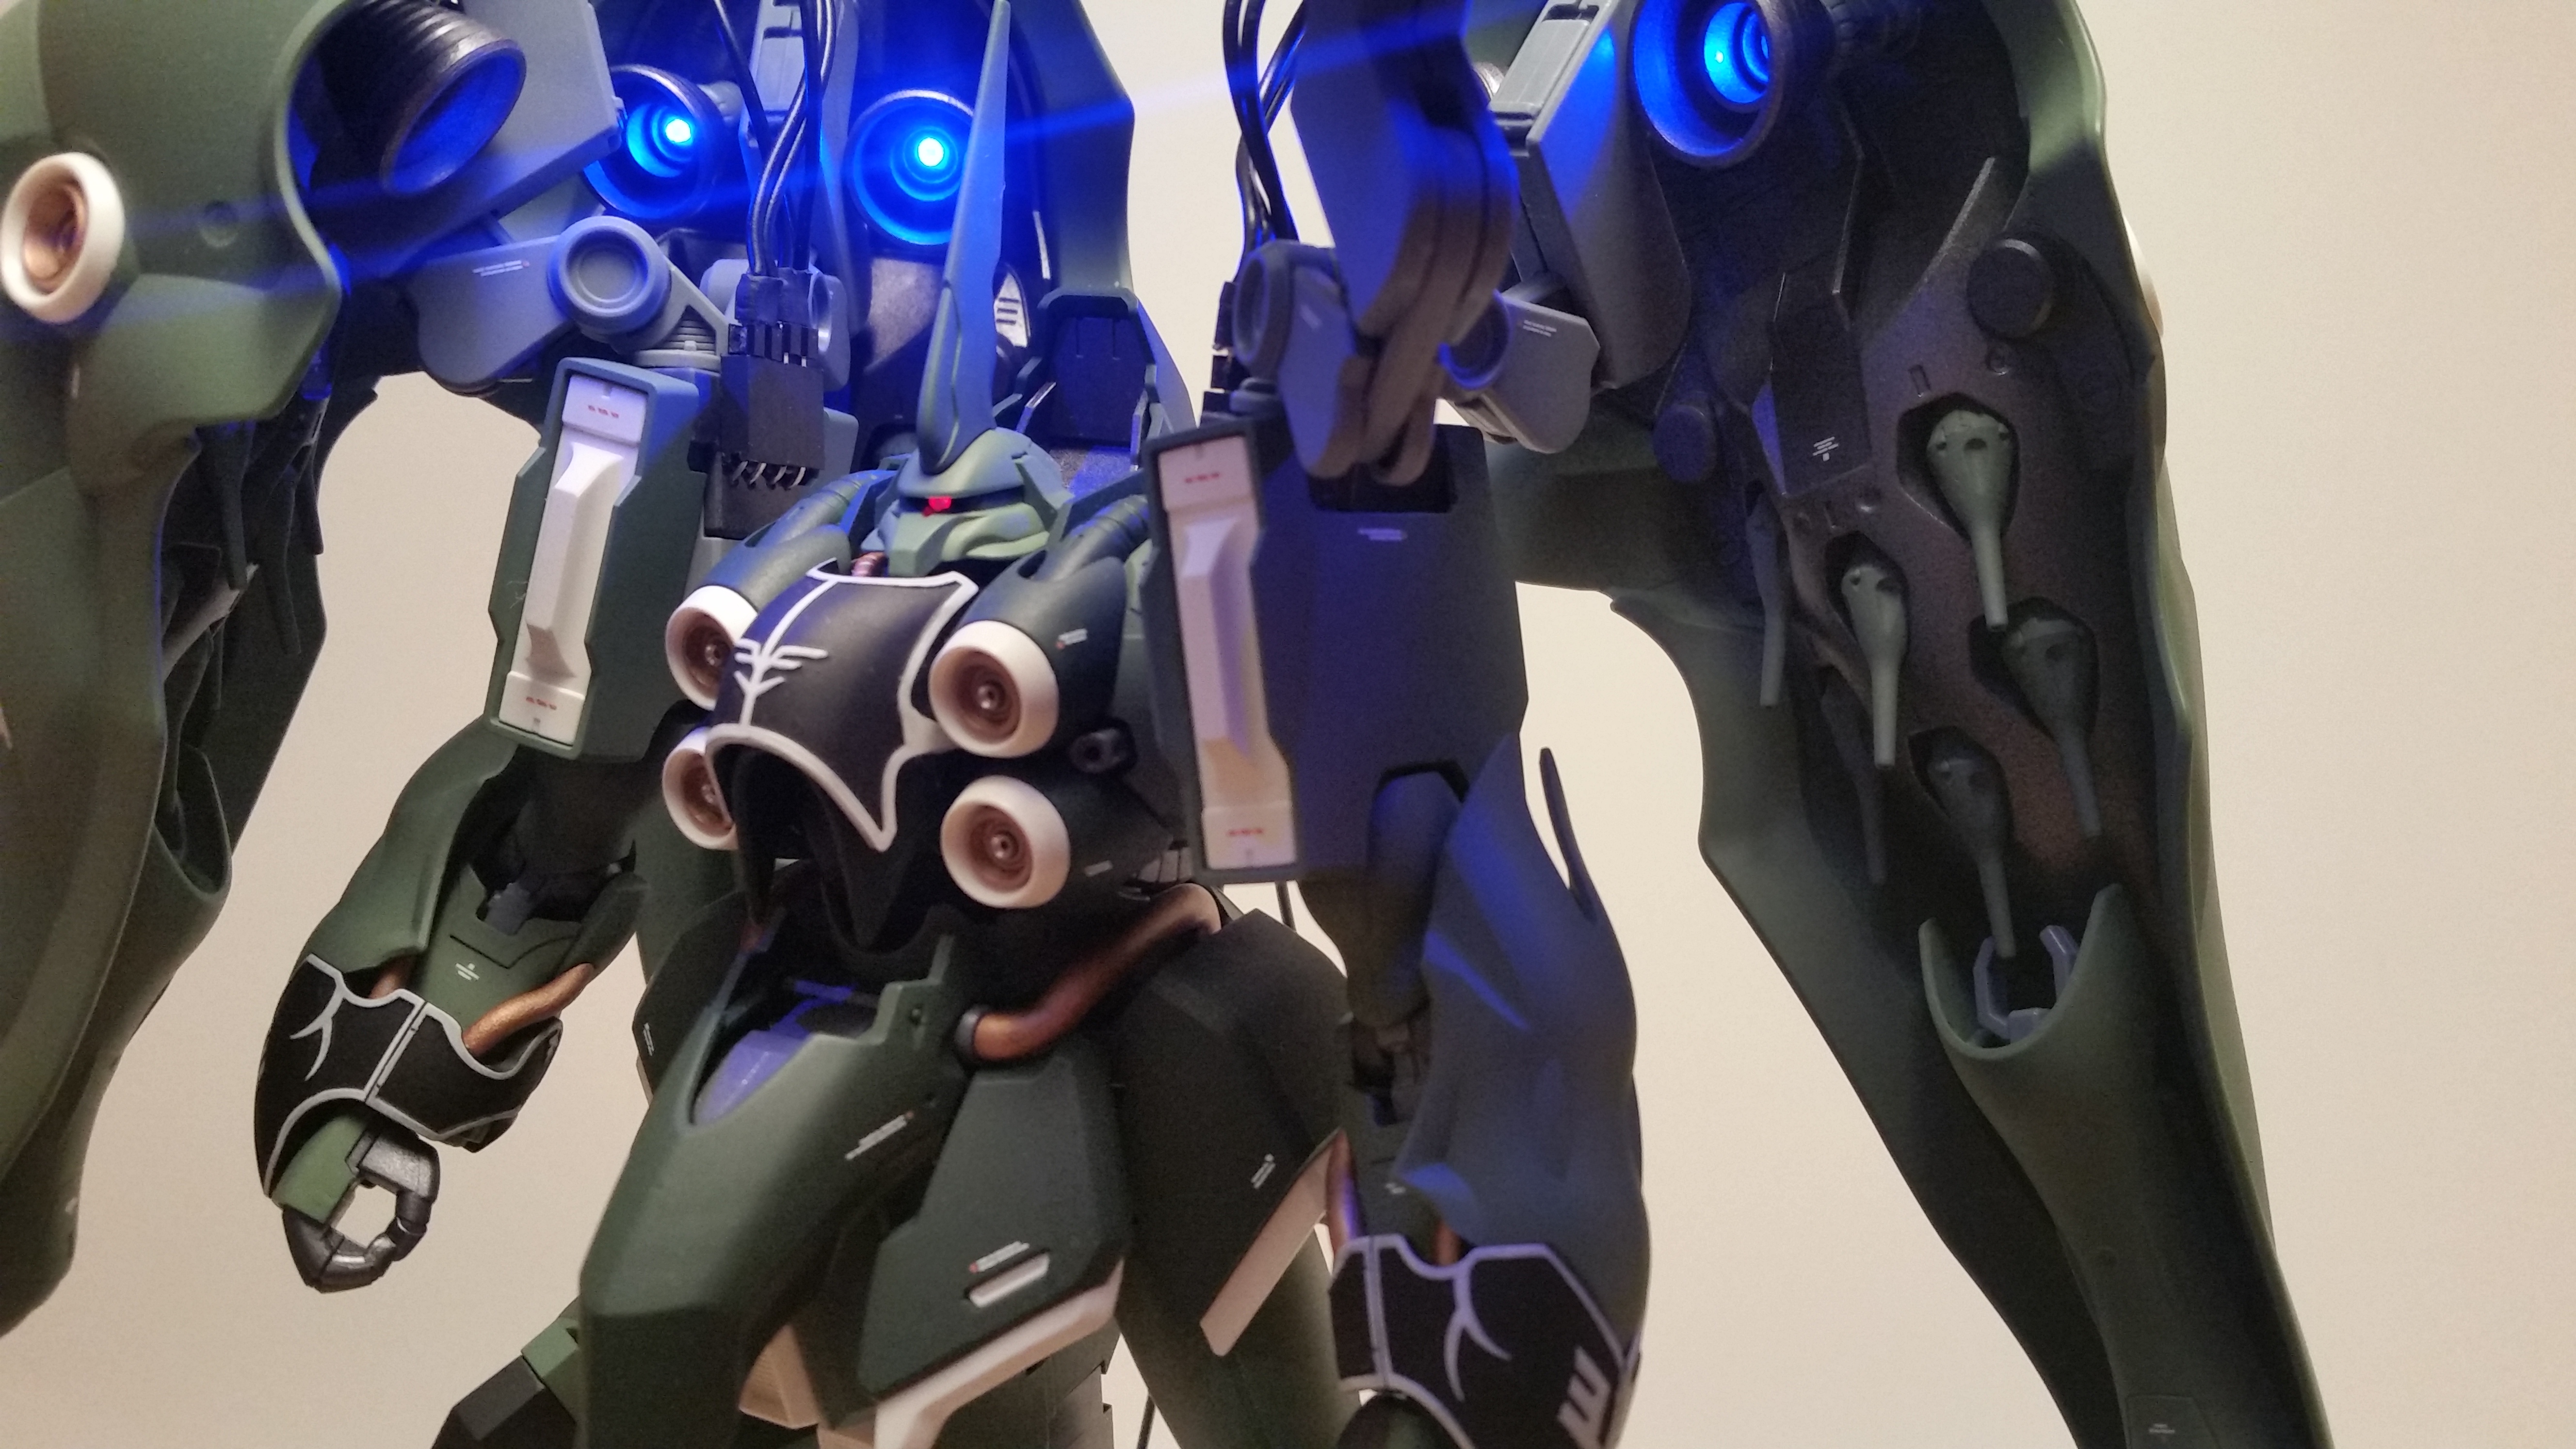
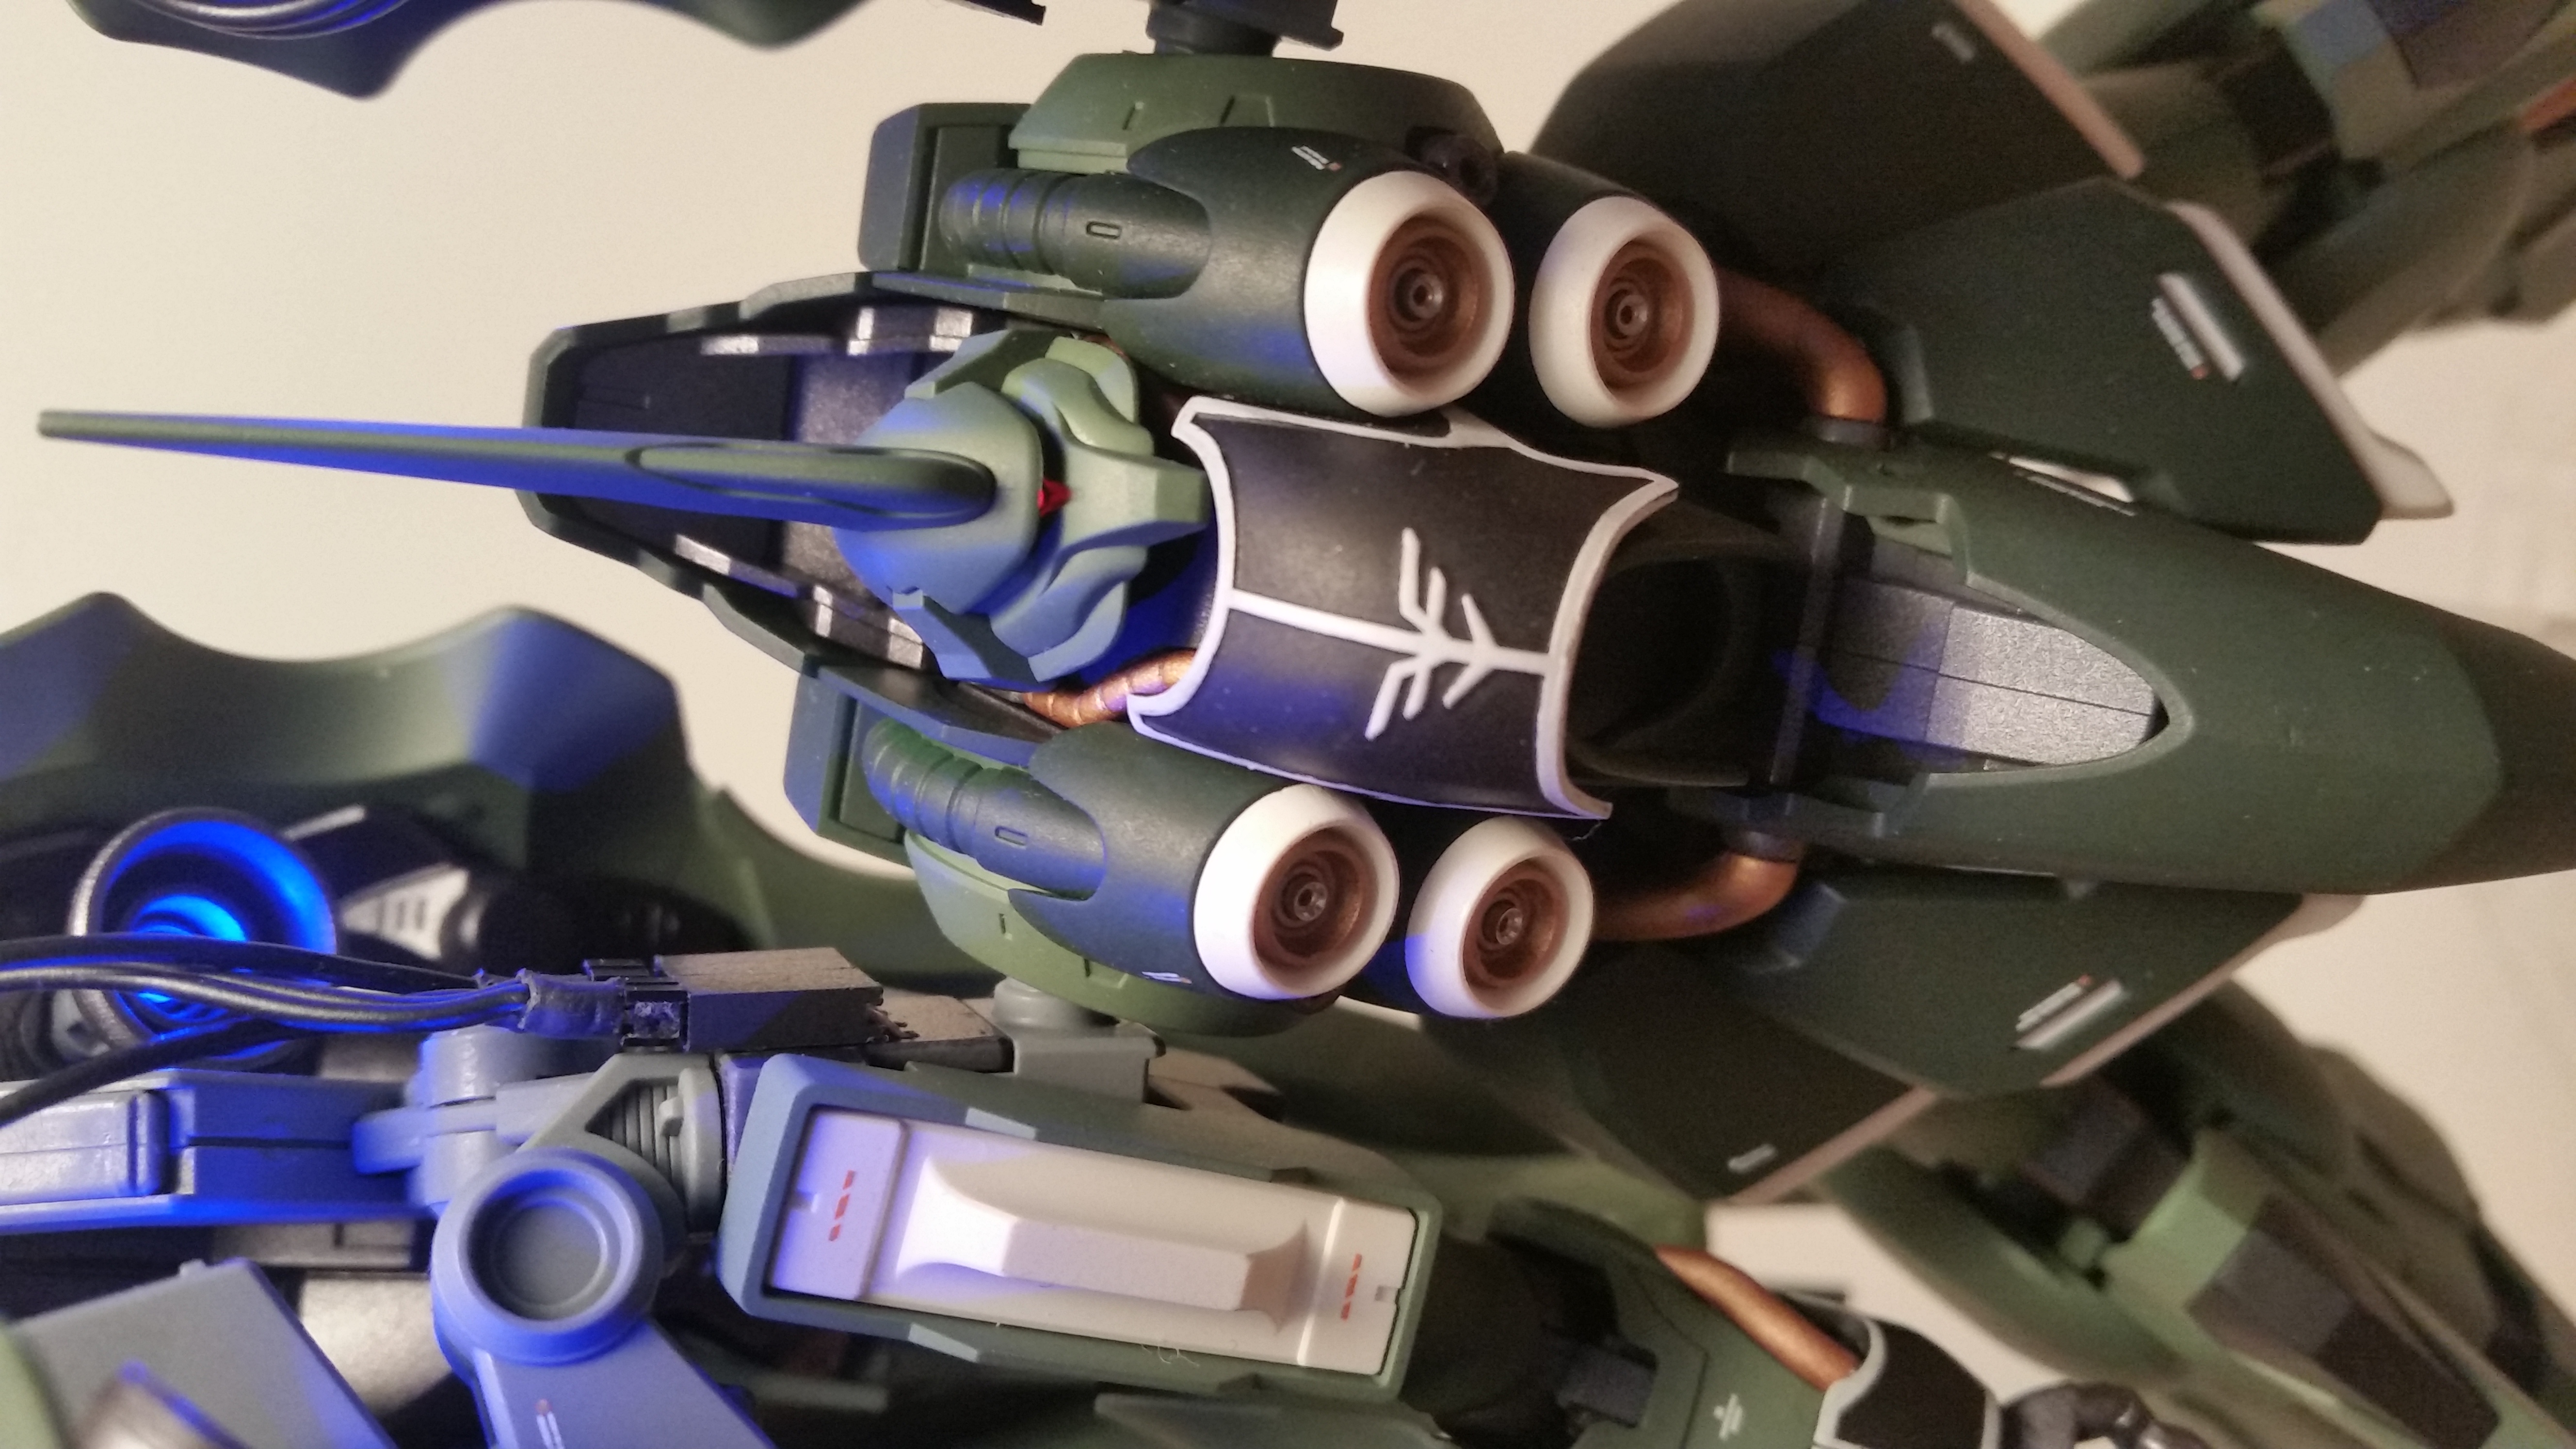
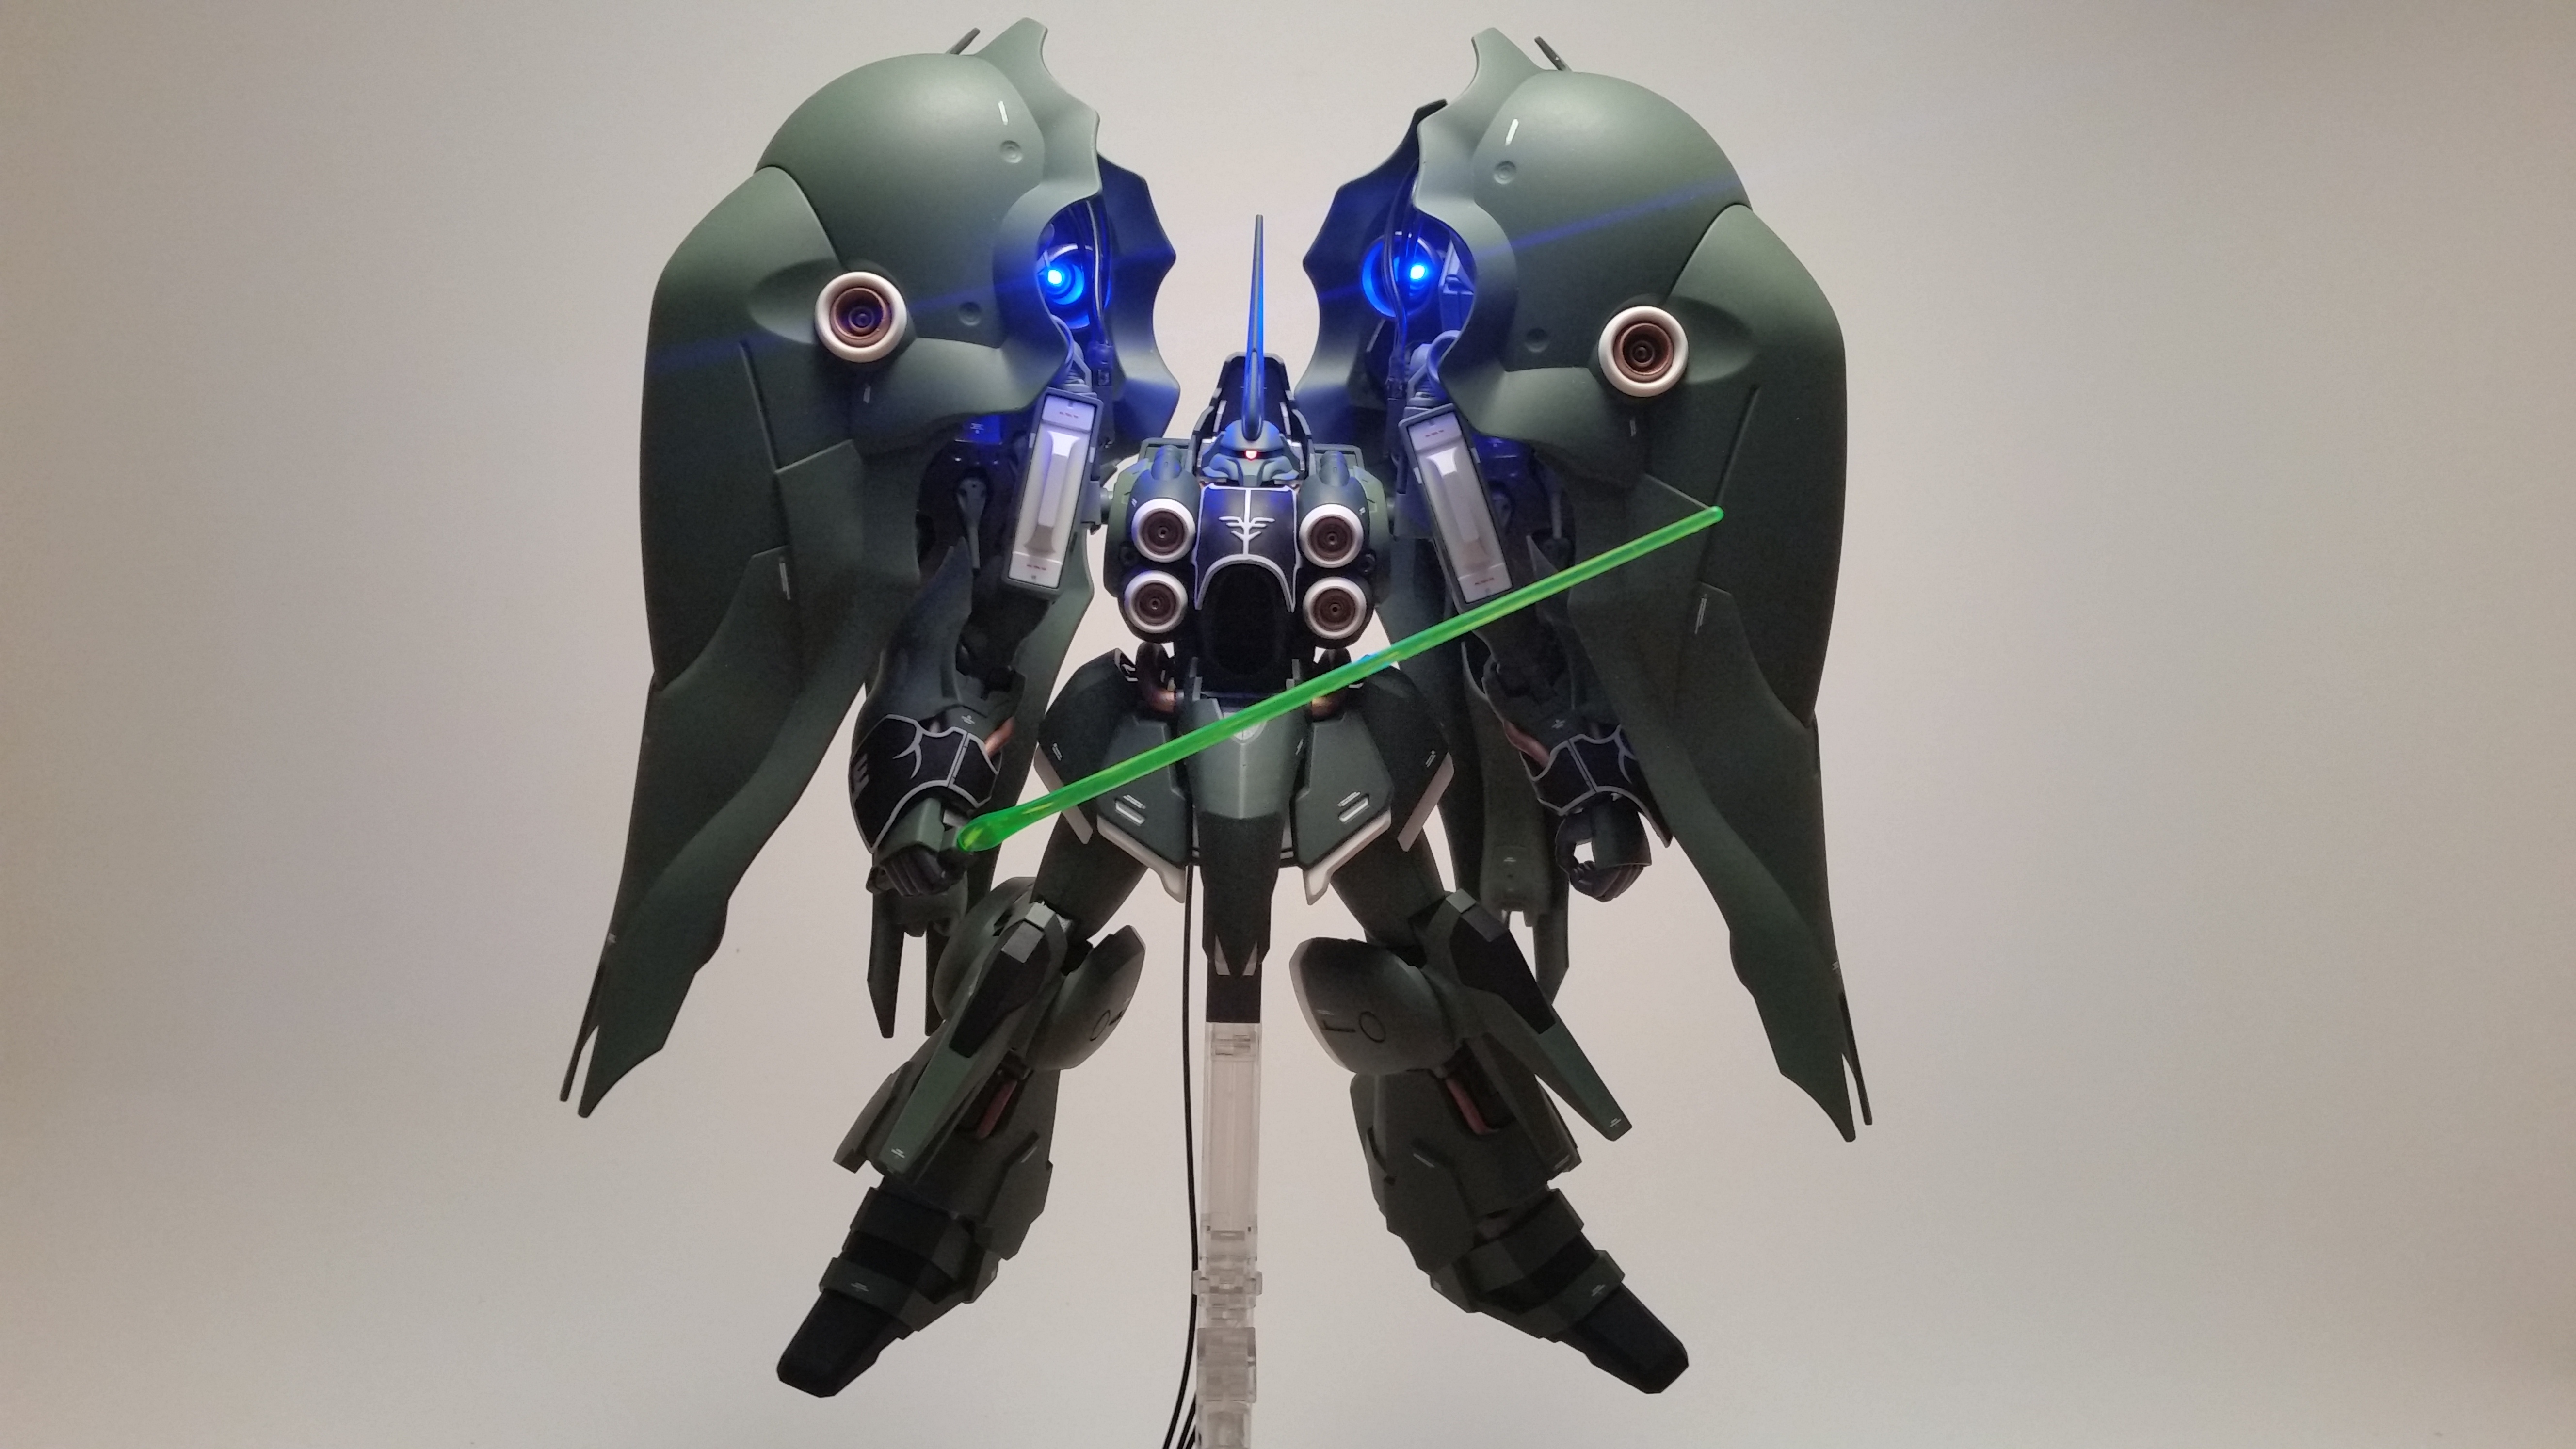
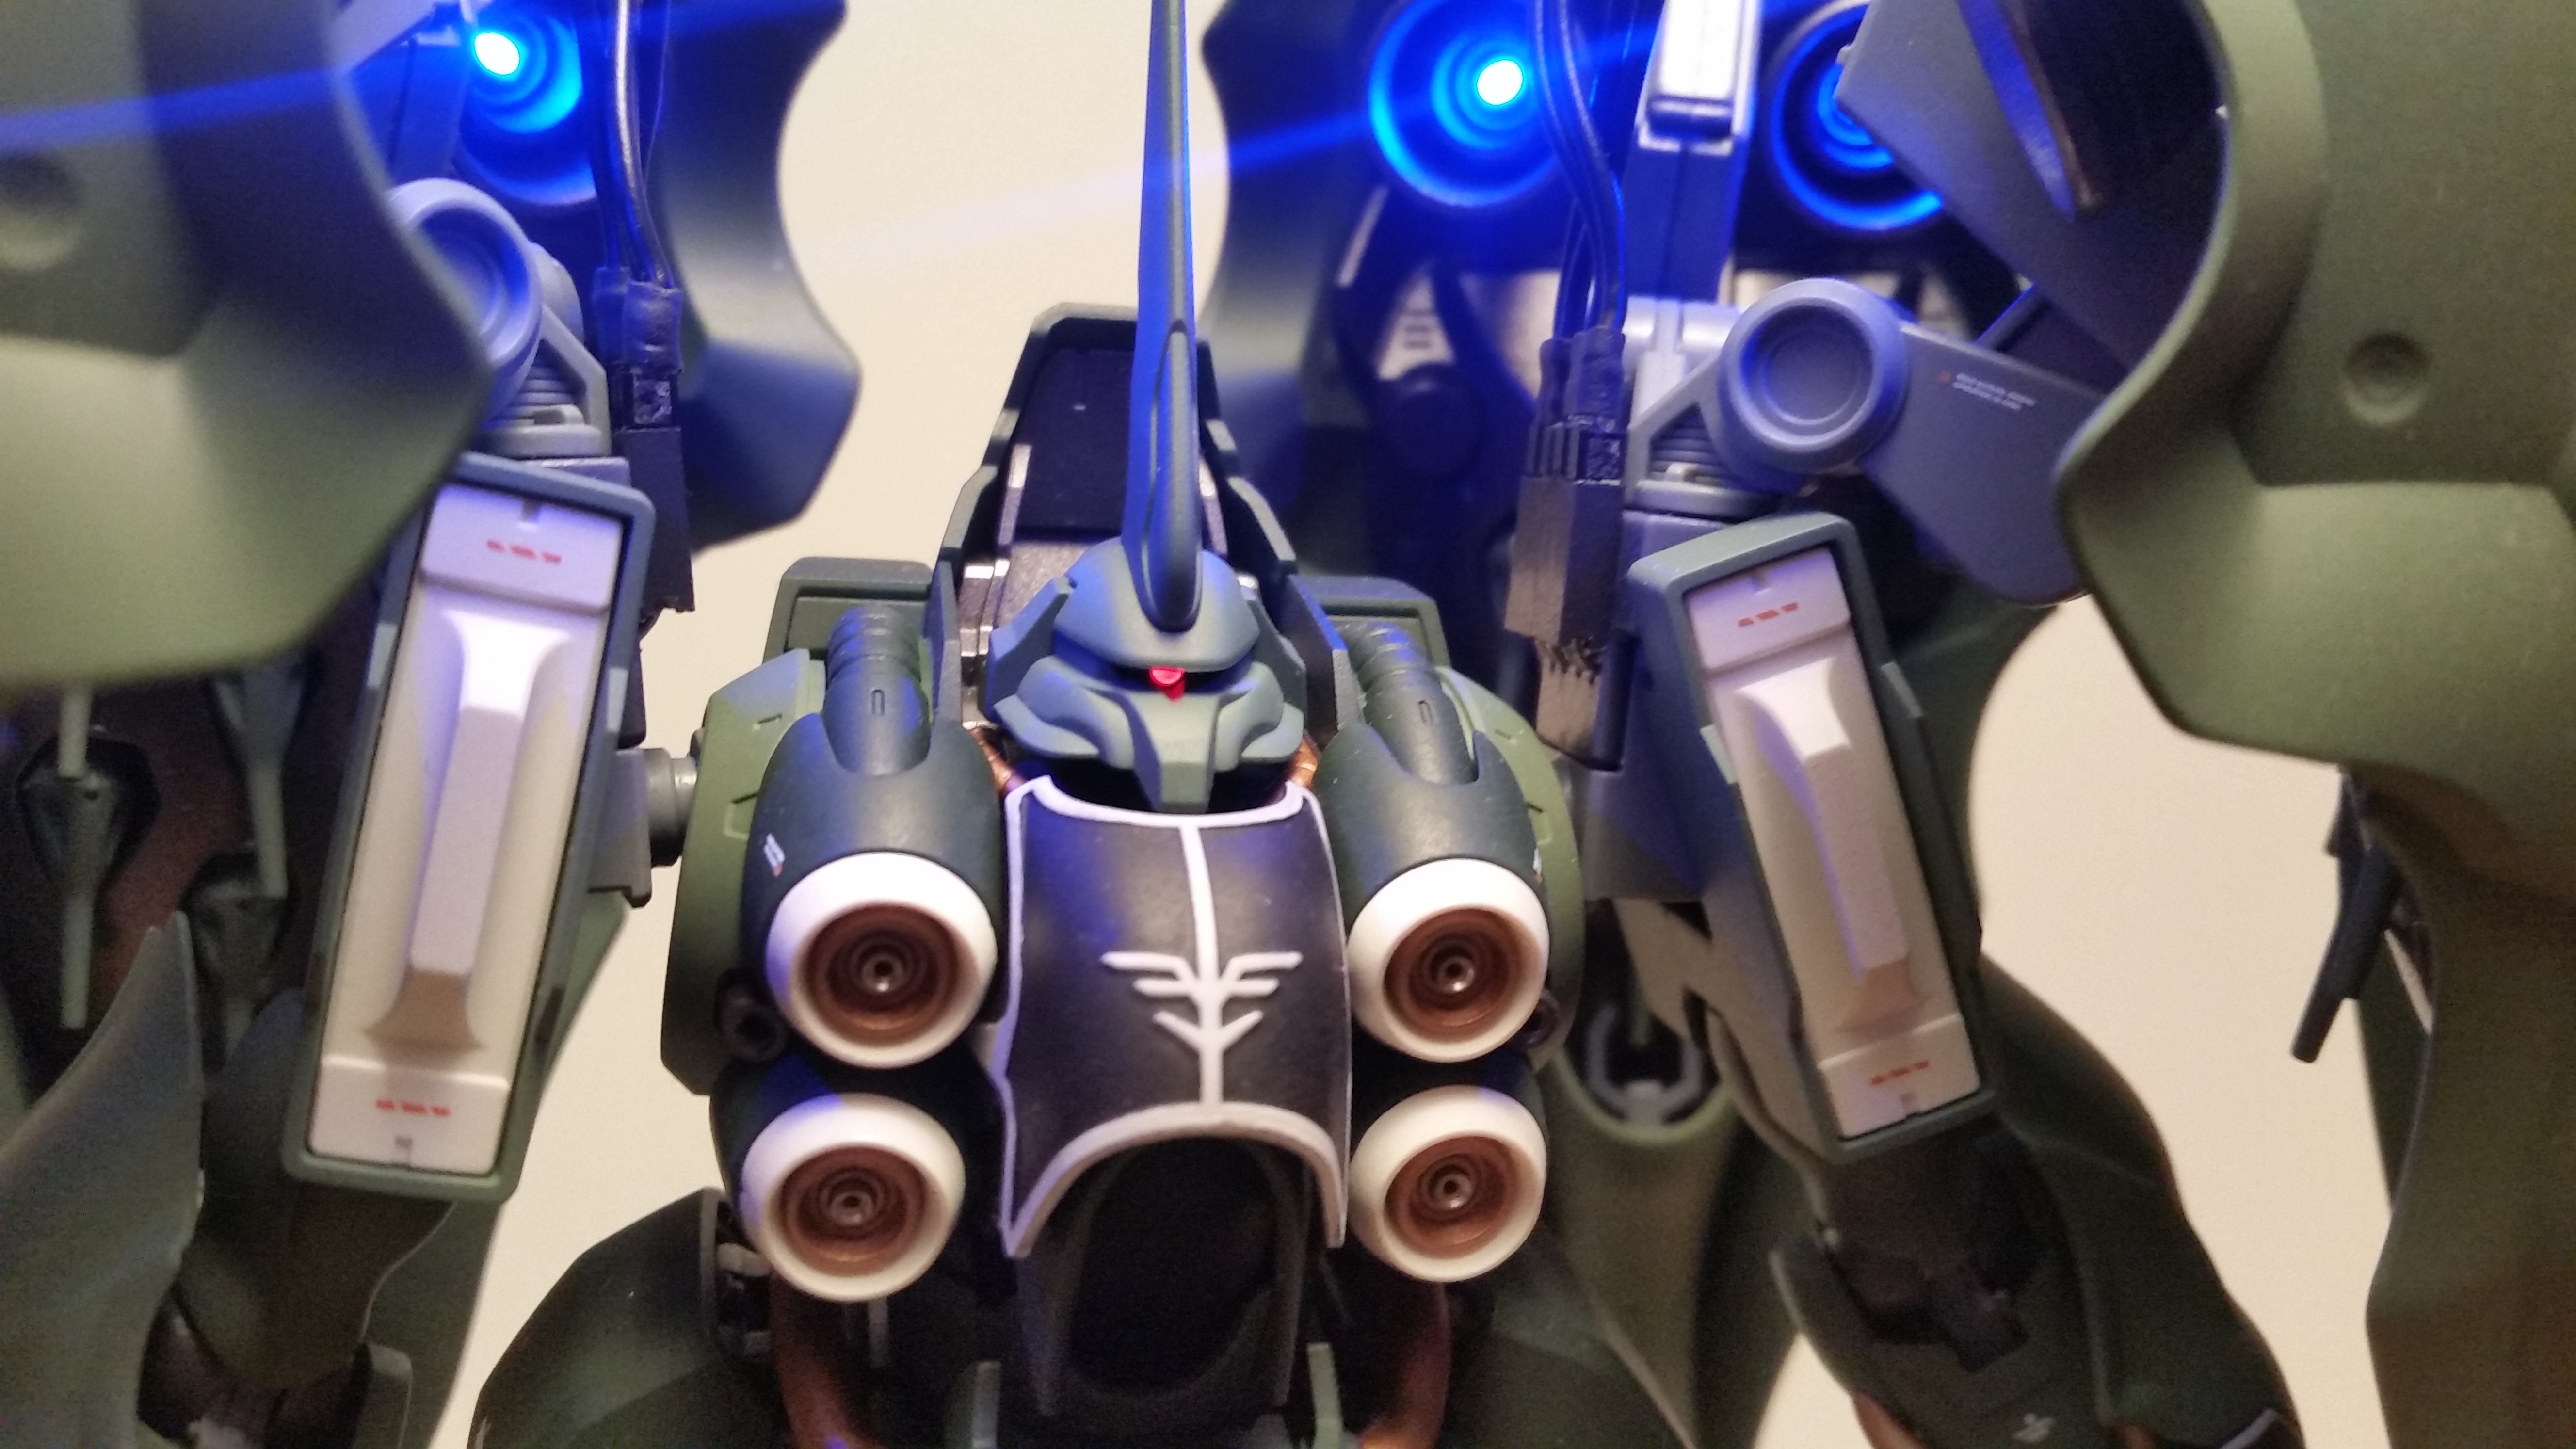
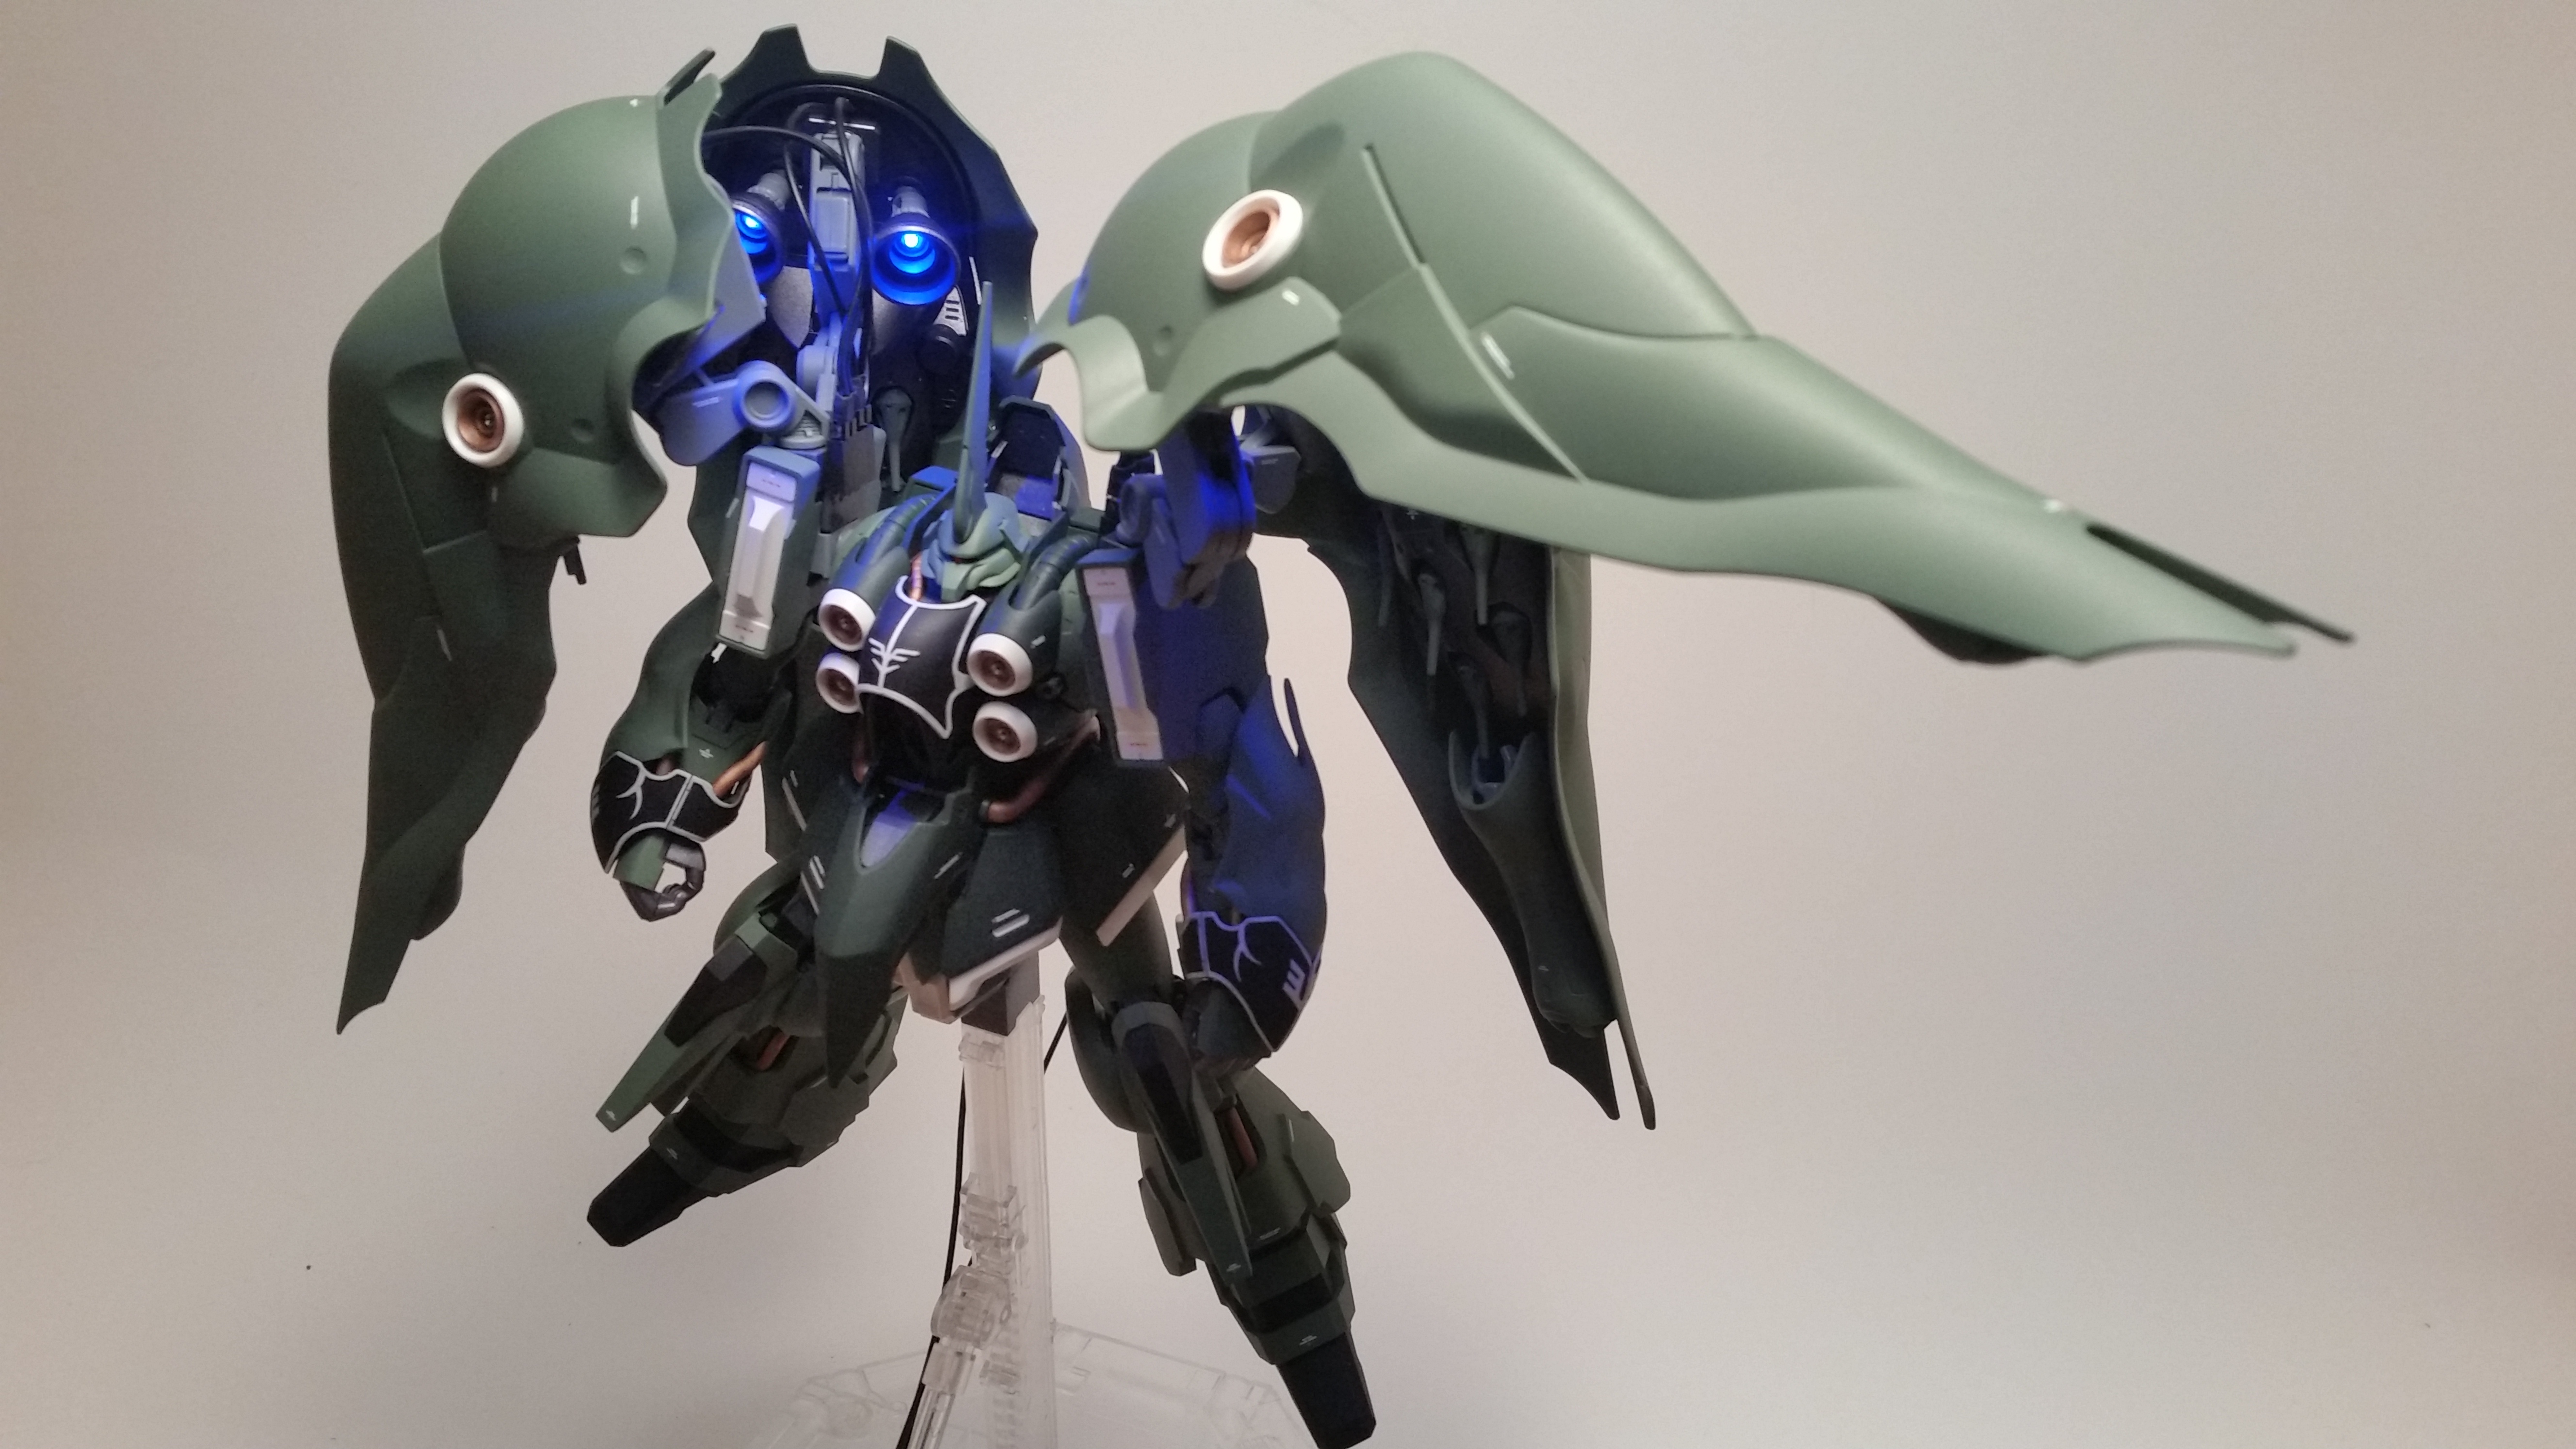
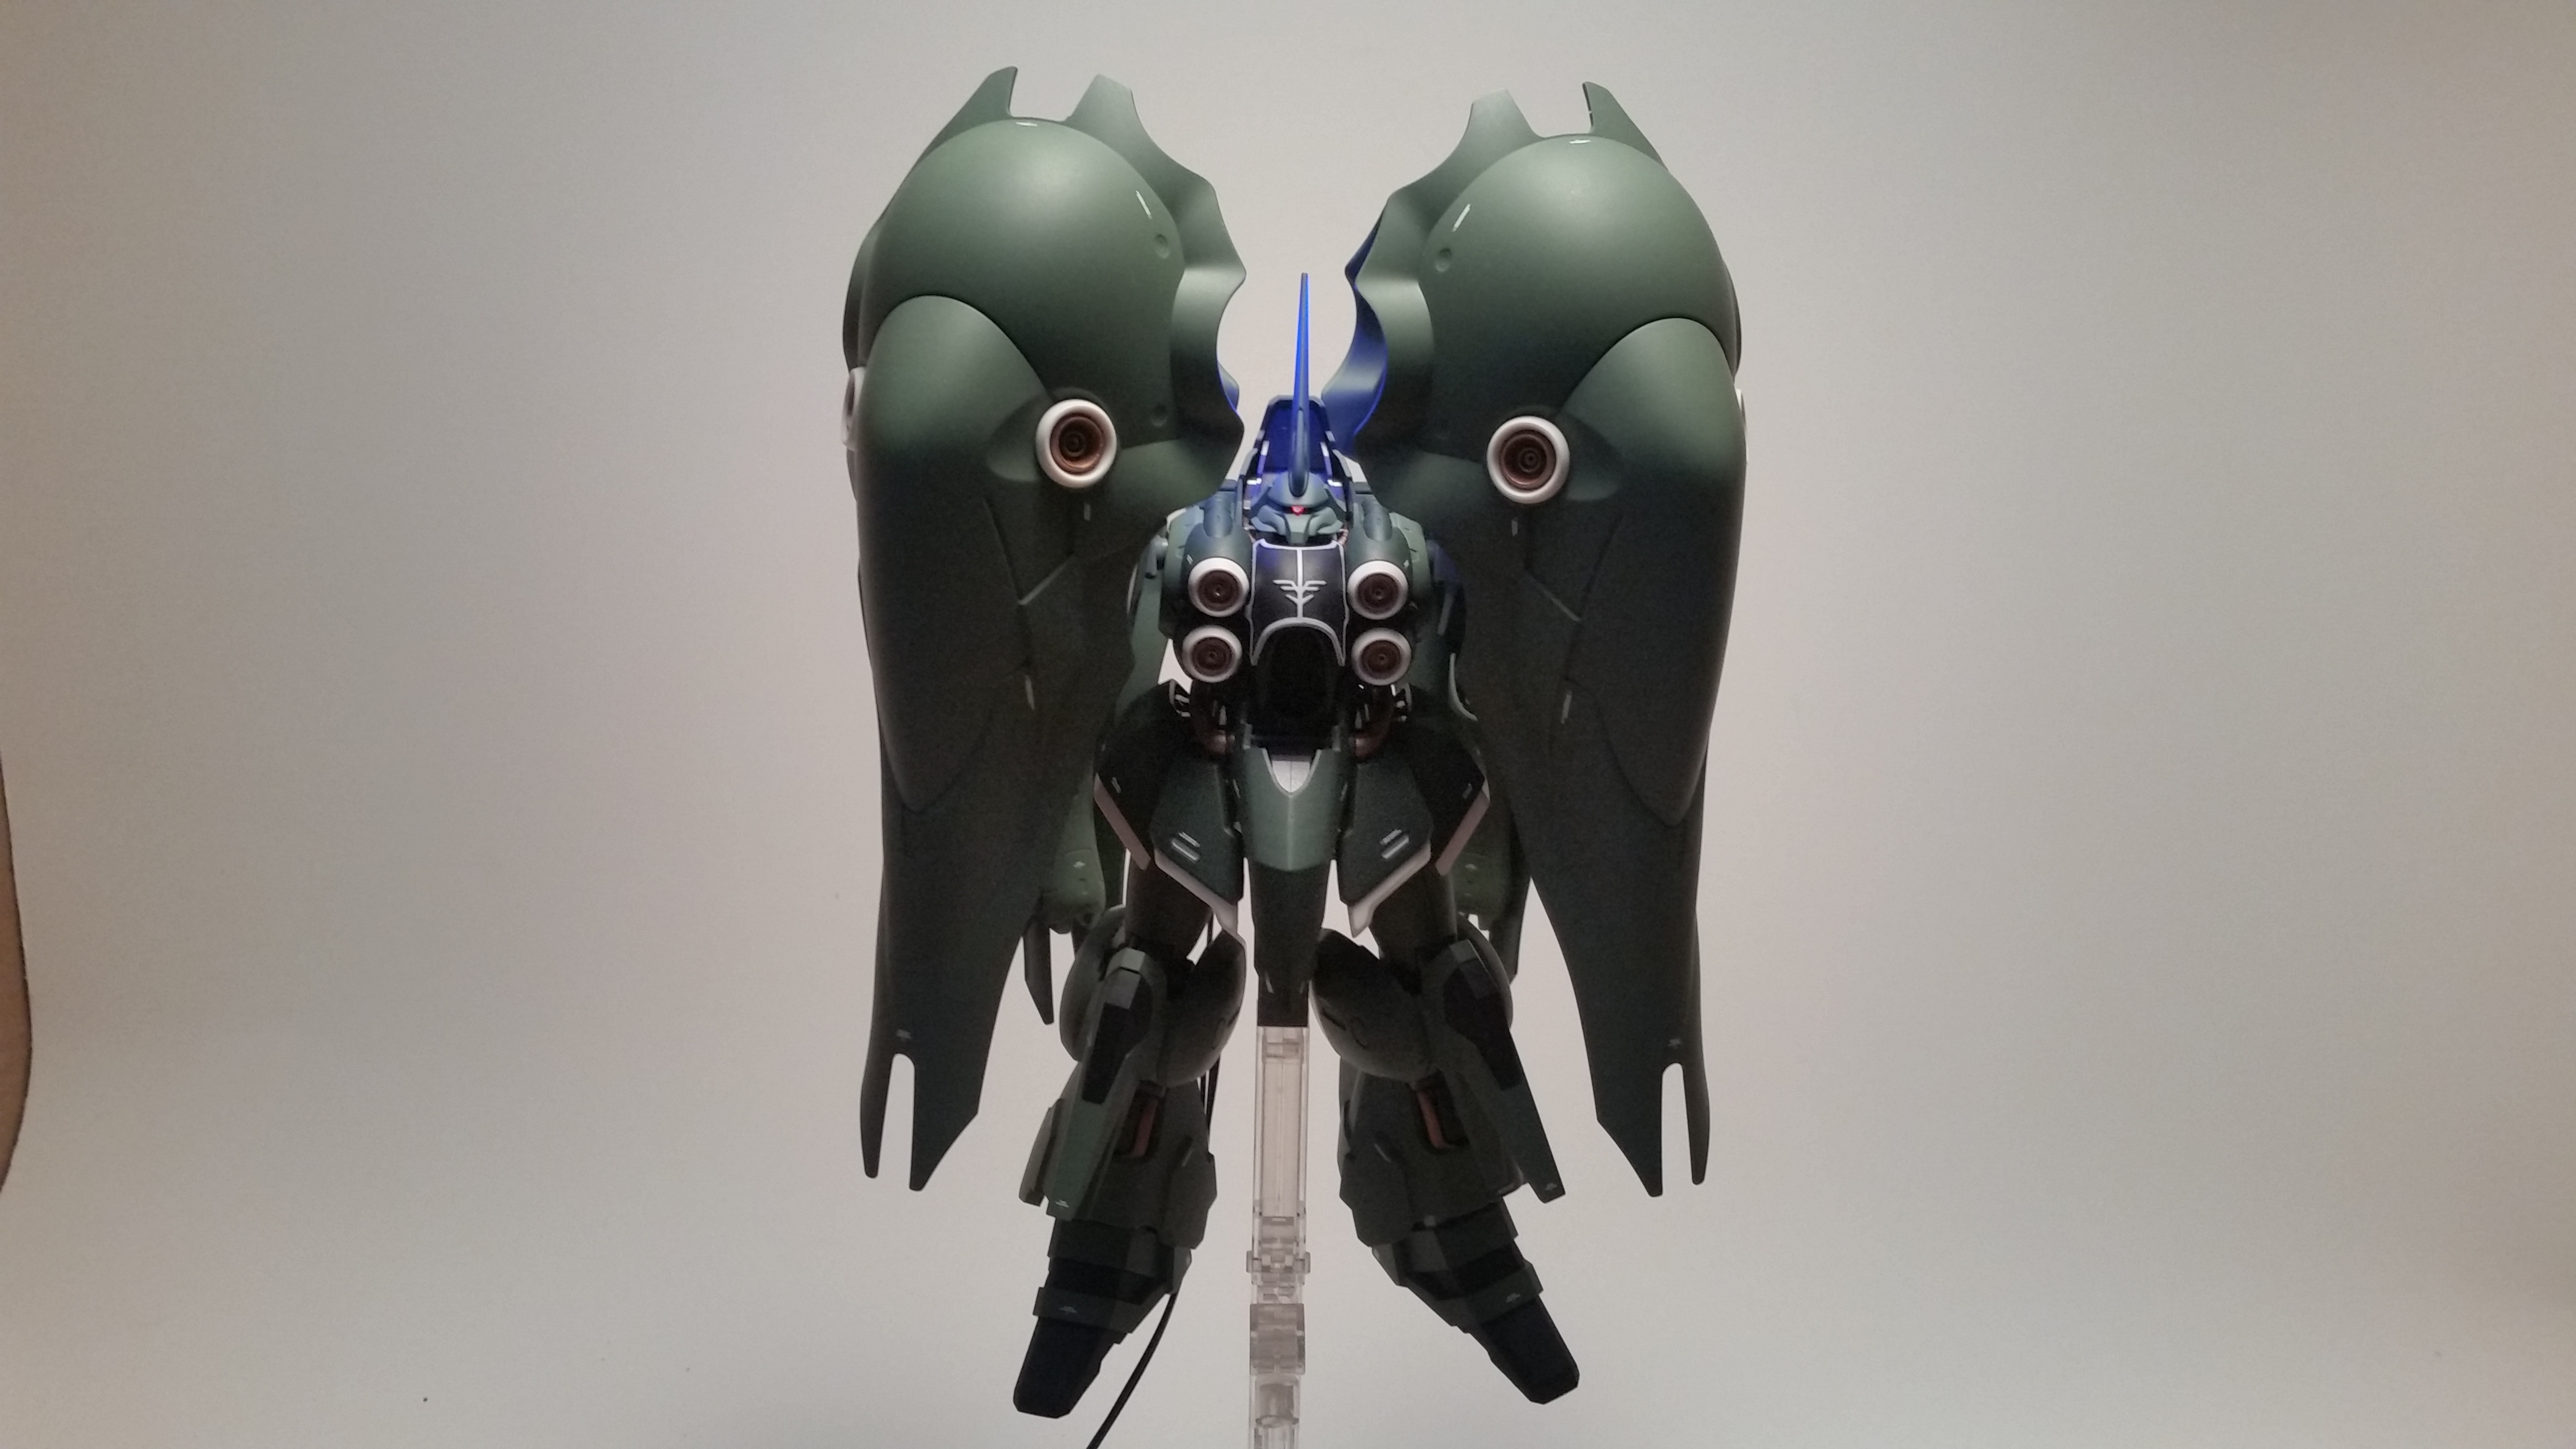
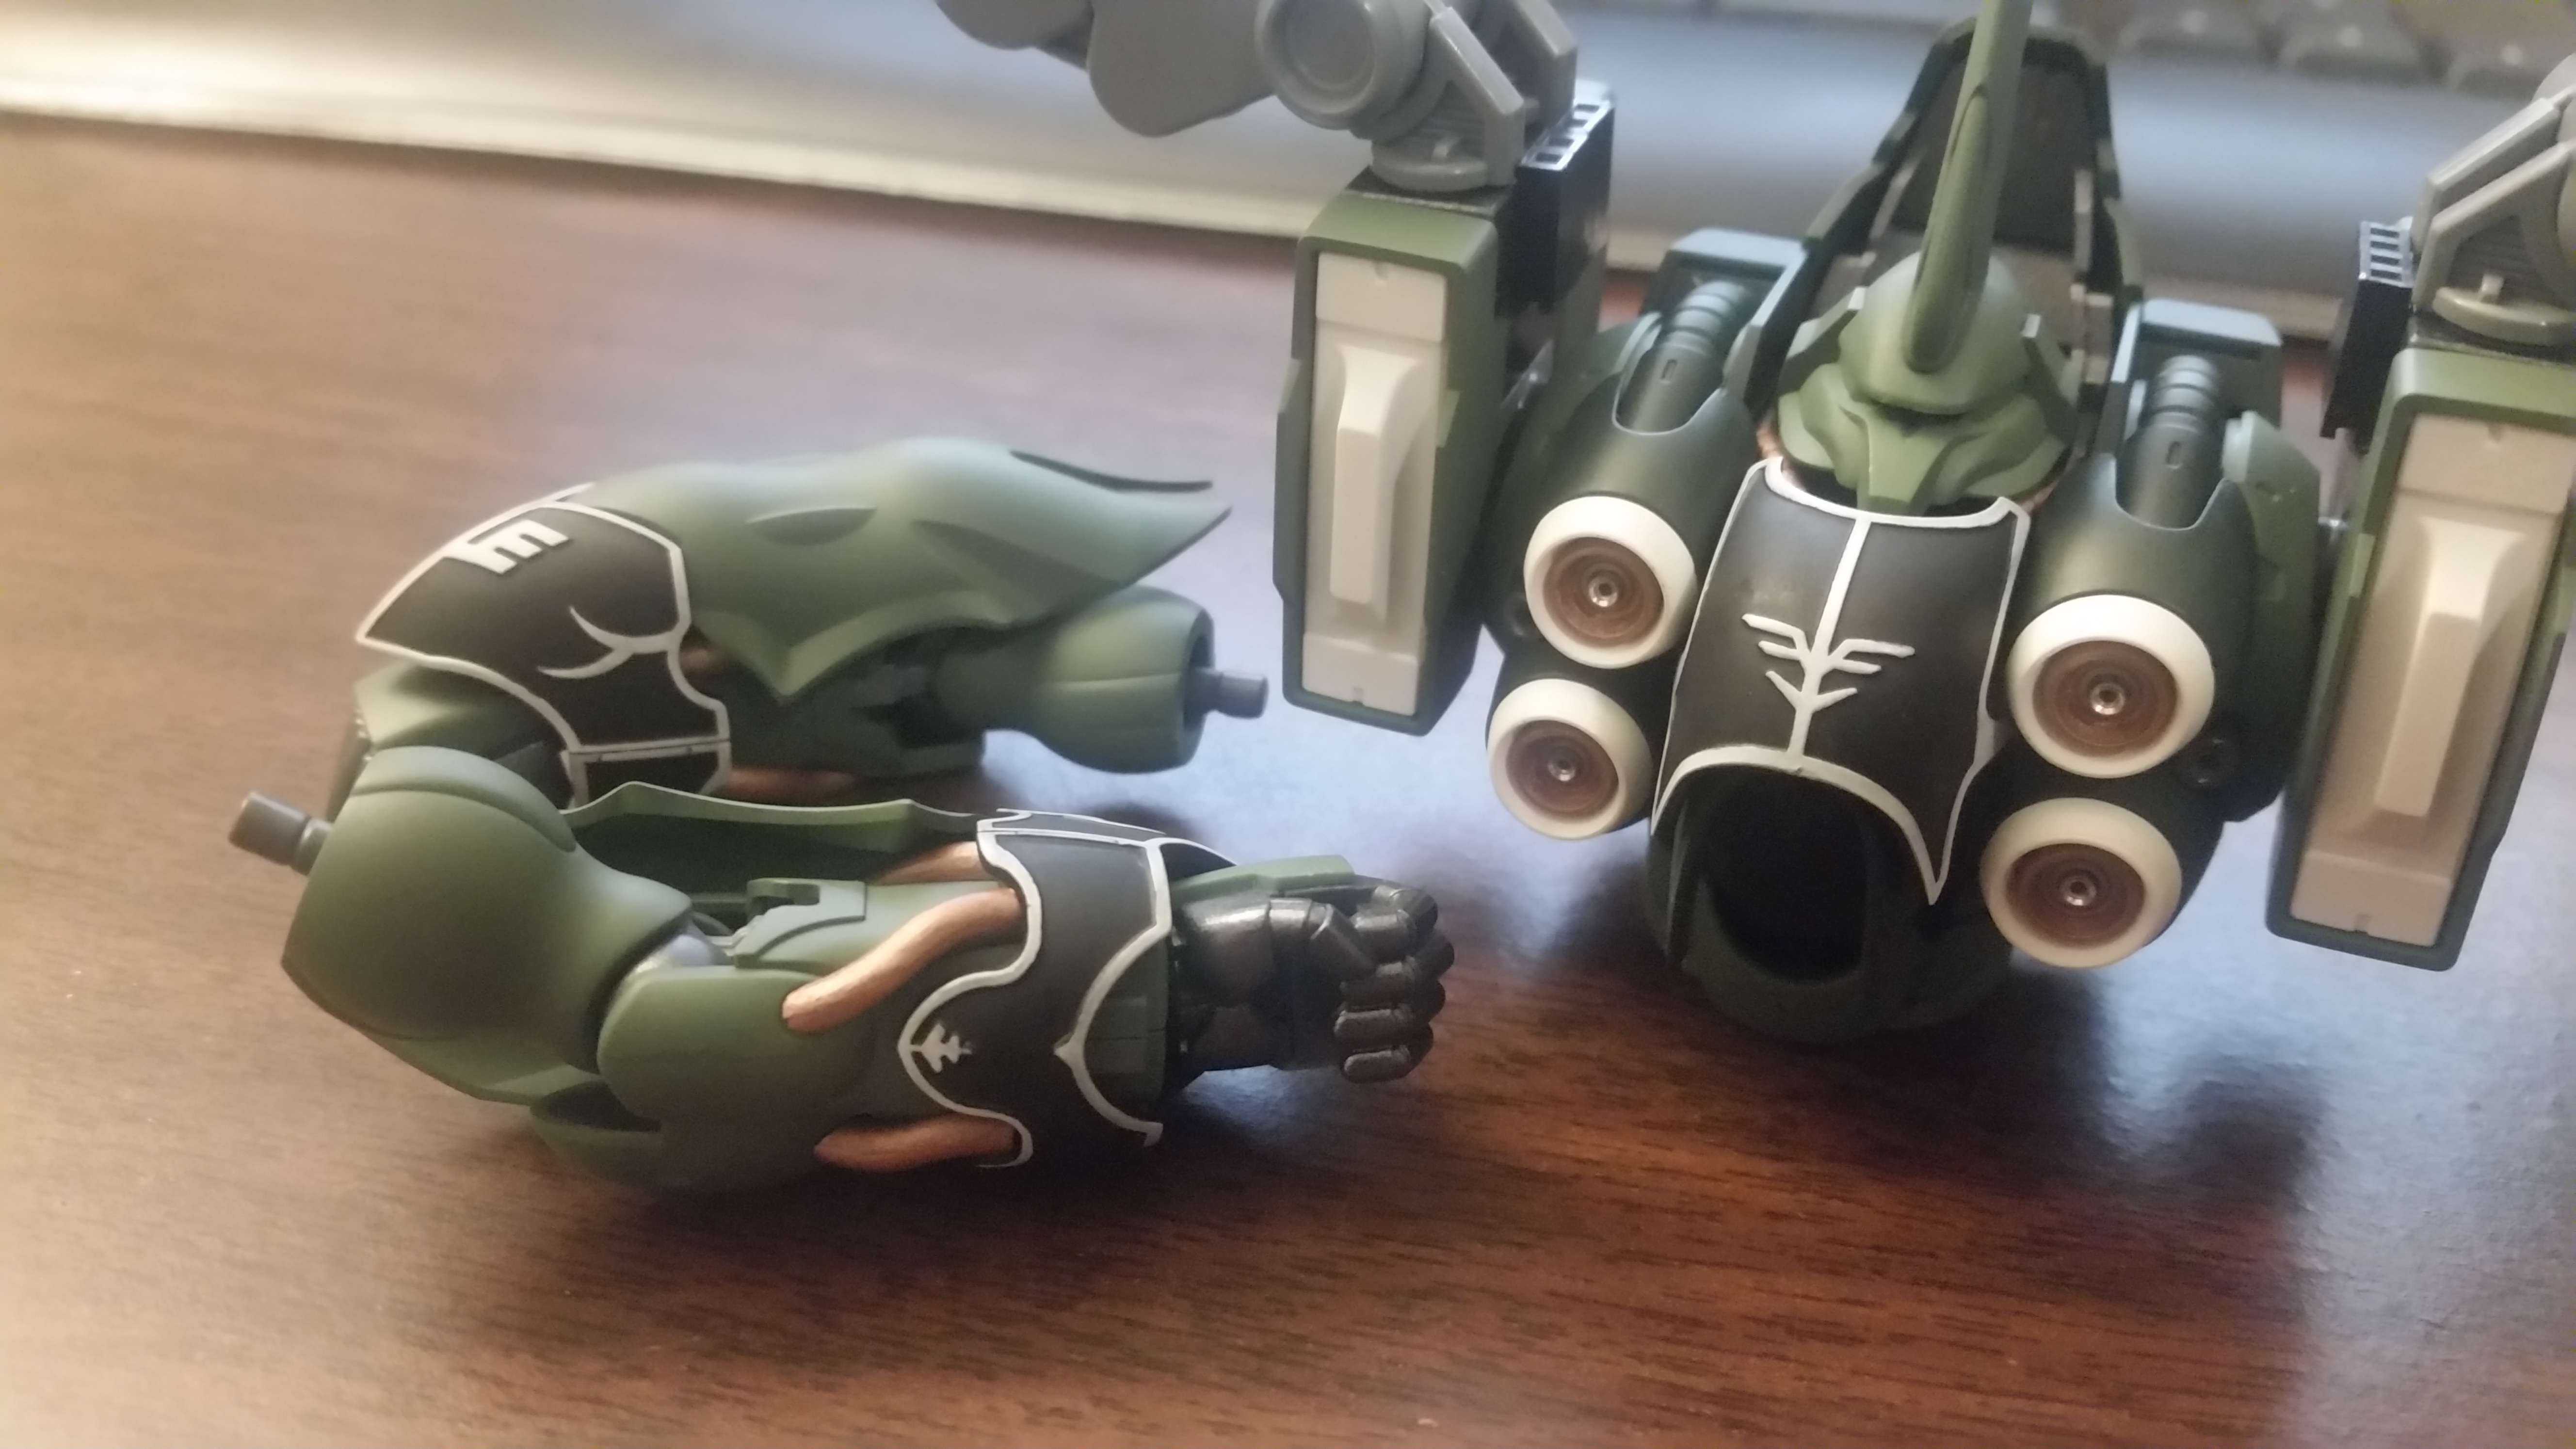
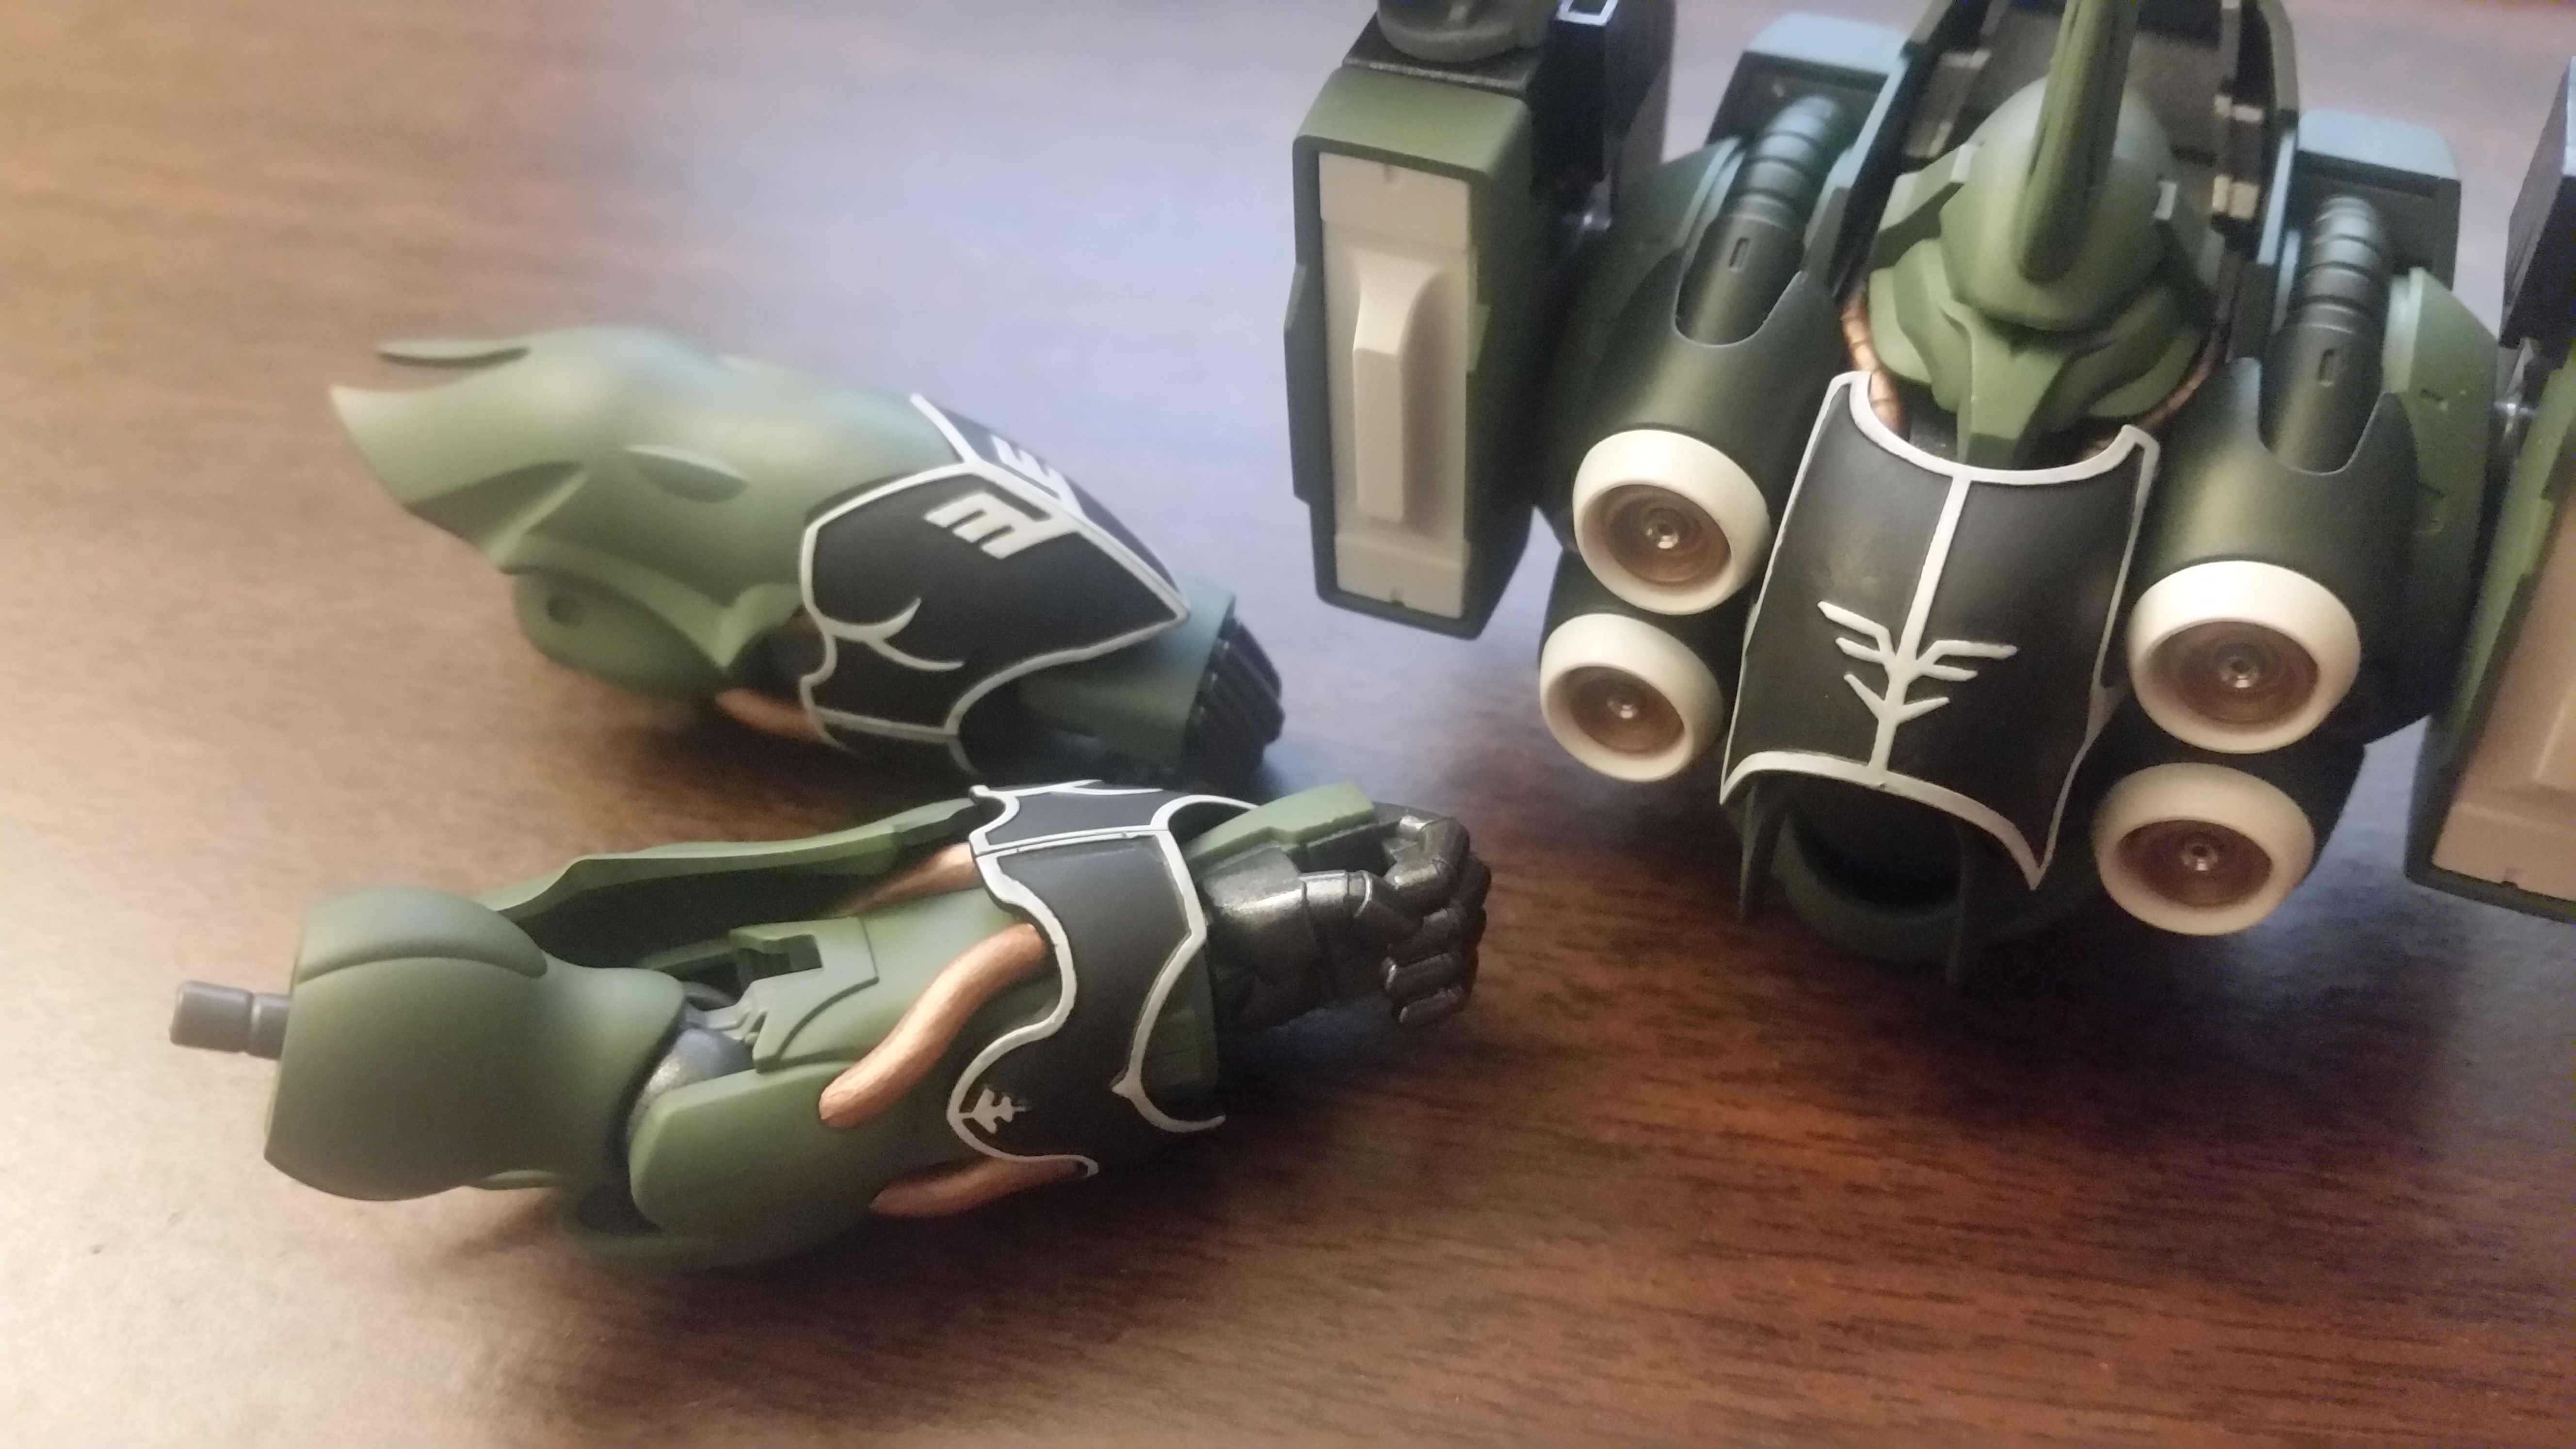
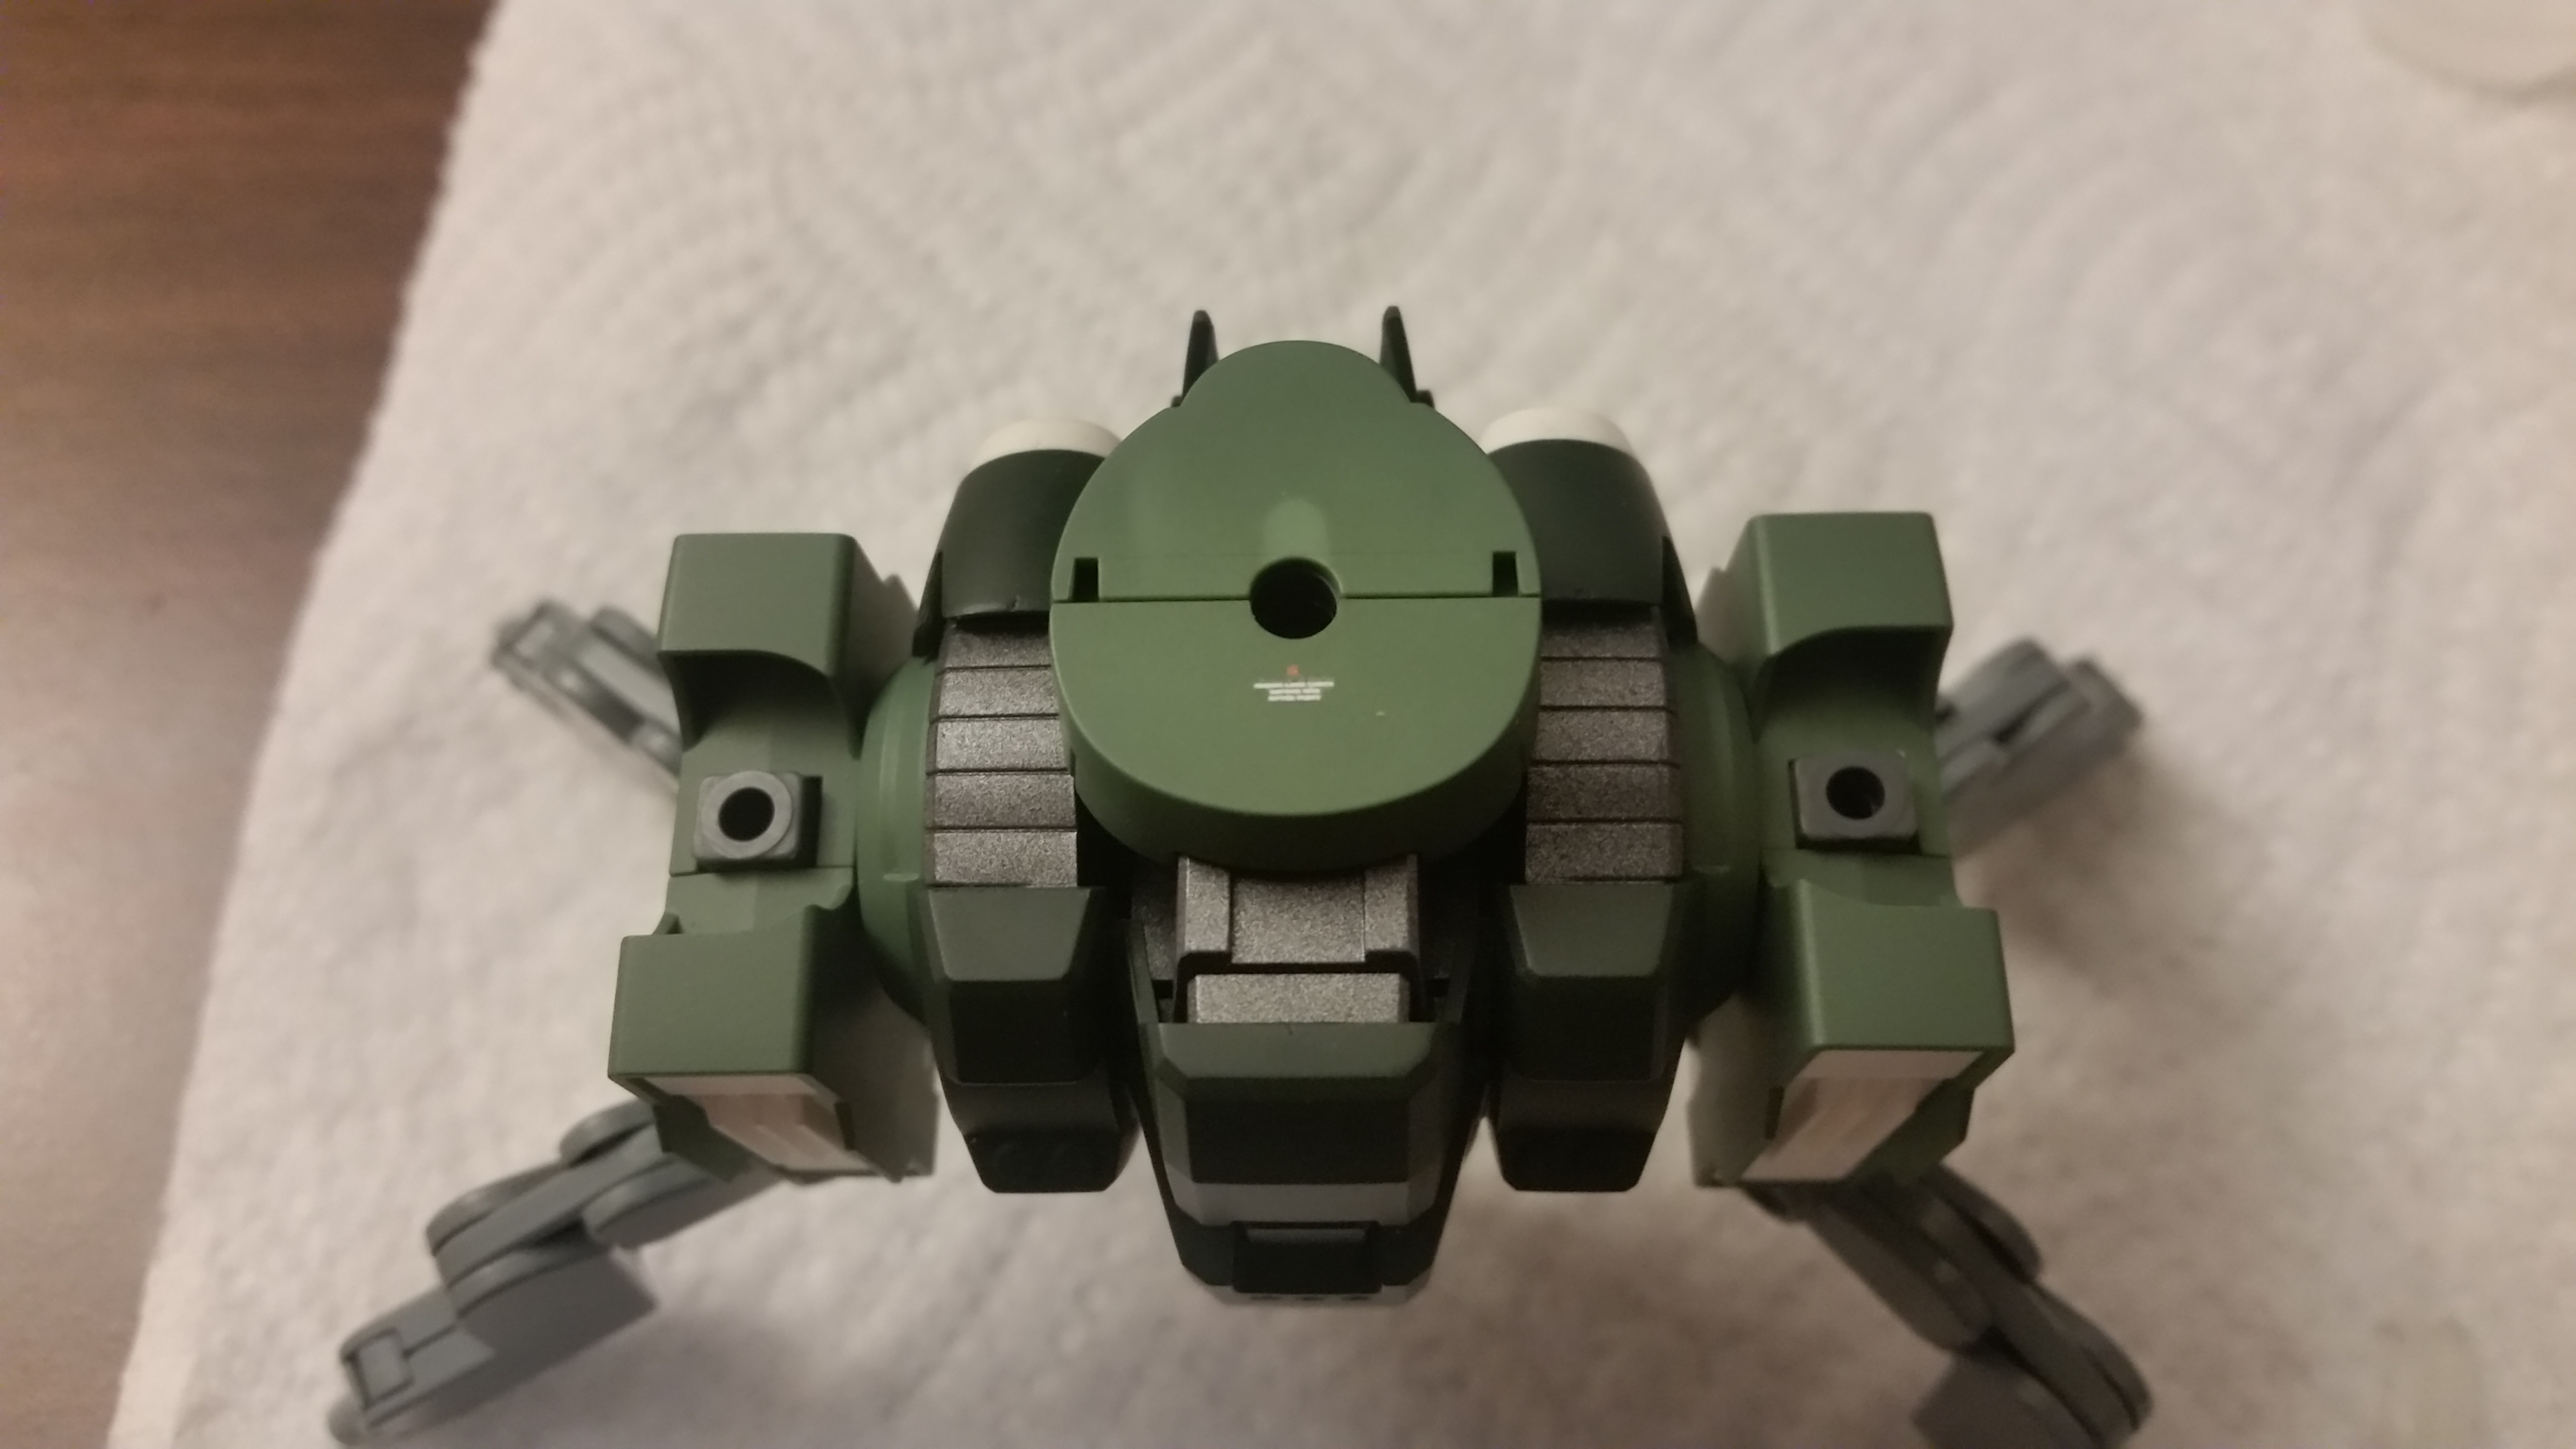
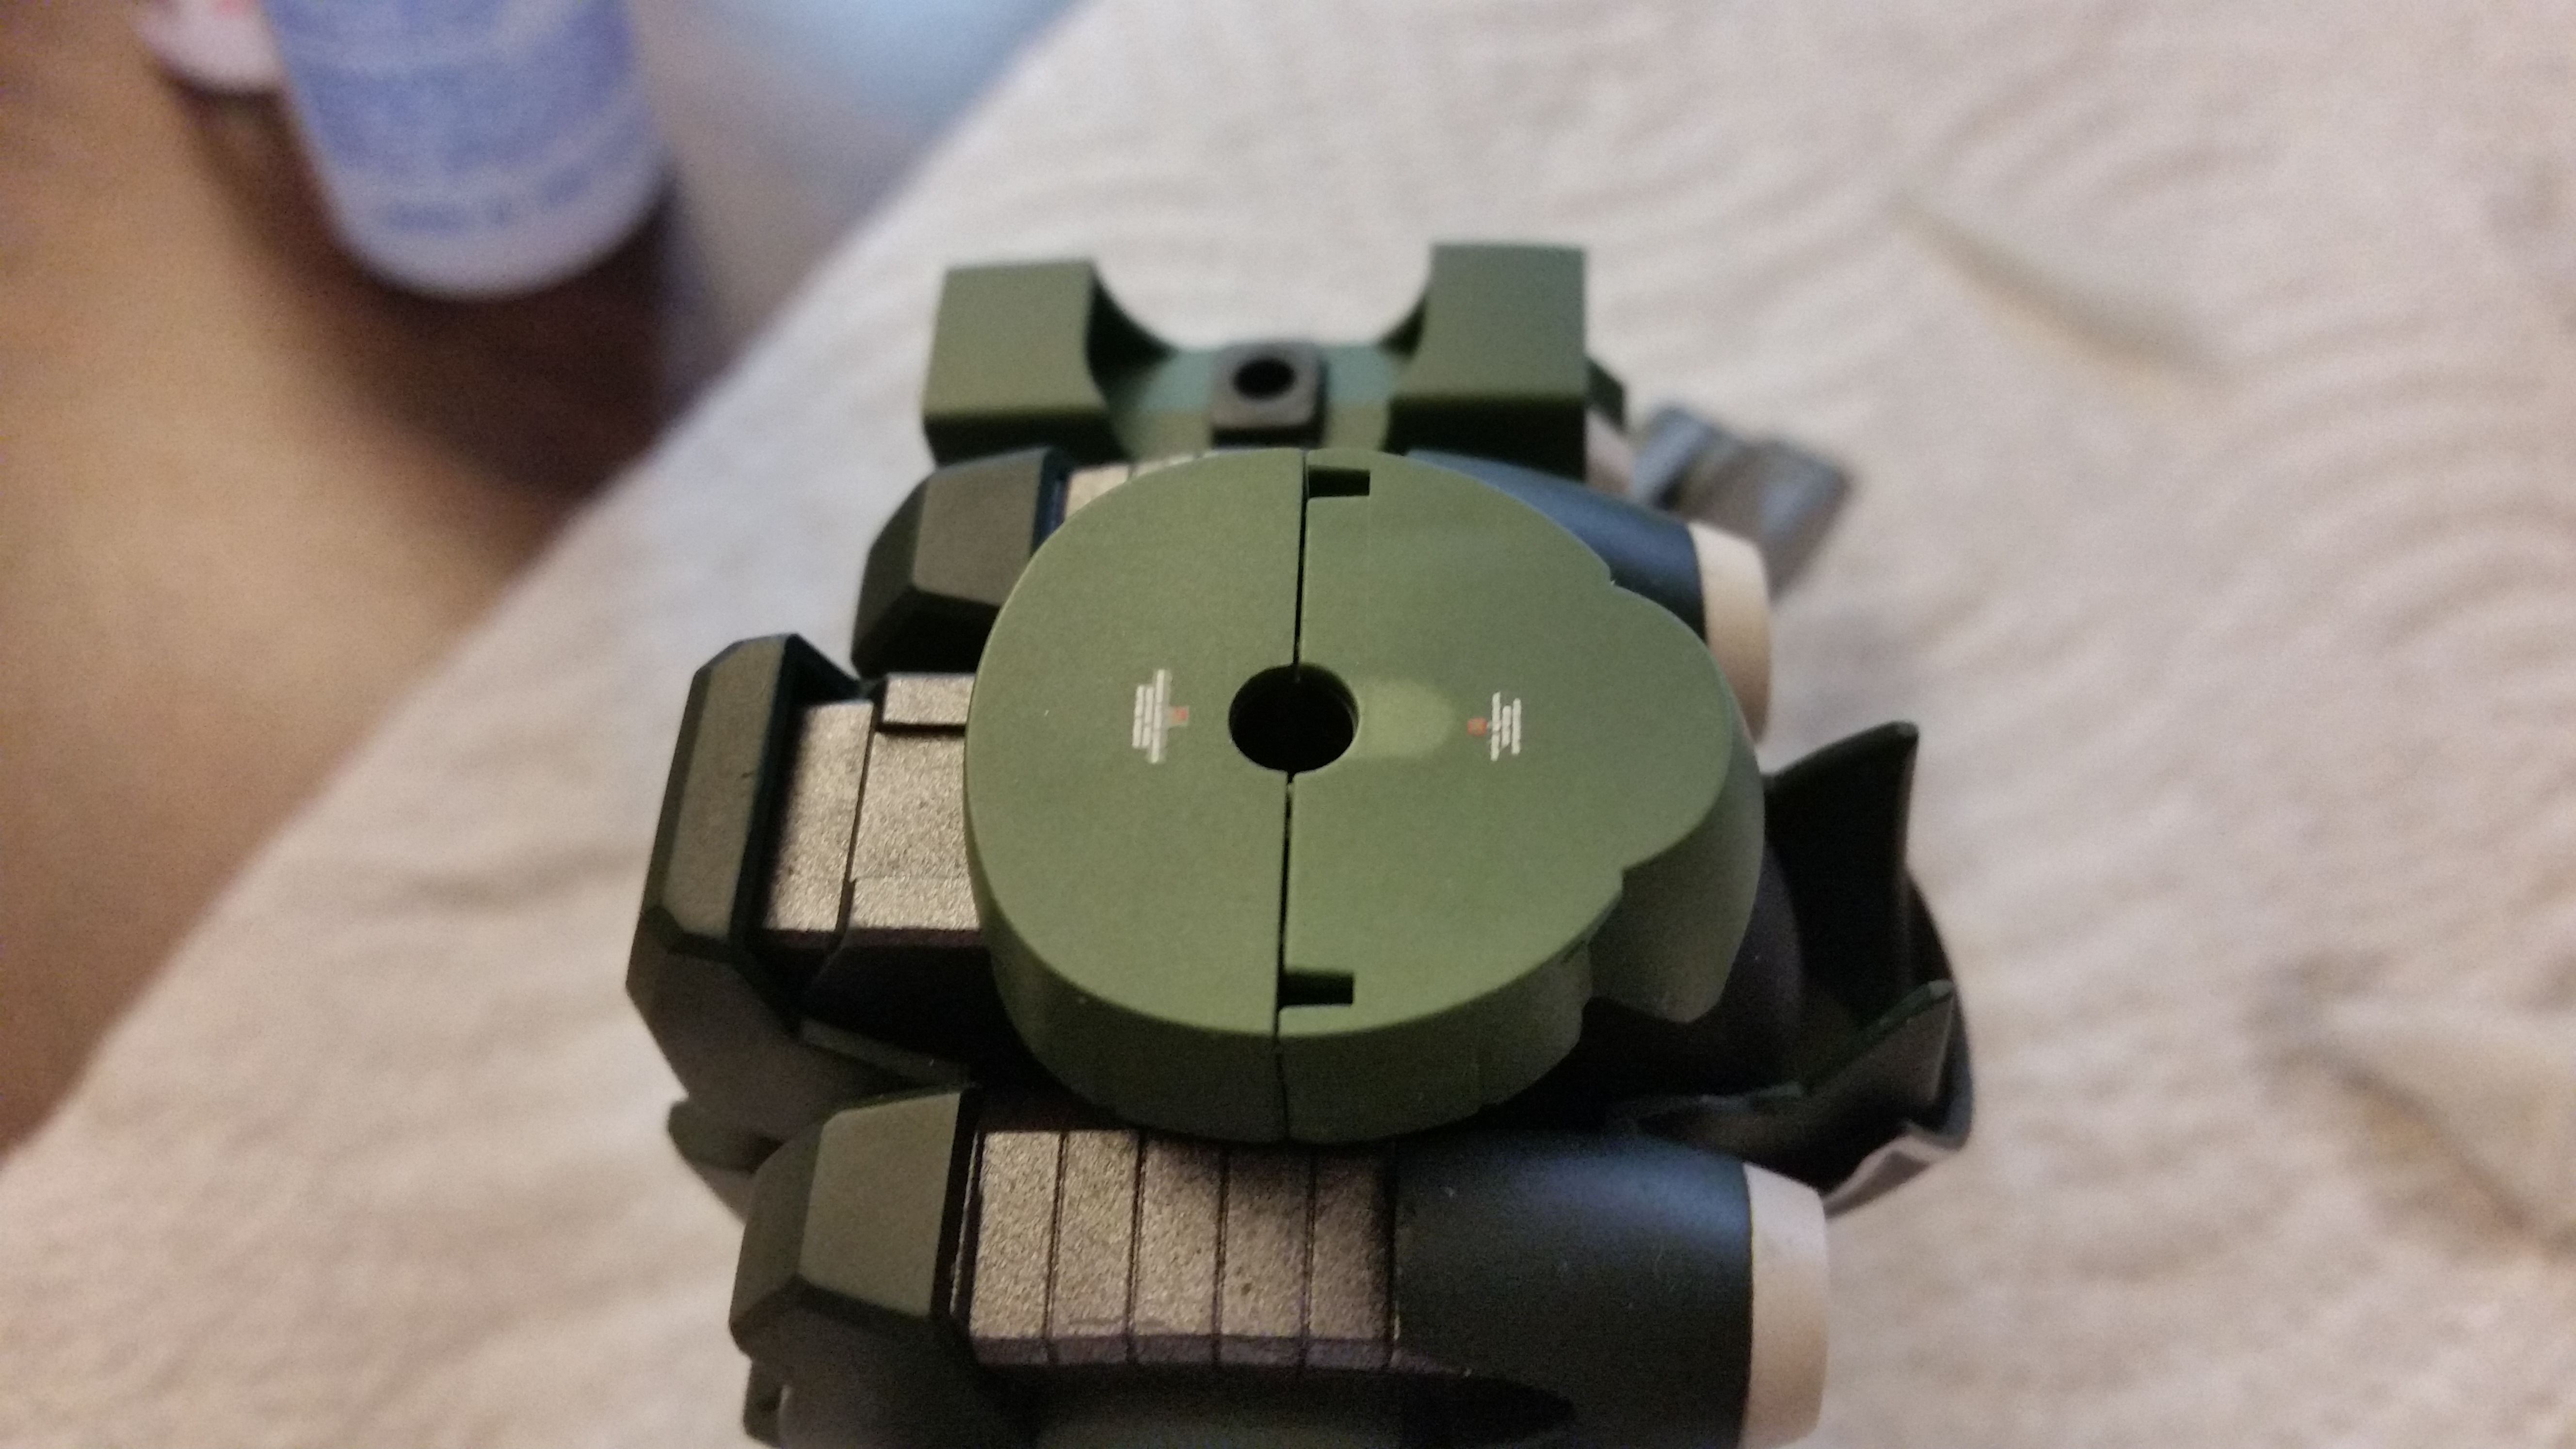
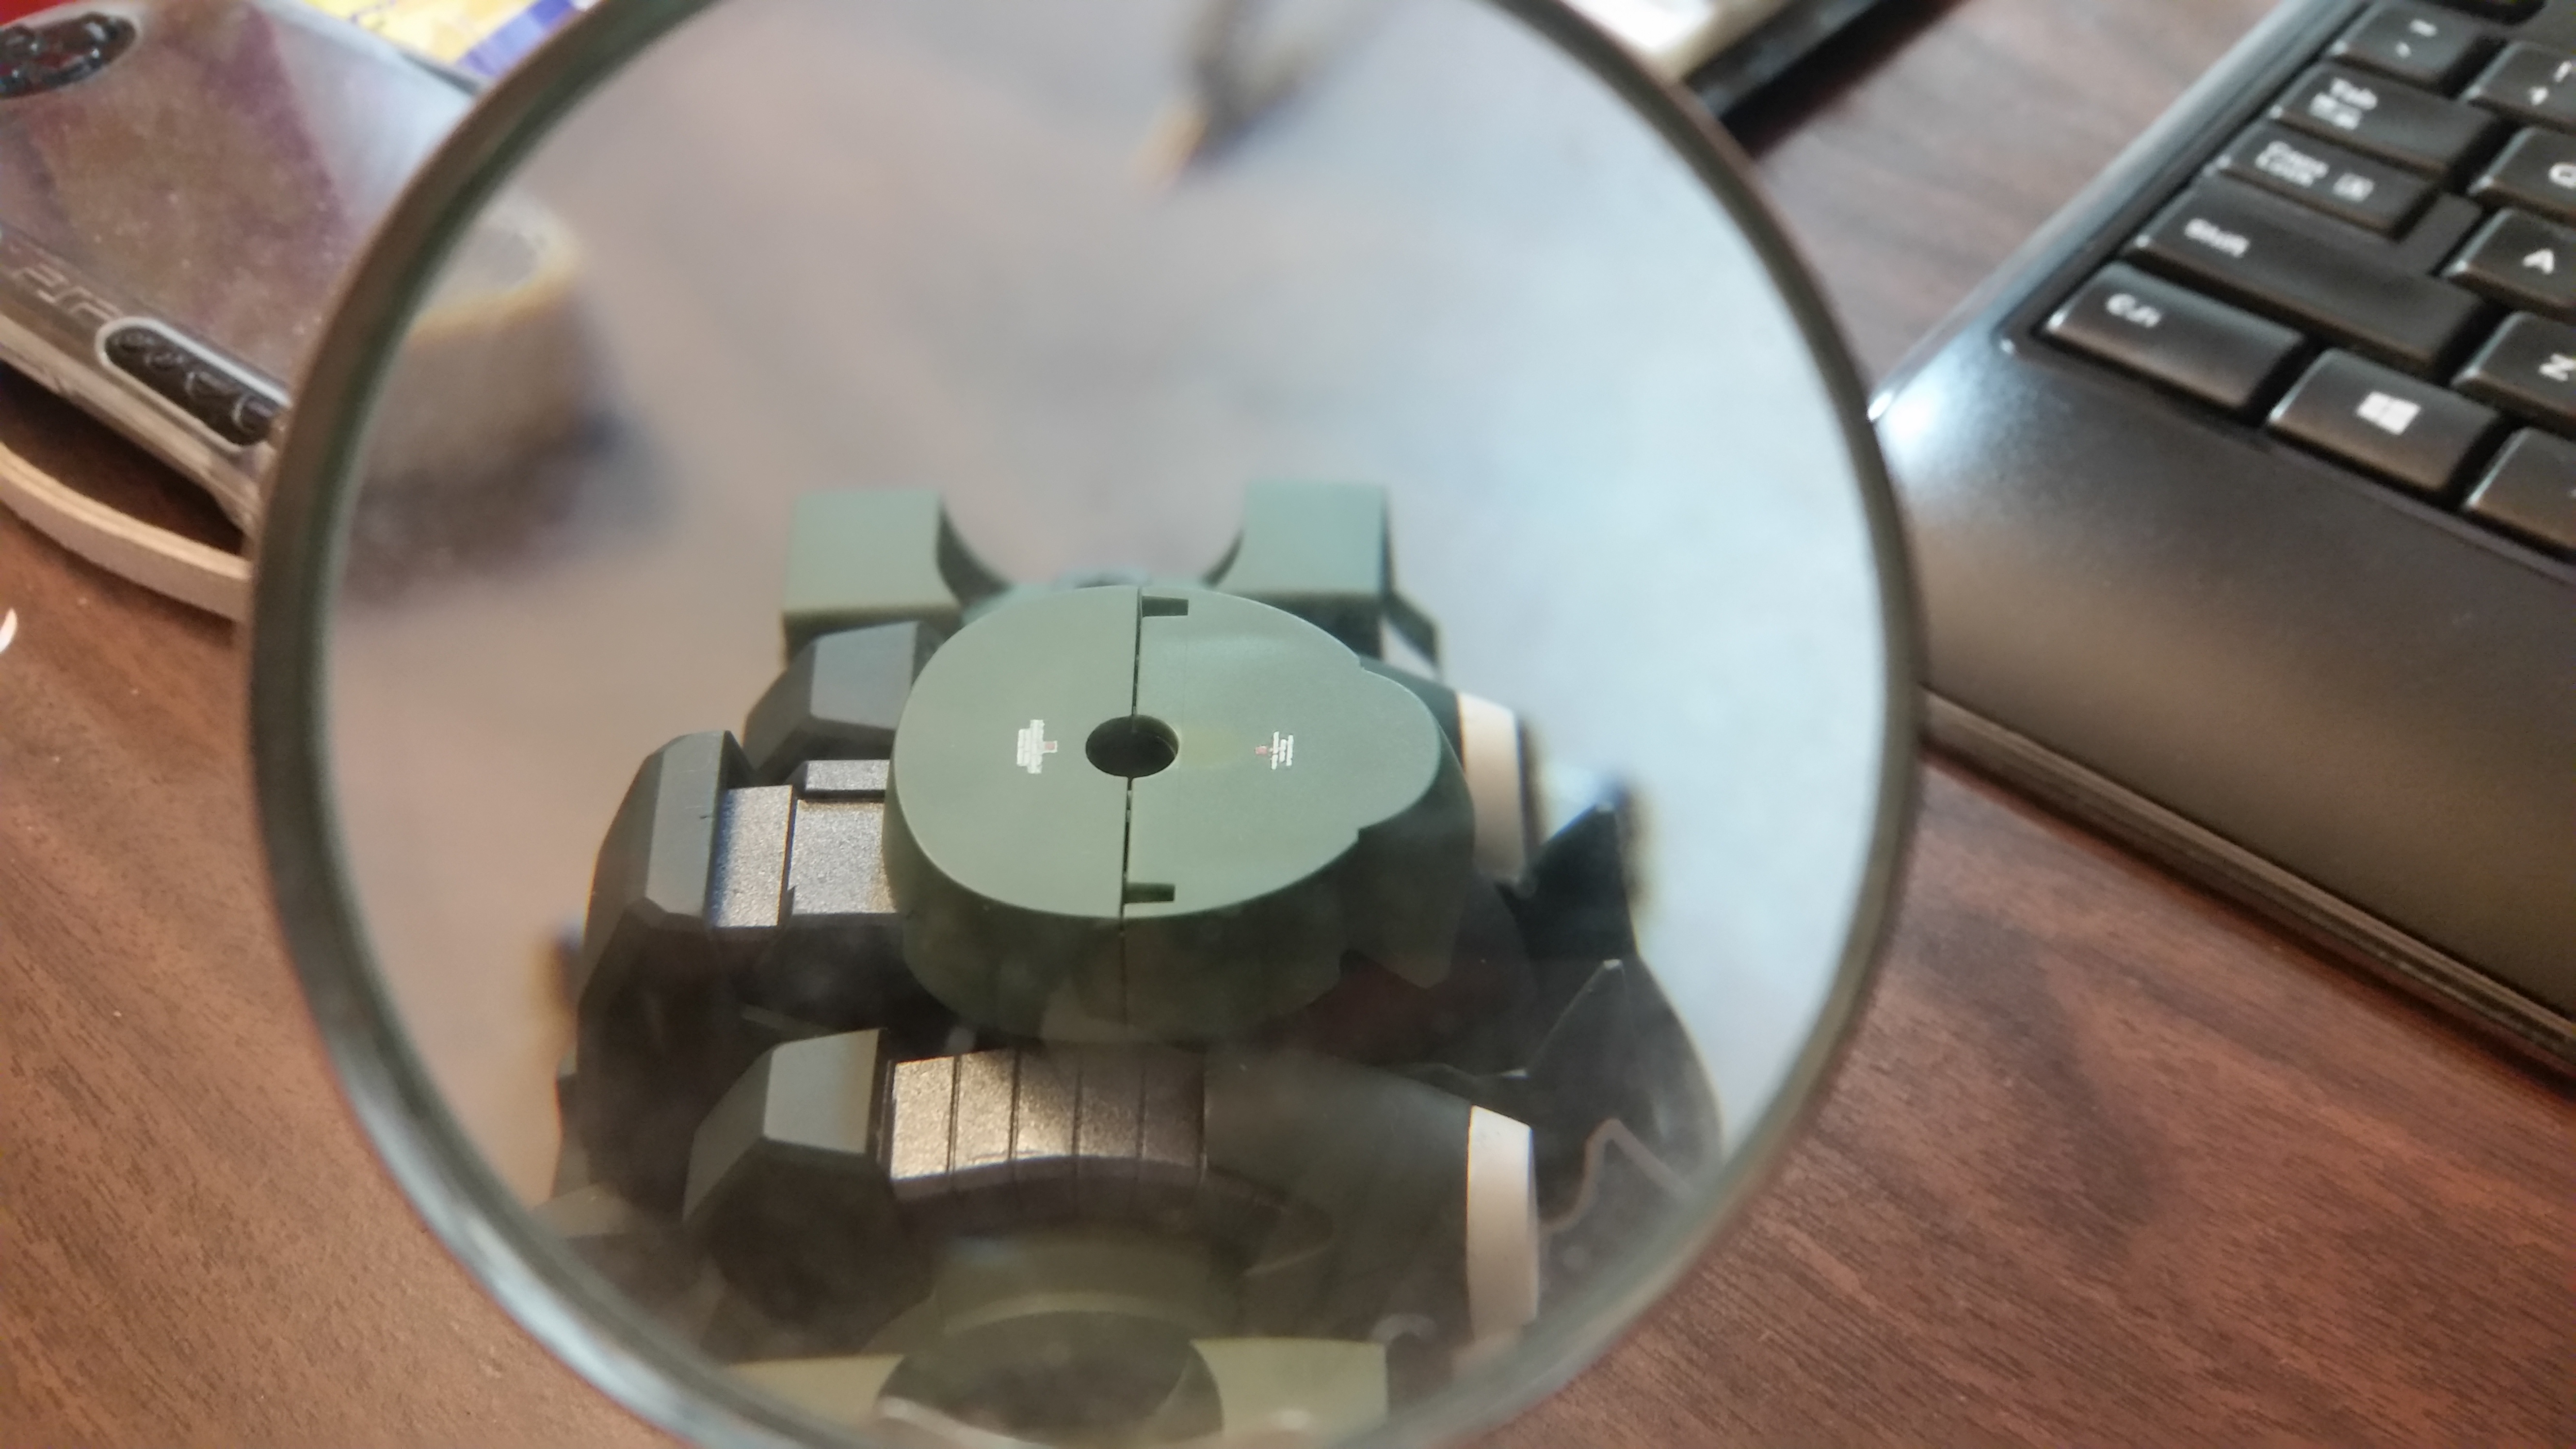
I chose the 1/144 HGUC NZ-666 Kshatriya, my favorite mobile suit from Gundam Unicorn. In addition to painting, I added some extra details, including LEDs for the mono-eye and thrusters, small metal details, and decals.
Build Details
The build took a few months, mainly working on it over a few weekends at a friend’s place. I took a lot of pictures during the process, so will write-up some commentary to go along with the photos.
Painting
I used the following spray paints (mostly Tamiya):
- TS78 Field Gray - base green parts
- TS2 Dark Green - darker green on the chest/waist
- TS38 Gun Metal - base gray parts
- TS42 Light Gun Metal - thrusters on the wings
- TS27 Matt White - white parts, reverse wash on the sleeves/chest
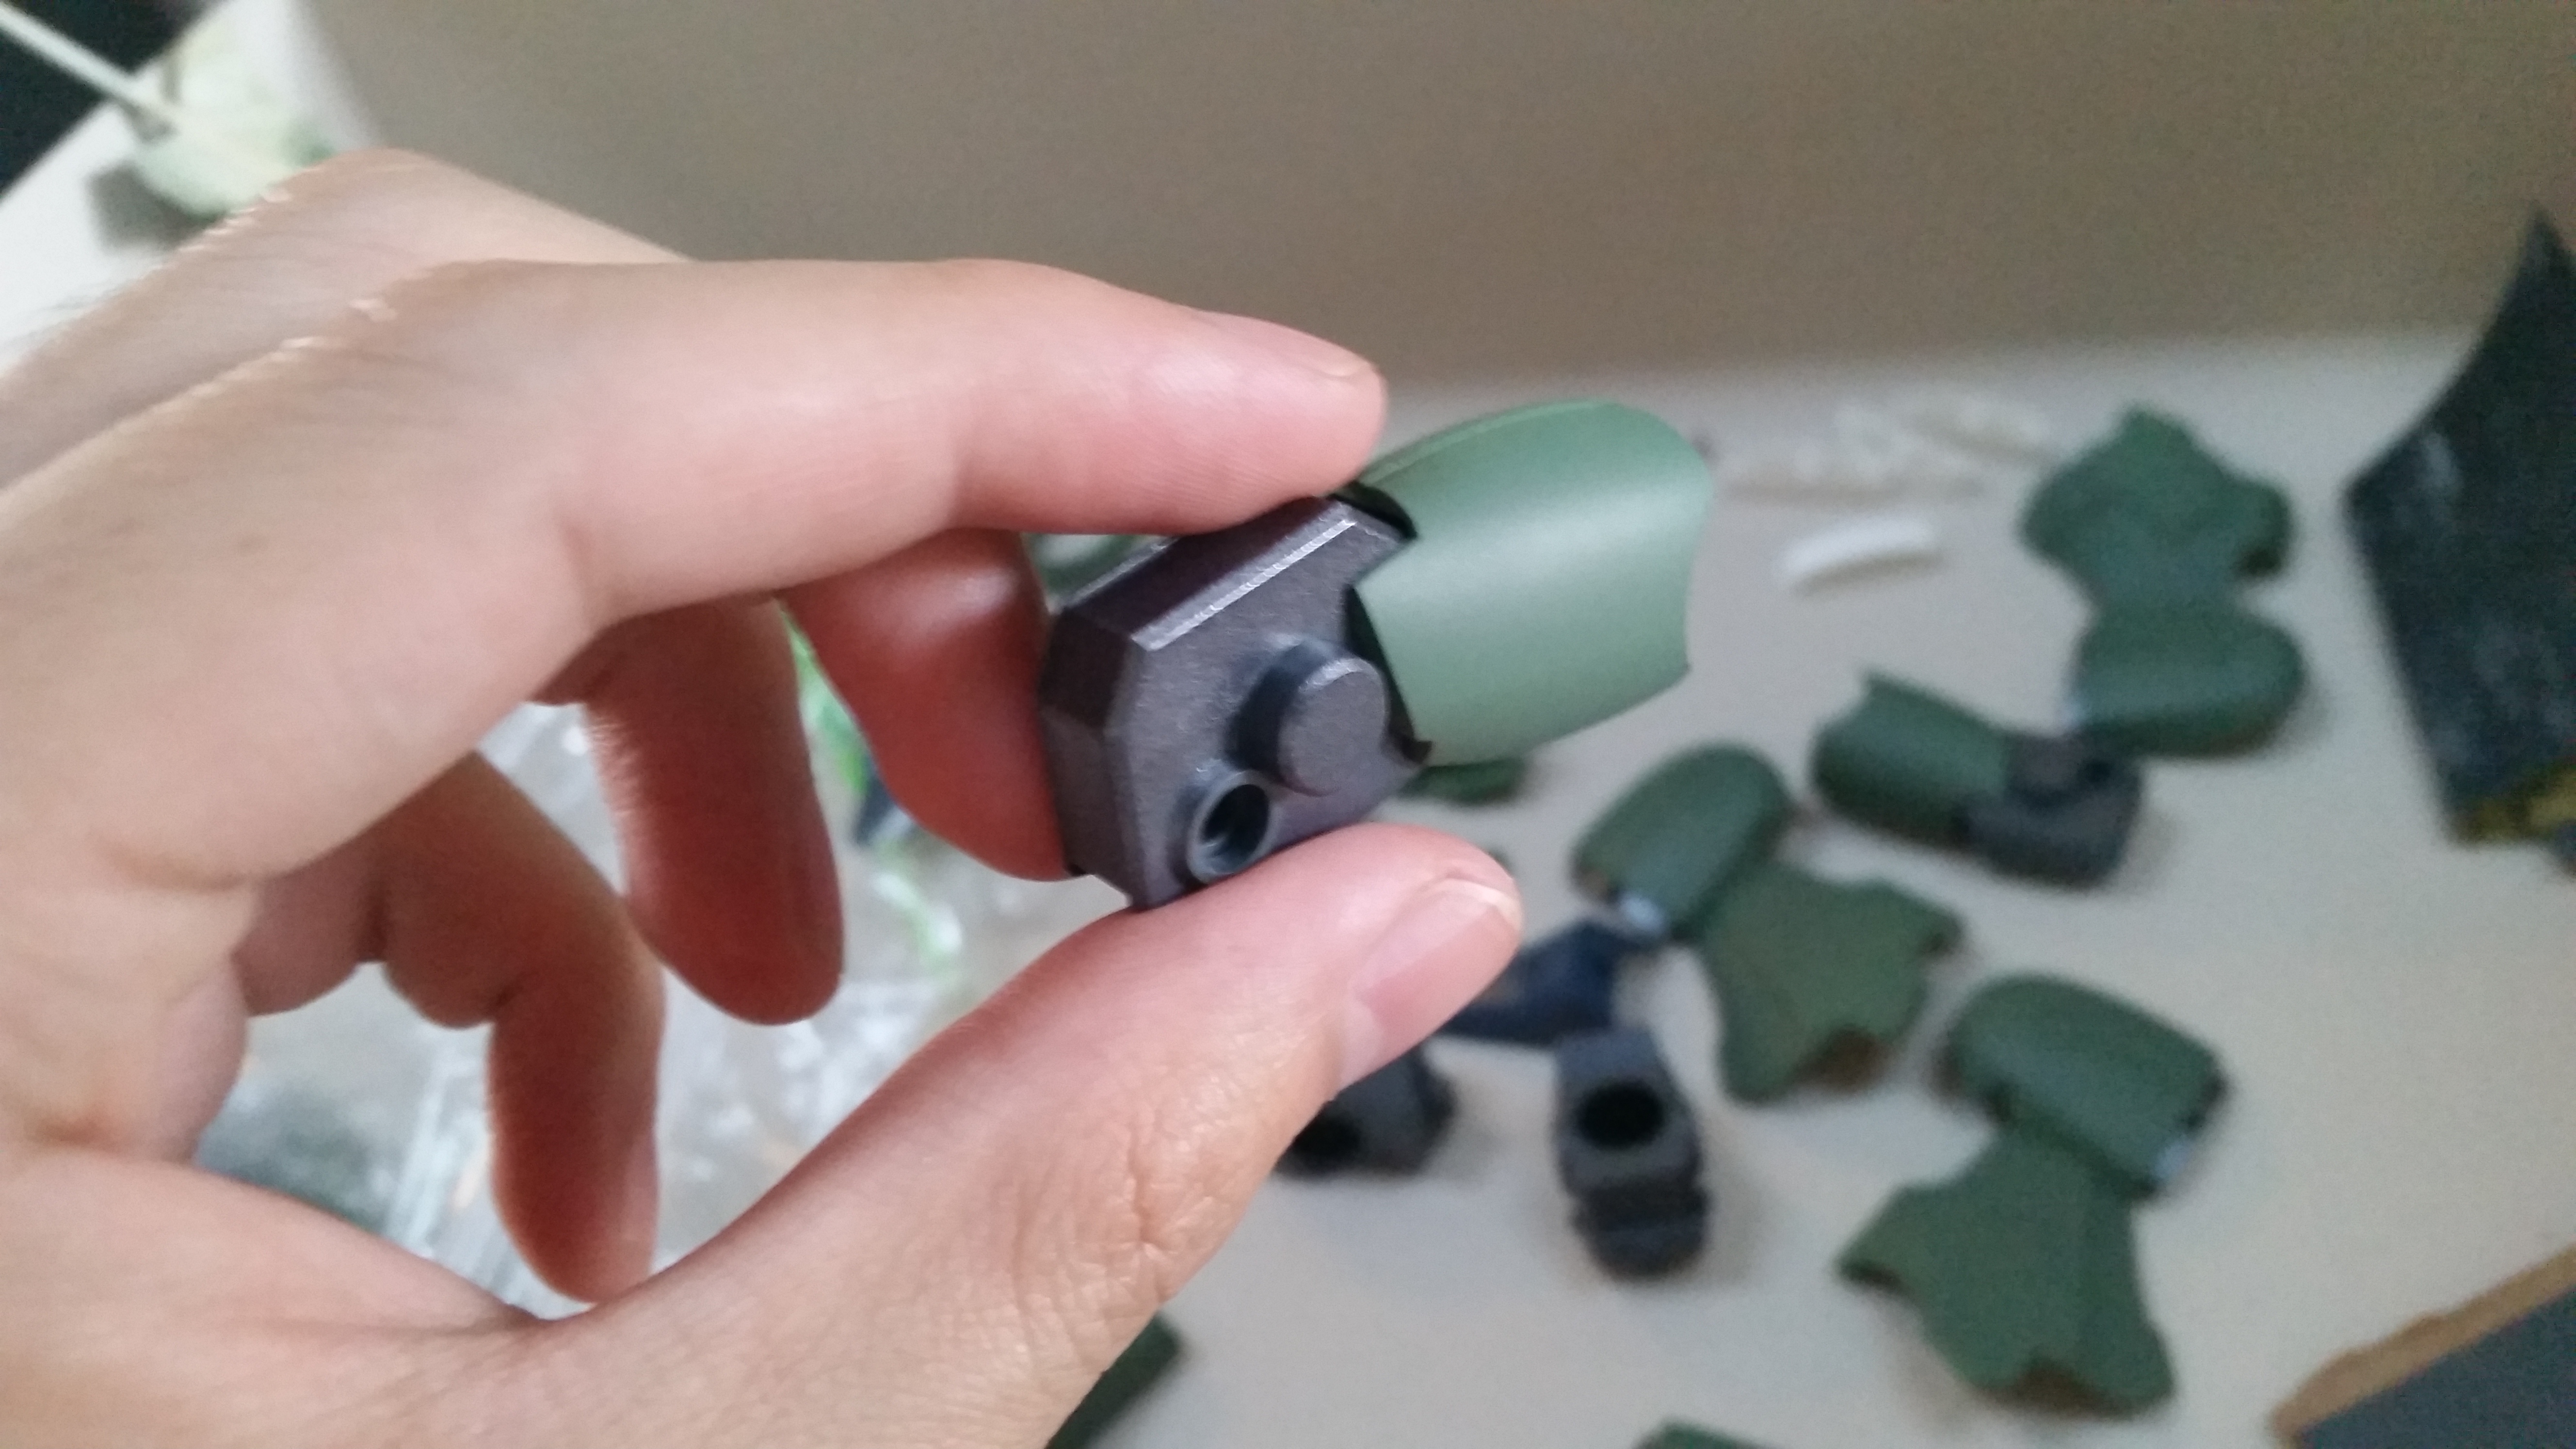
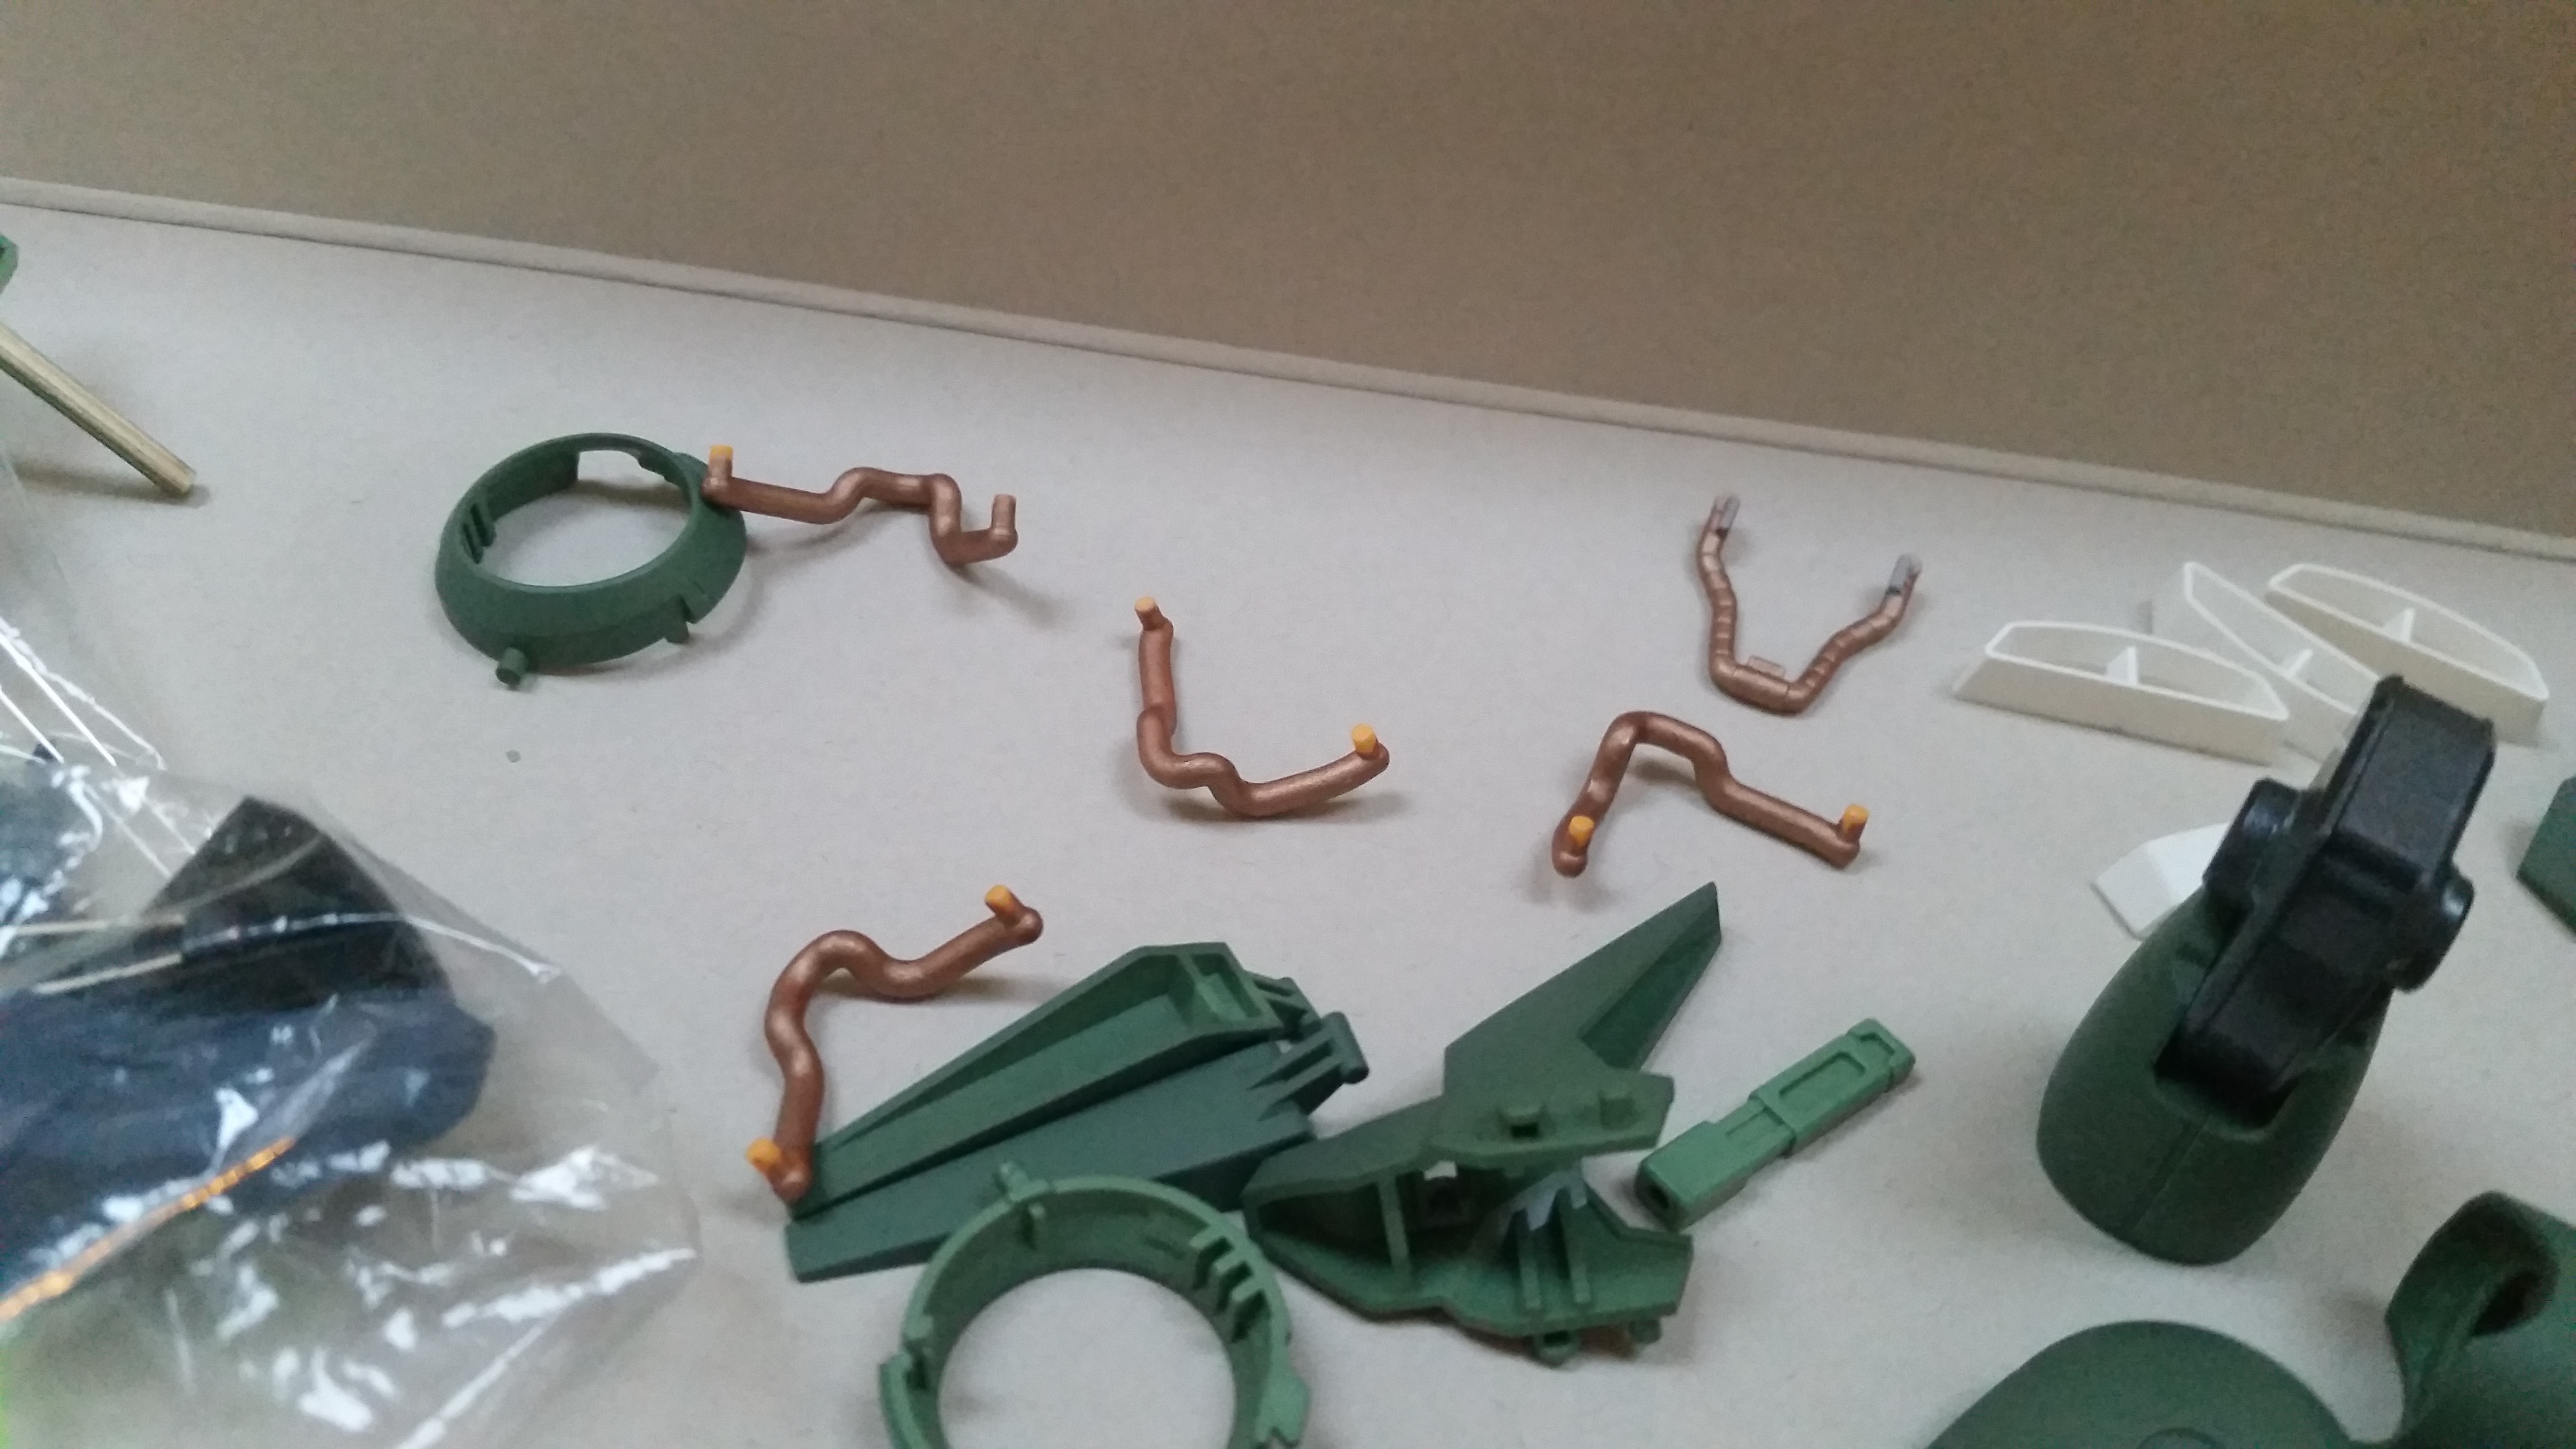
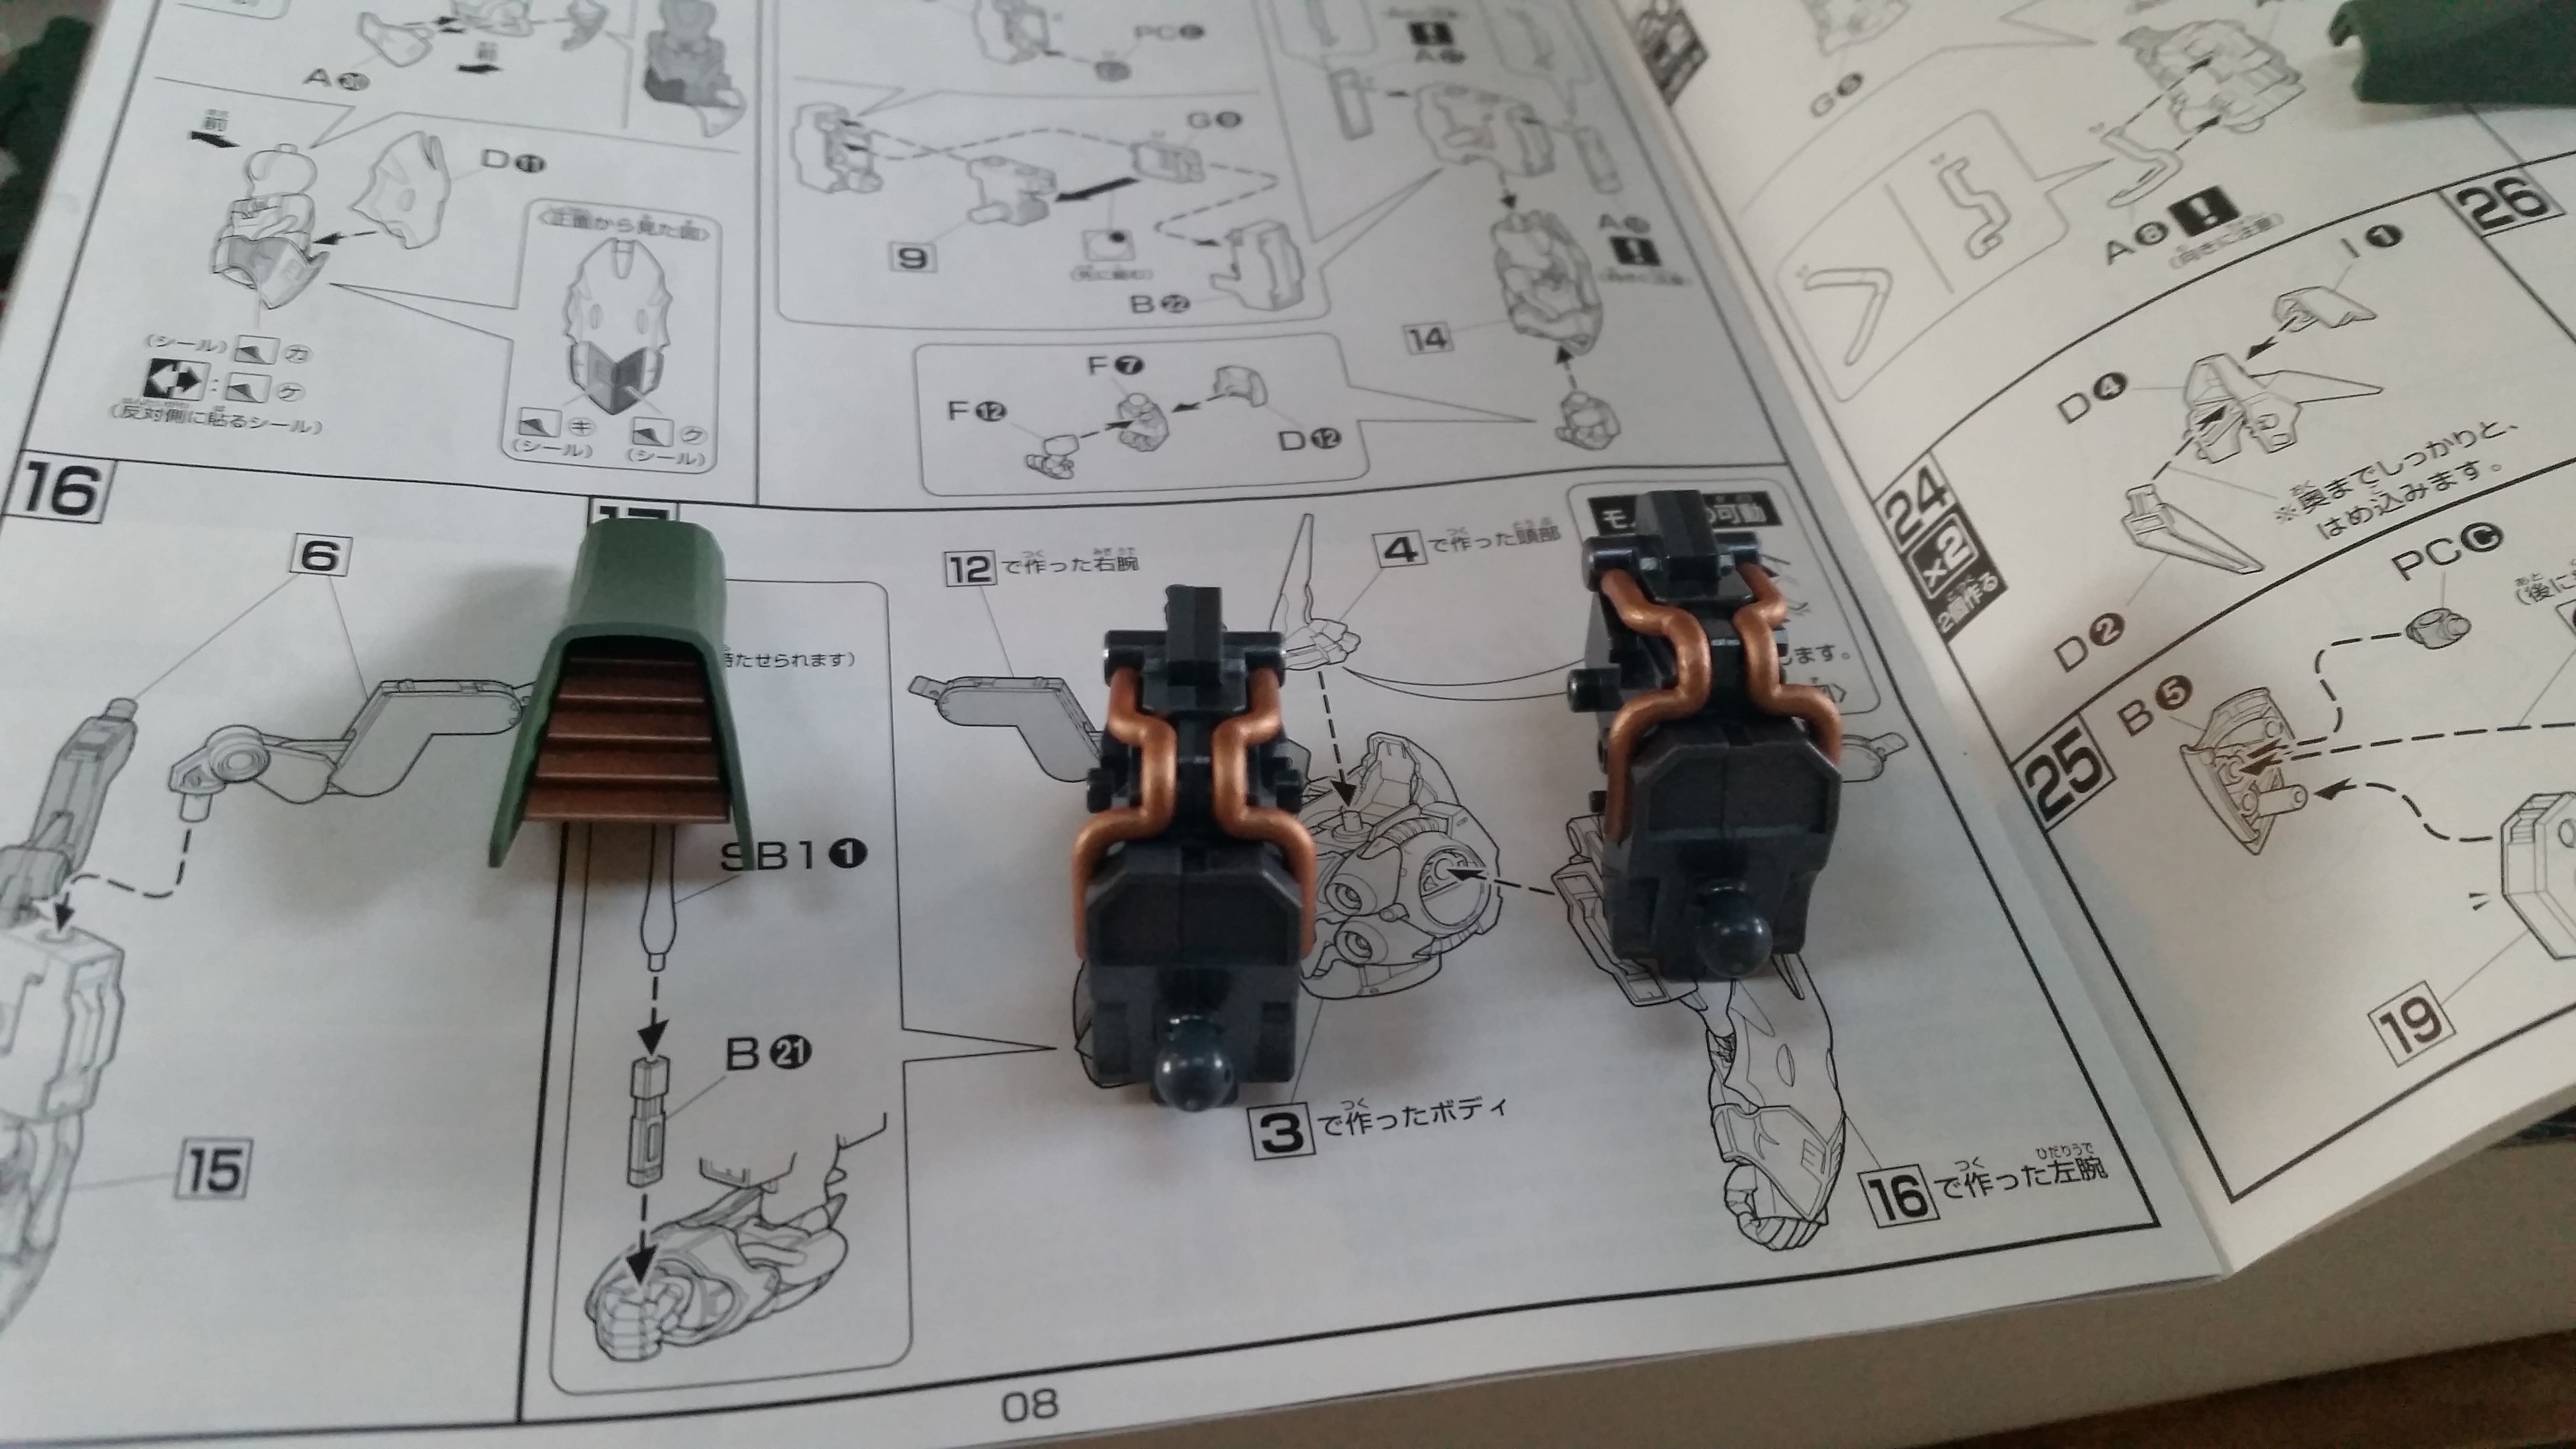
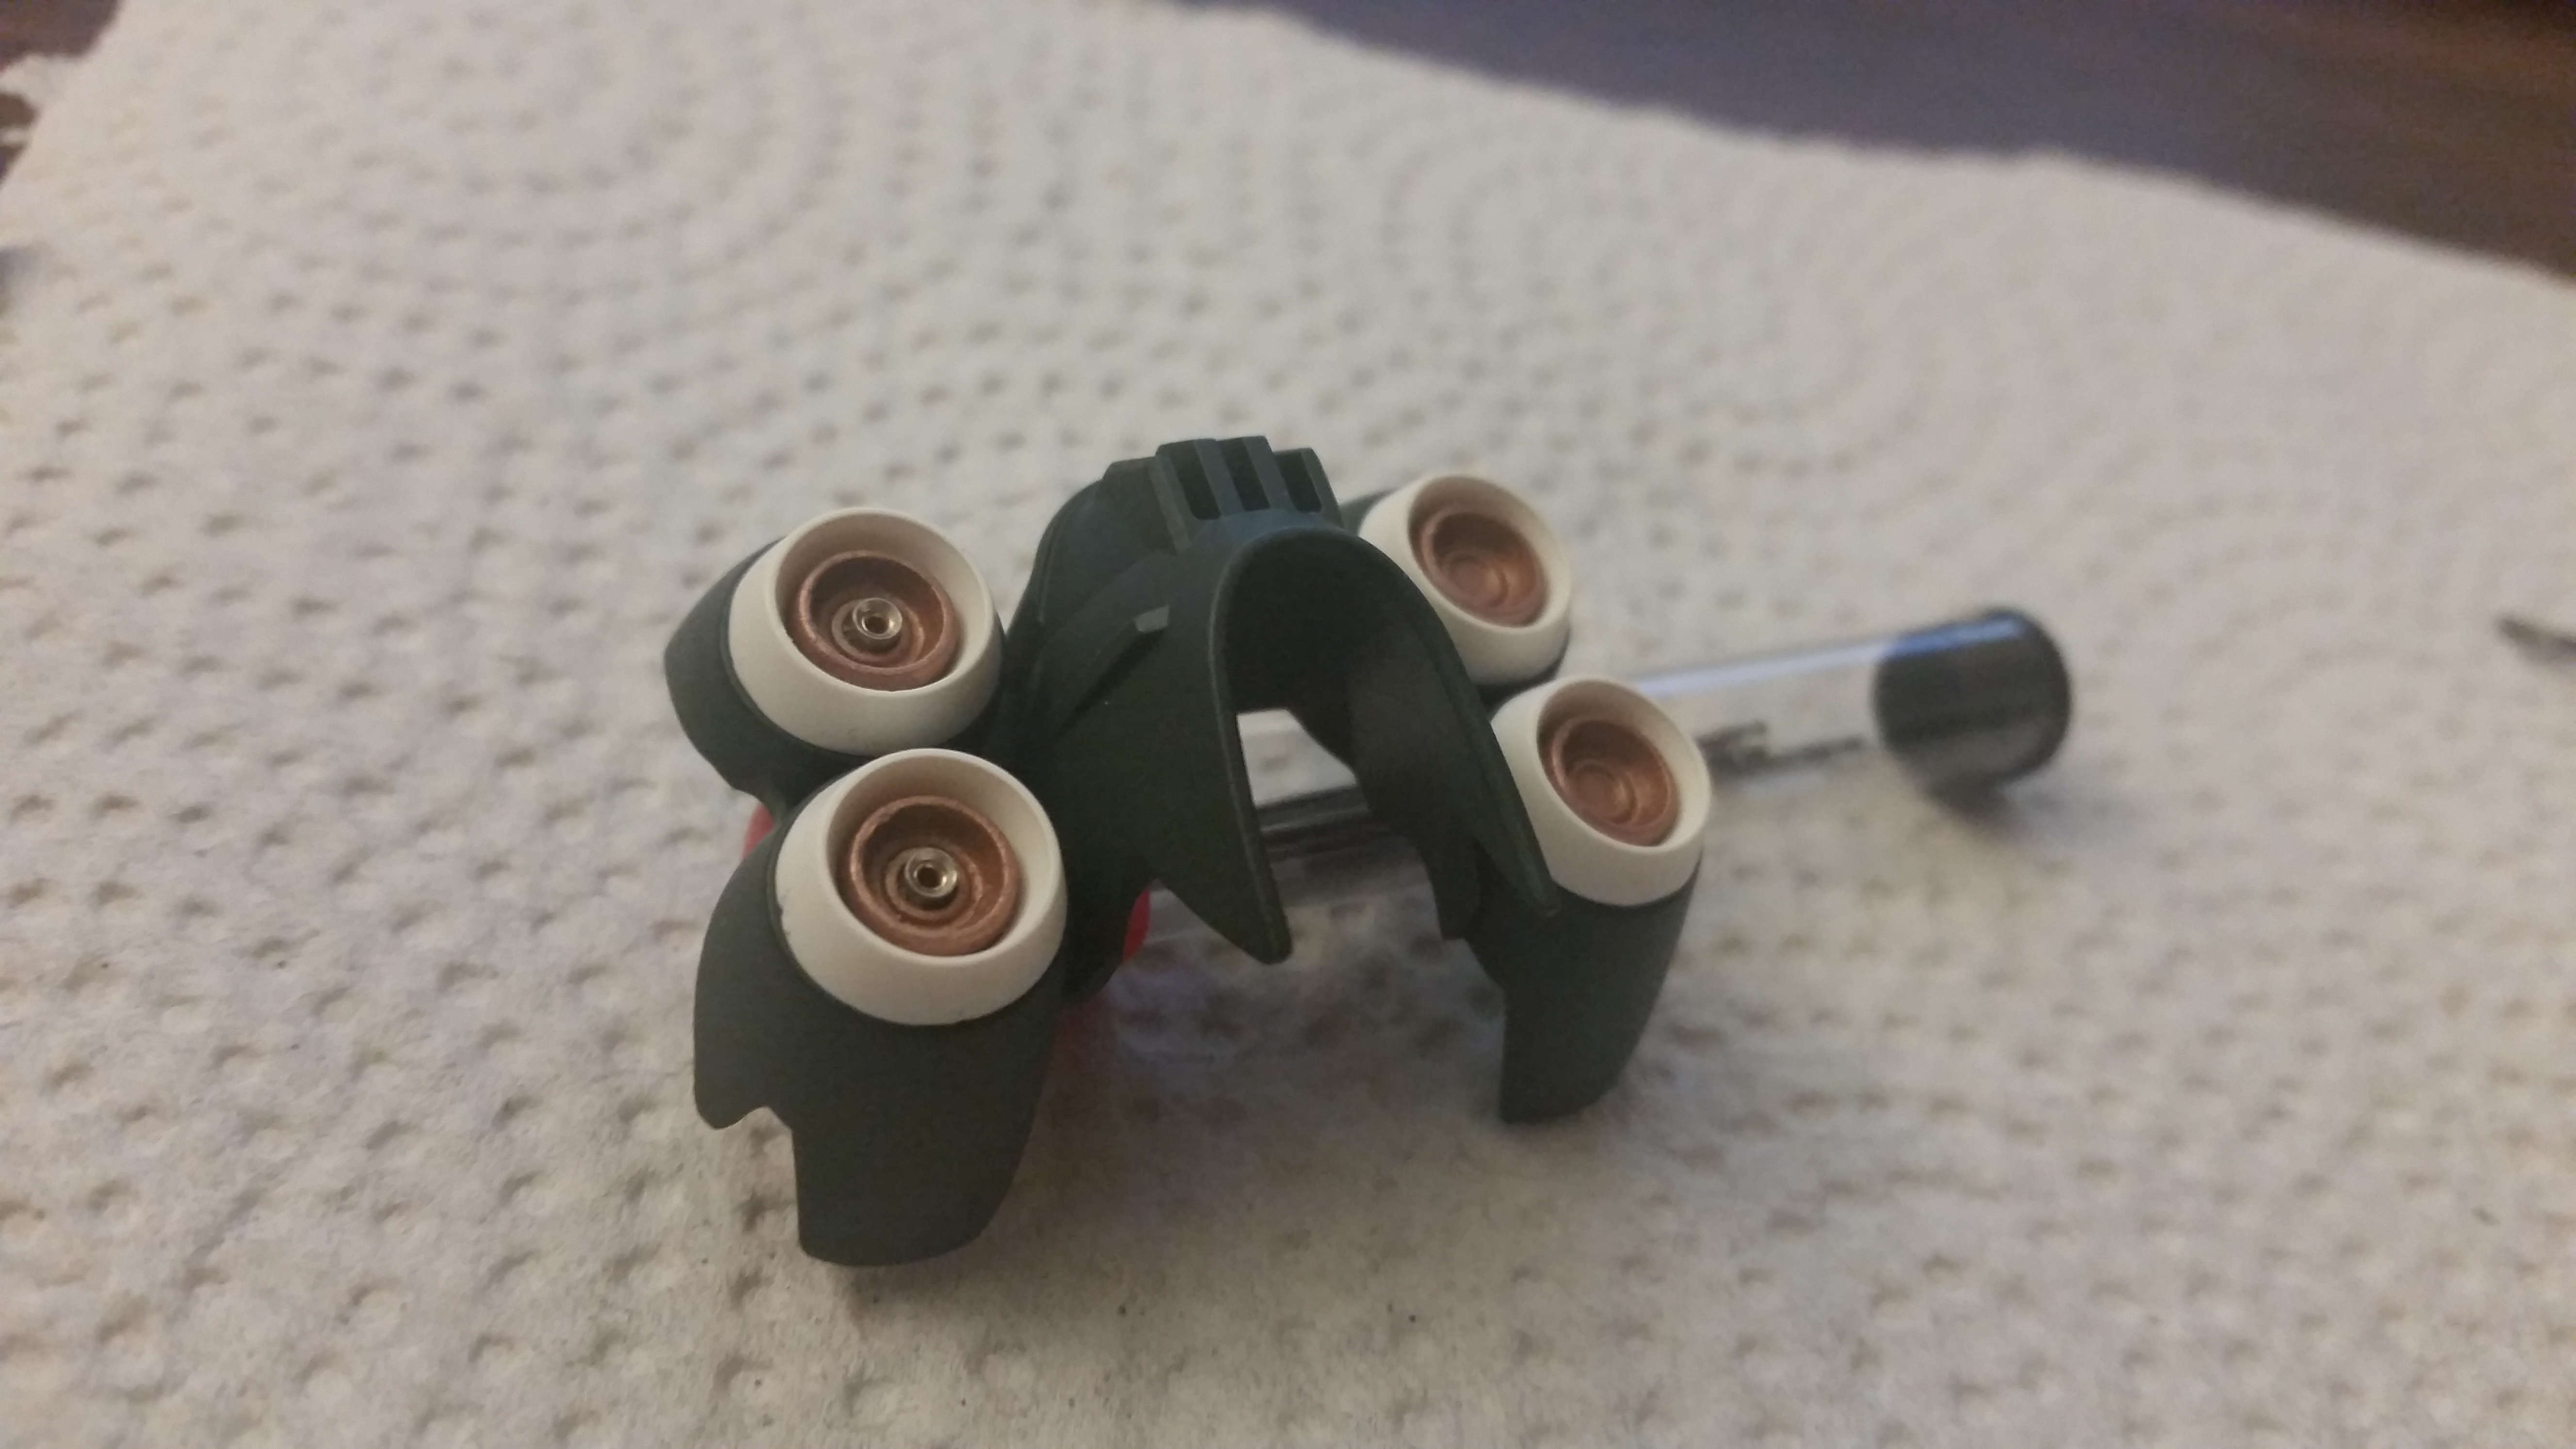
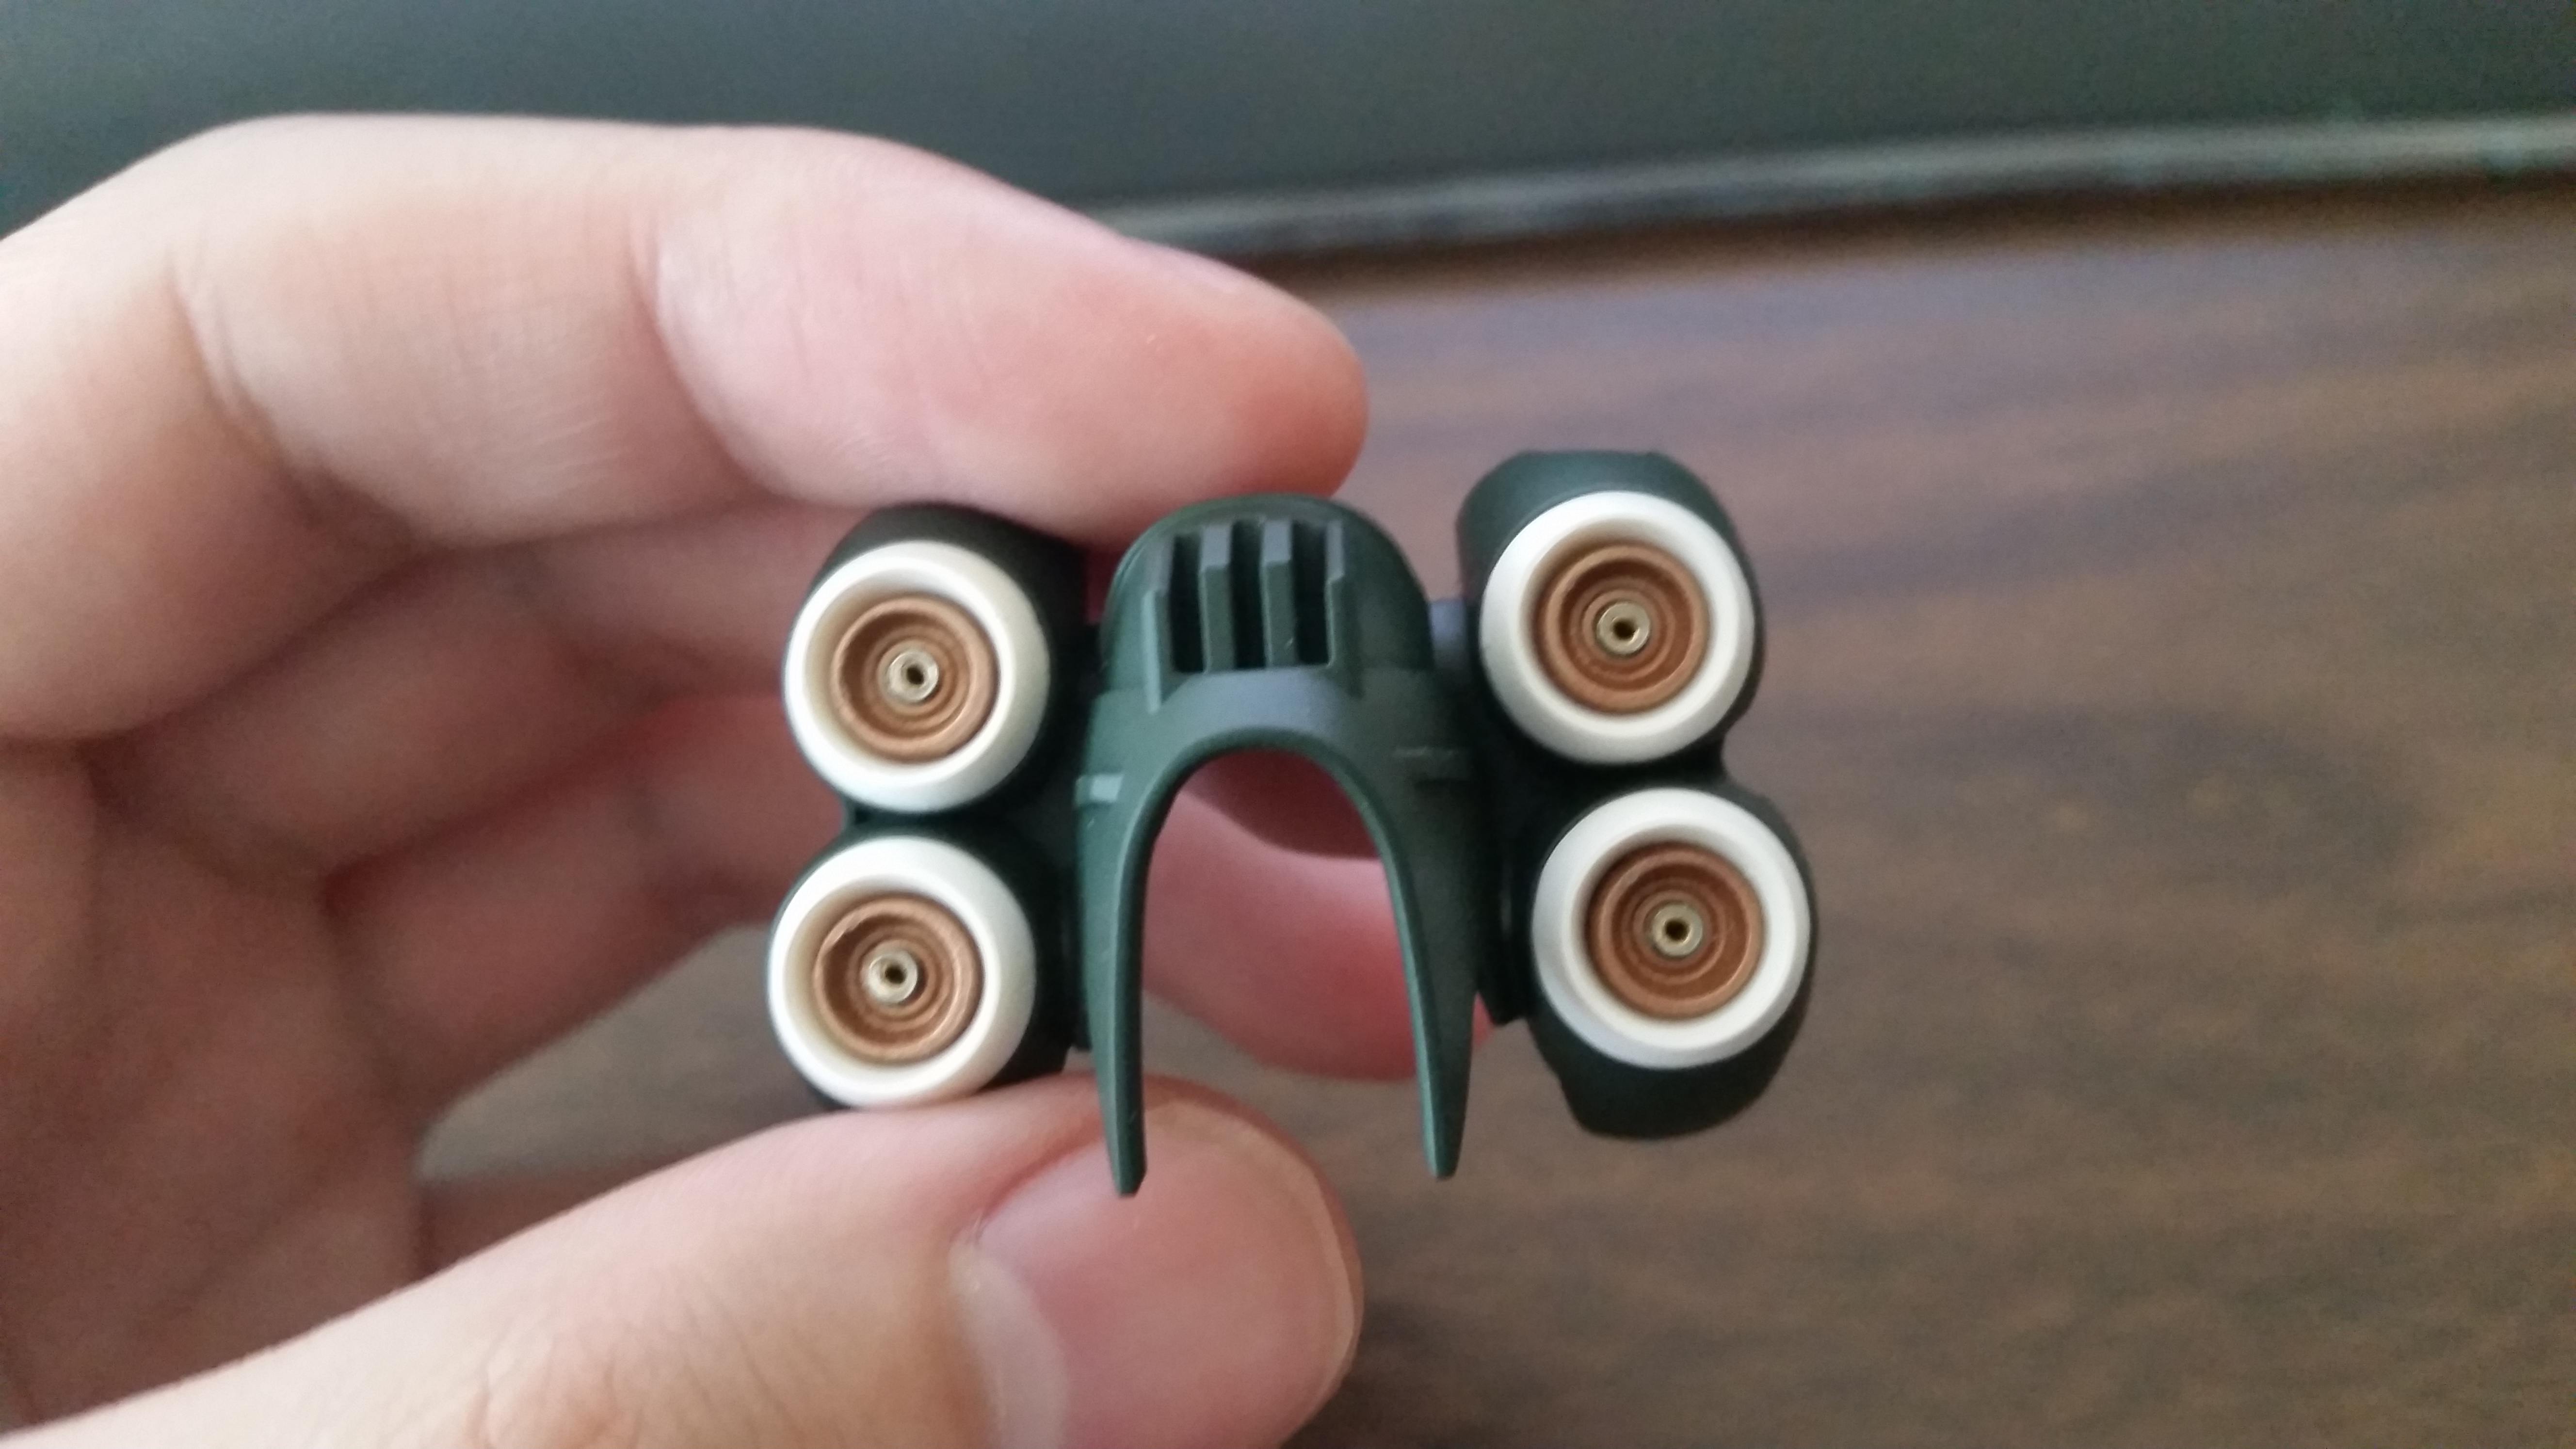
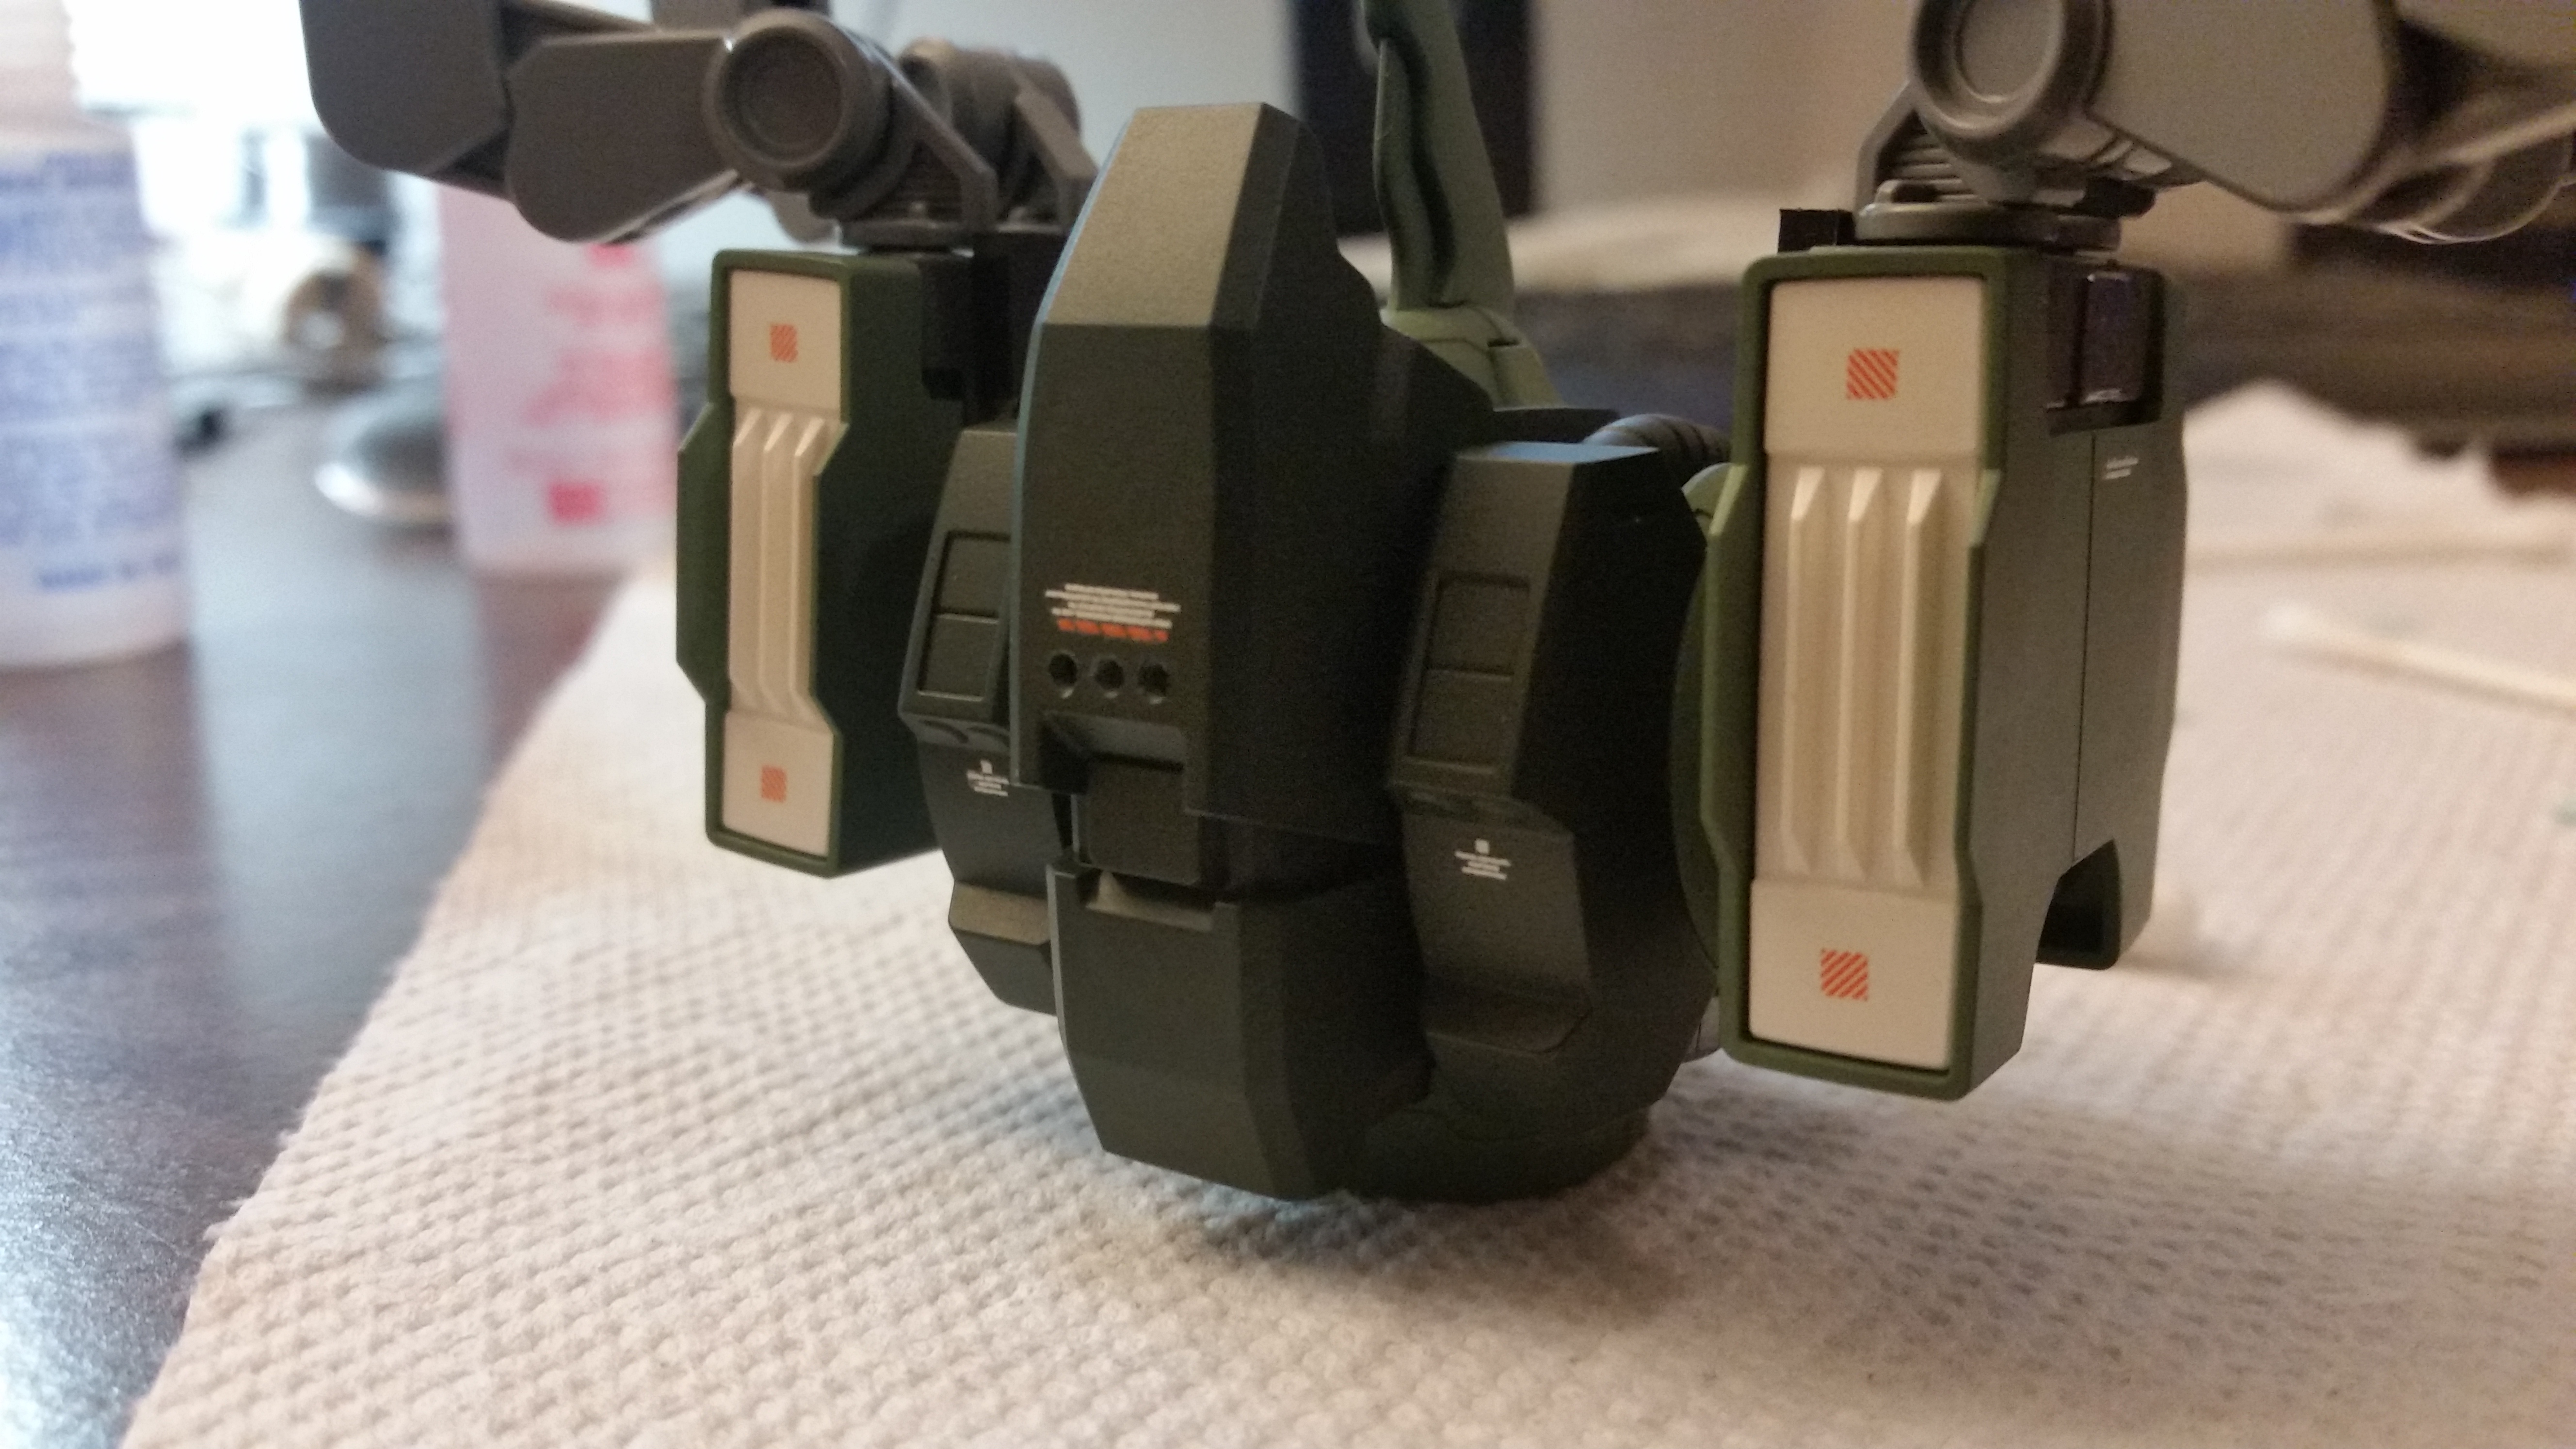
- X33 Bronze (handpaint) - piping, vents, particle cannons
- Enamel Black (Testors) - feet, knees, sleeves, chest
- Matt Topcoat (Testors) - everything
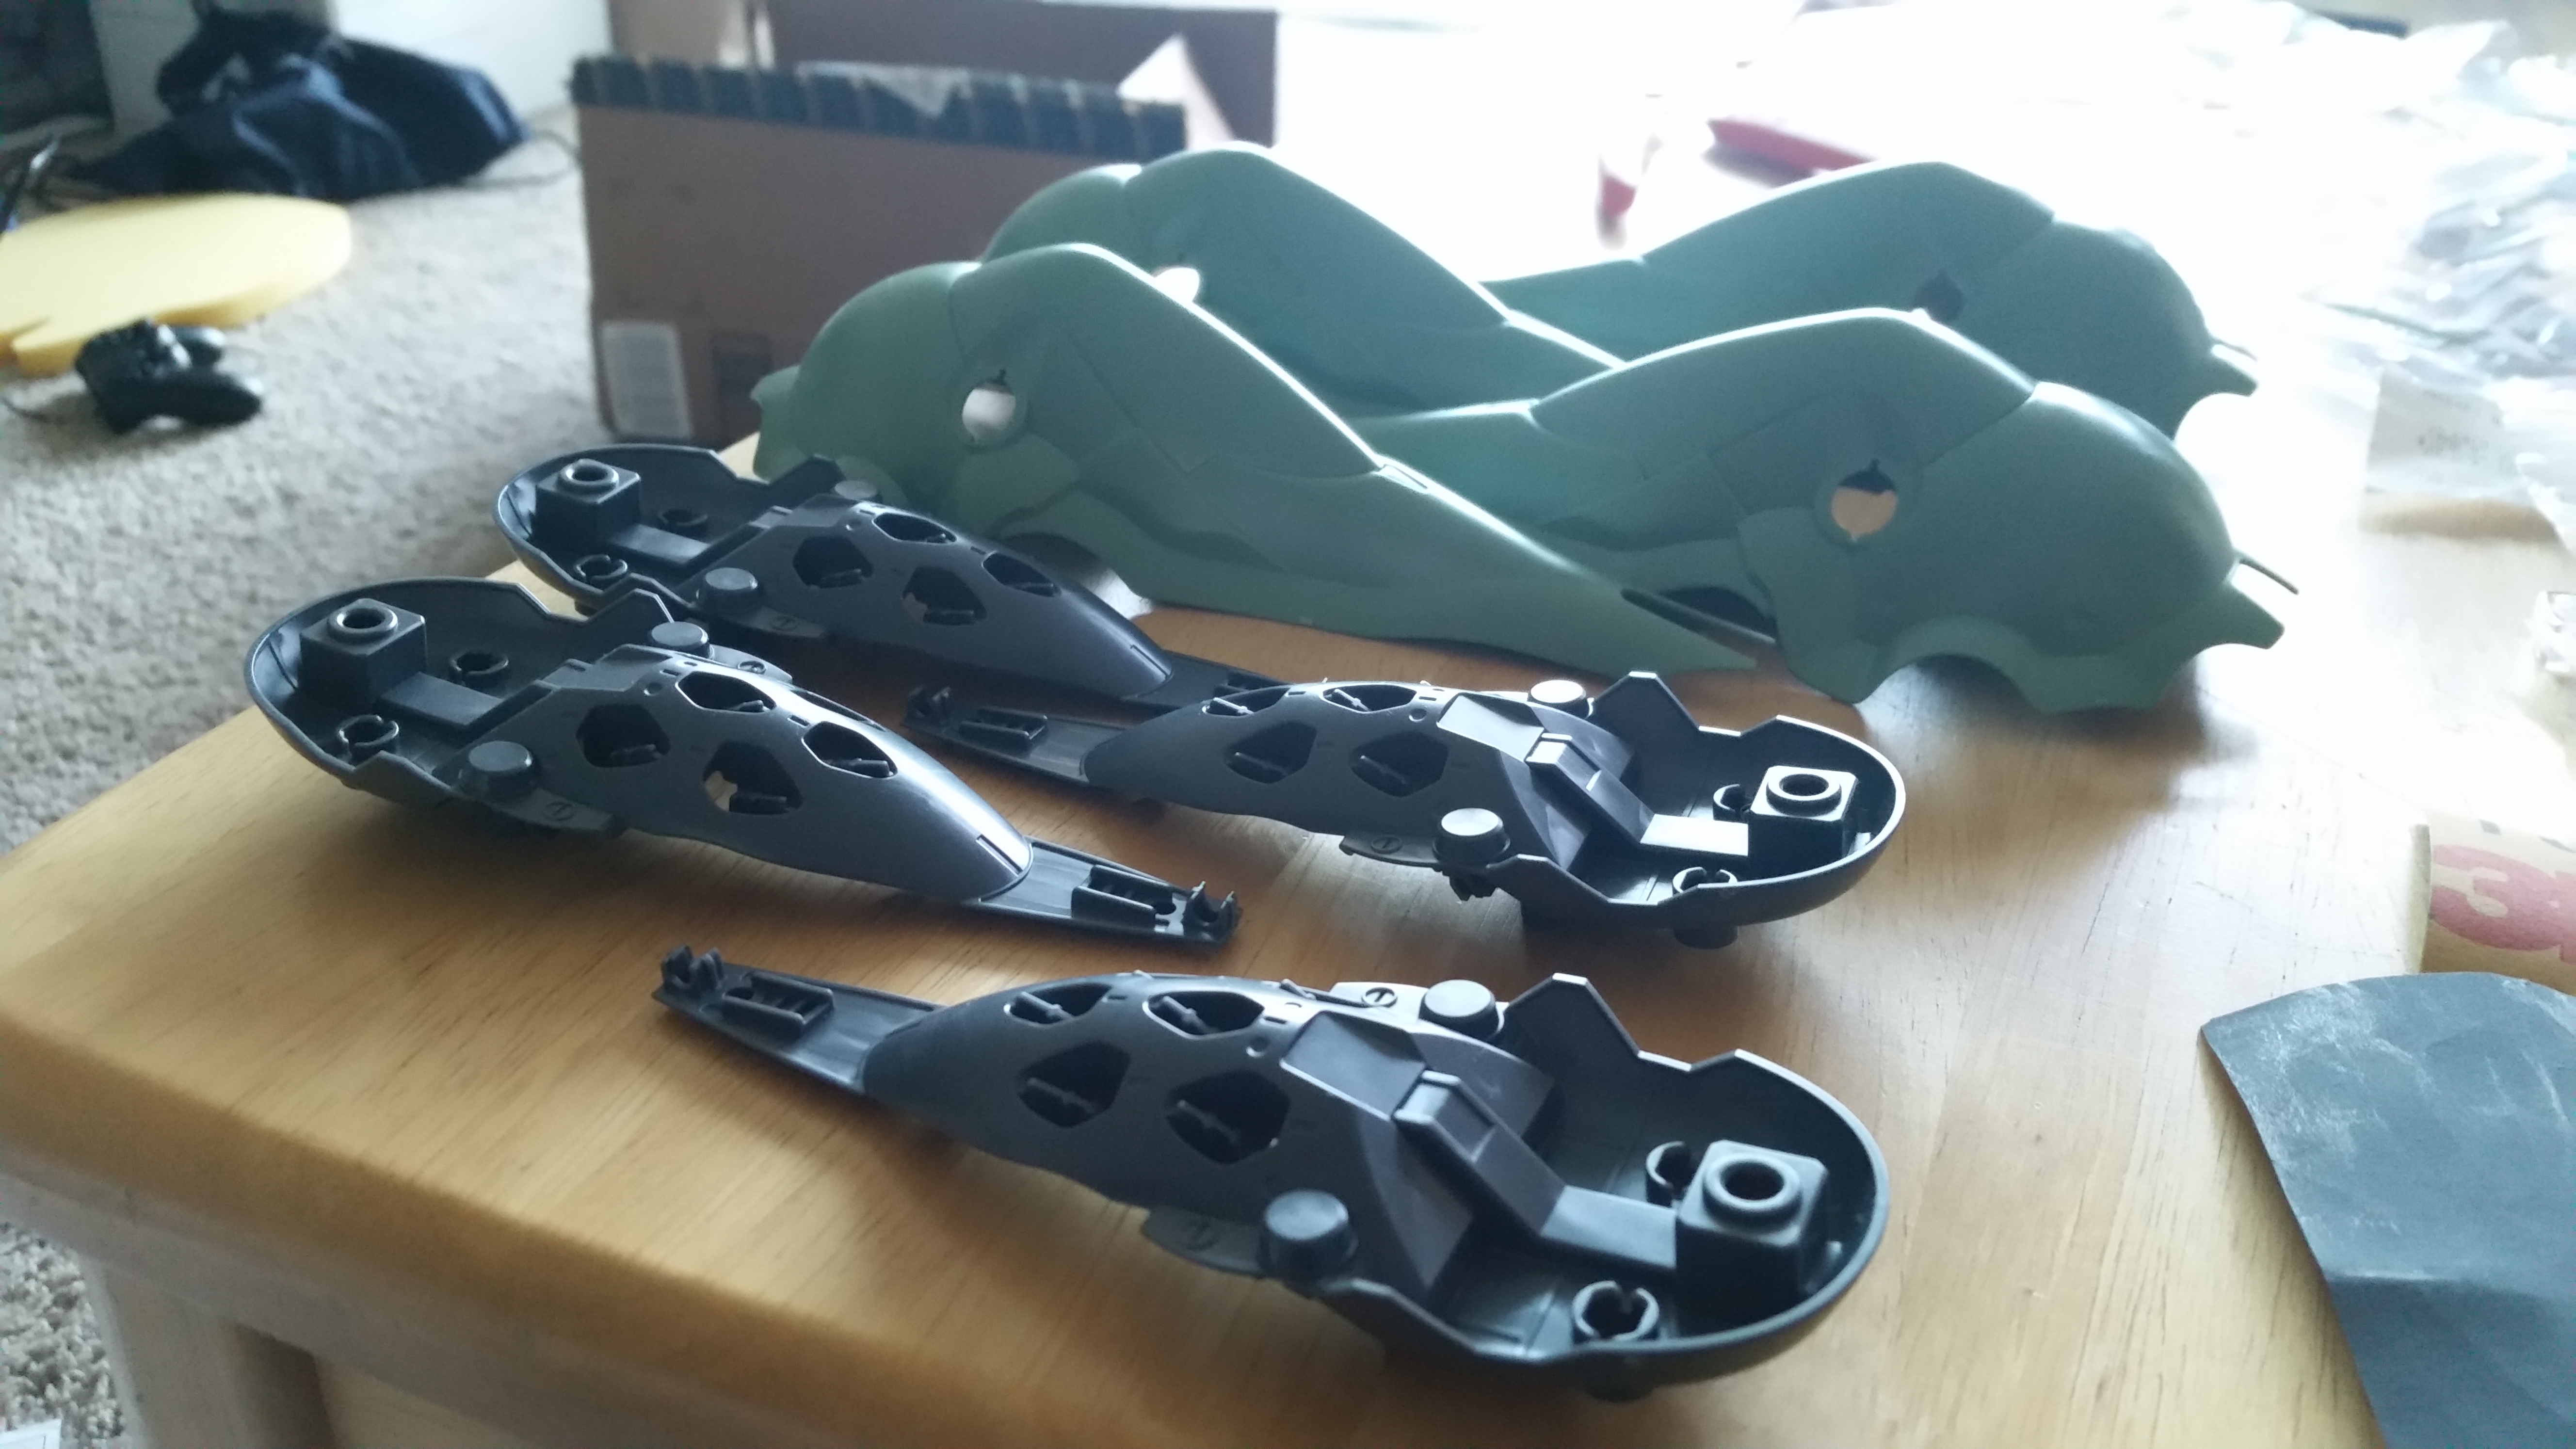
It took me a couple tries to find a base green color that I liked - I originally overlooked “Field Gray” simply due to the name.
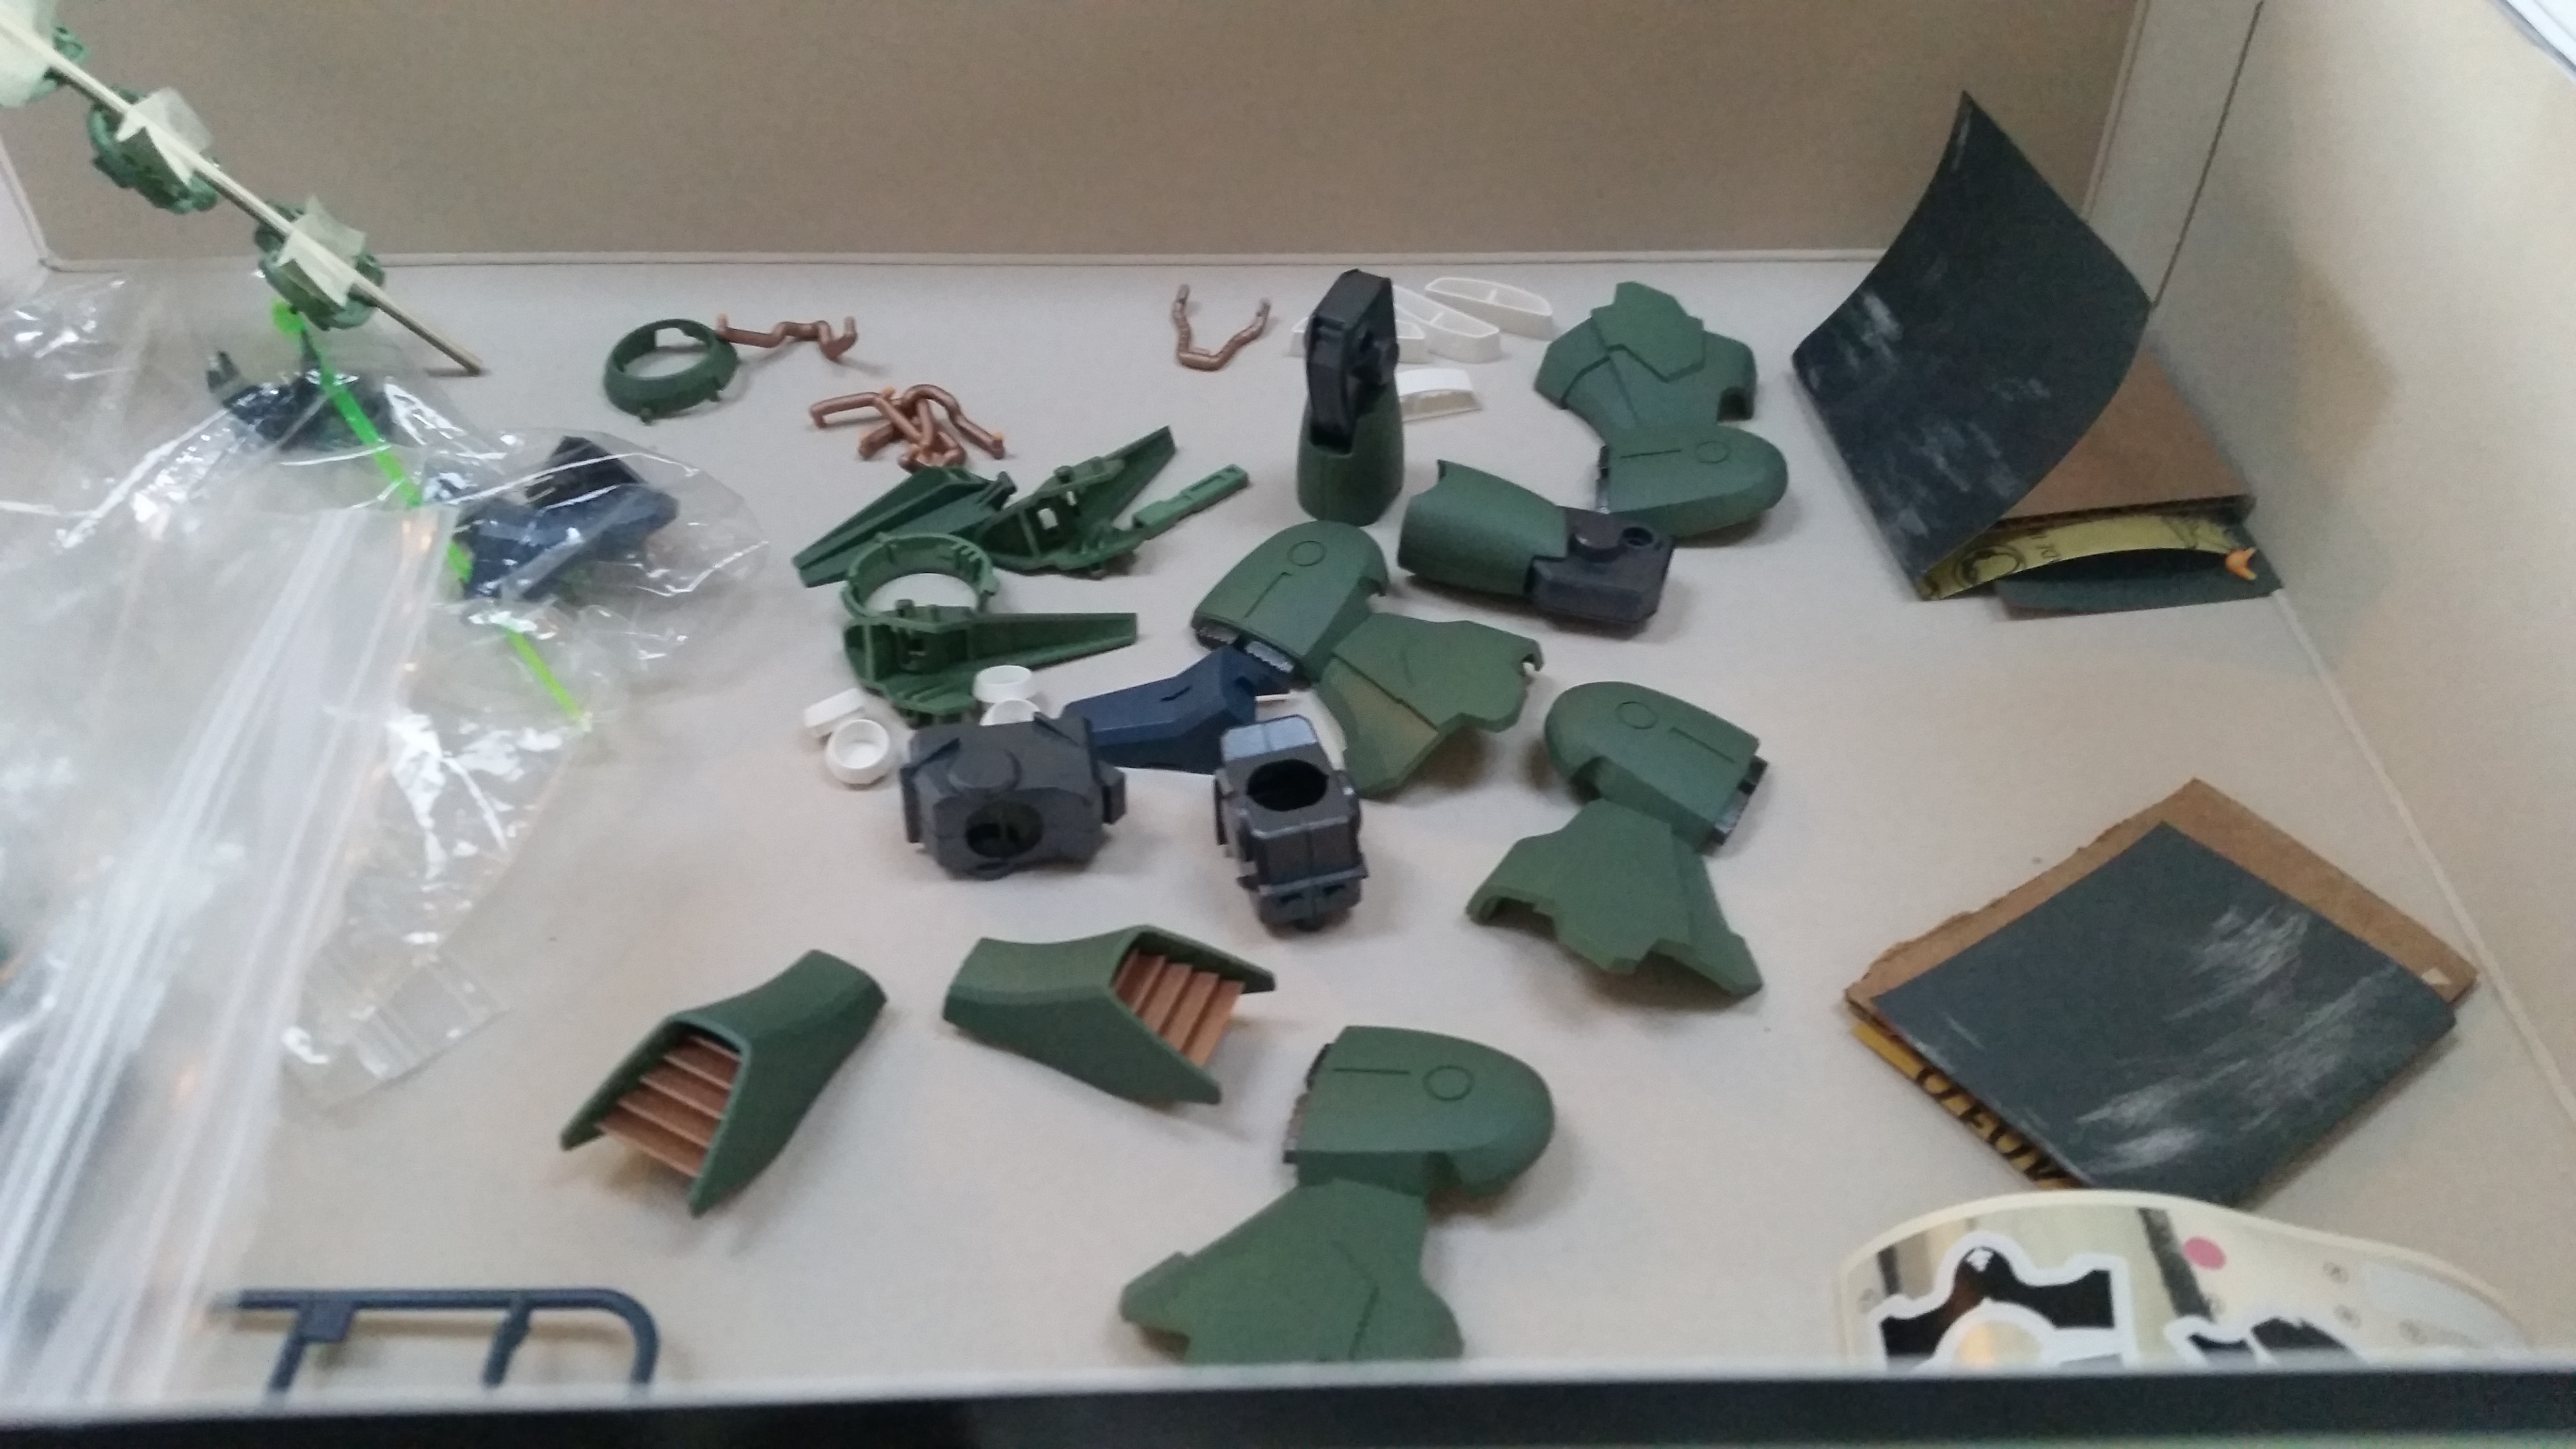
Painting the embossed white on black parts on the chest and arms was the most tricky. The kit comes with stickers for these areas, but that obviously doesn’t look great. Instead, I used the reverse wash technique. First, I spray-painted the pieces white and let them dry (note: this required an initial coat of primer to cover up the black plastic). Then, I hand-painted the pieces with black enamel paint. Before this completely dried, I wiped off the enamel from the raised areas using a q-tip dipped in light fluid, revealing the white below. It was a bit complicated, but I think it turned out pretty well.
LEDs
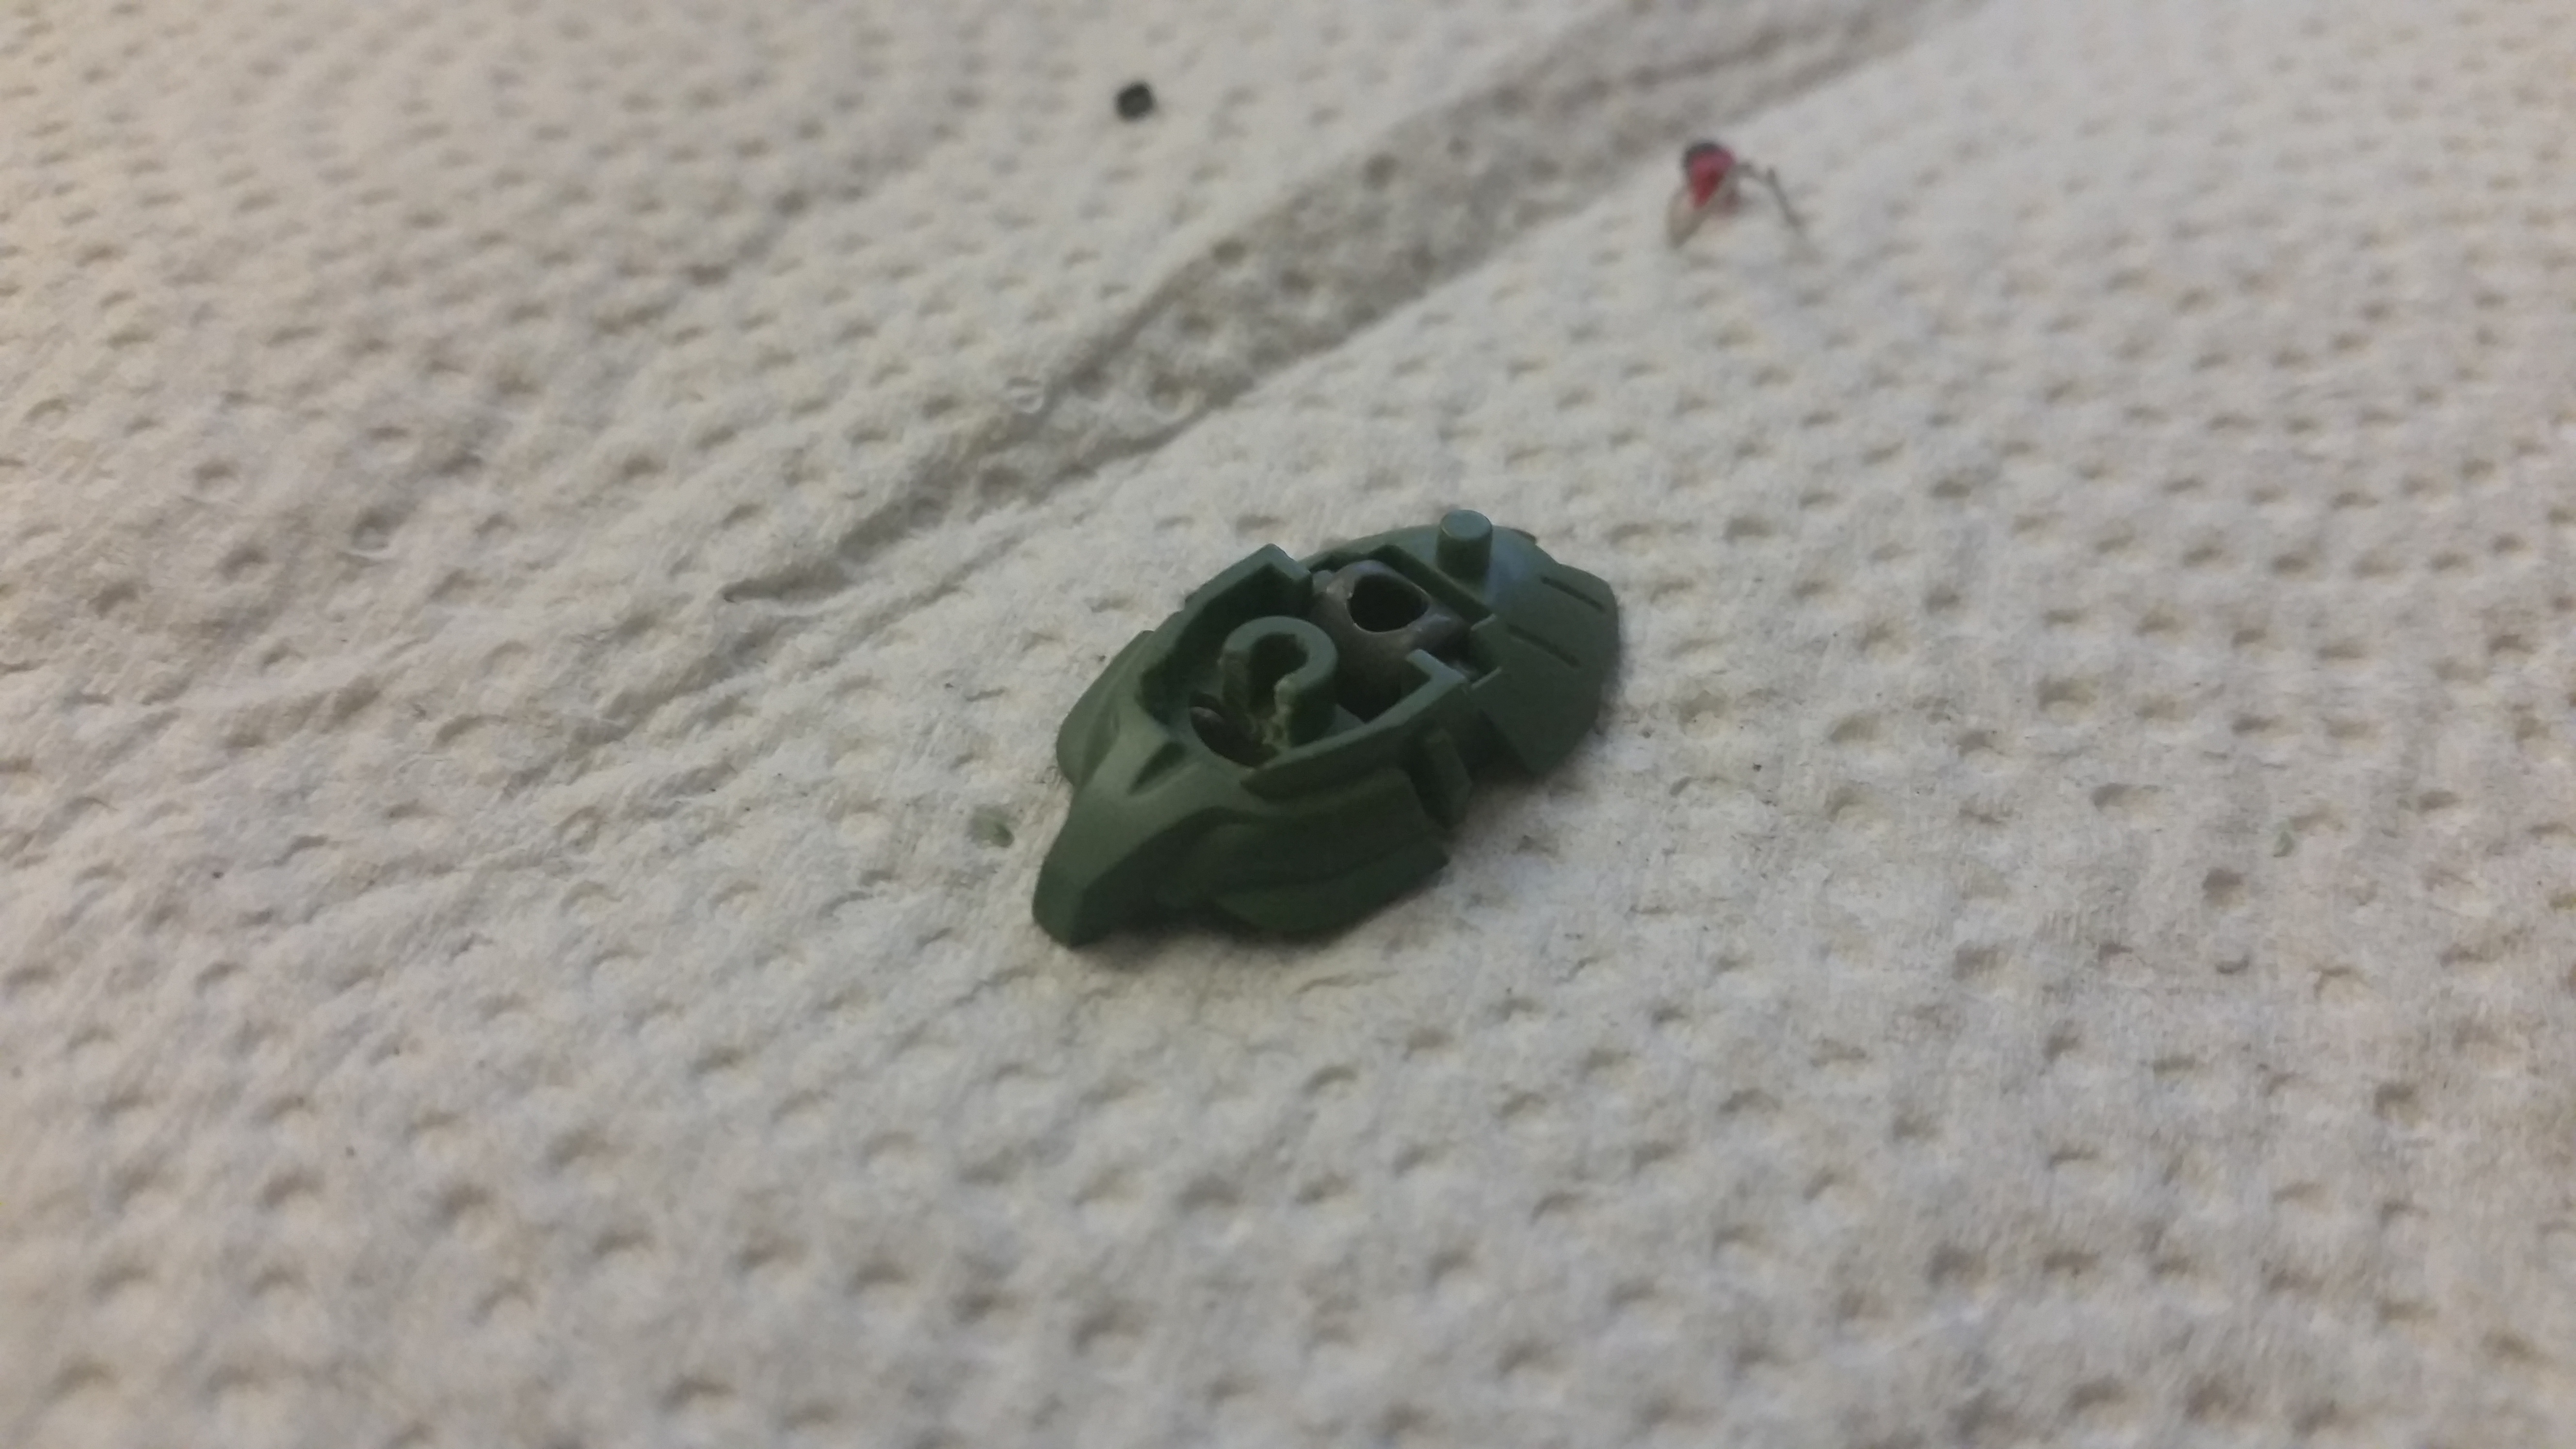
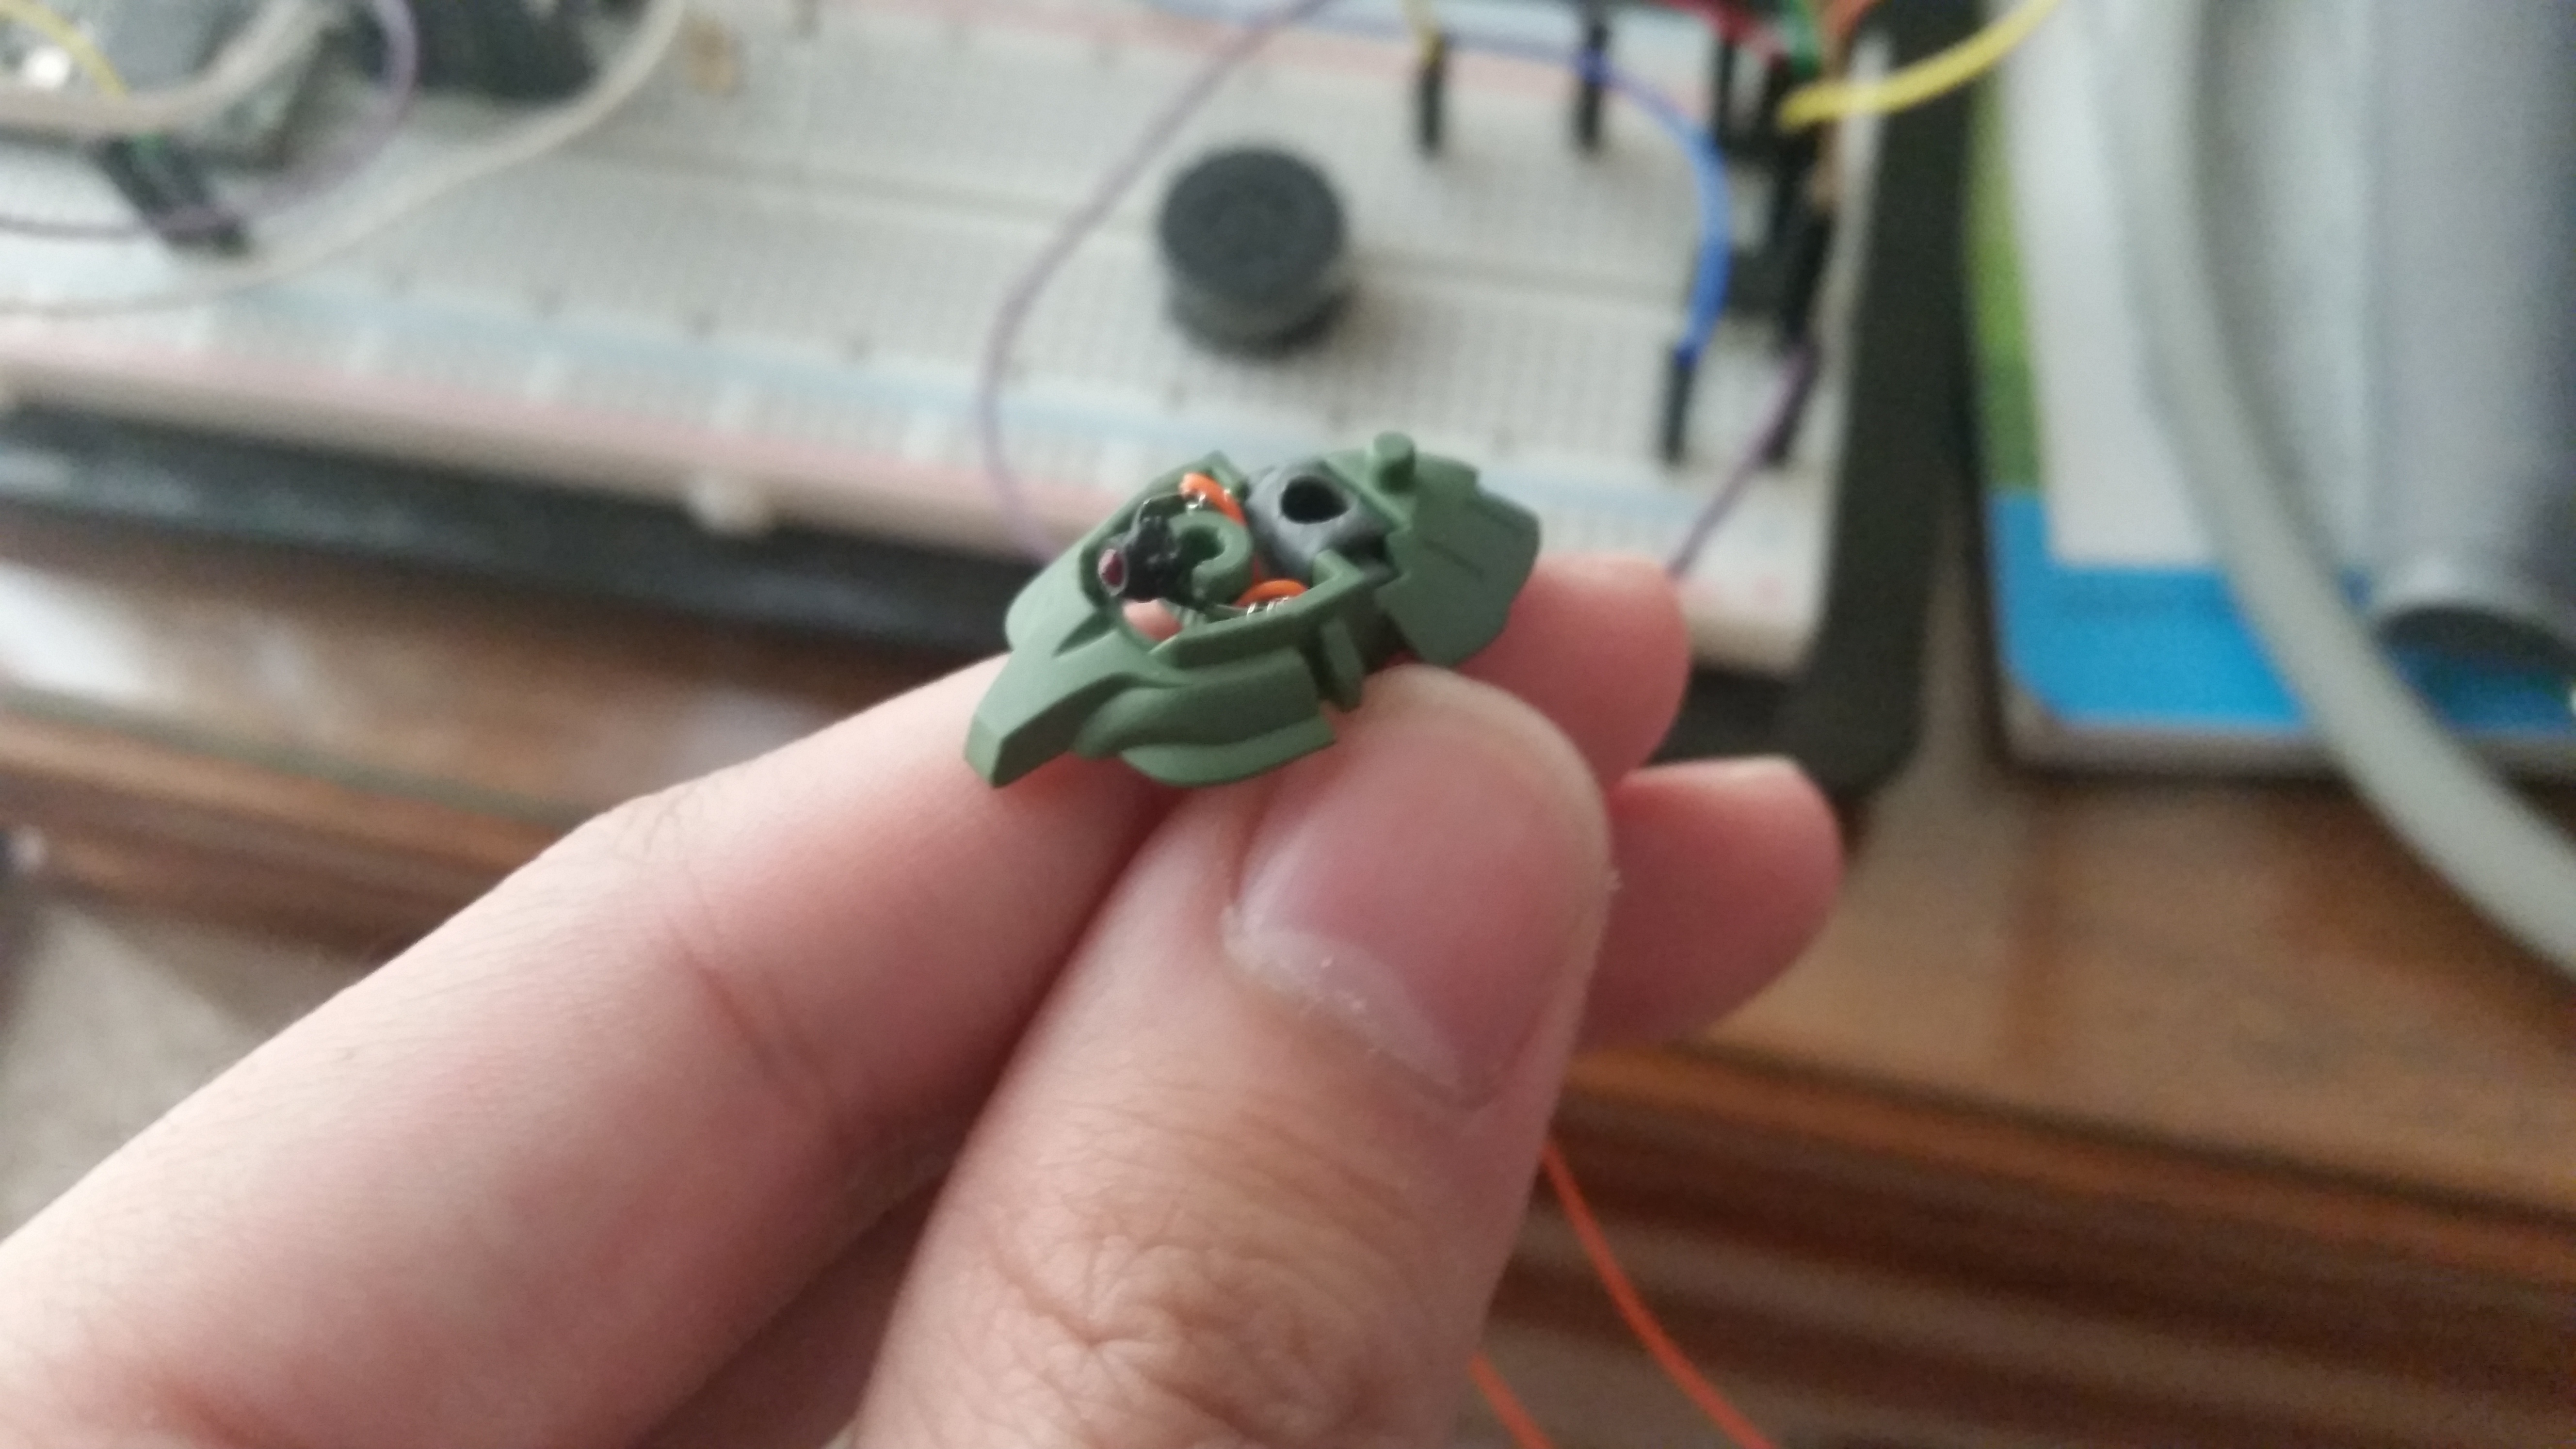
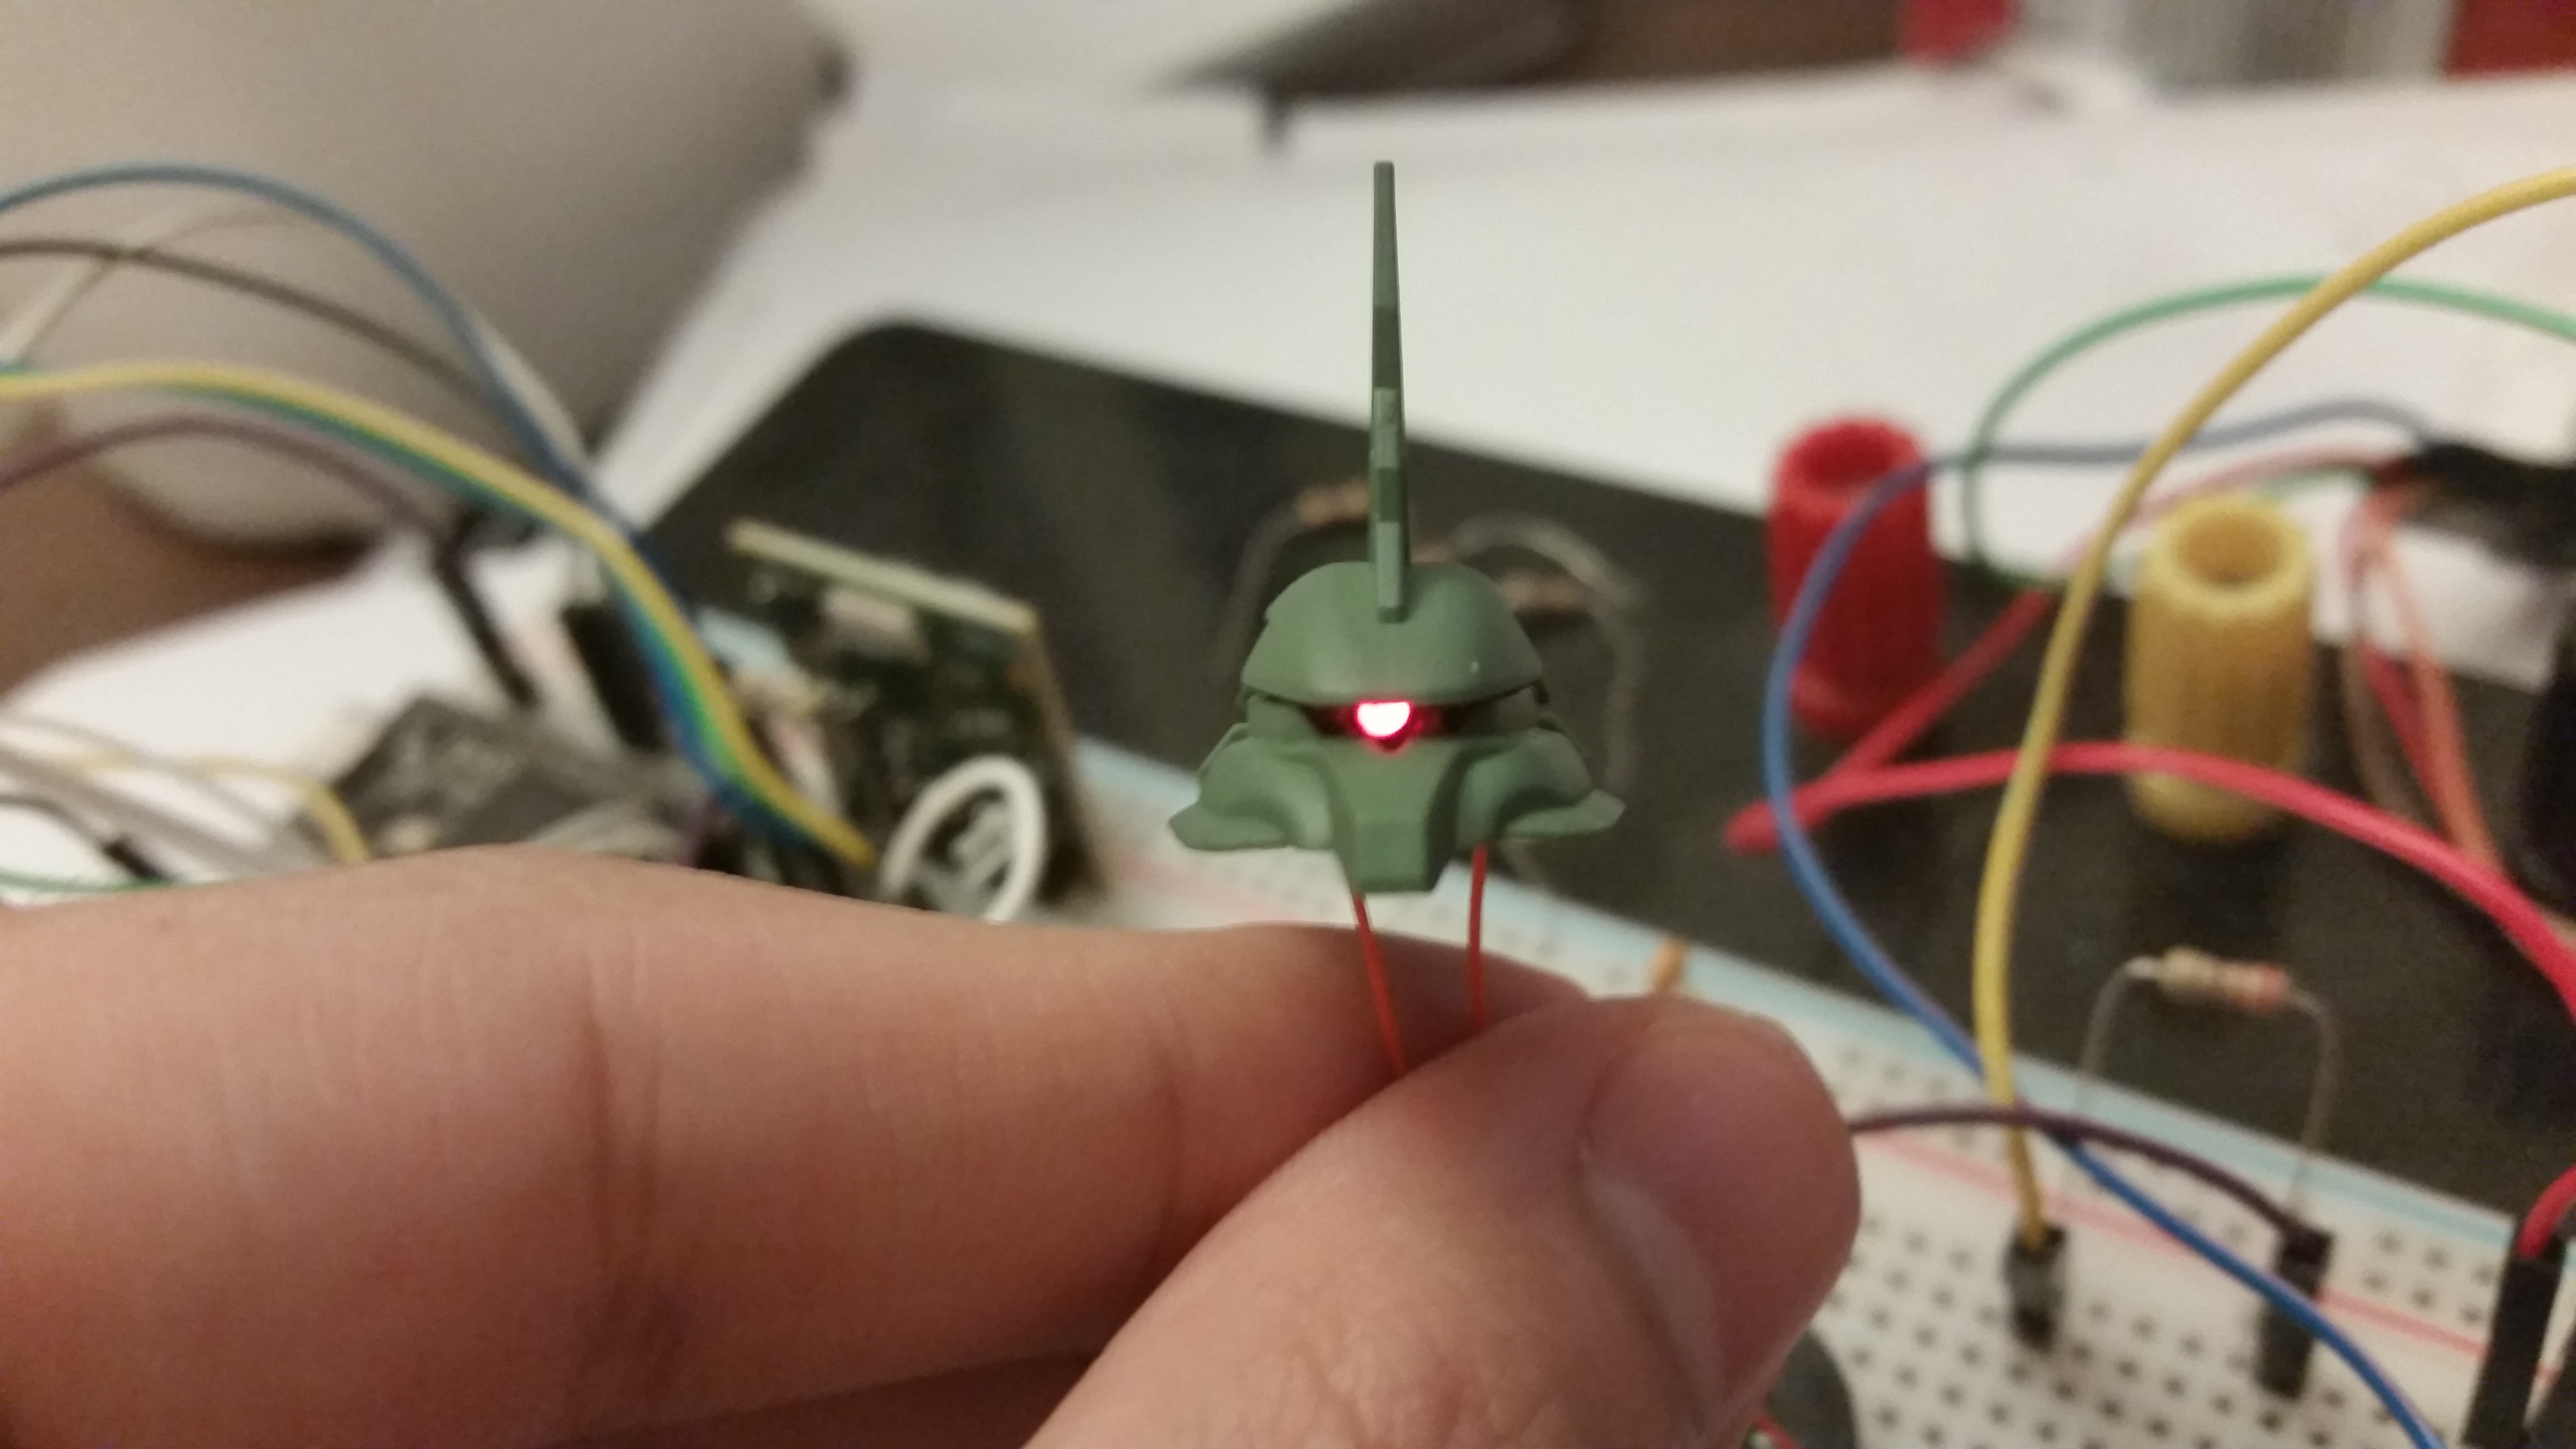
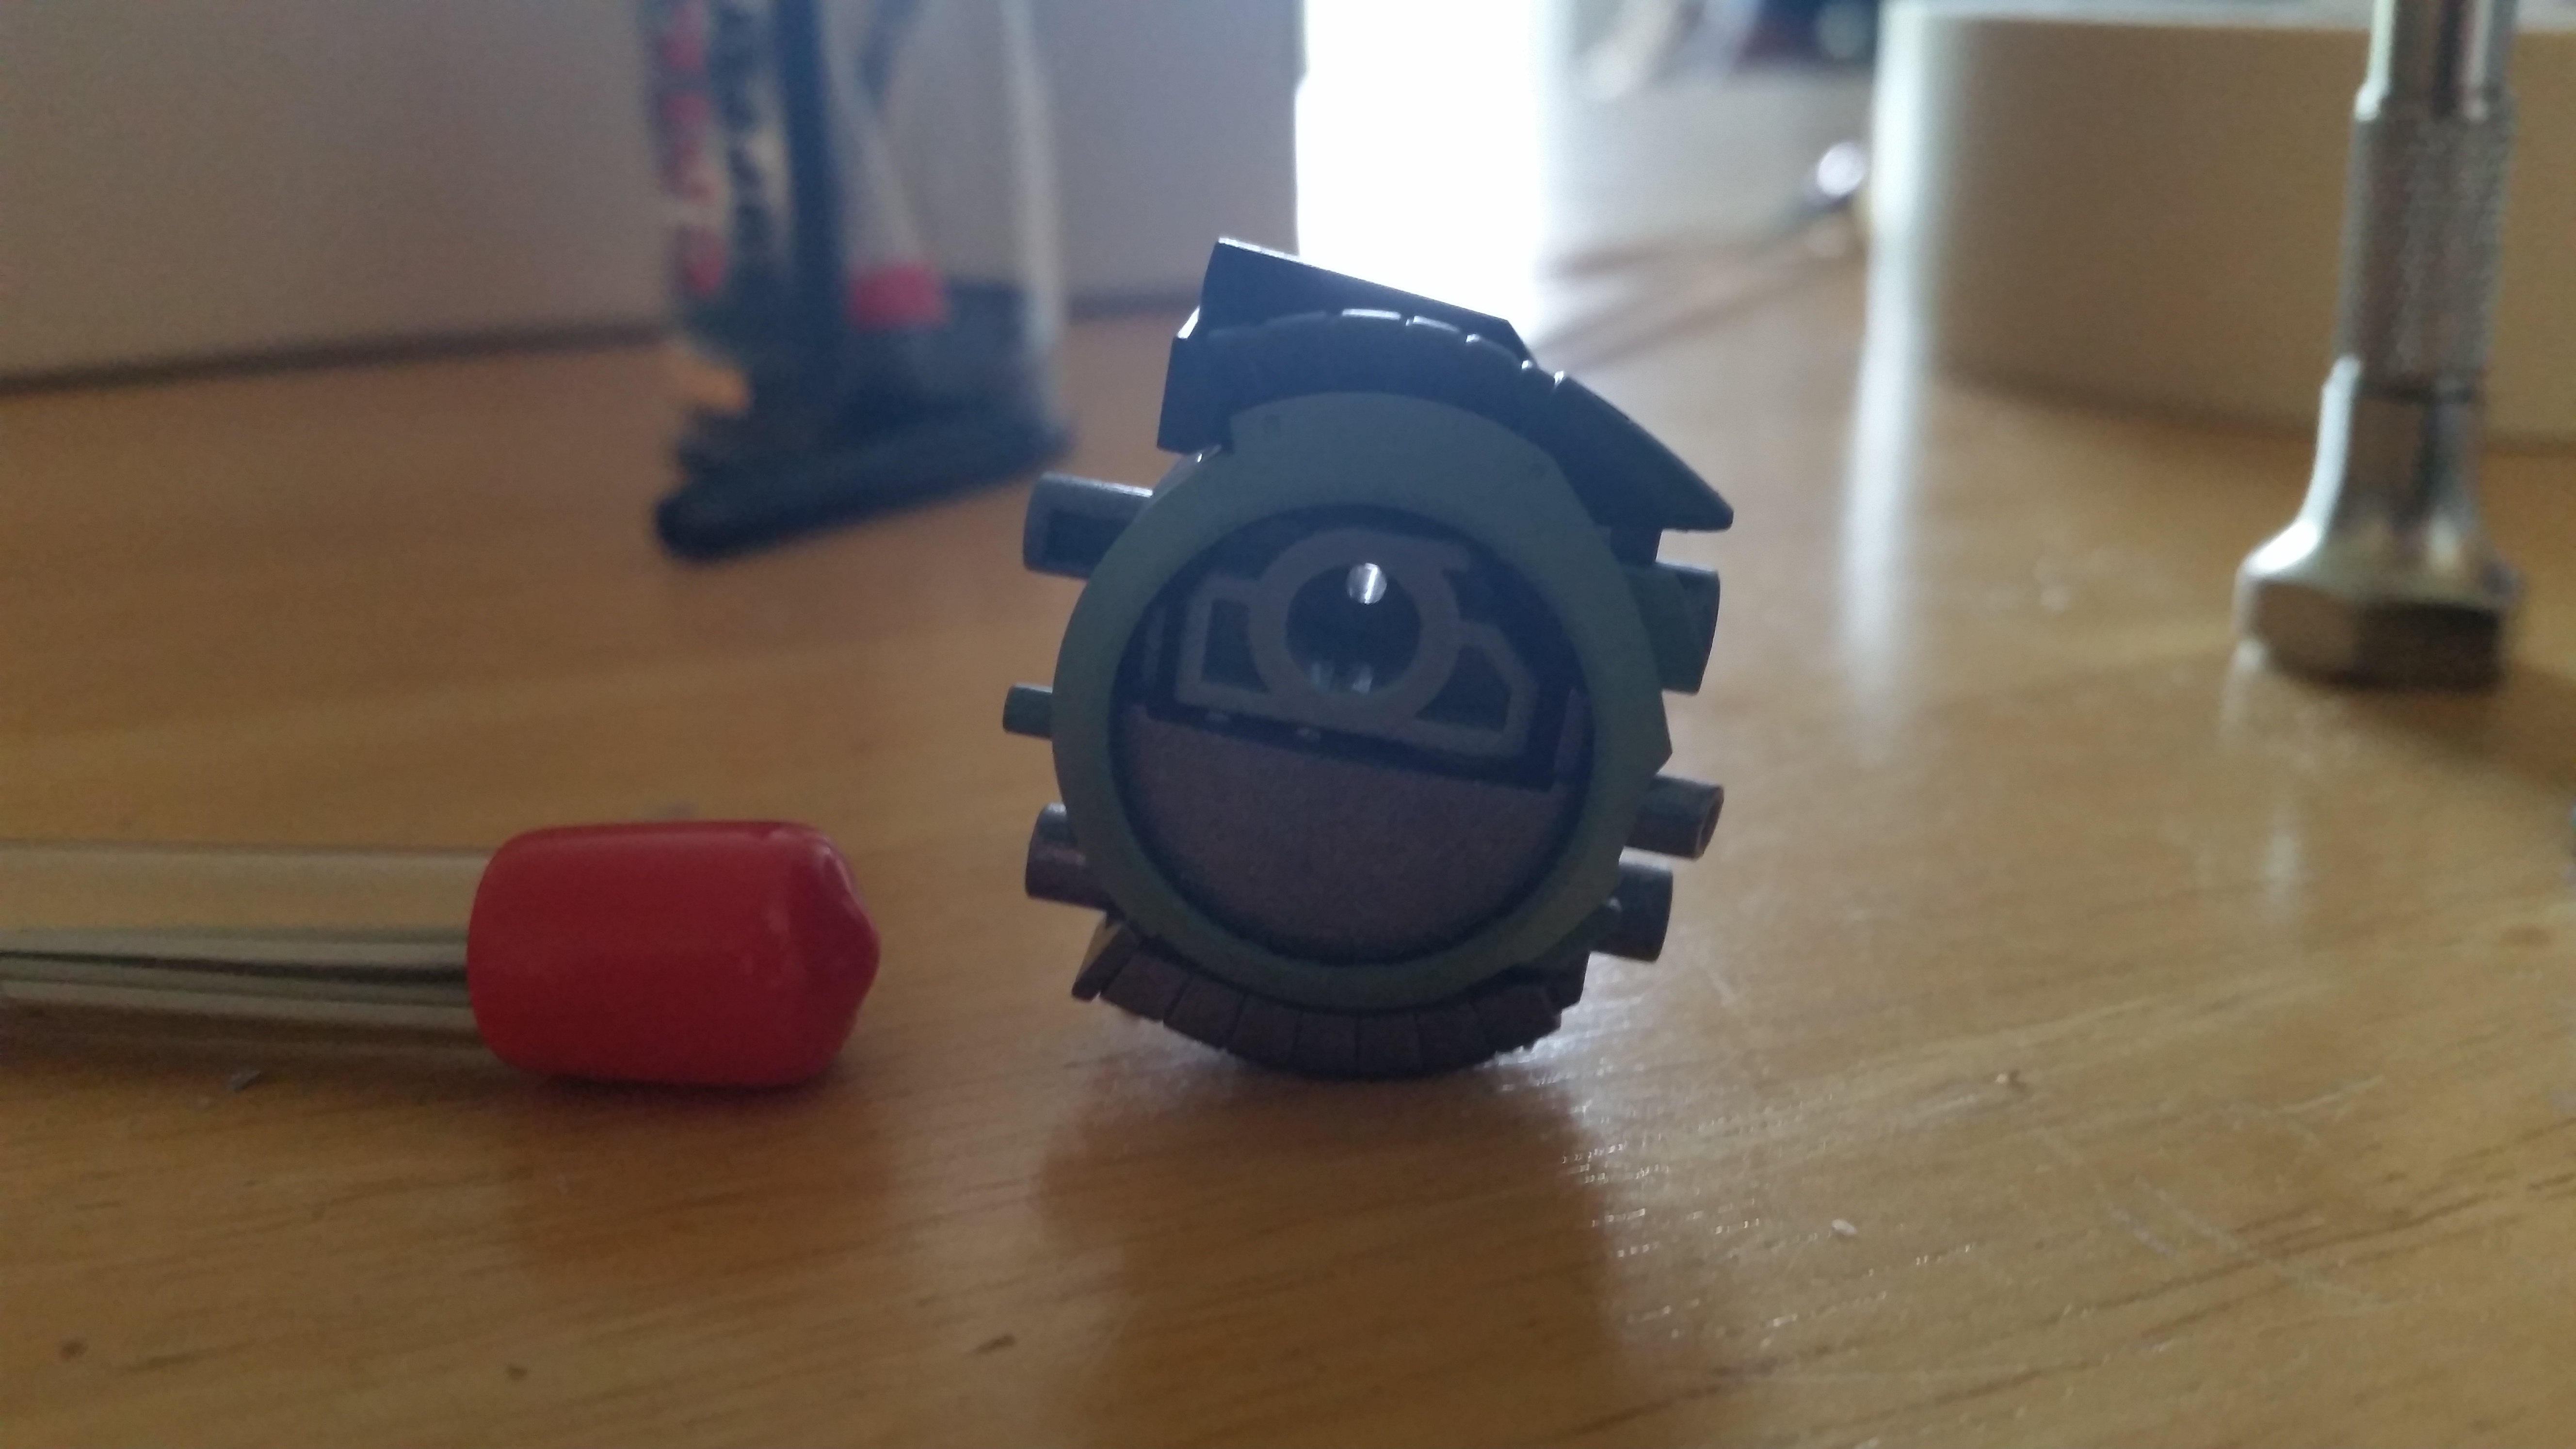
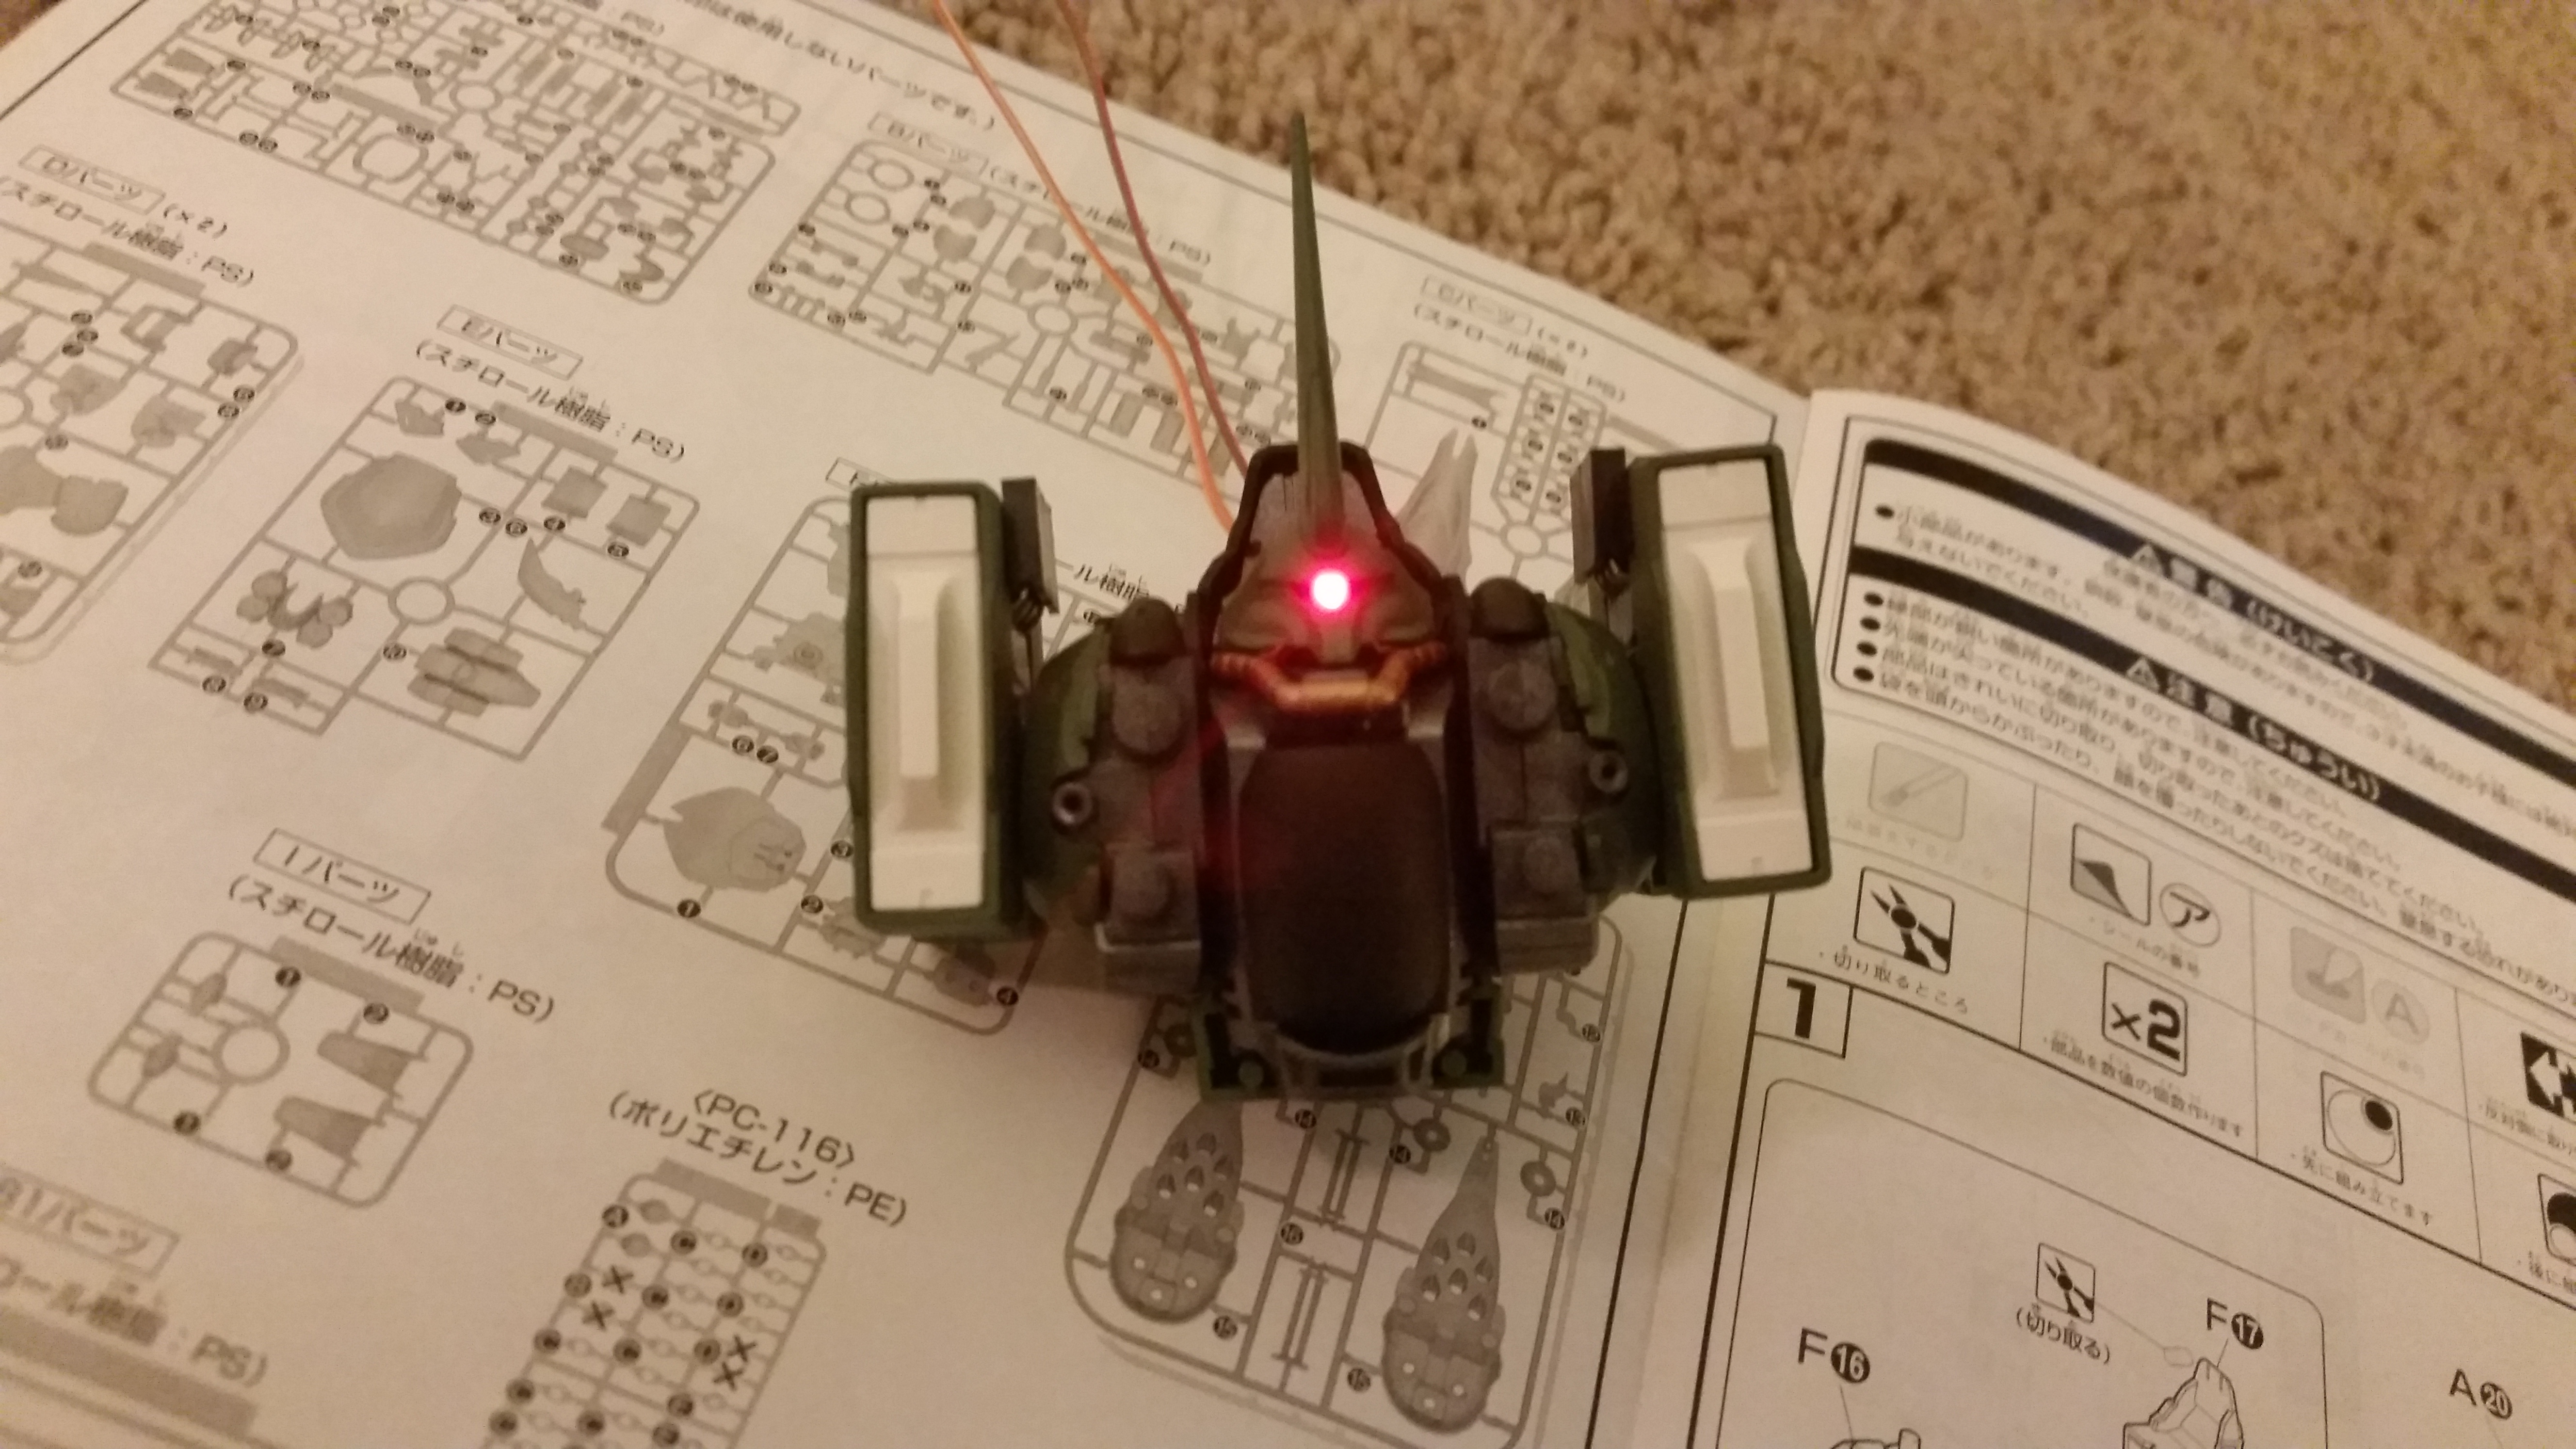
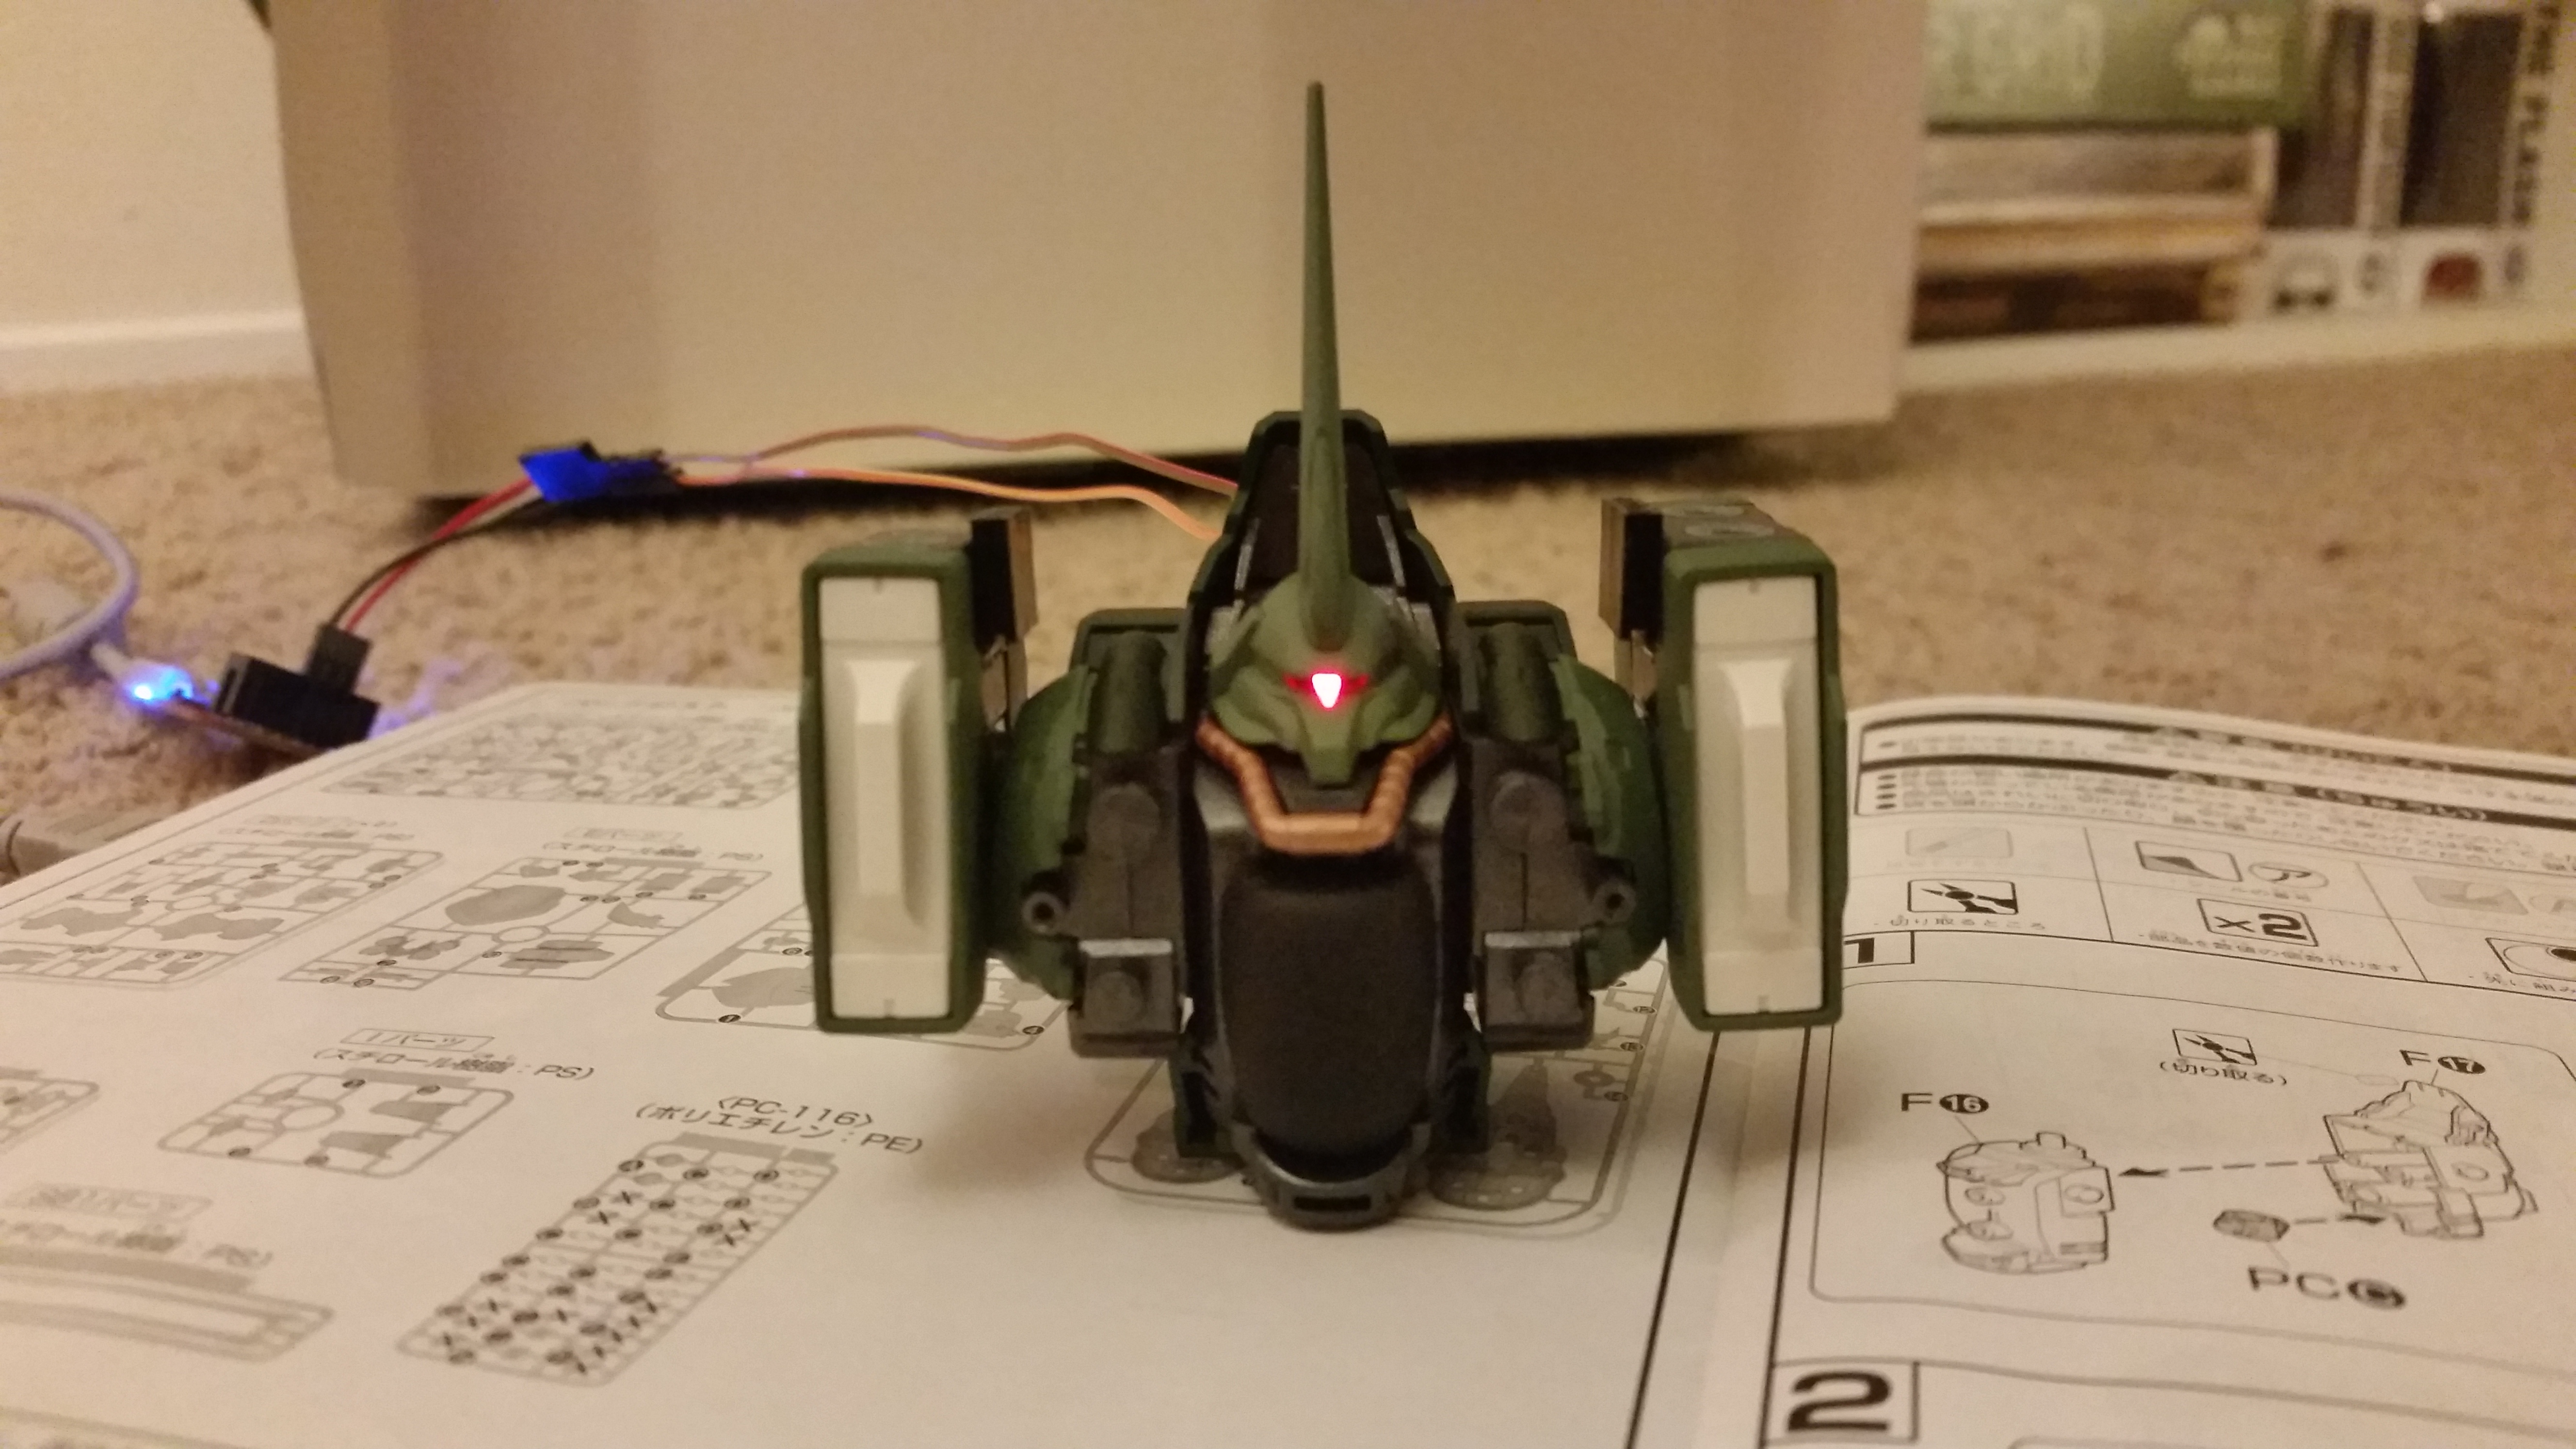
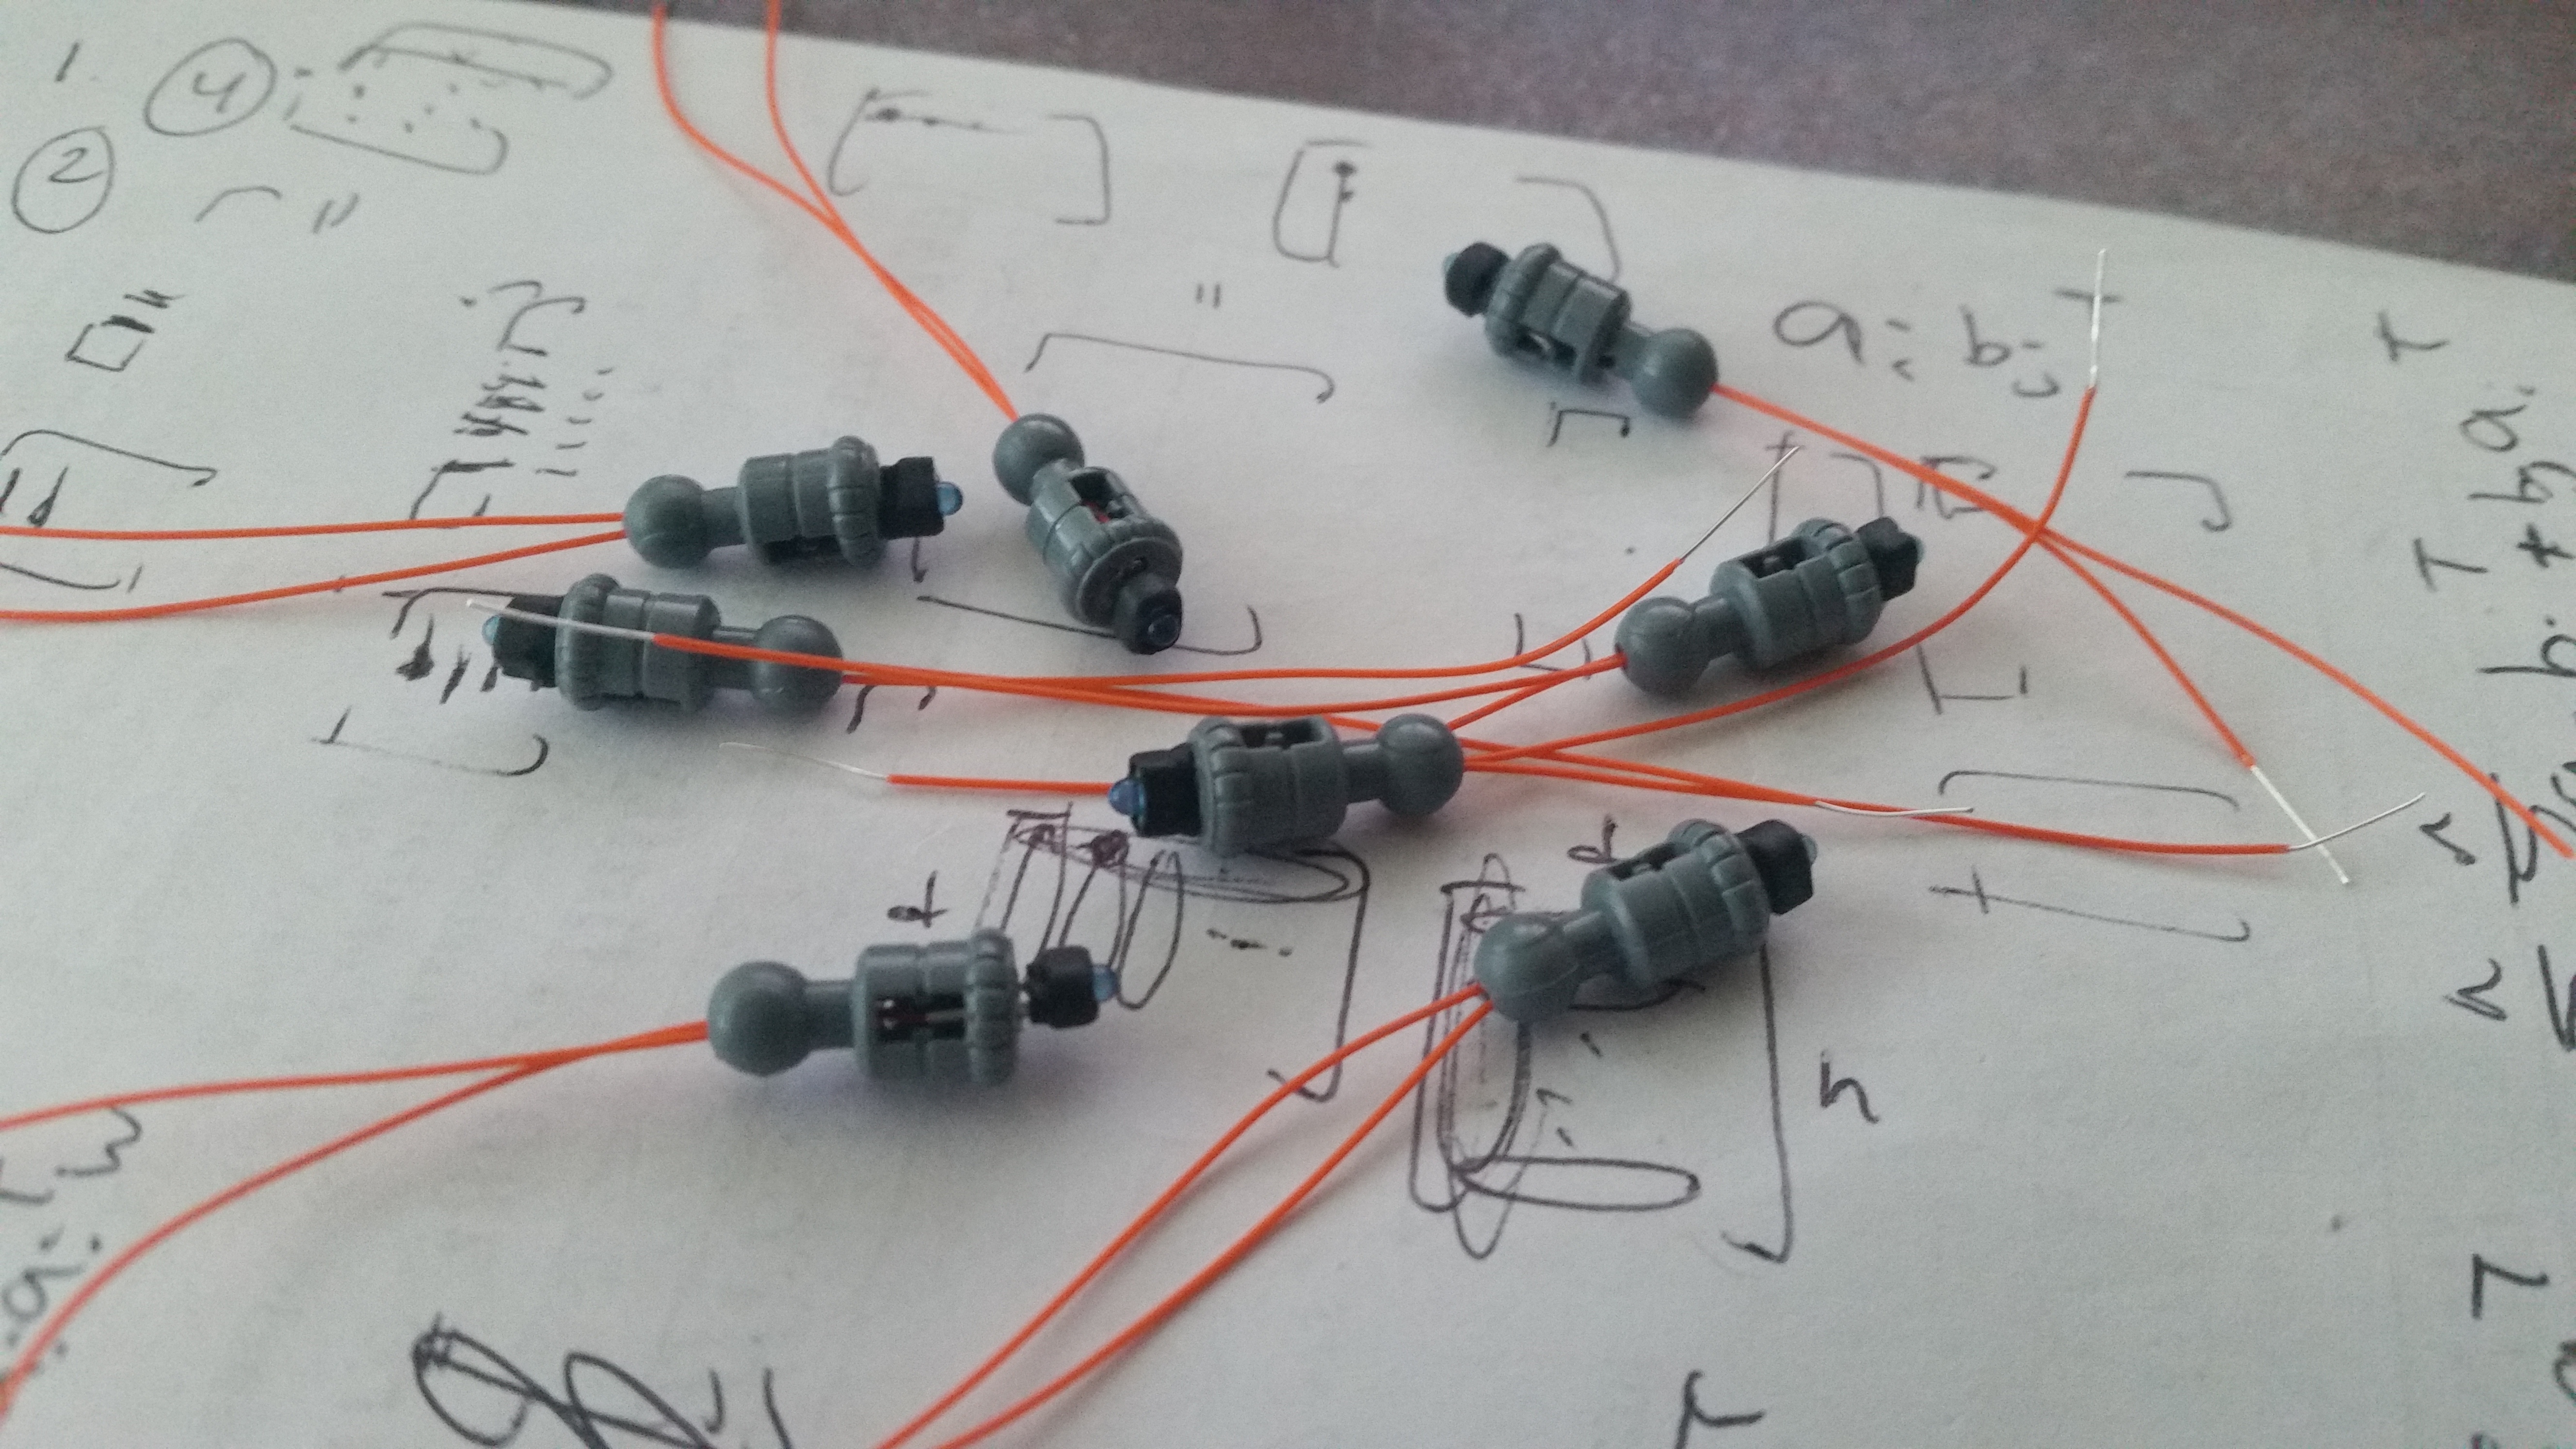
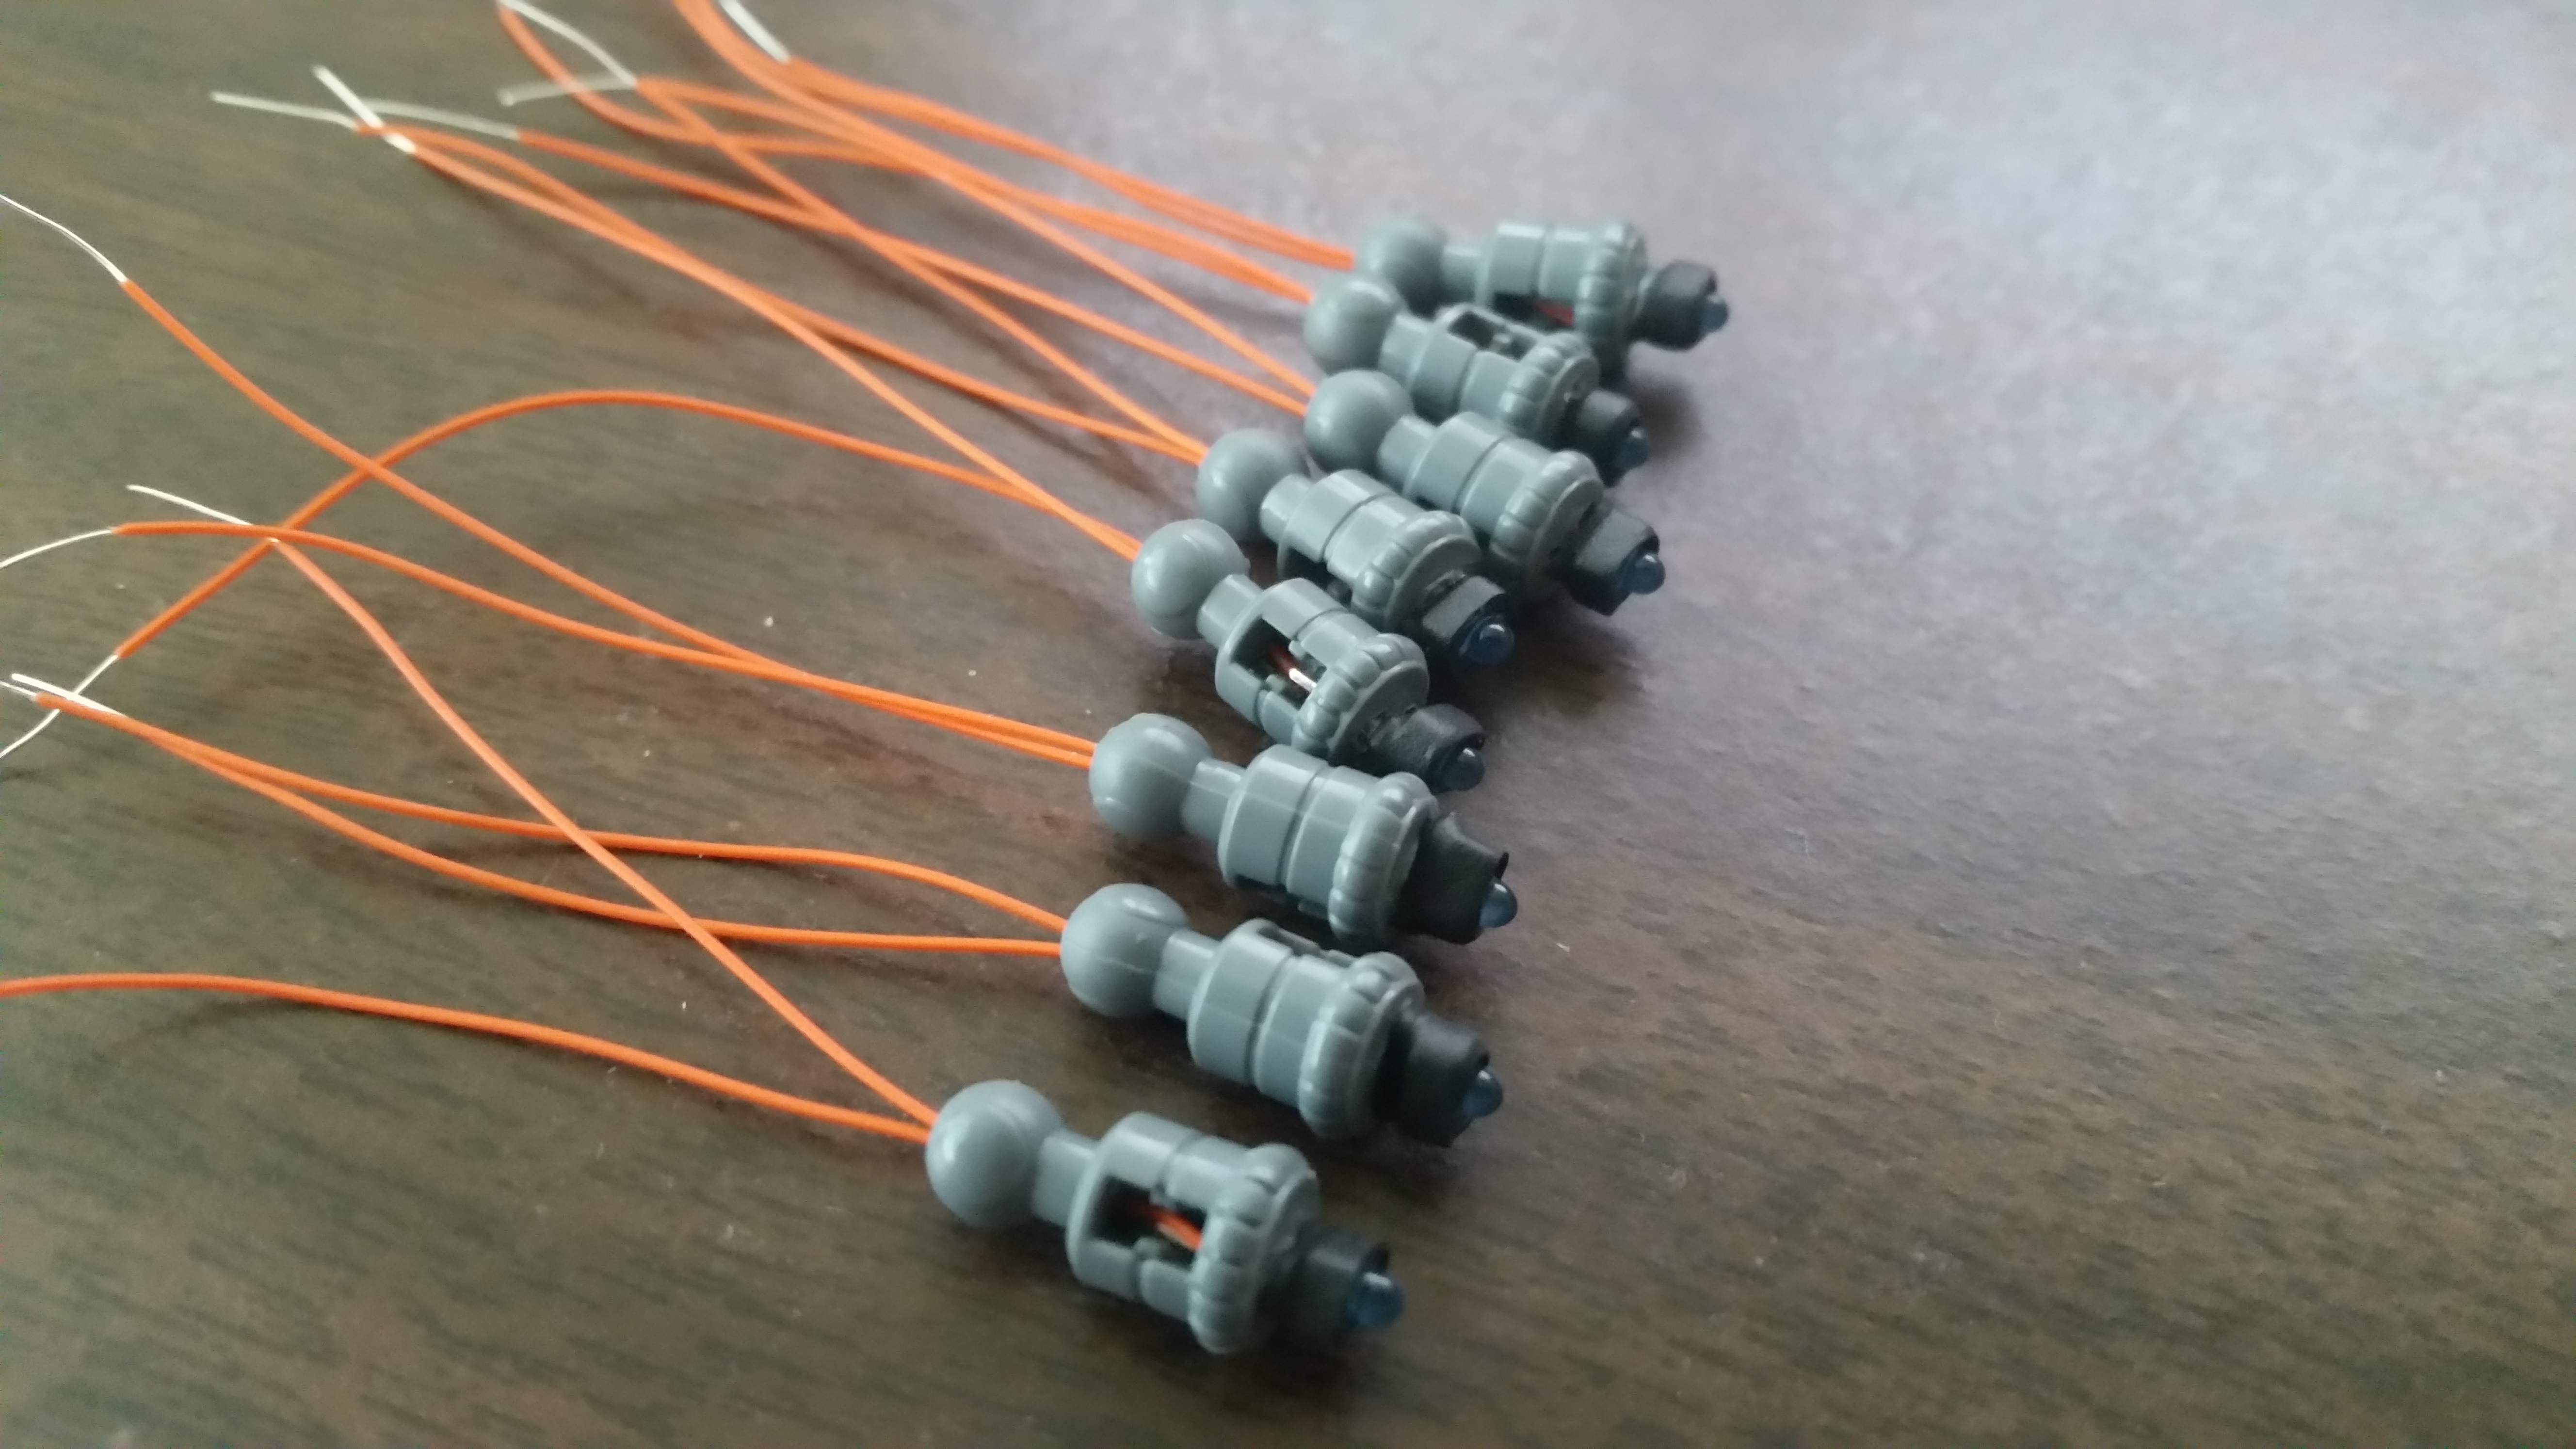
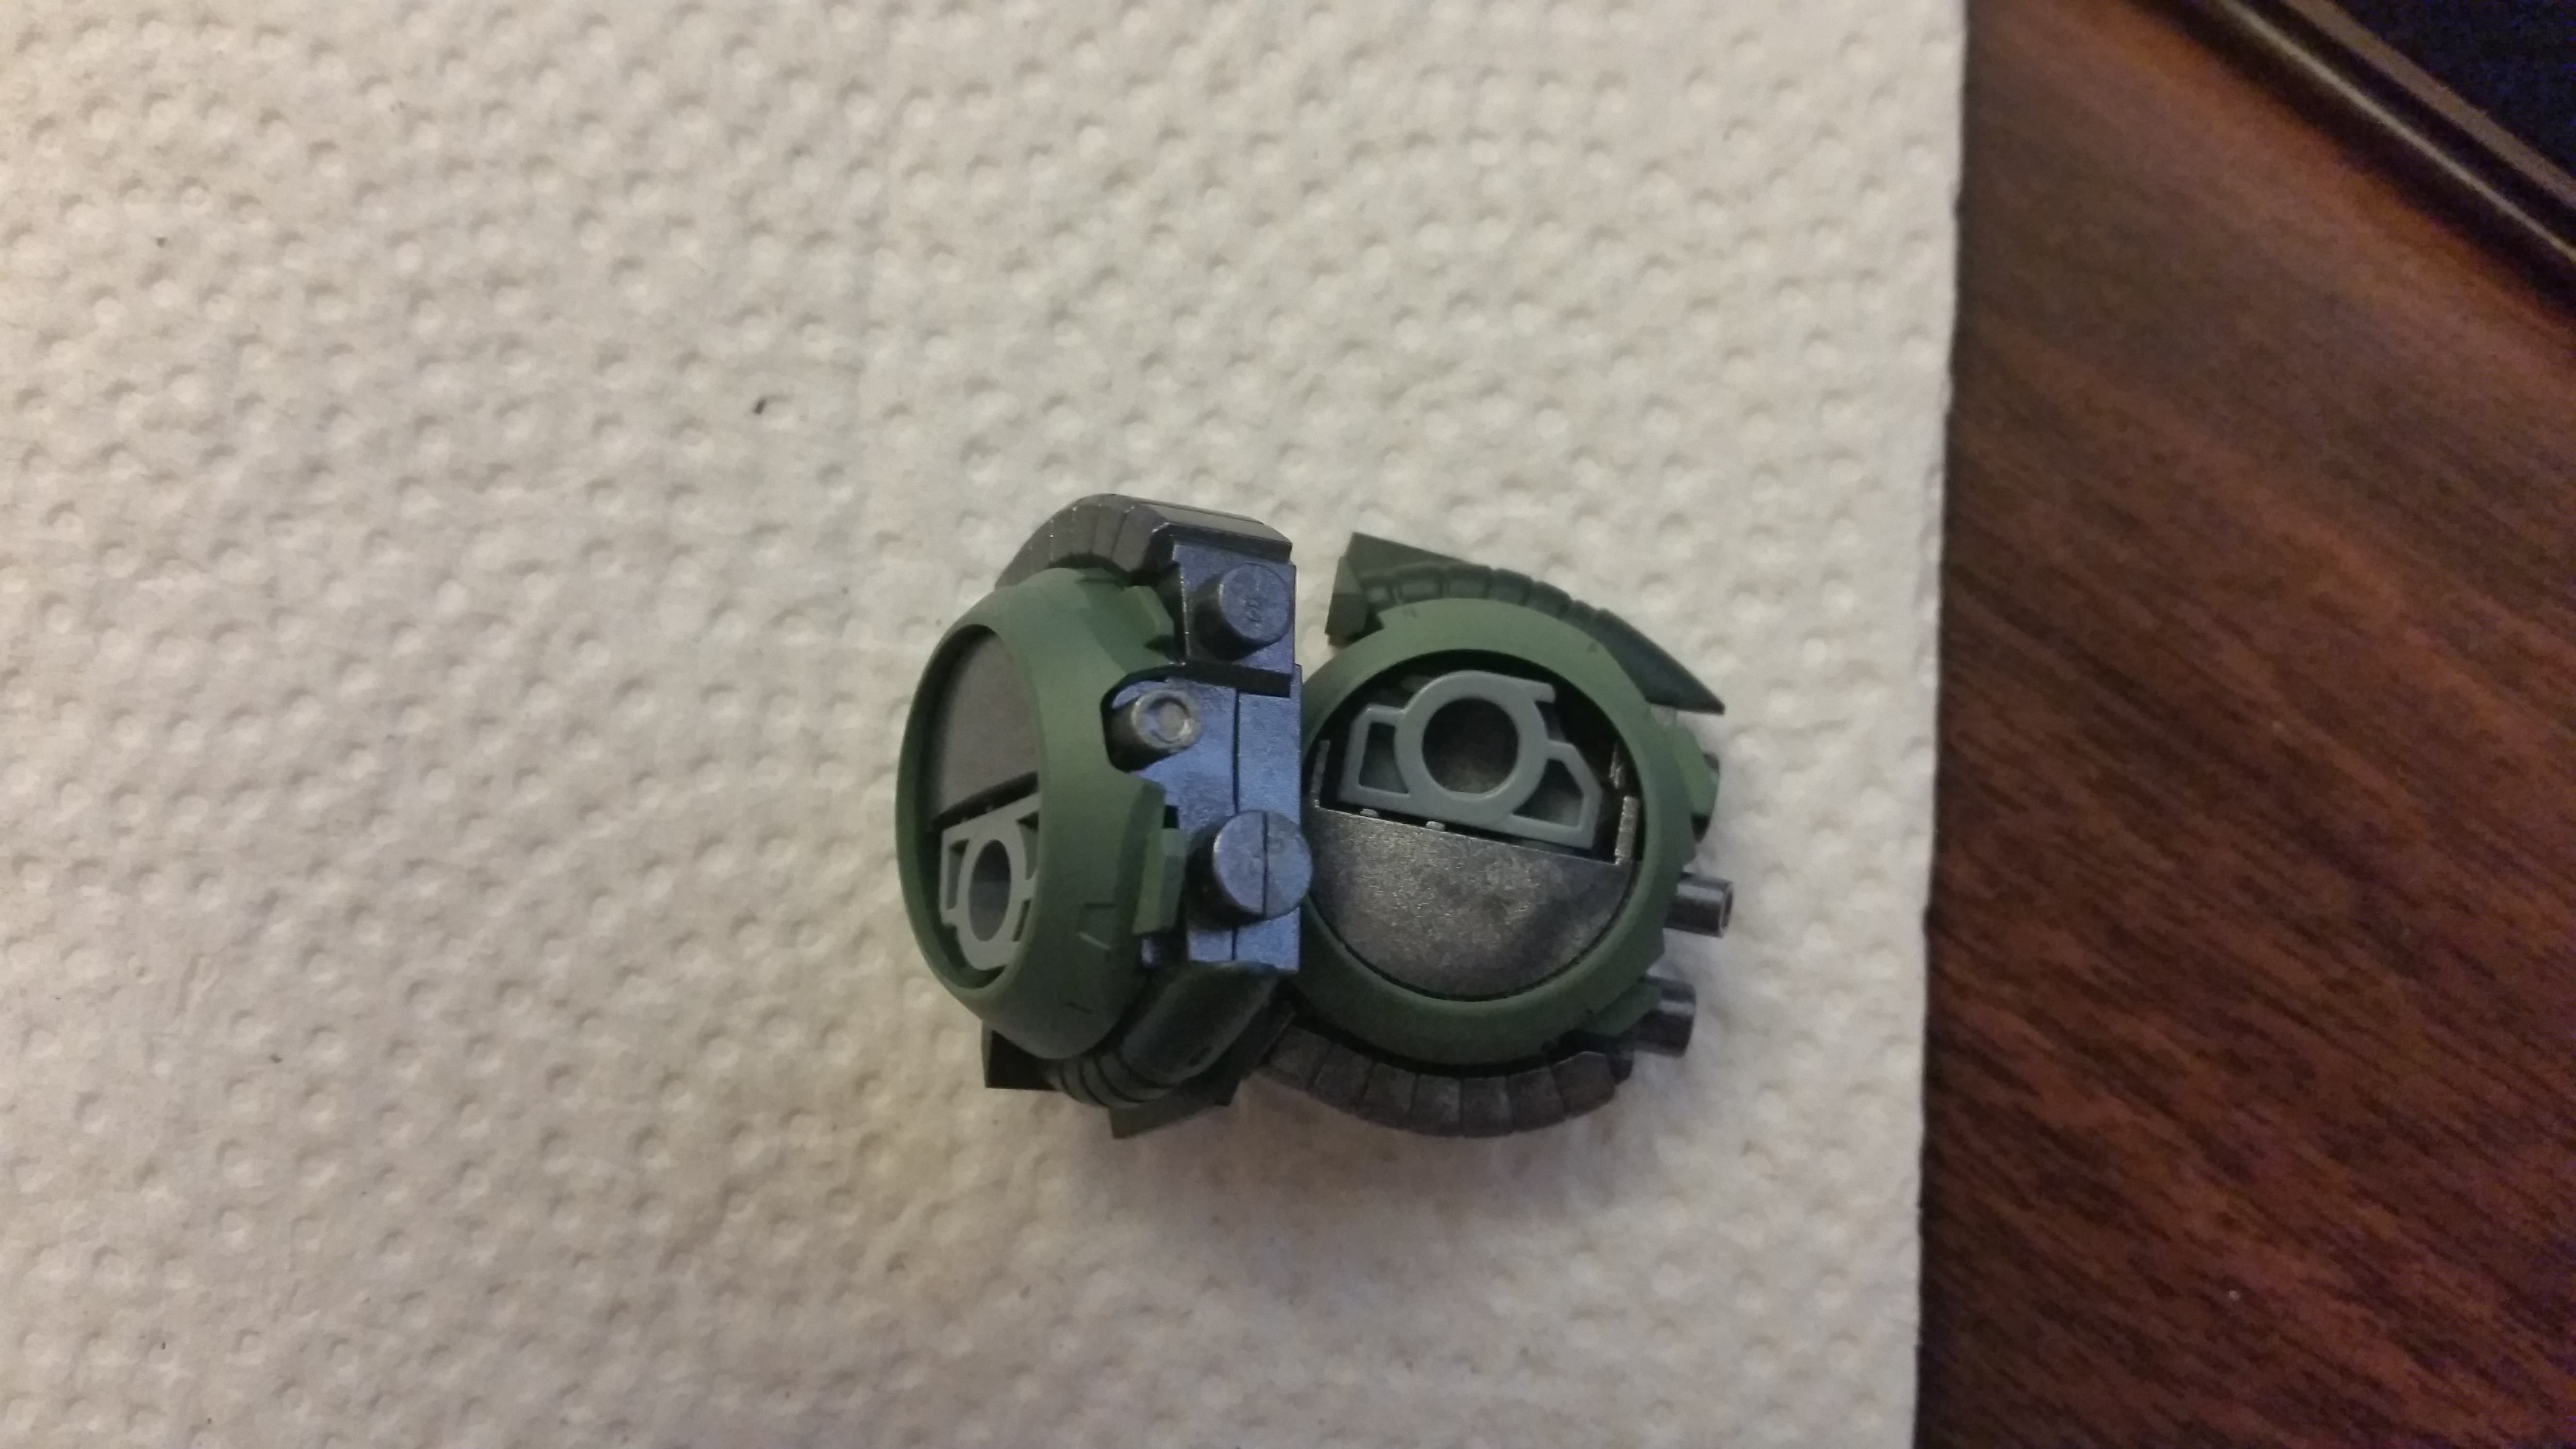
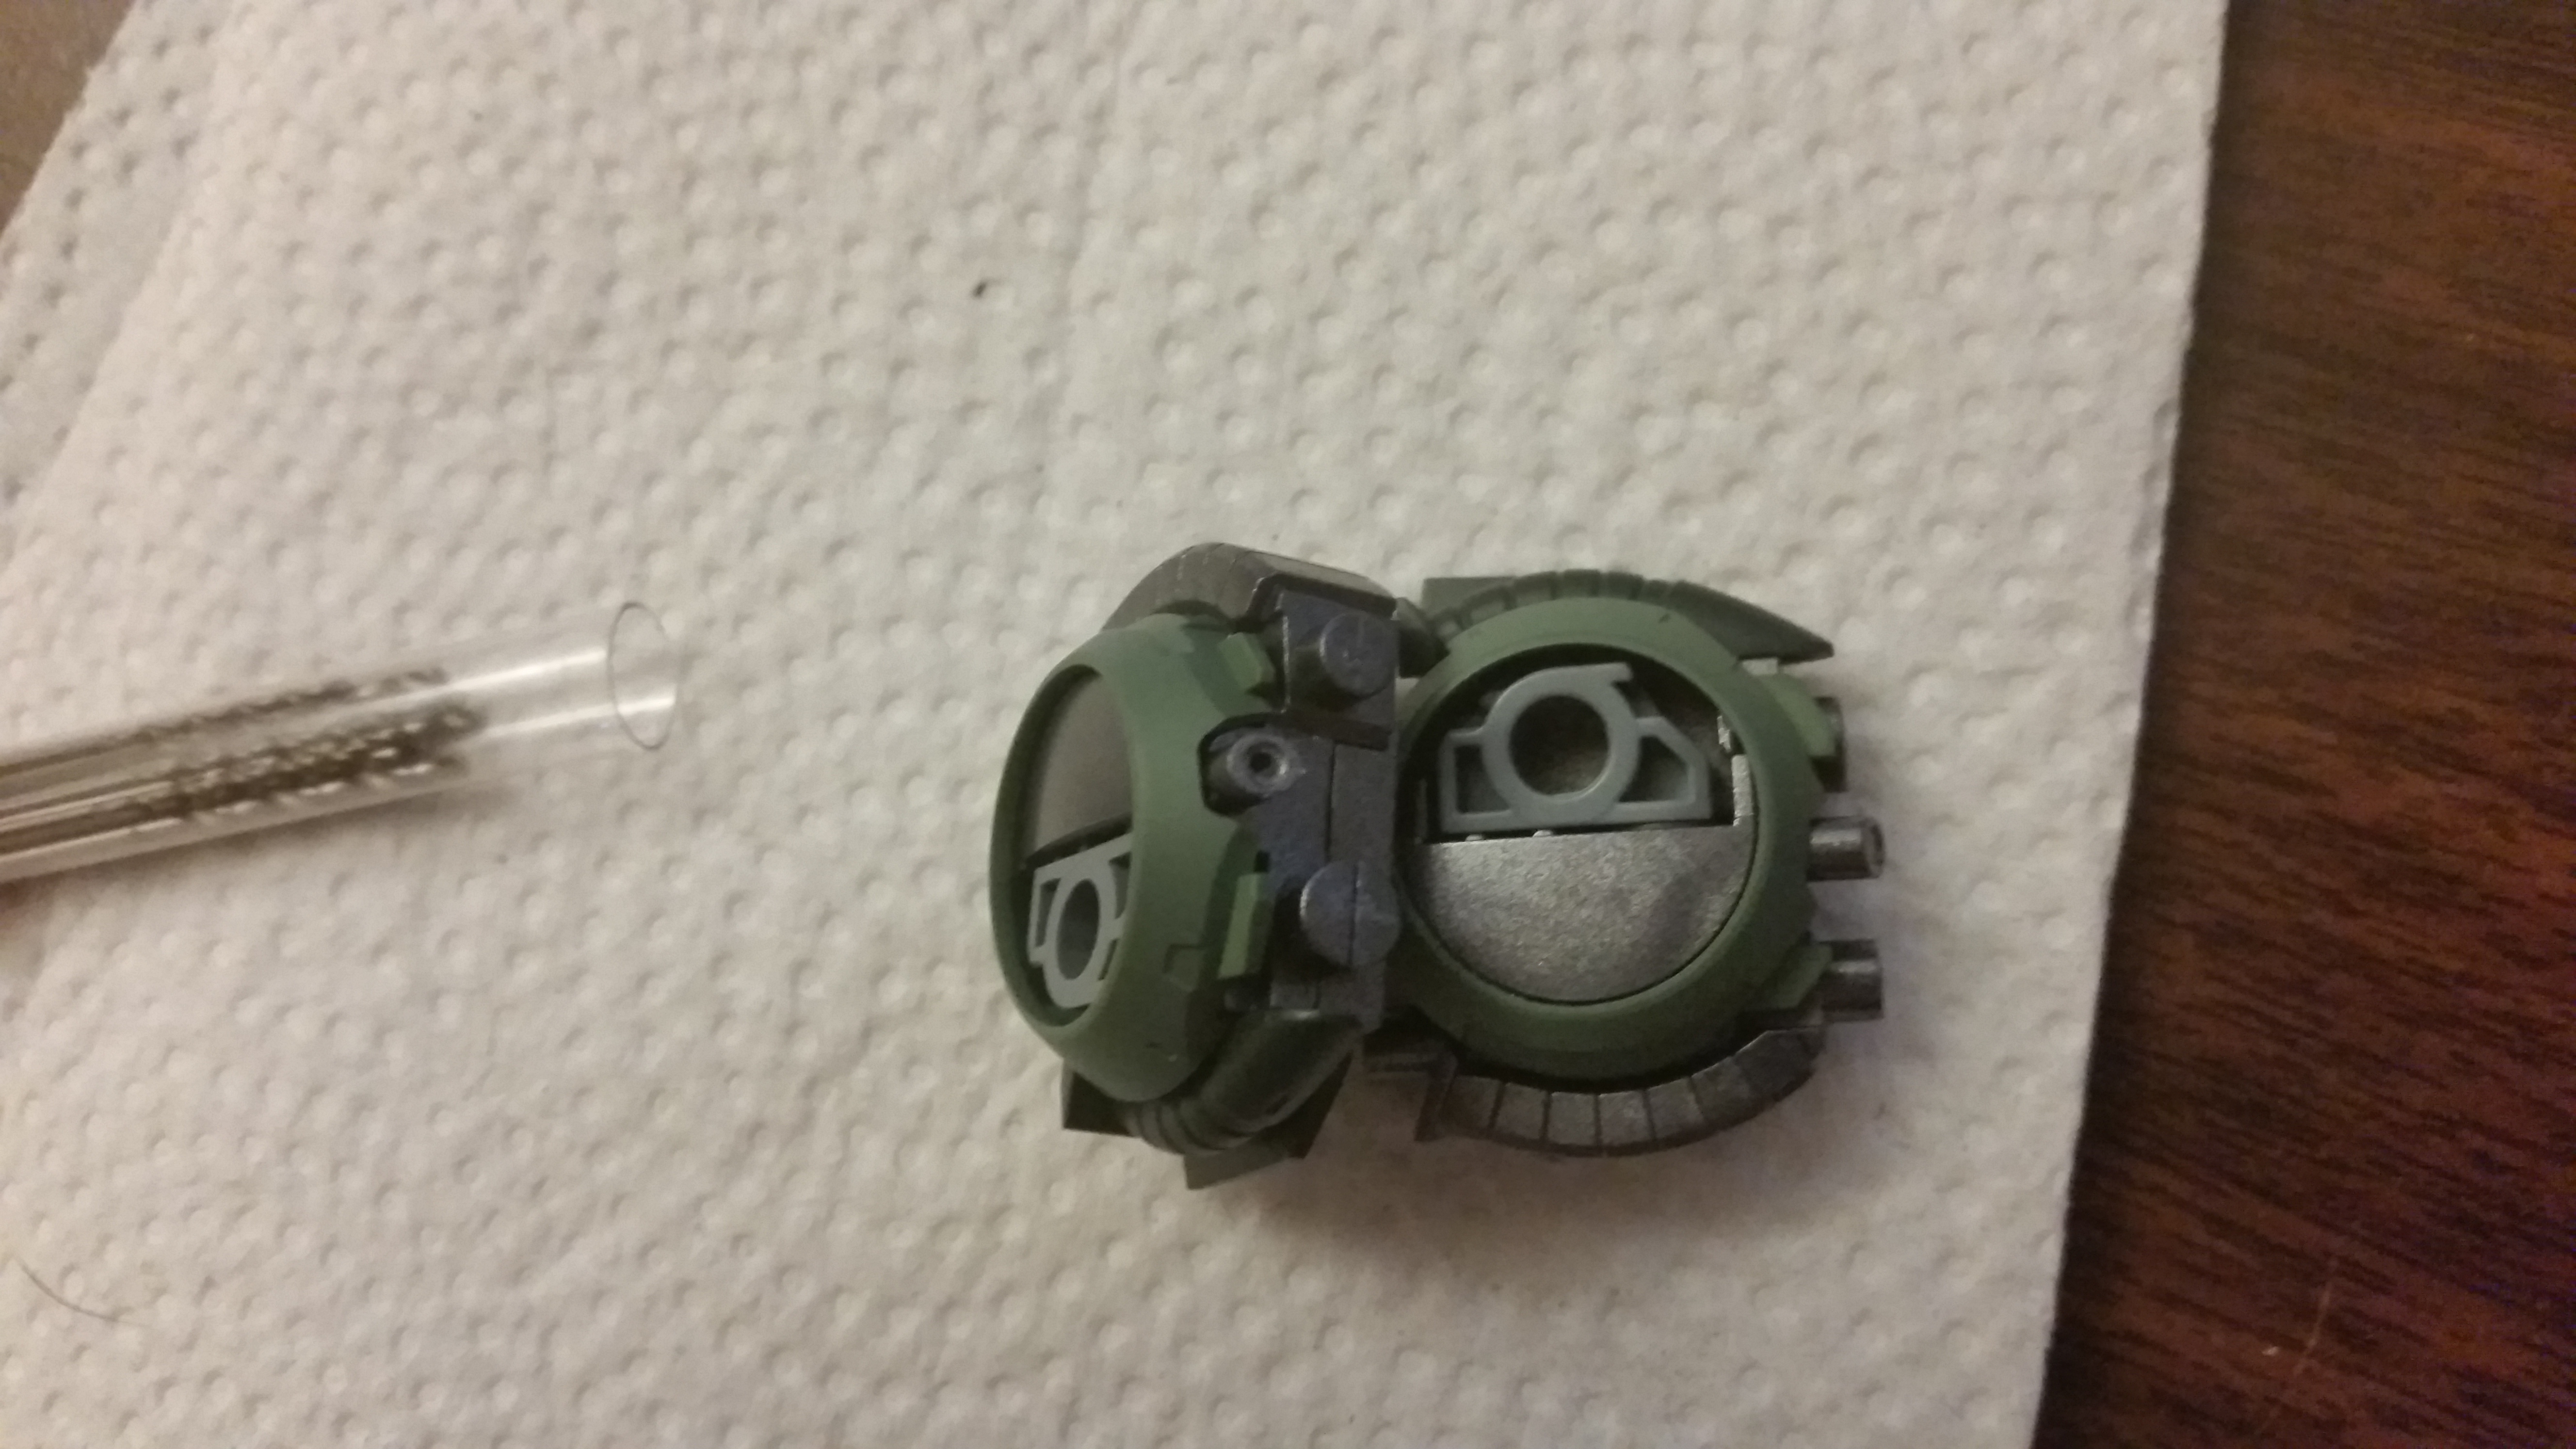
Mono-eye
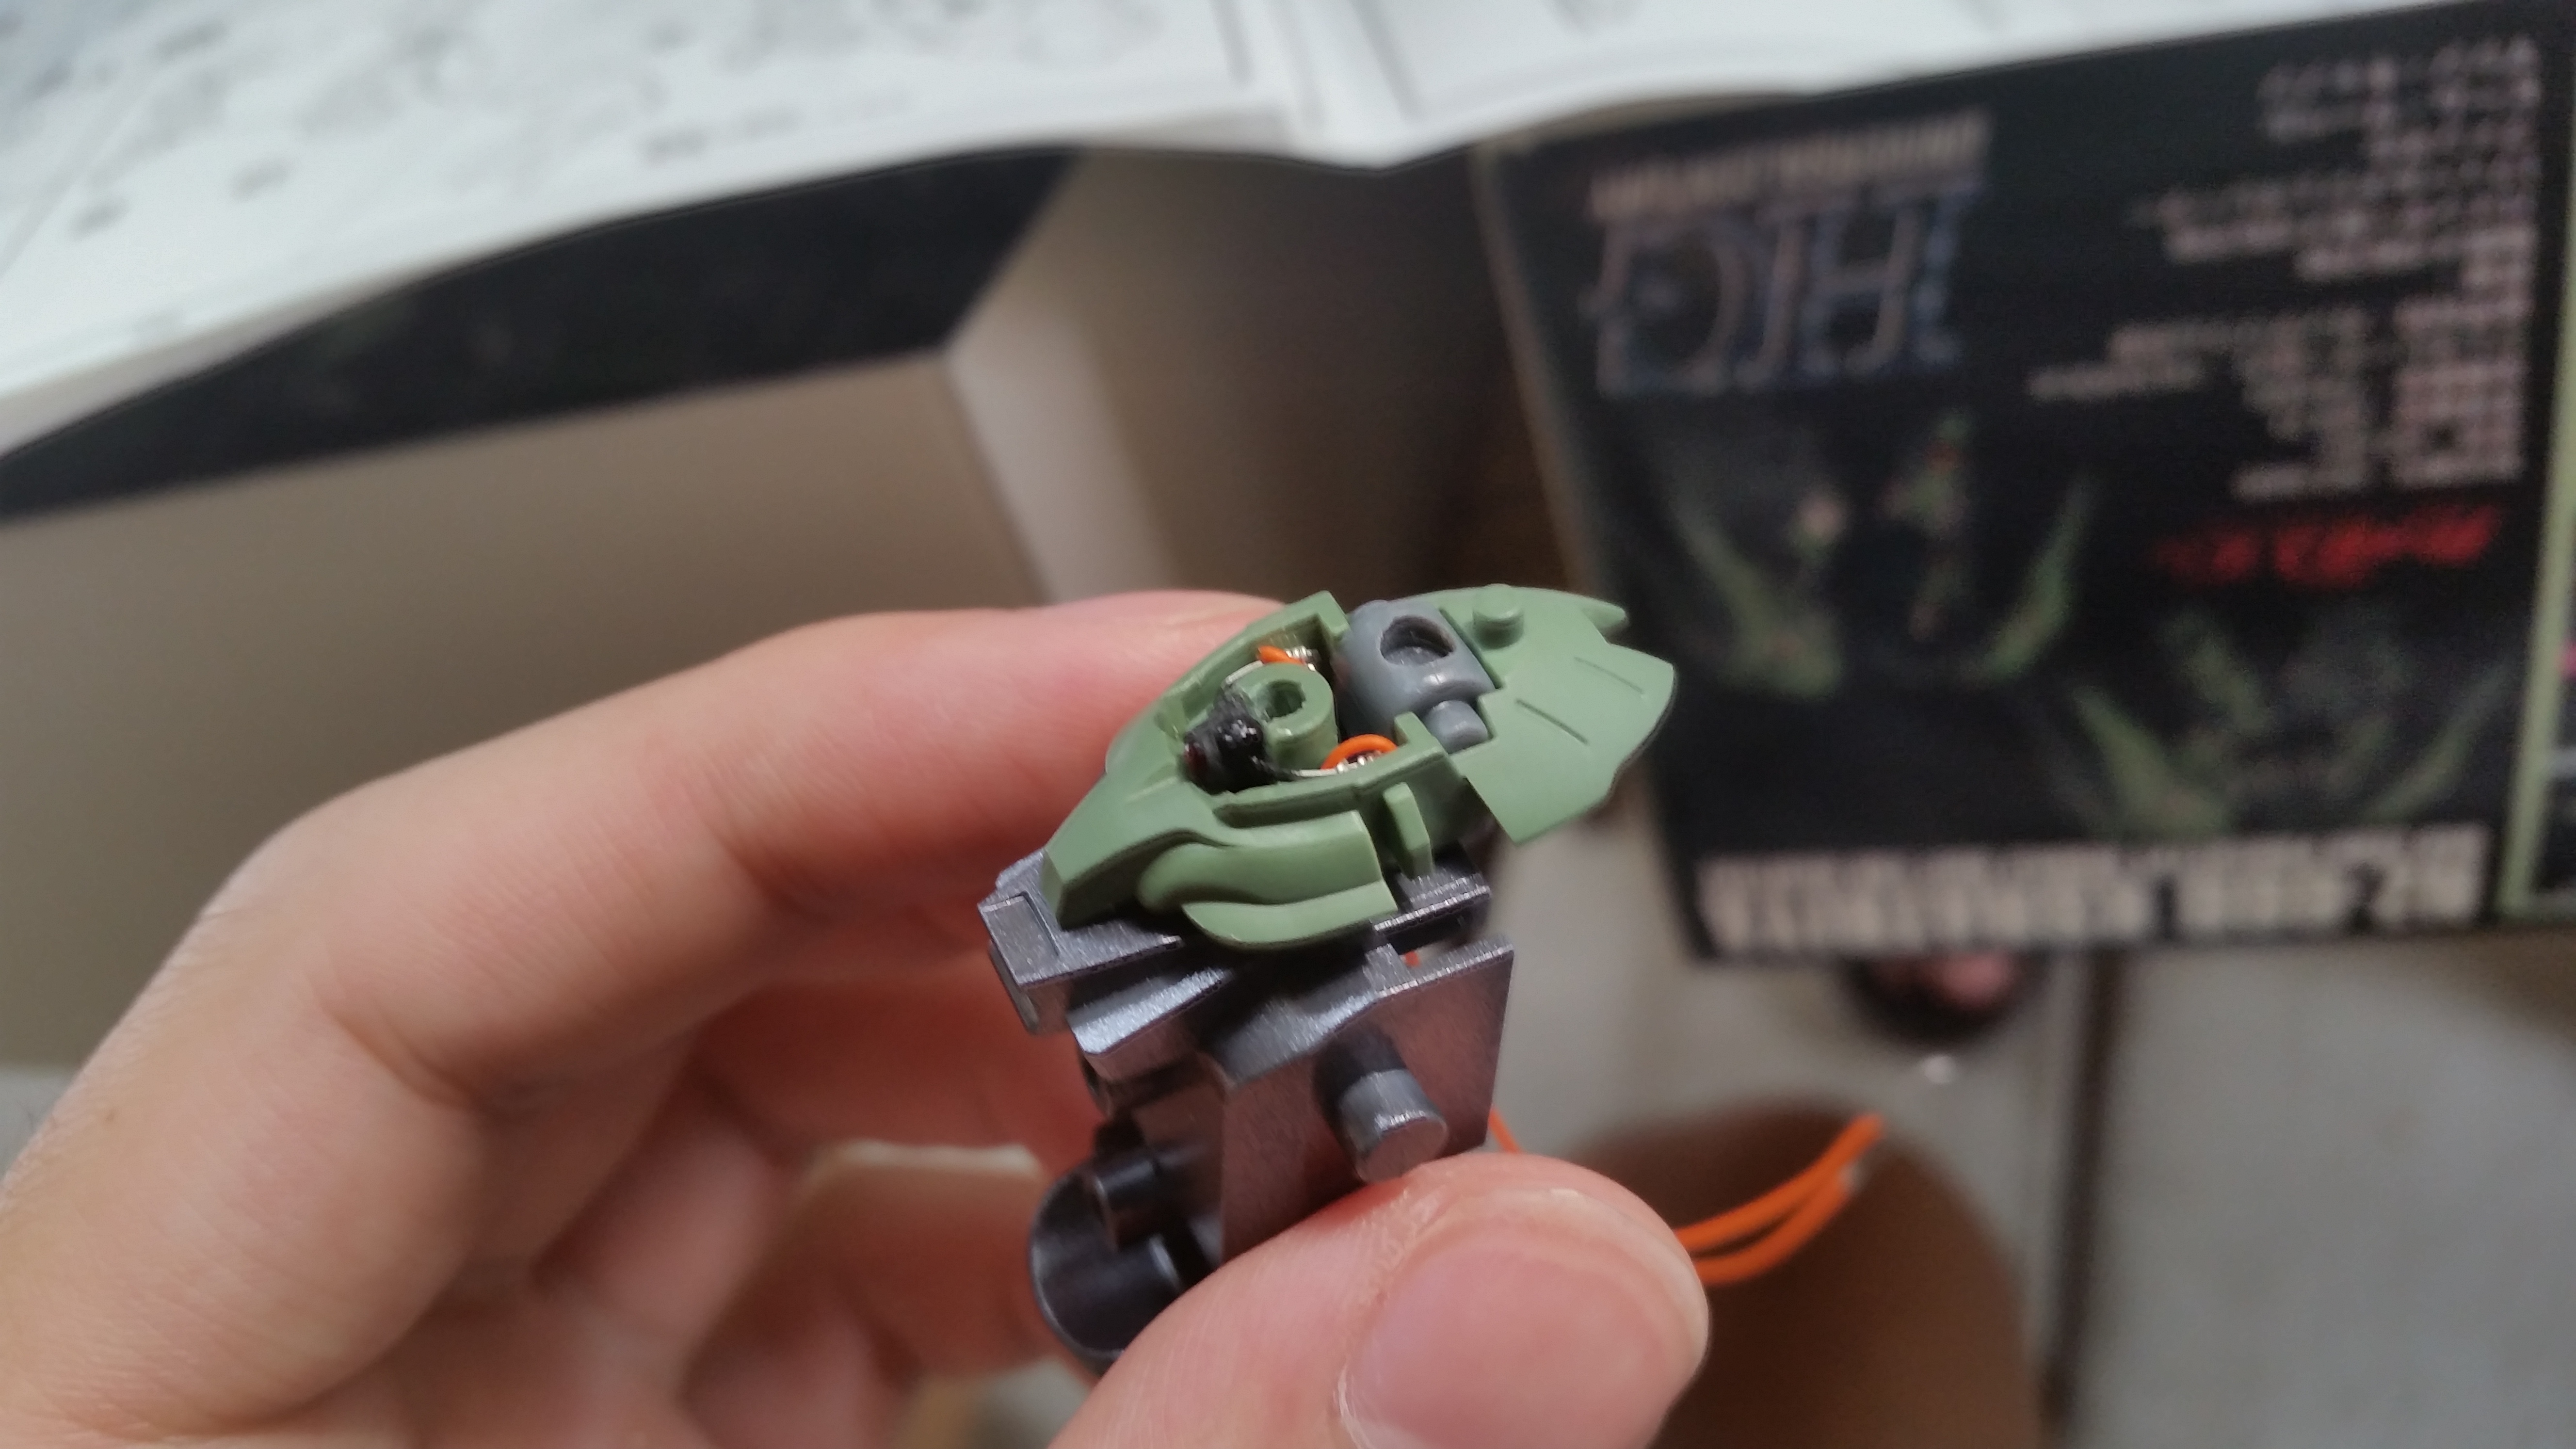
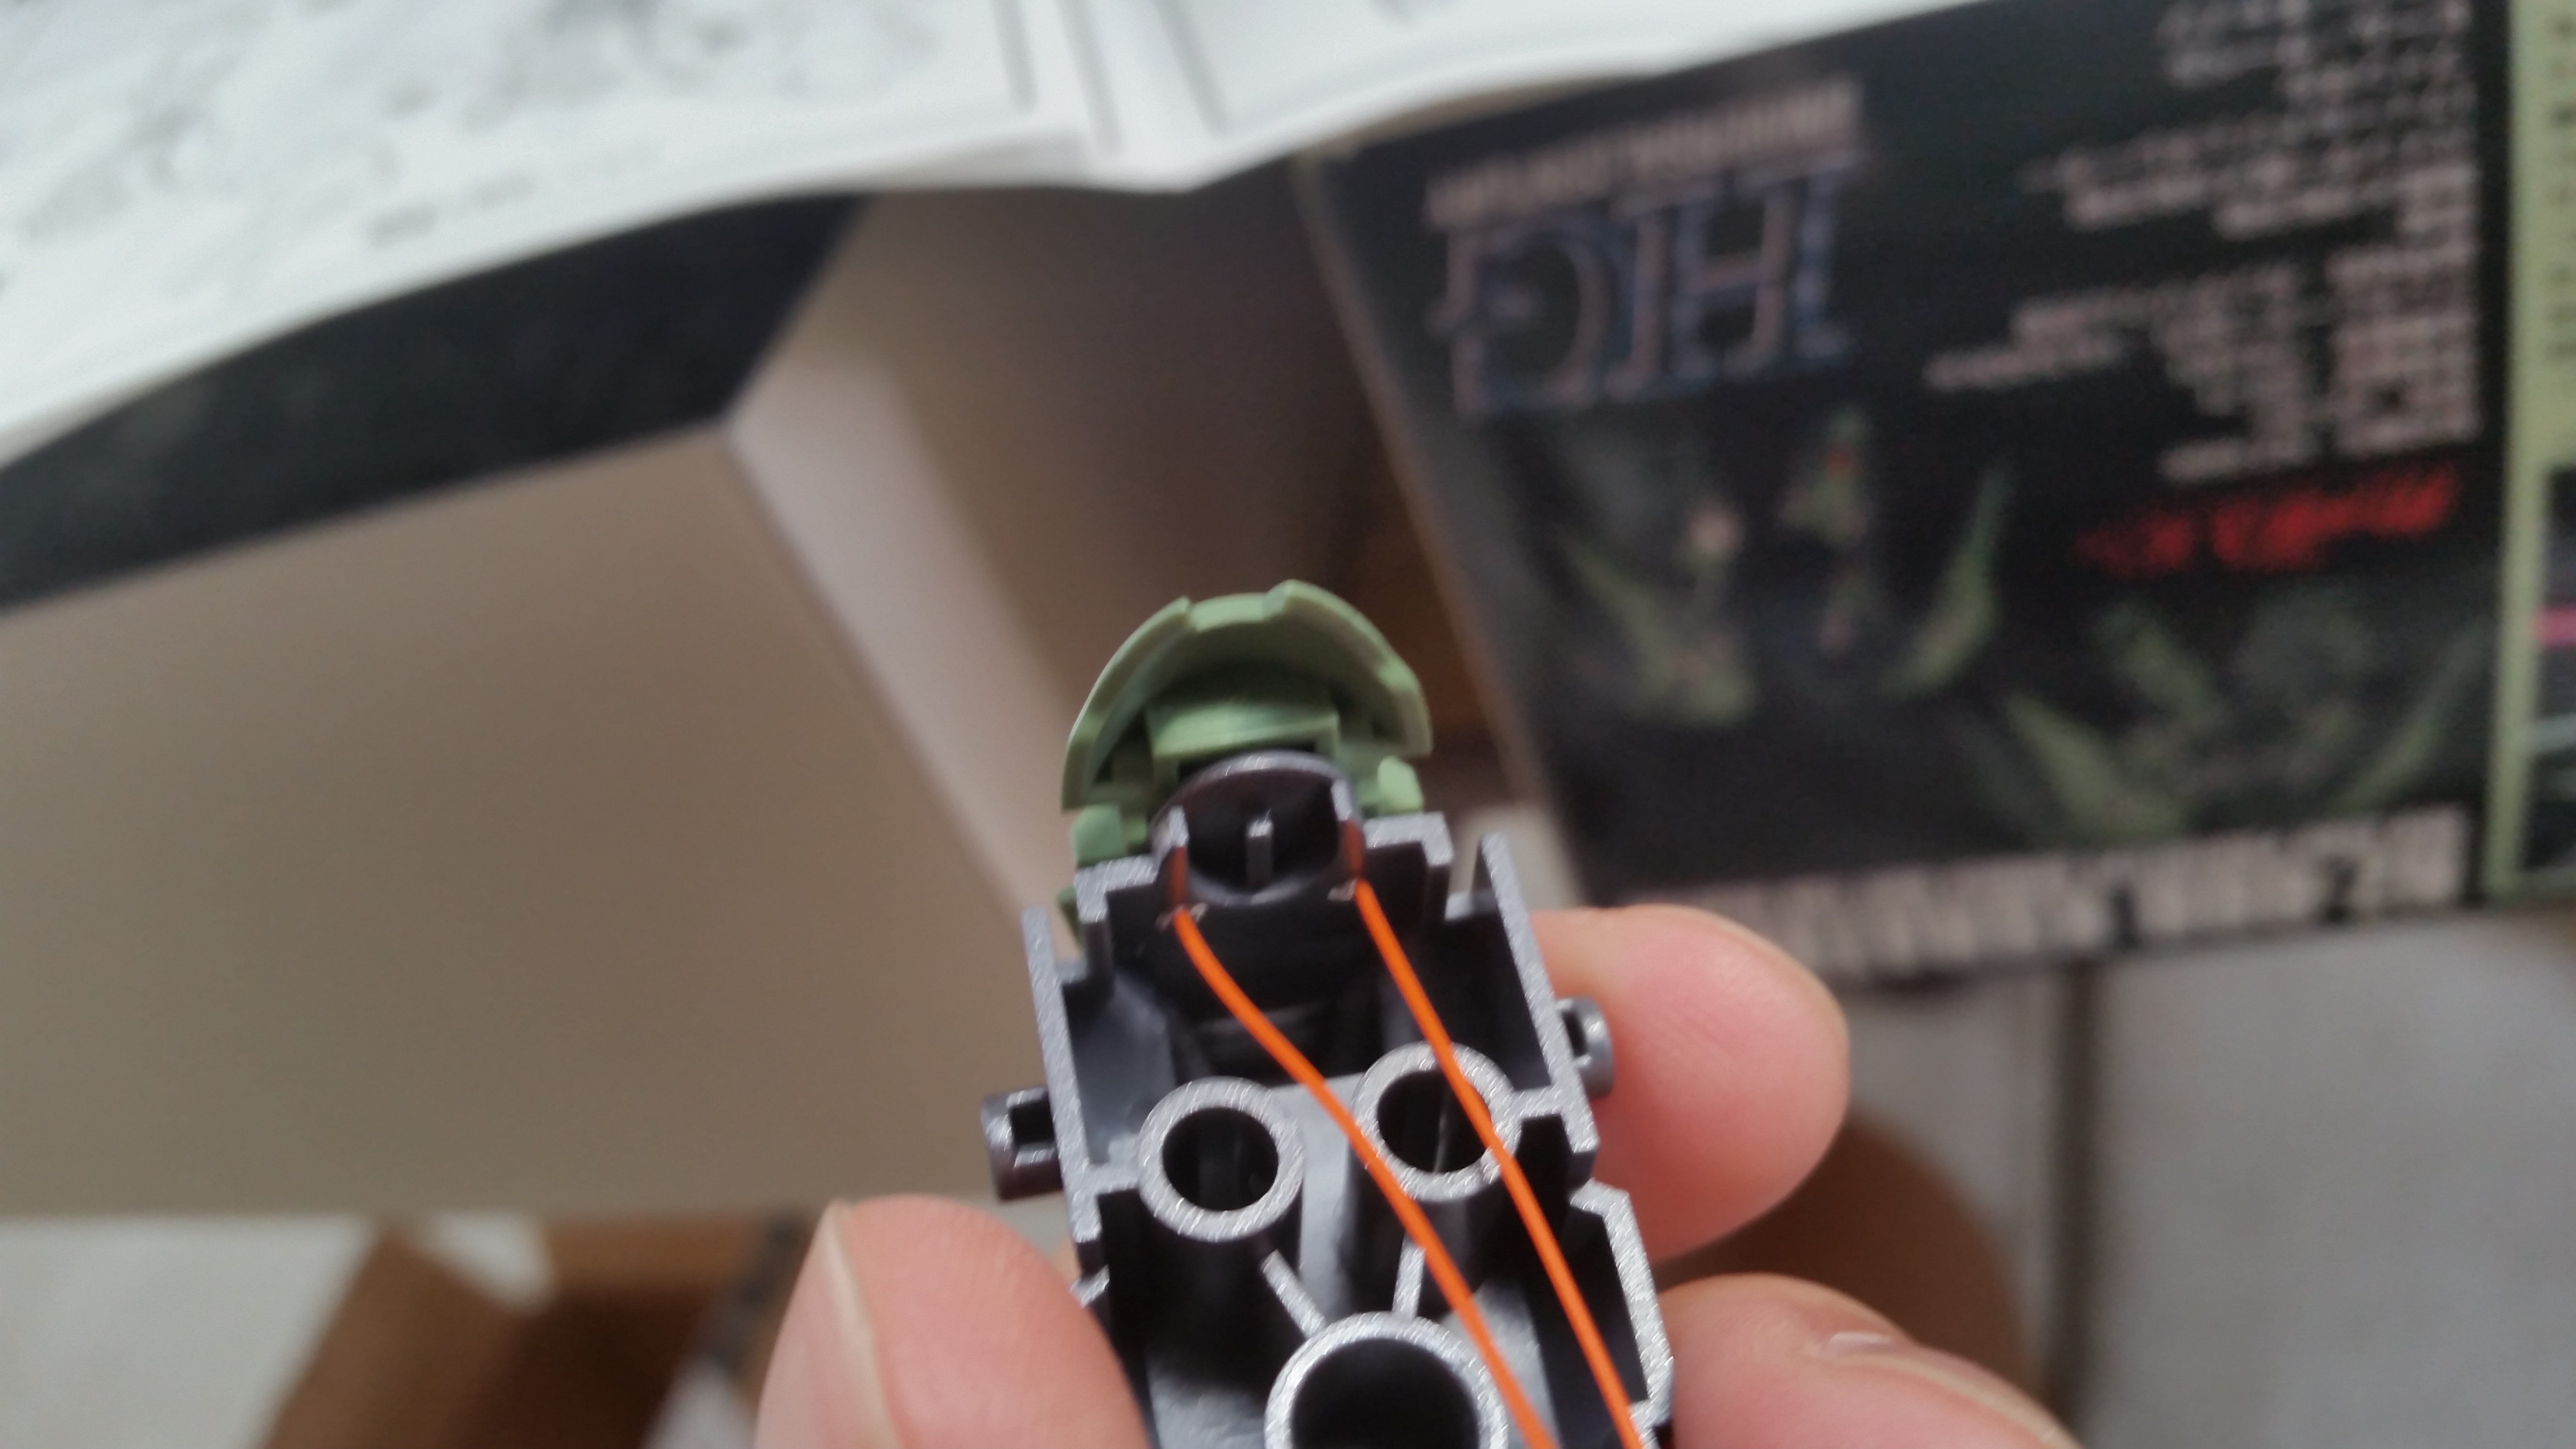
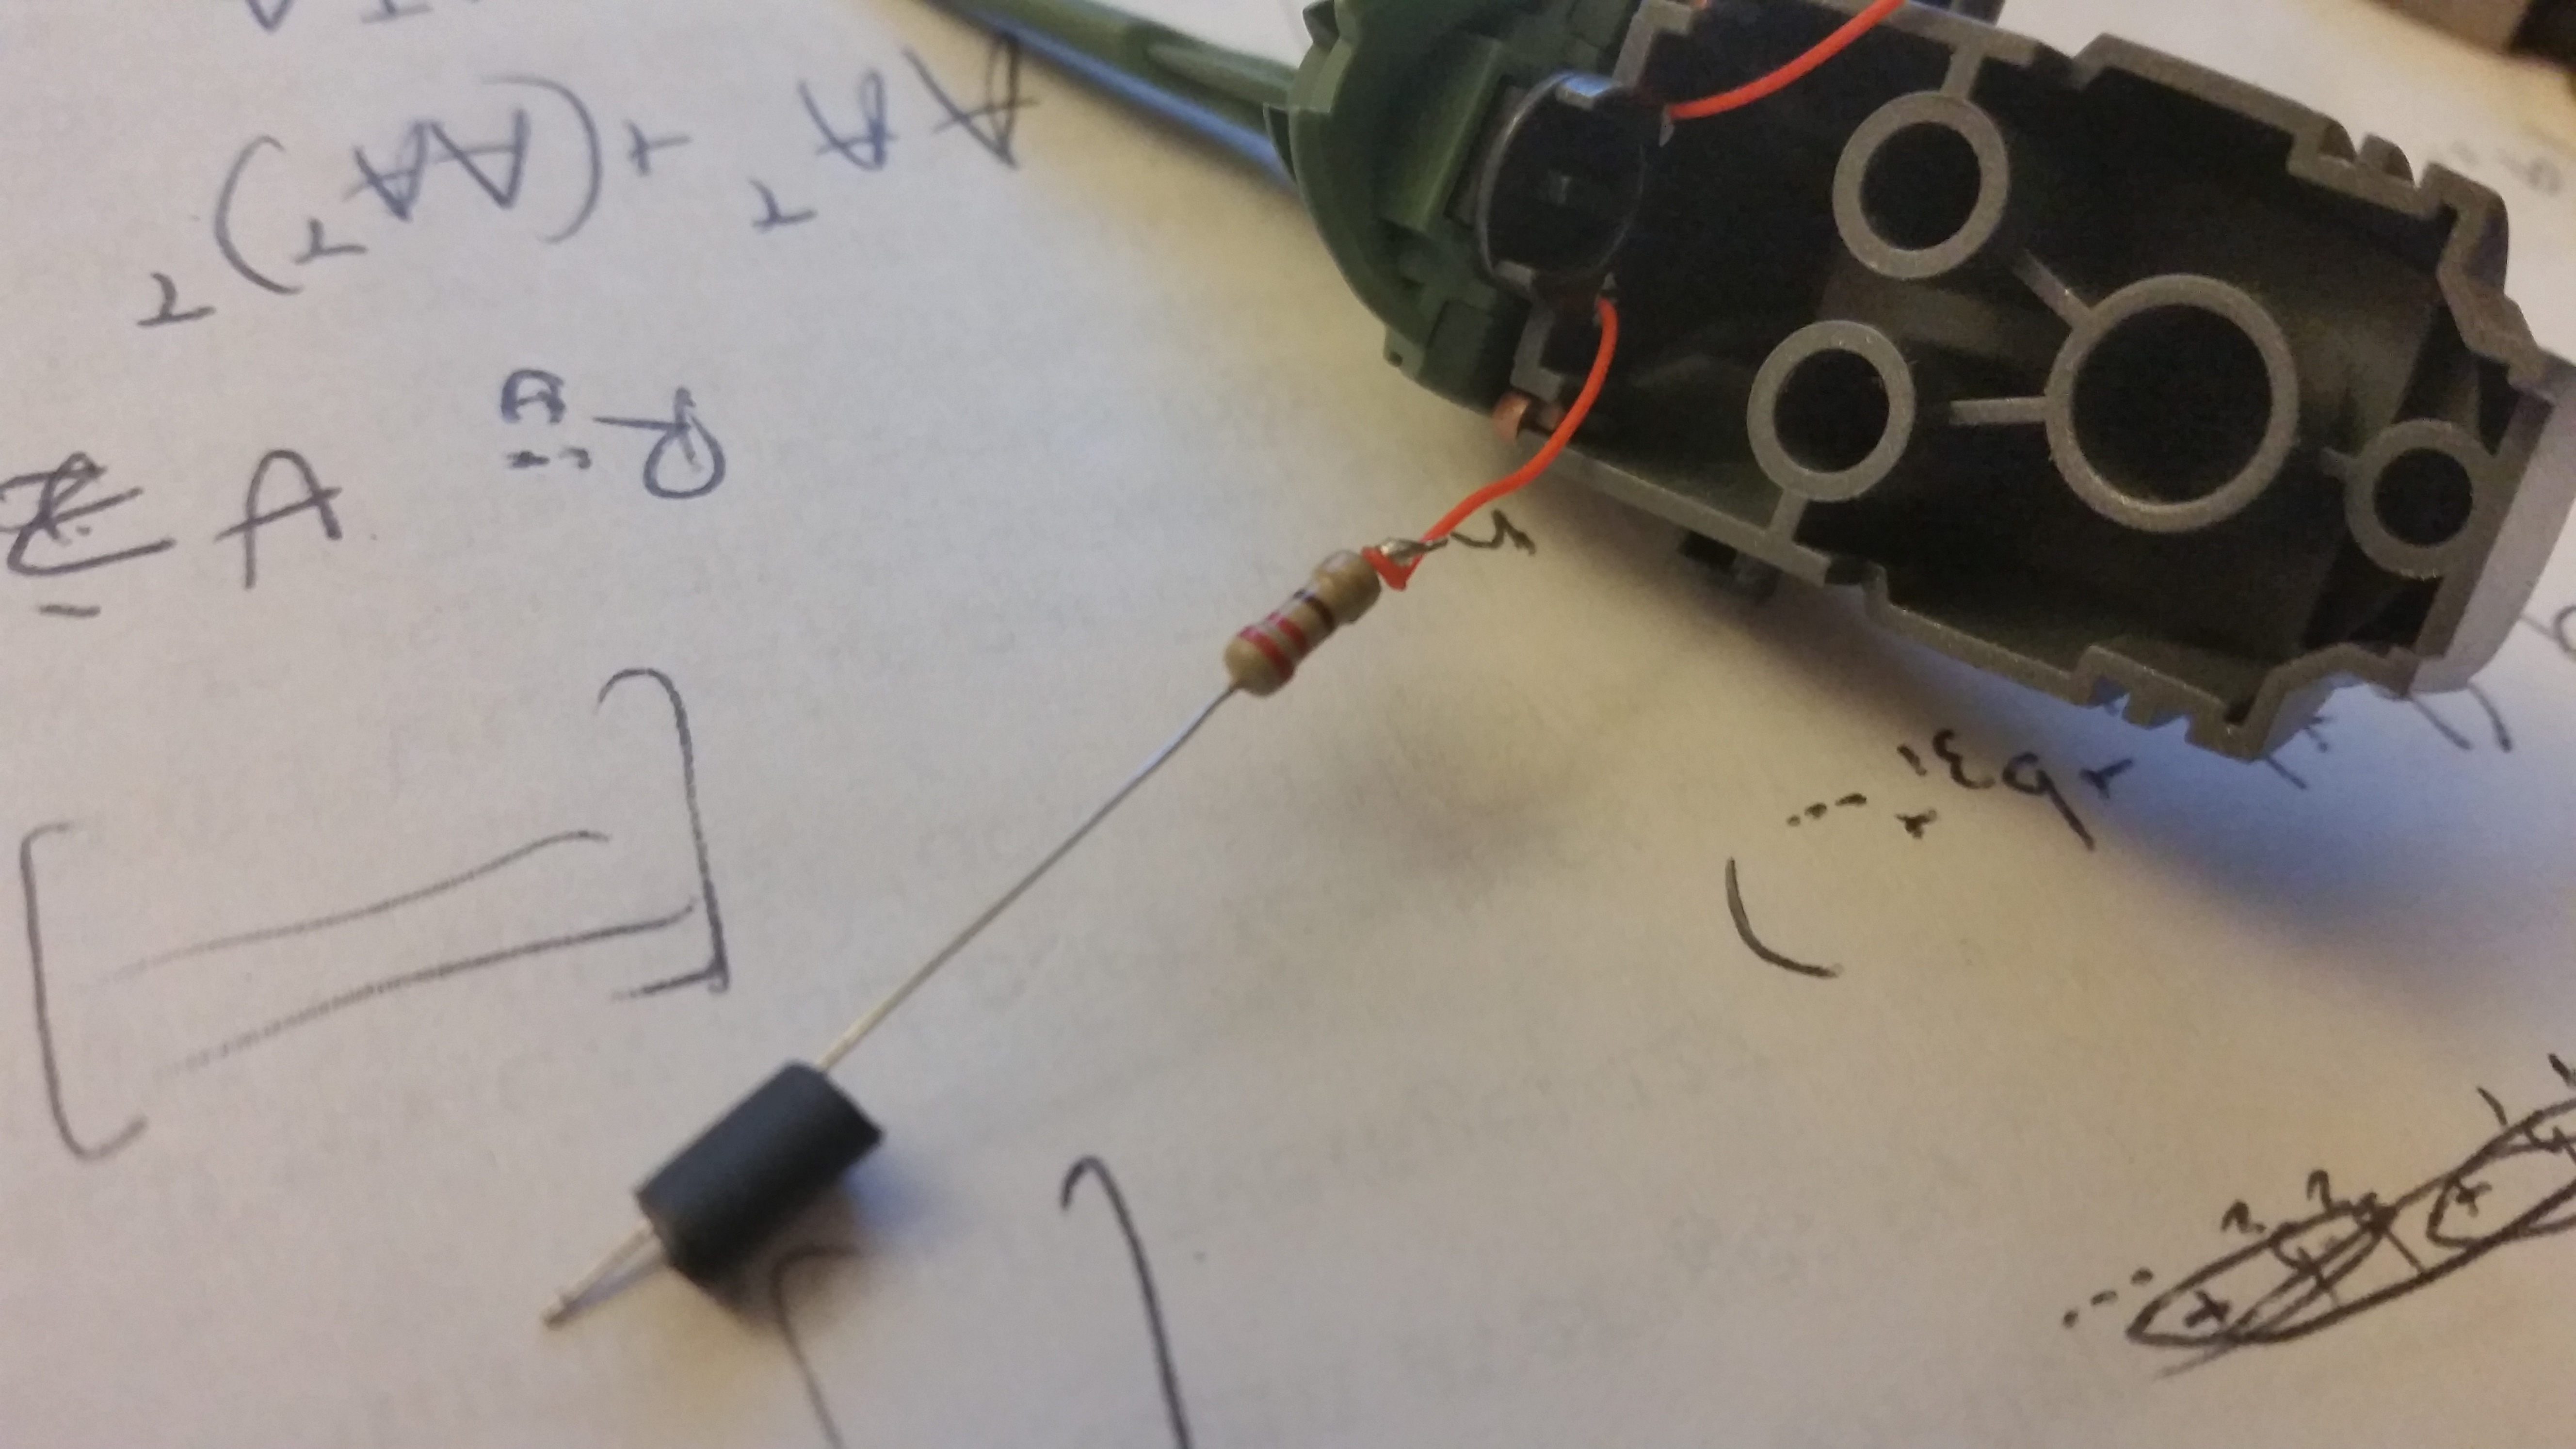
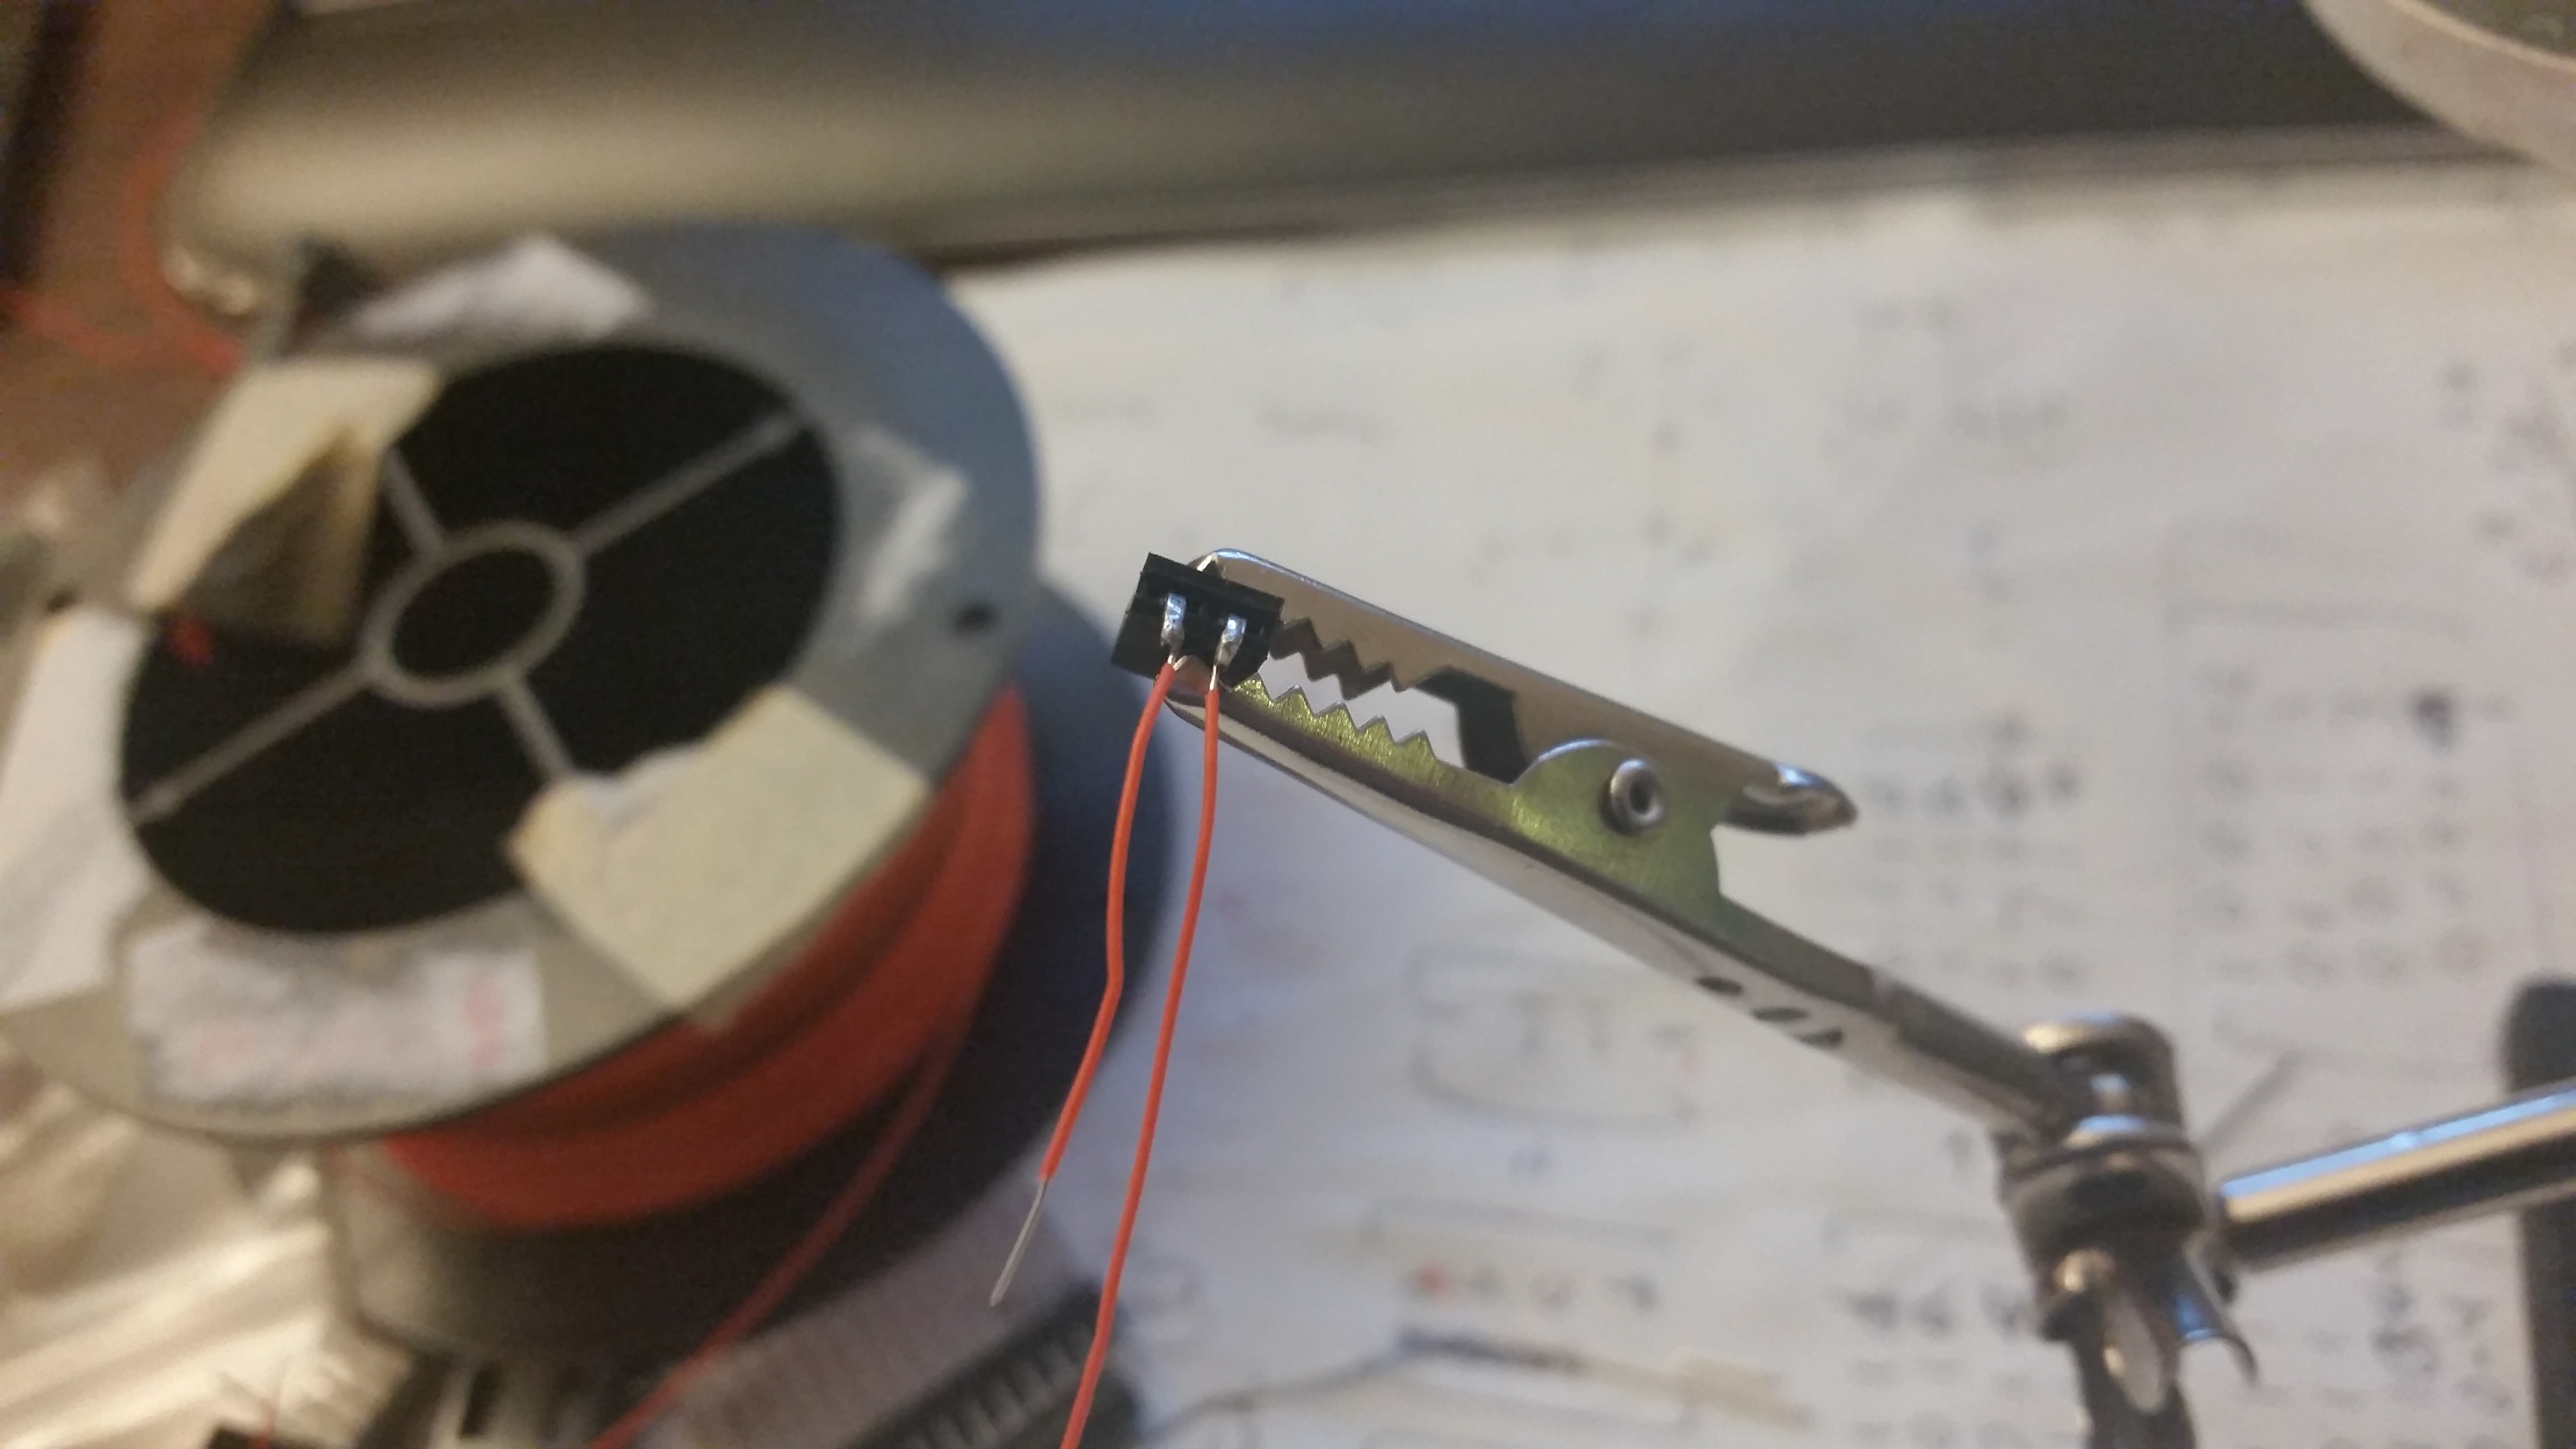
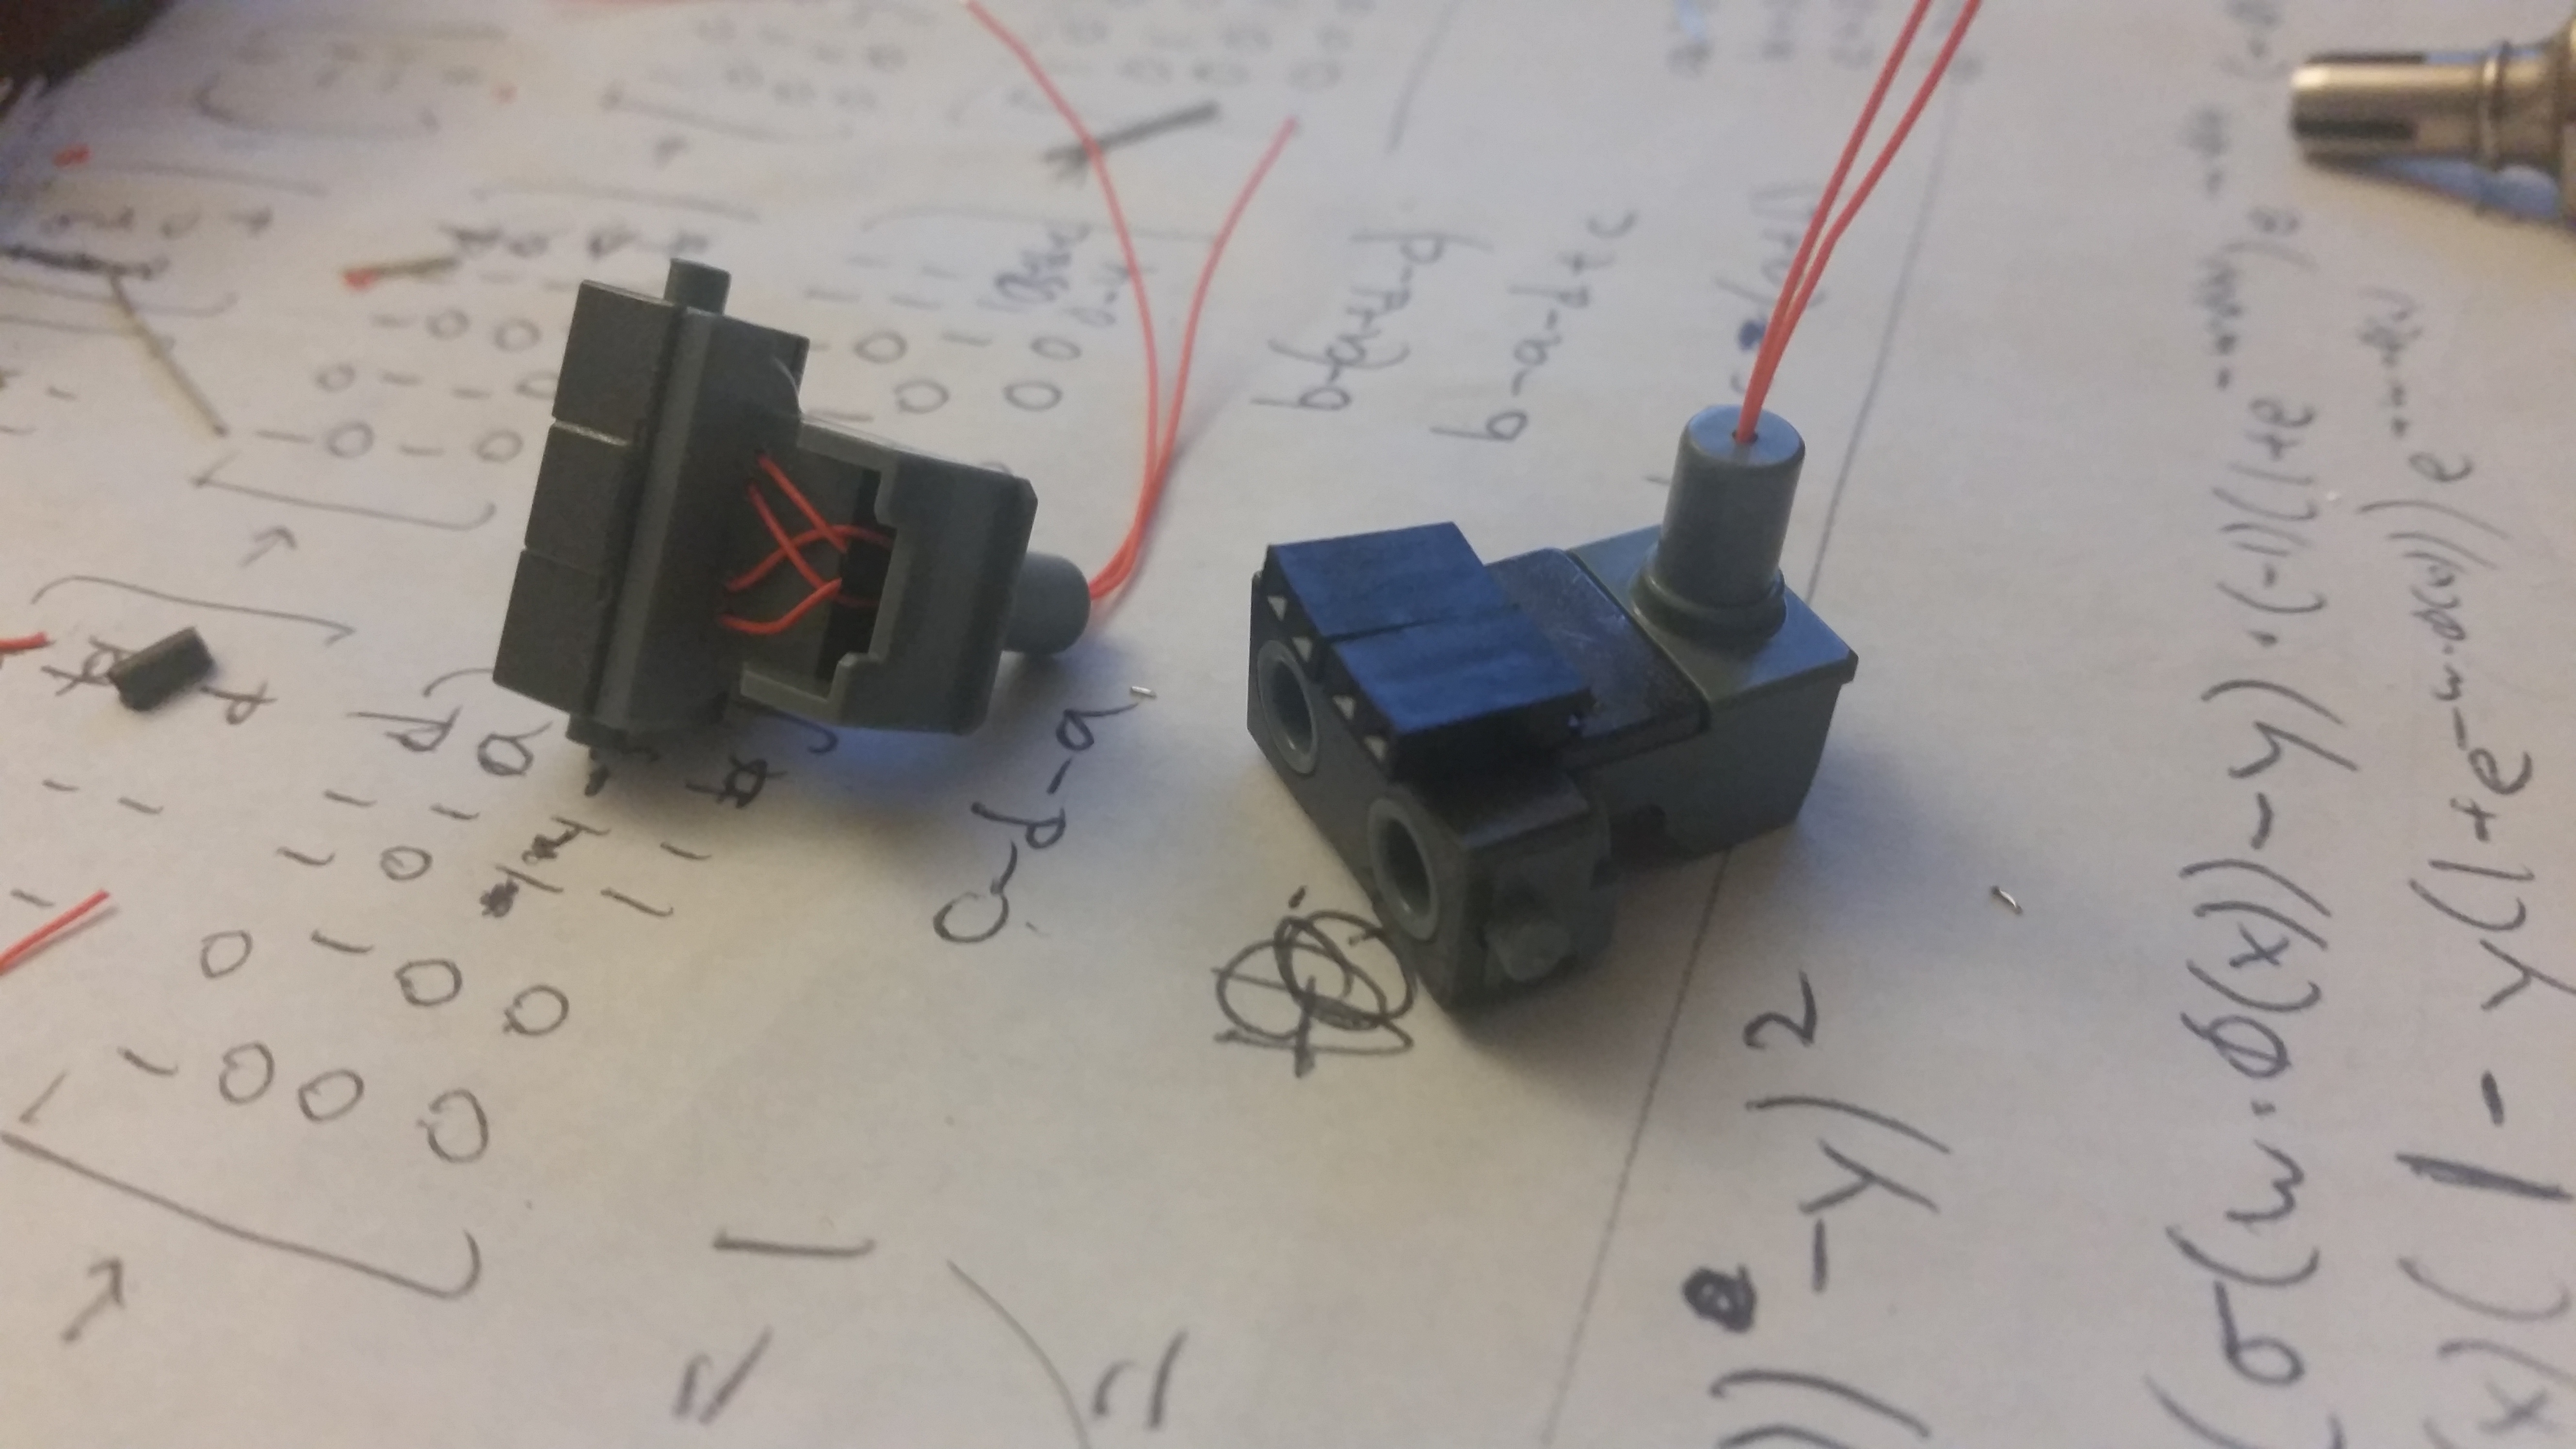
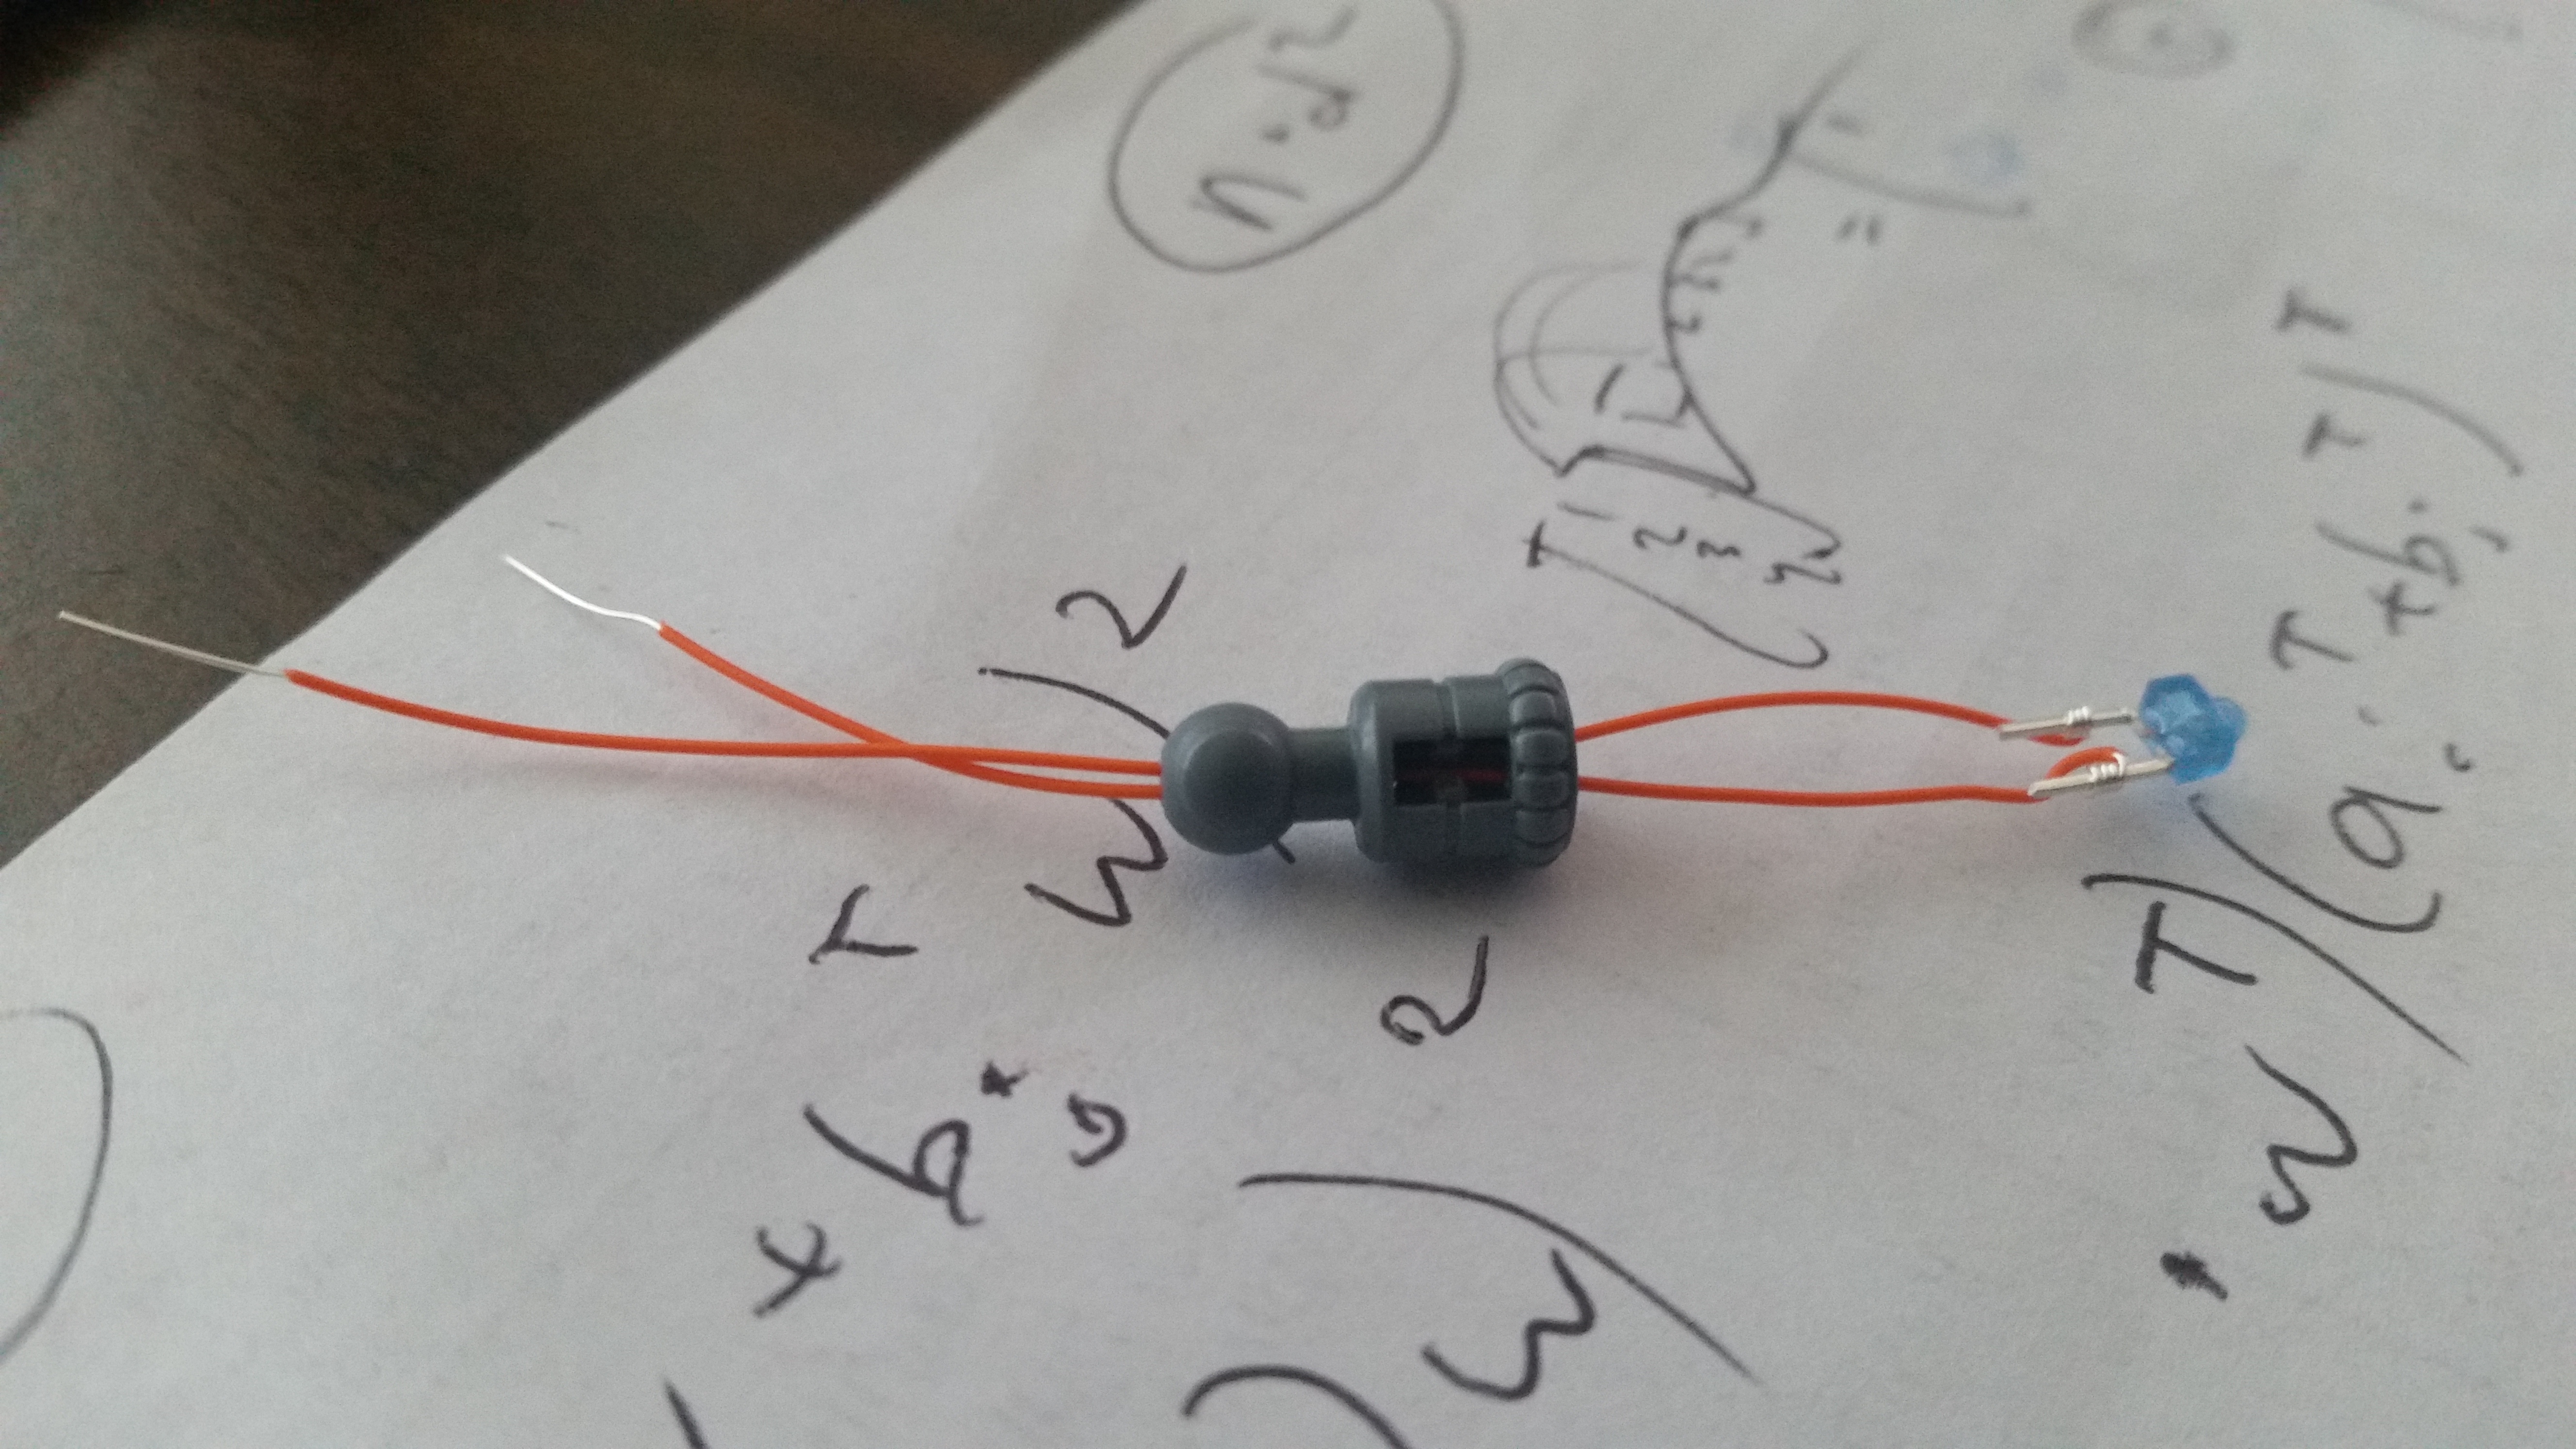
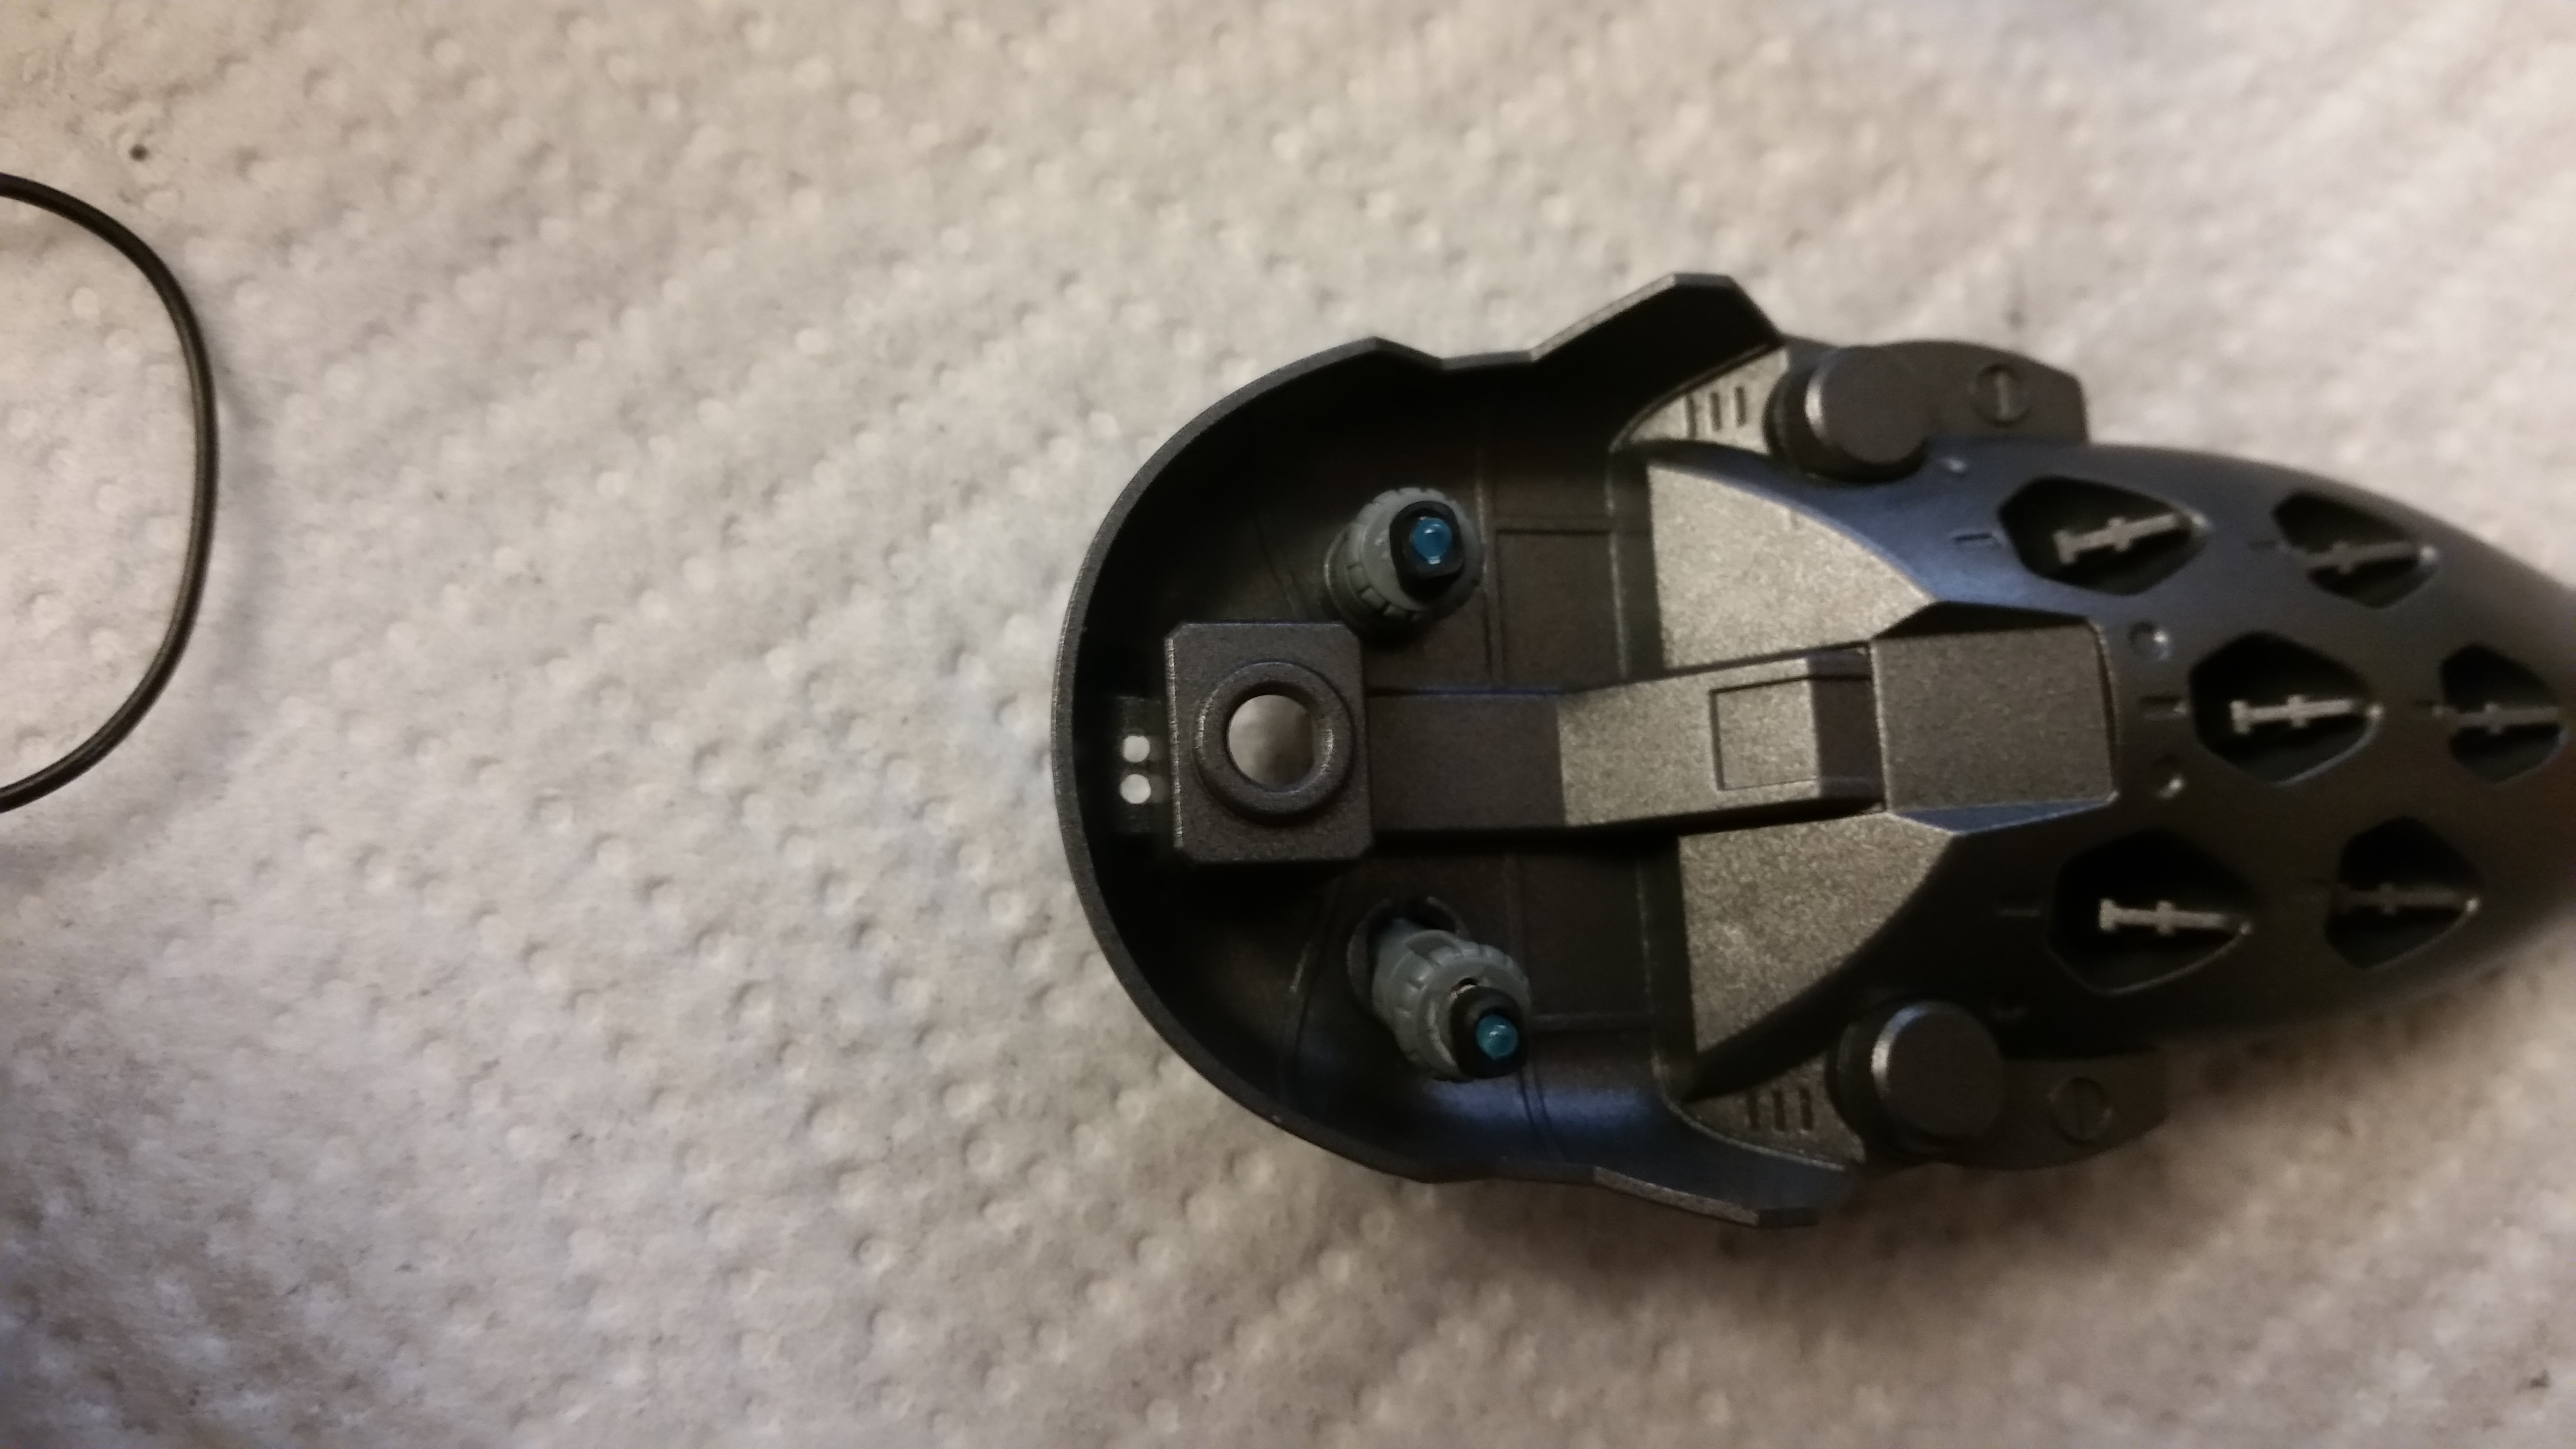
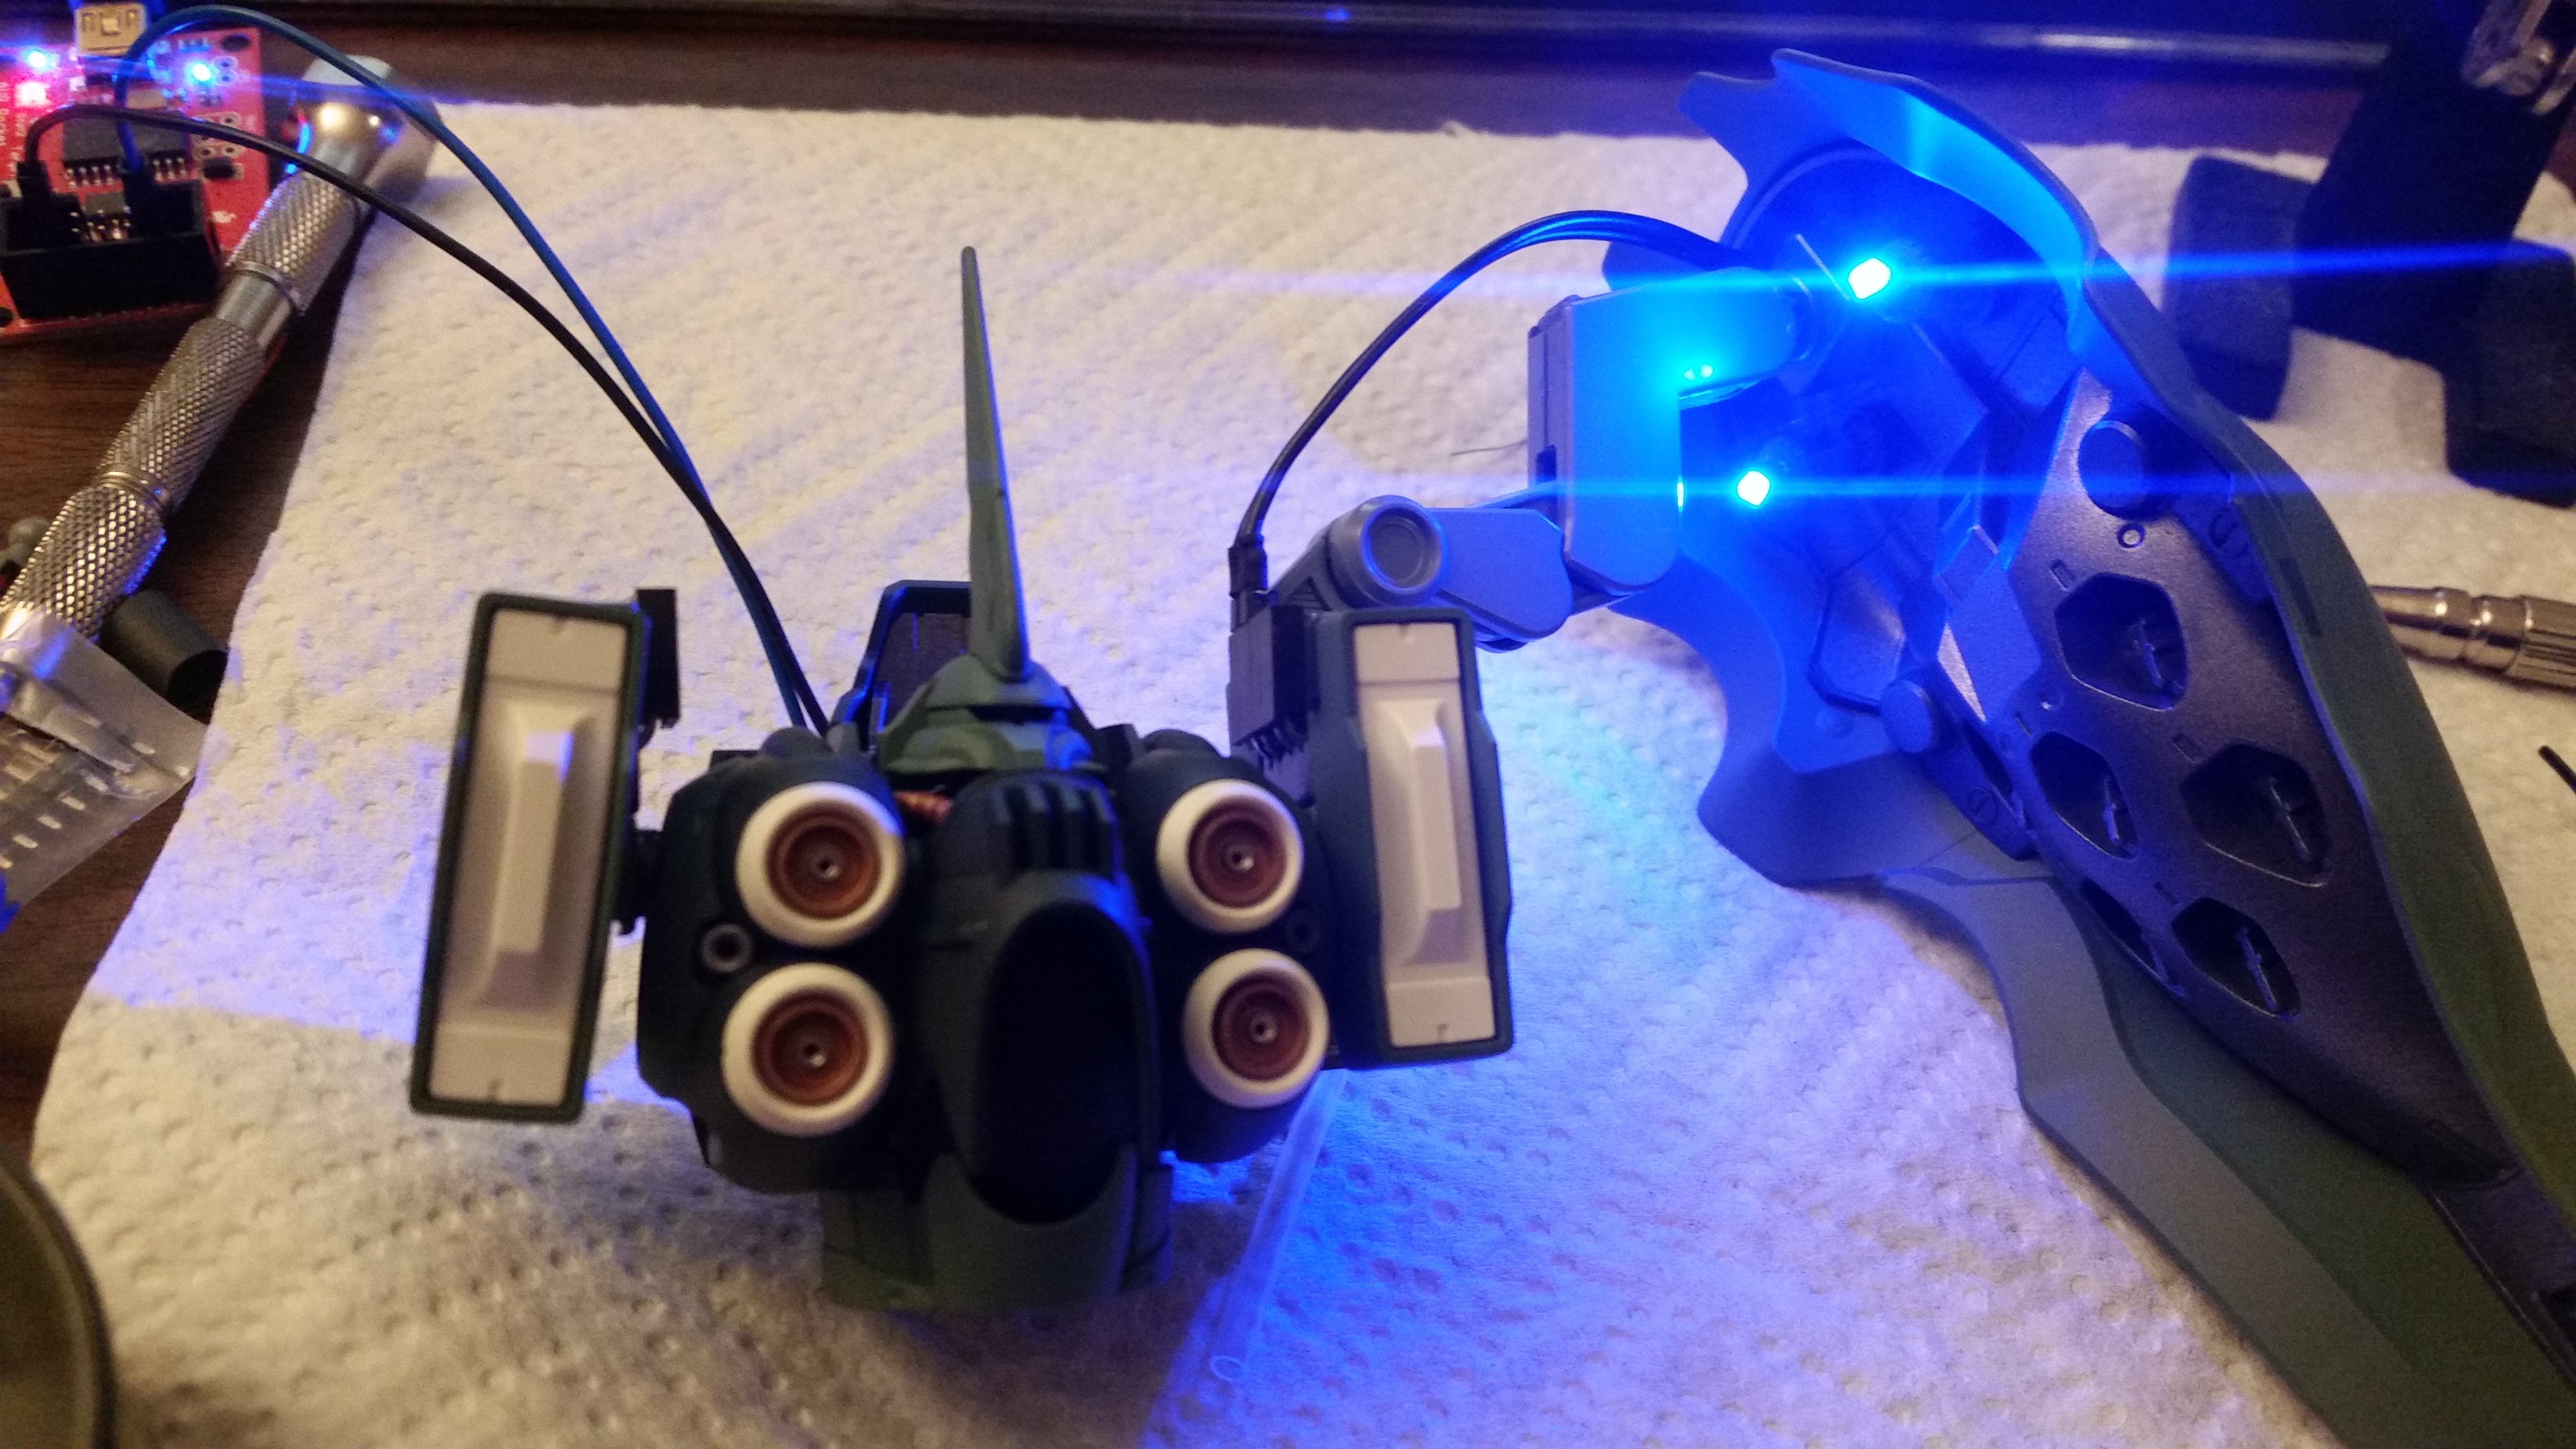
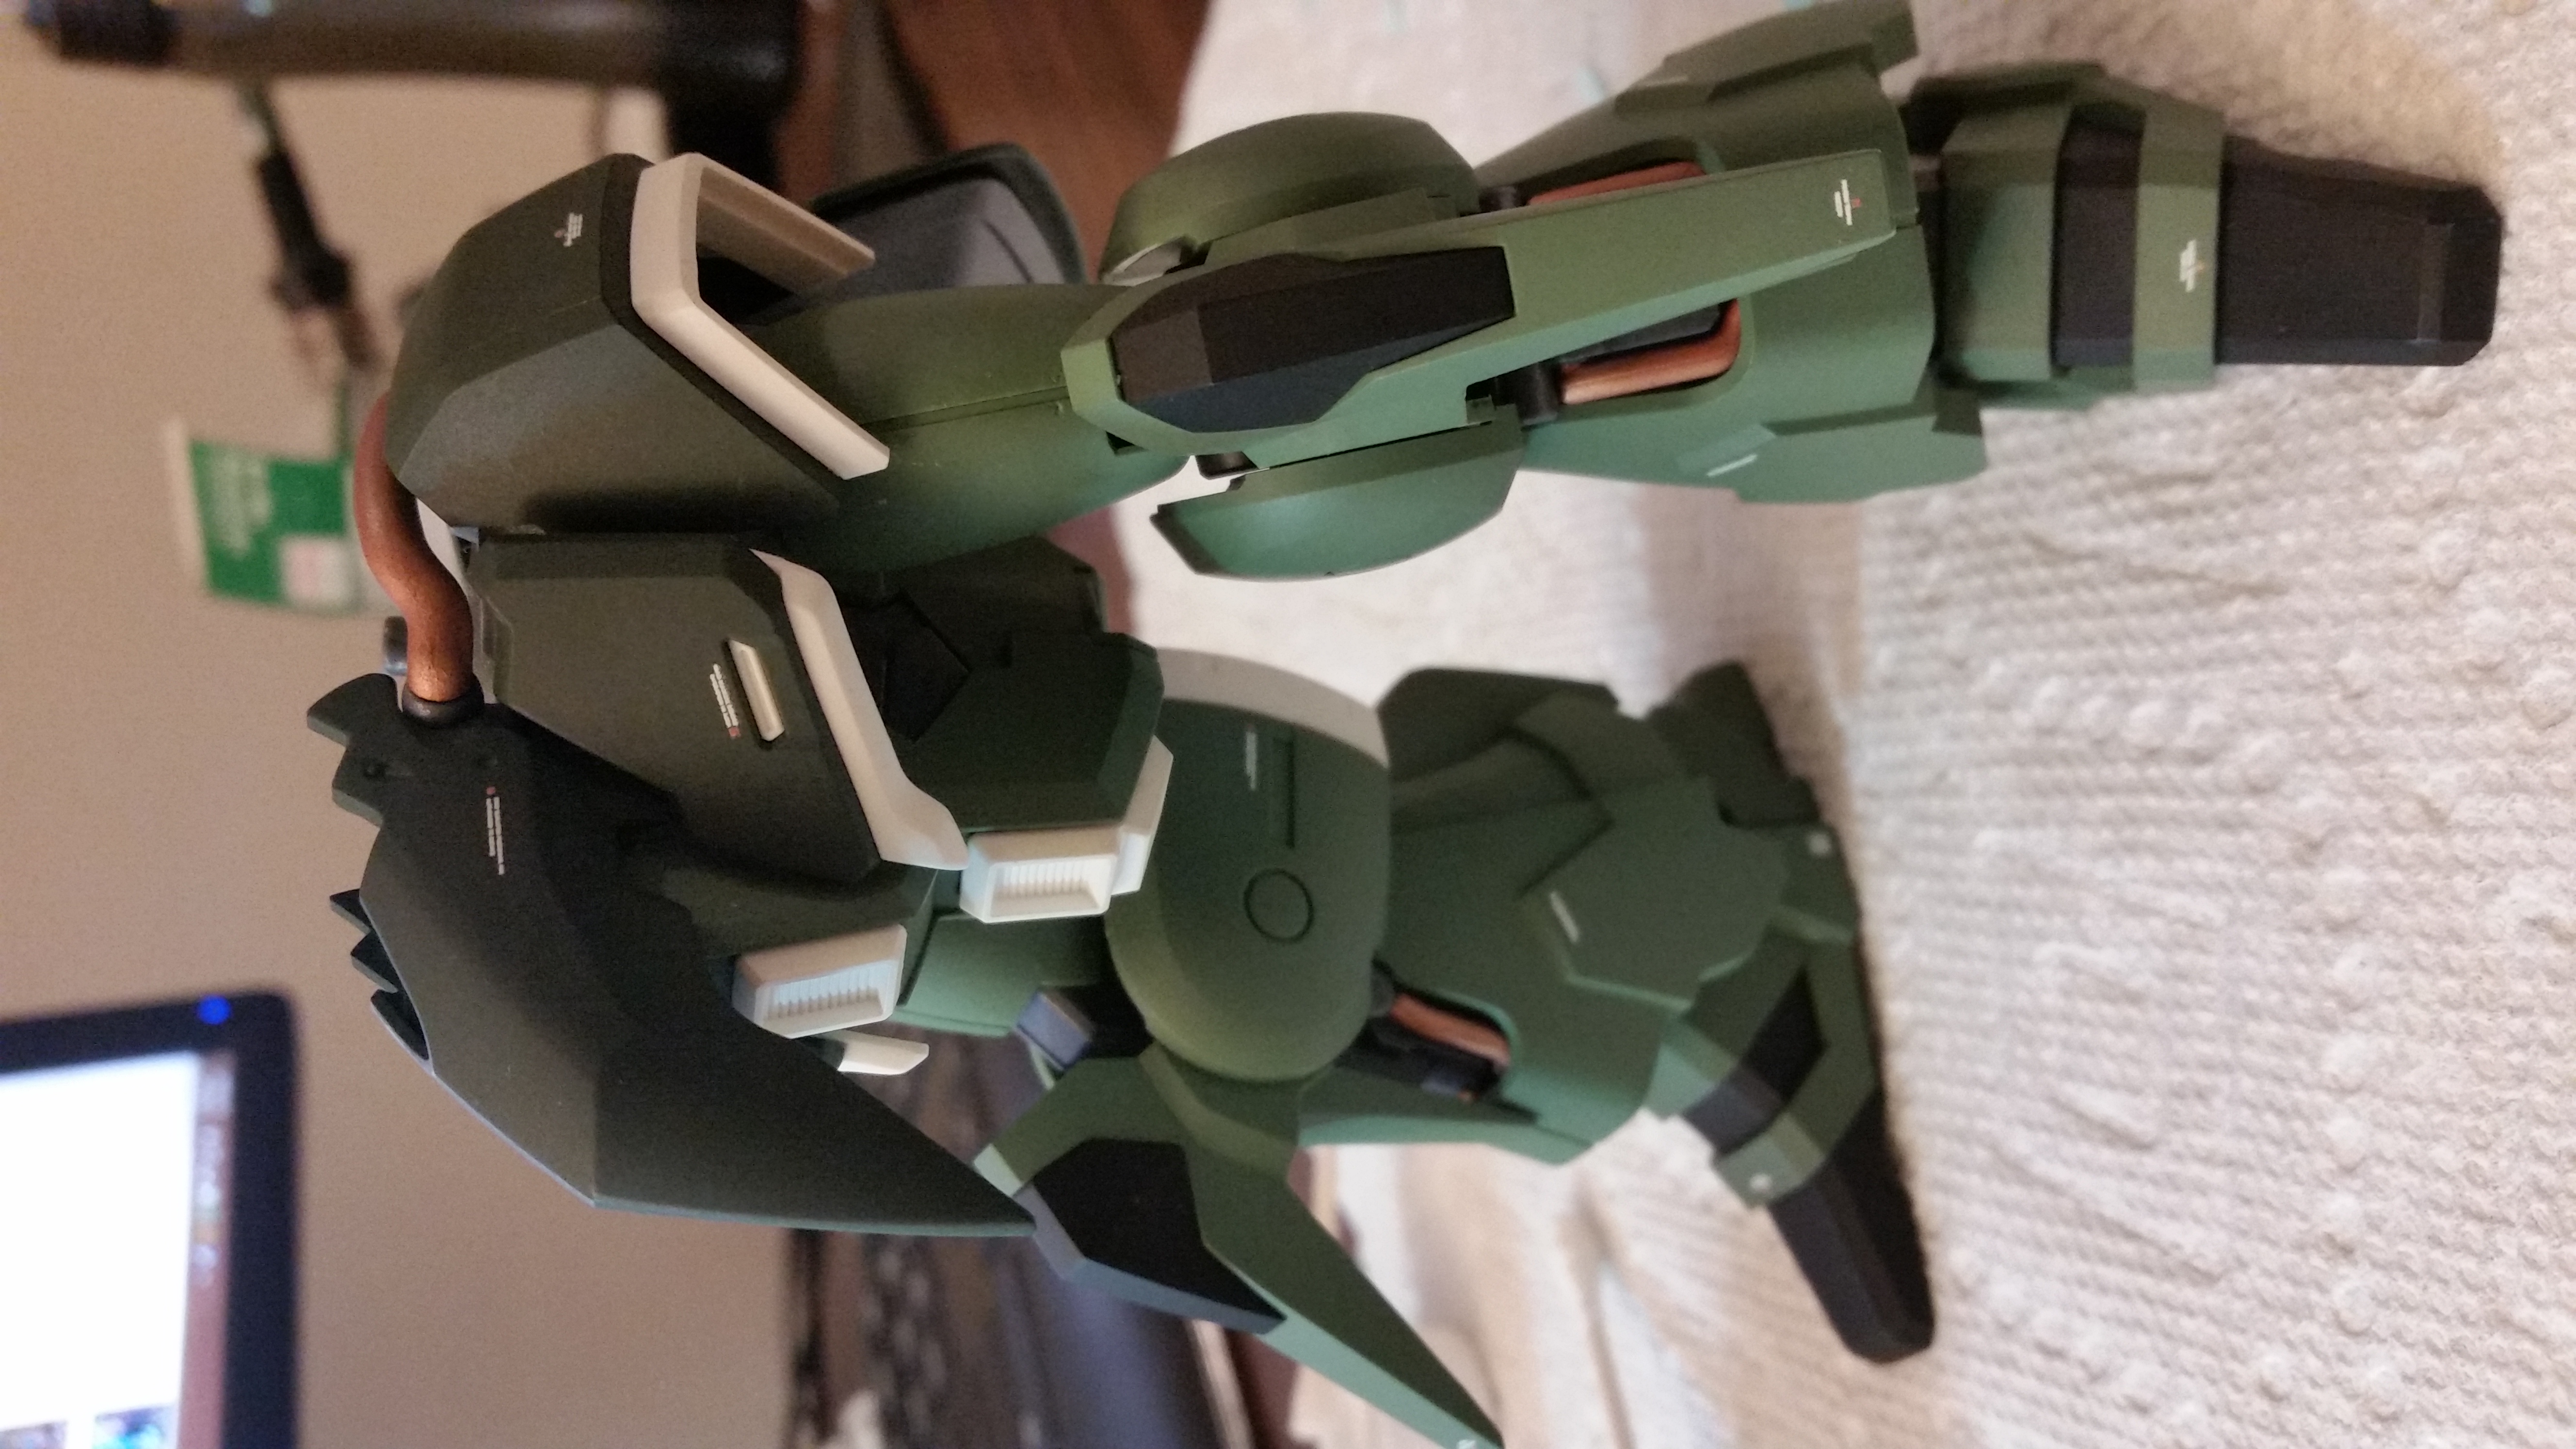
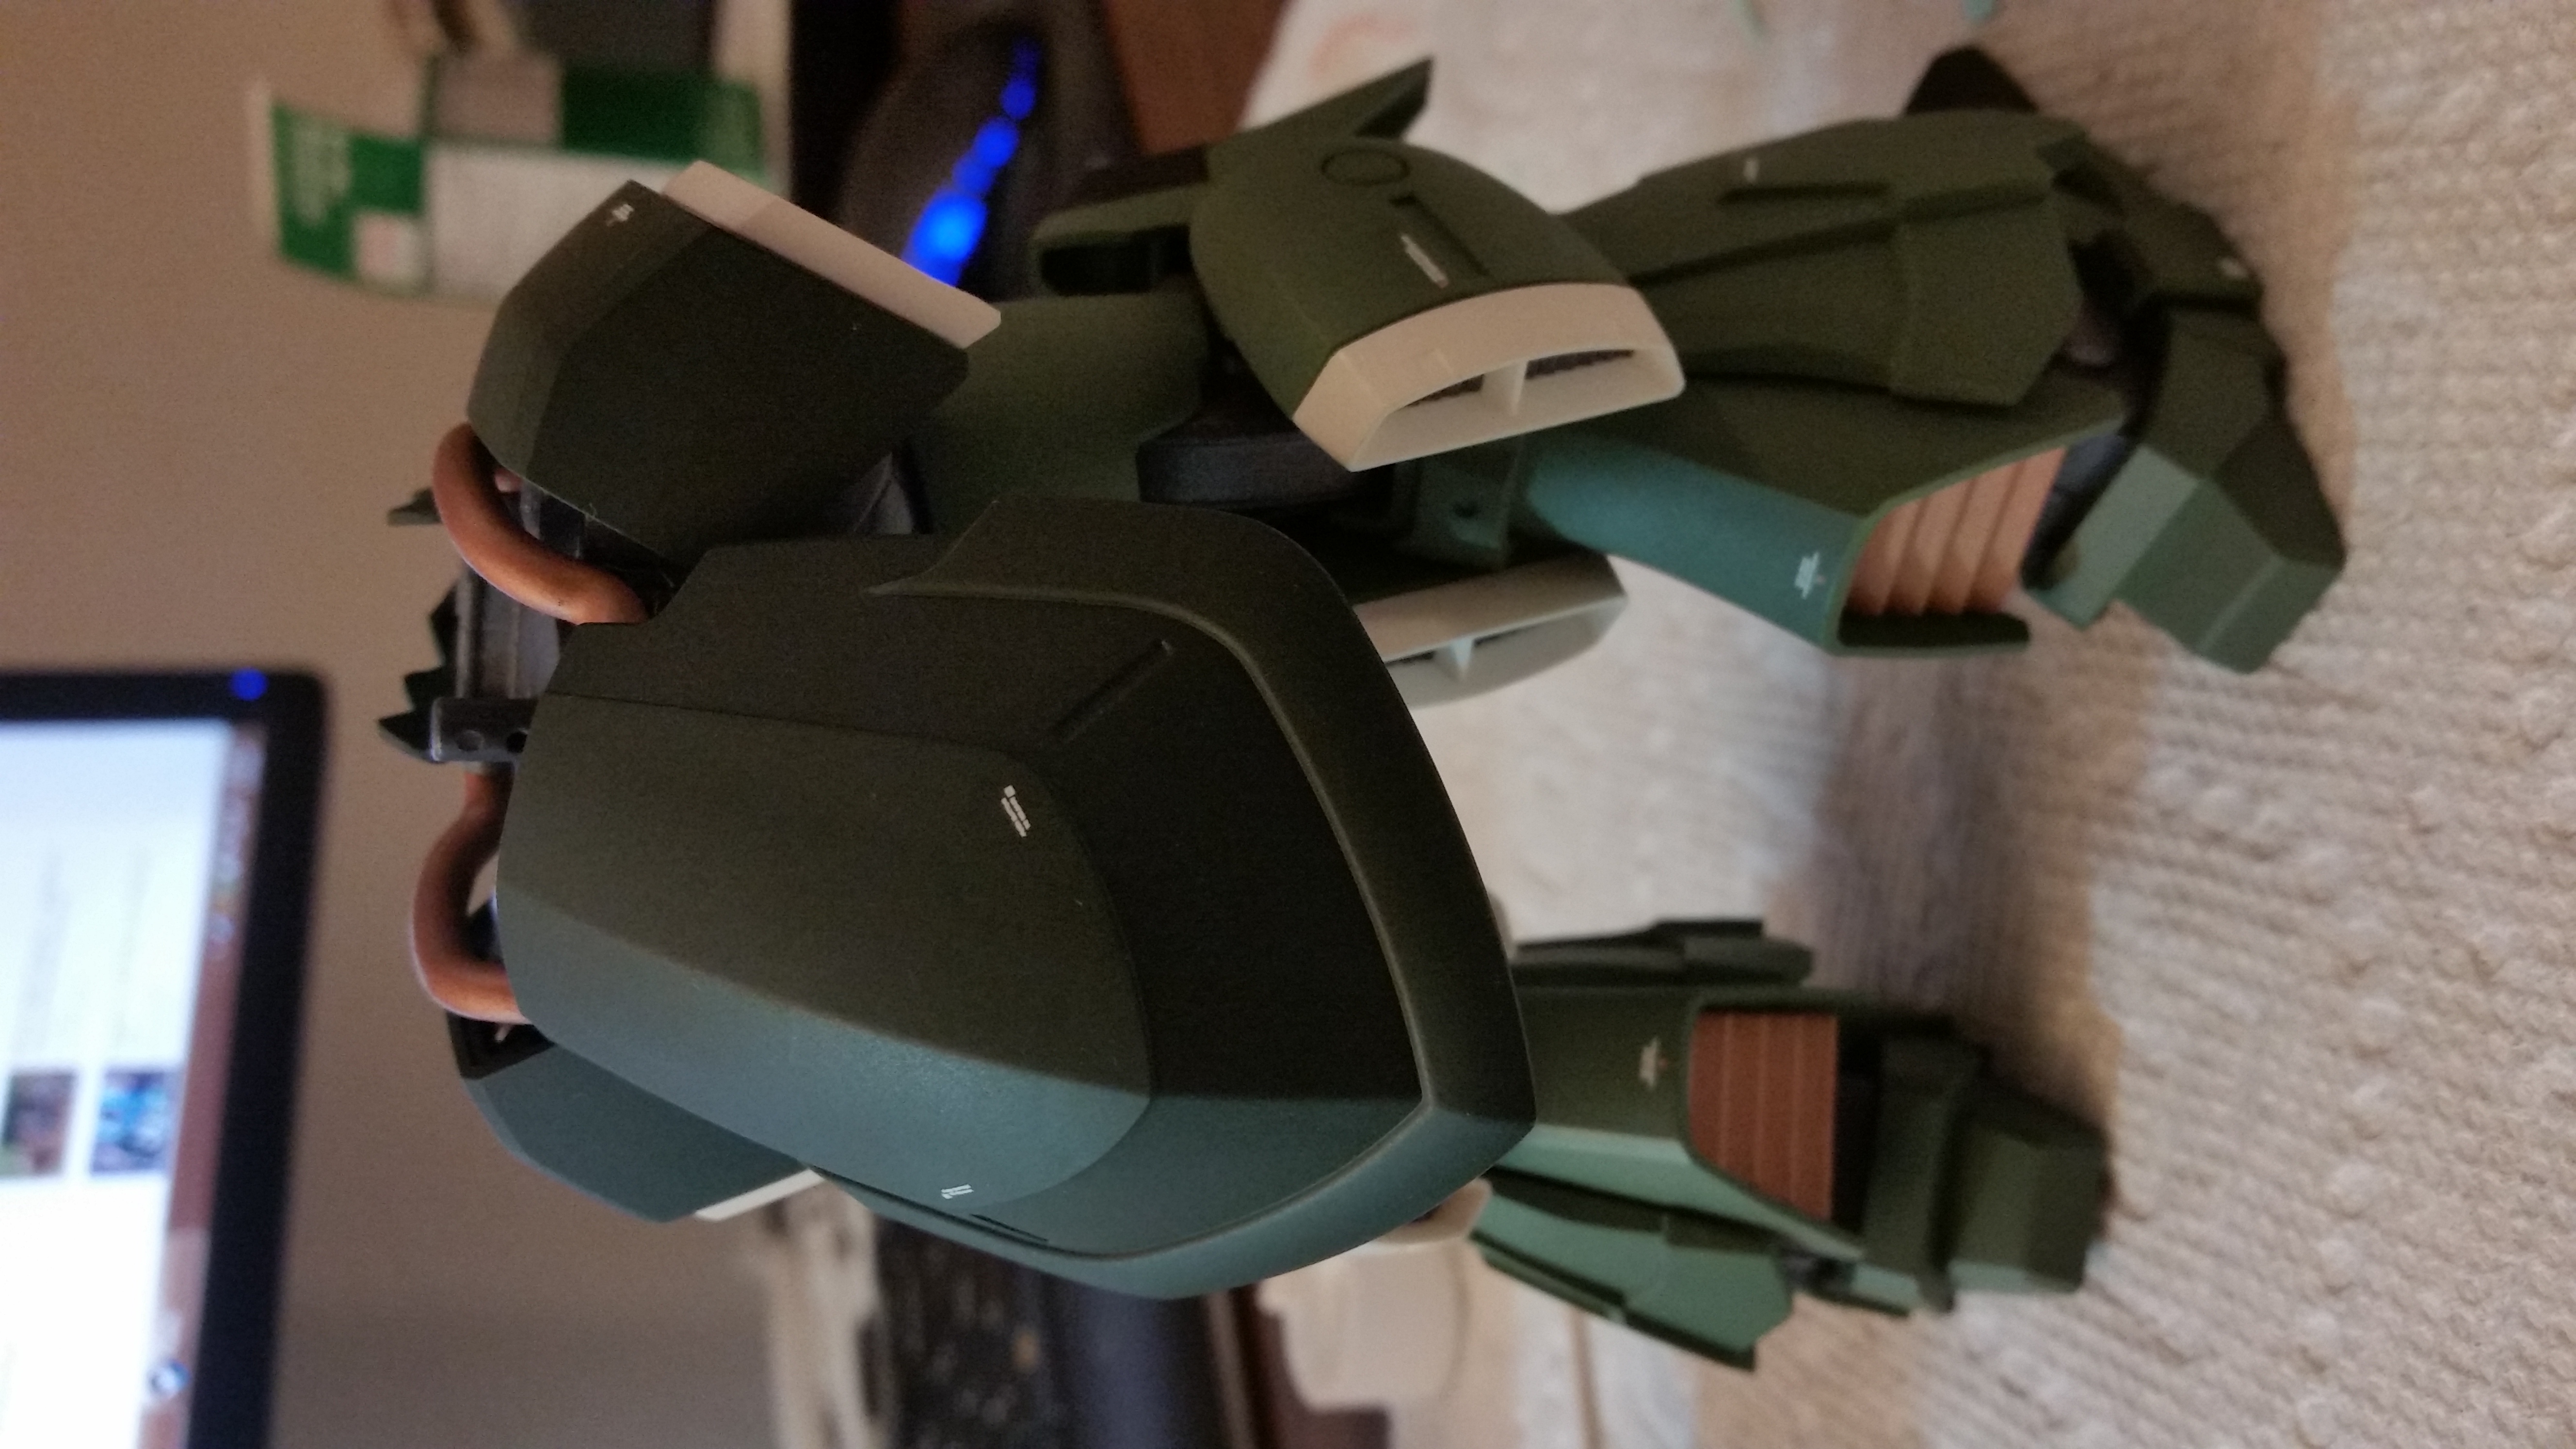
For the mono-eye, I used a tiny red 1.6mm through-hole LED I found at Fry’s. I cut out a bit of plastic to fit the LED, and used heatshrink to prevent light from leaking from the sides. I used standard wire-wrap wire for all the internal wiring for this project - not the most flexible, but it was thin and I had some on hand.
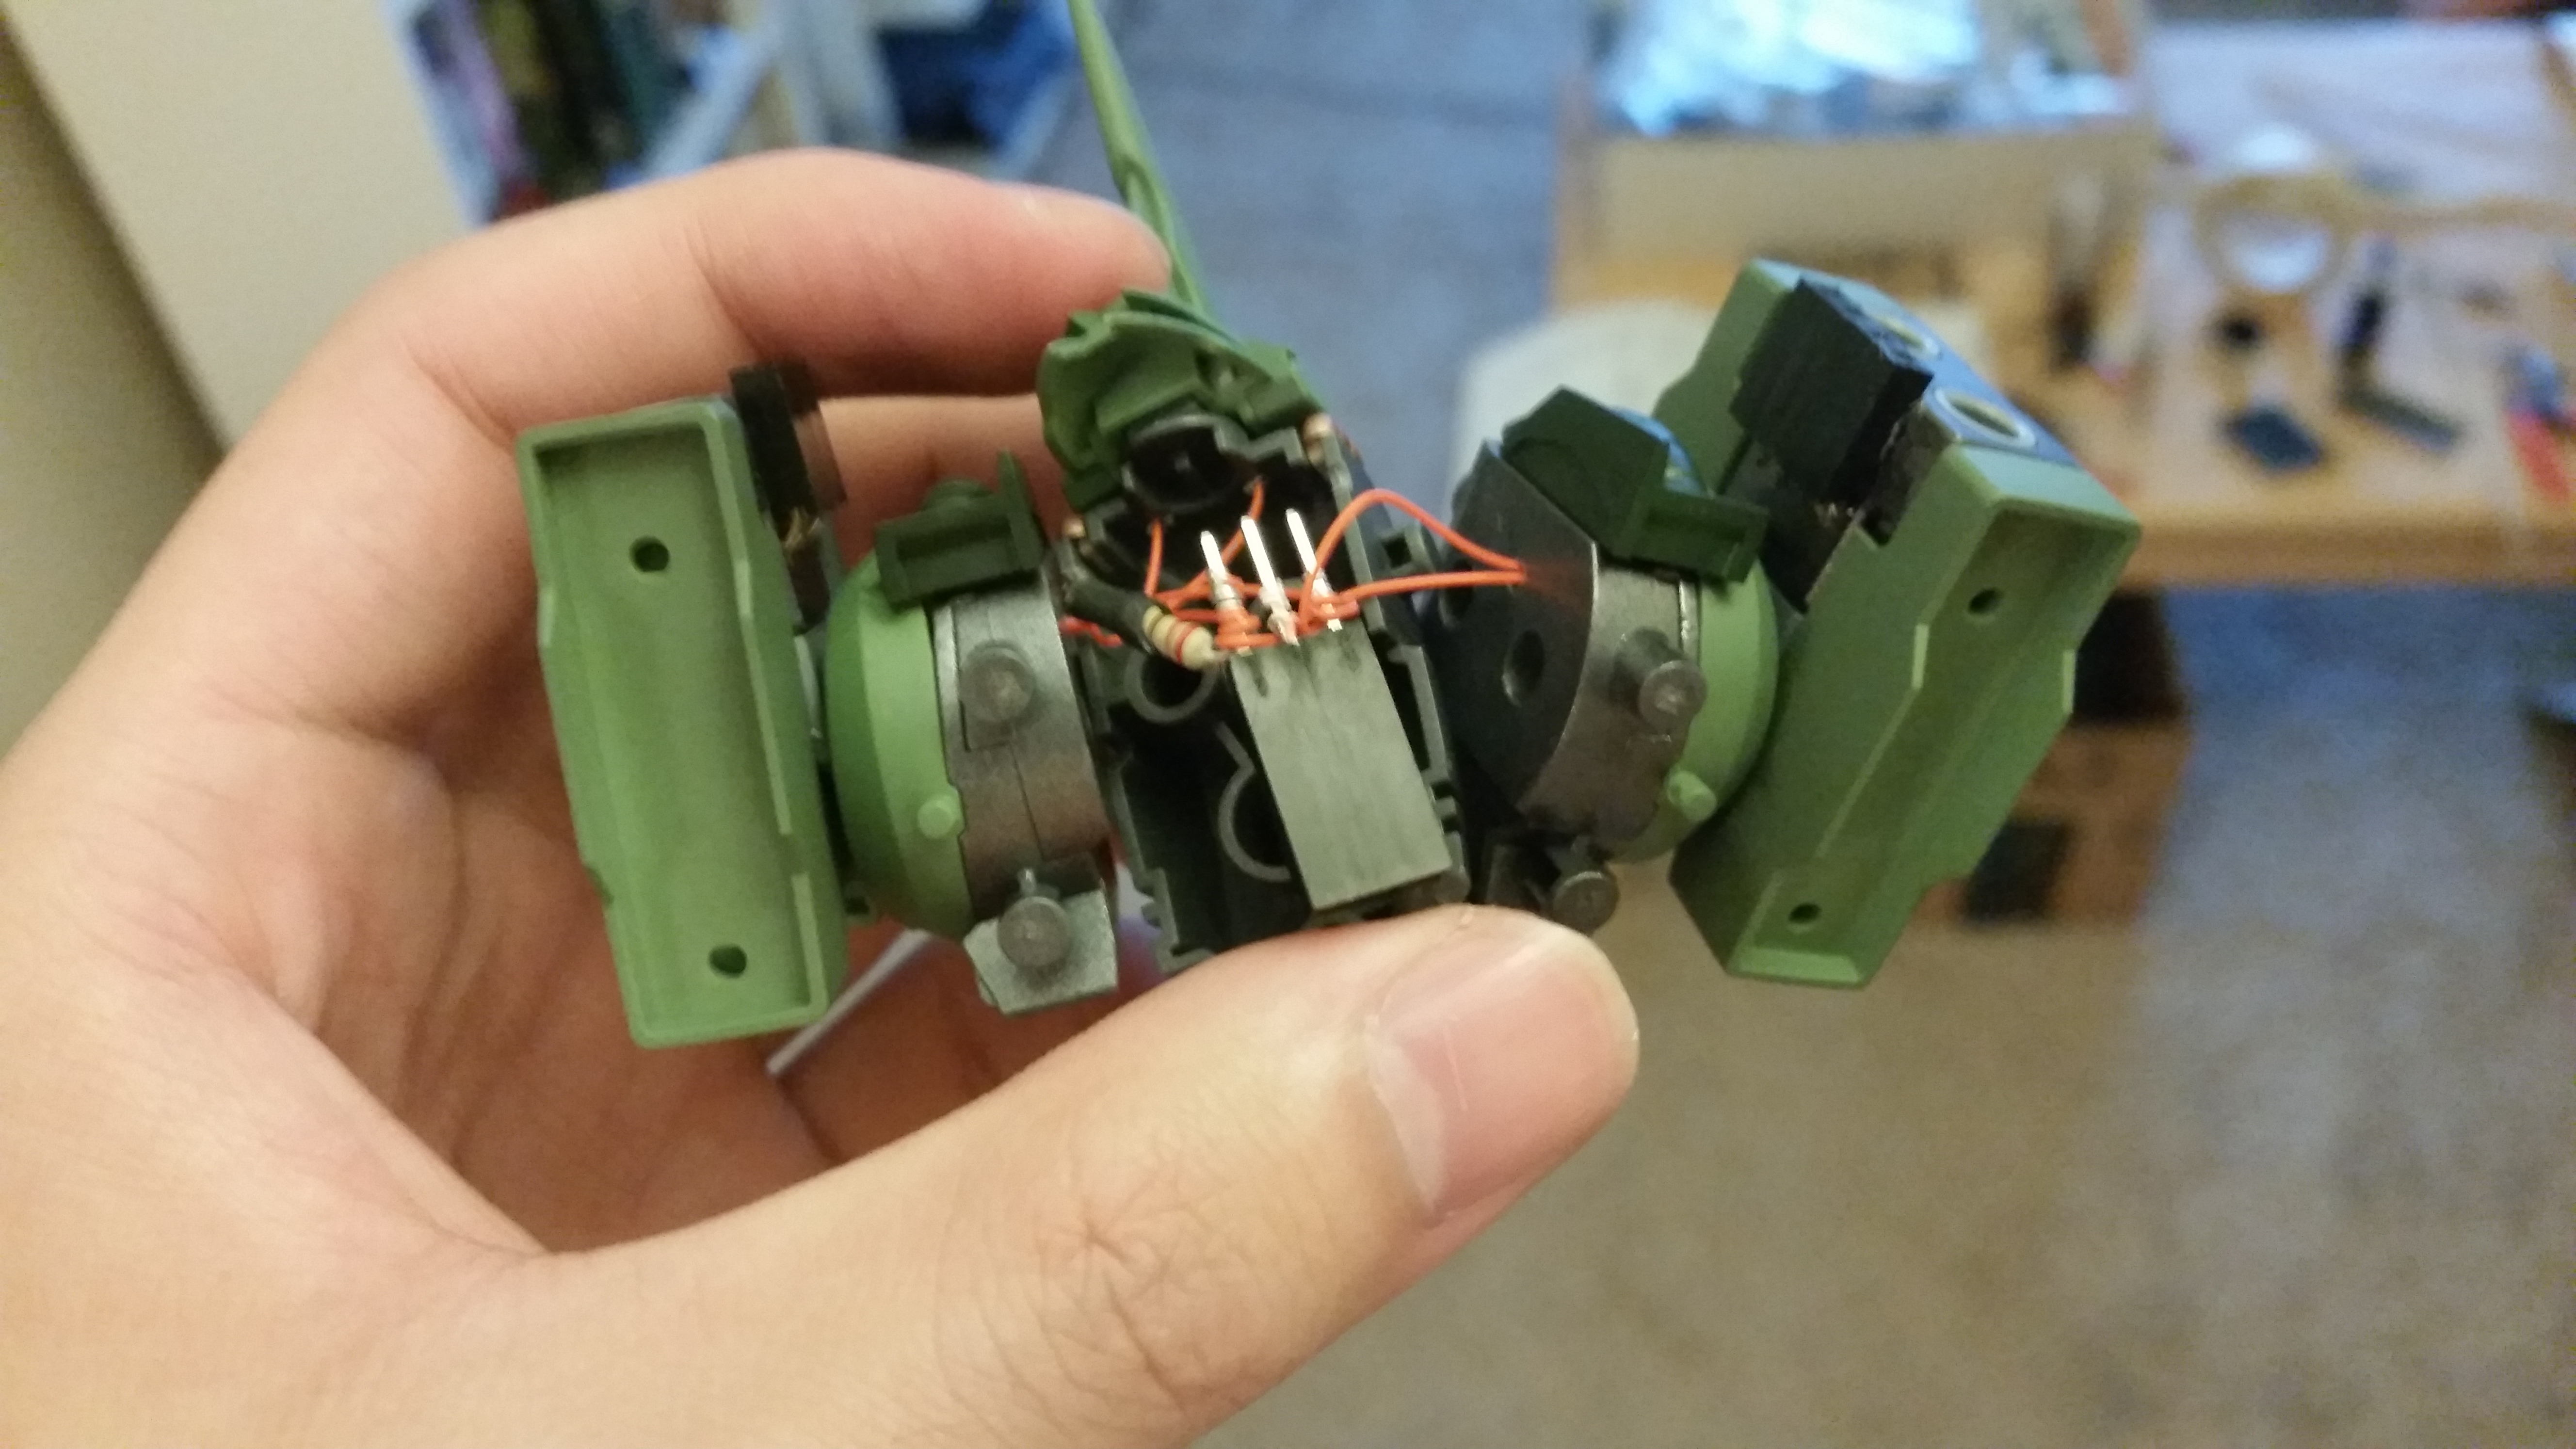
Wiring
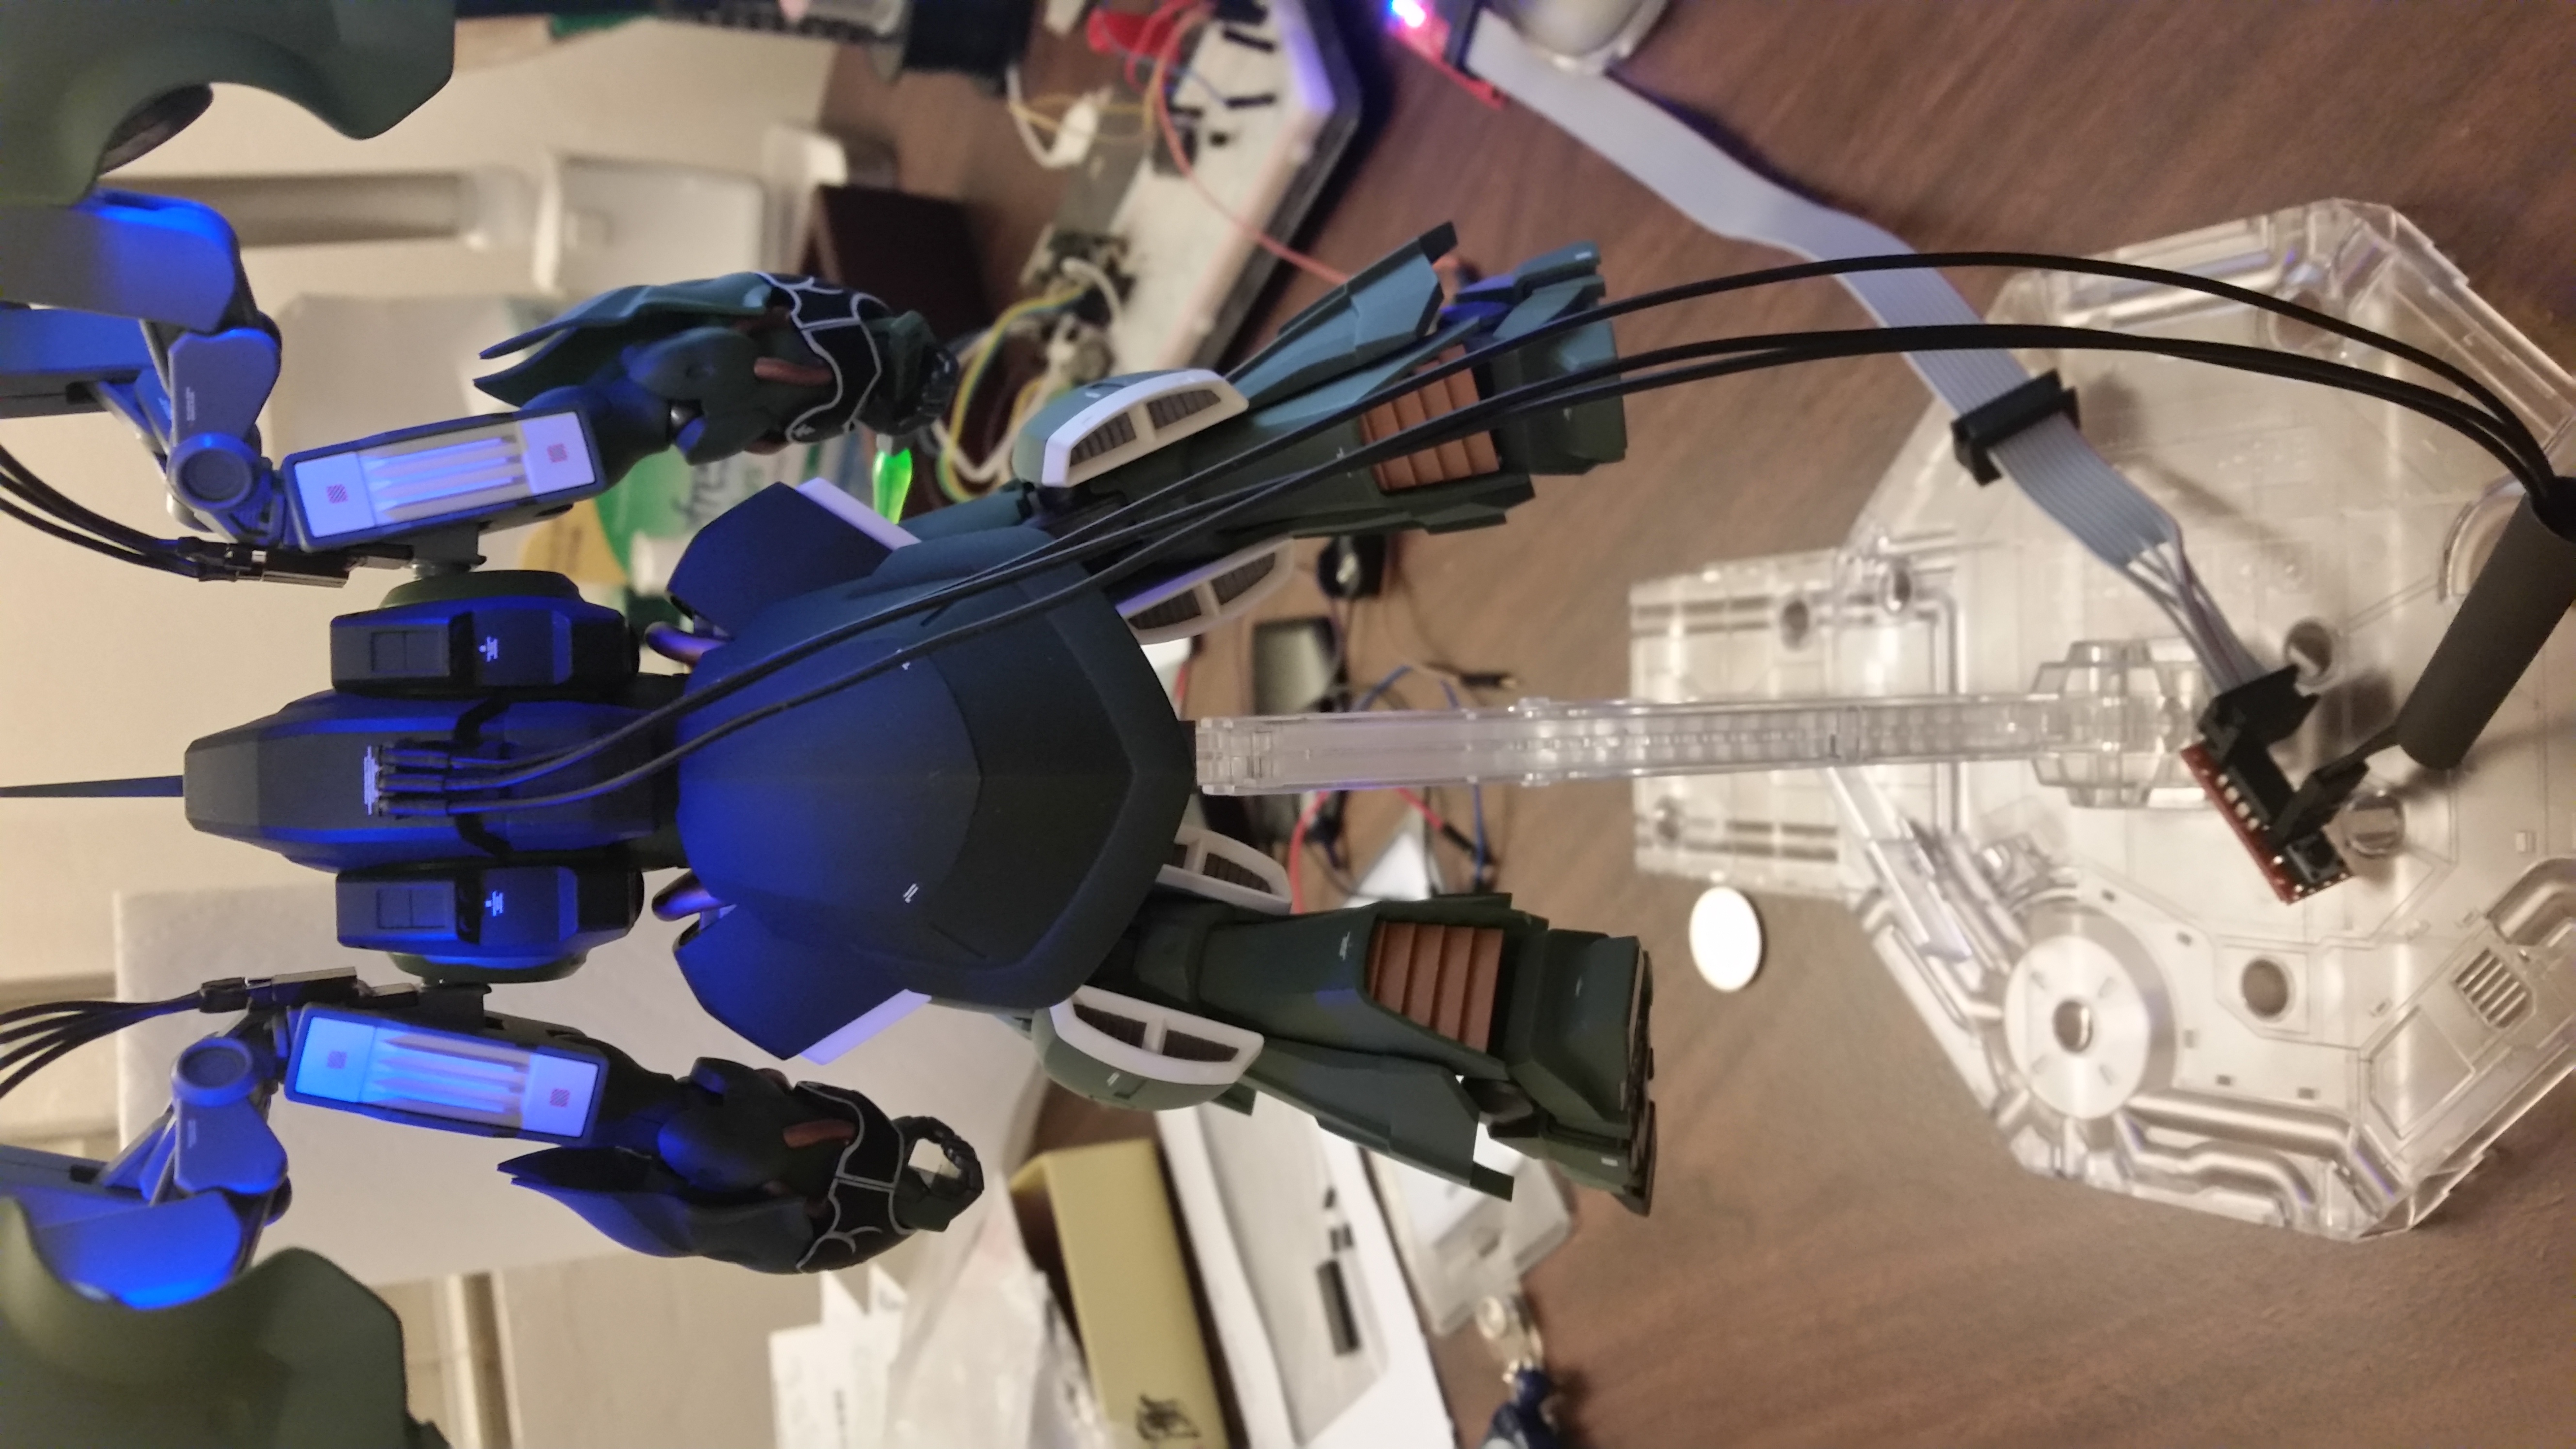
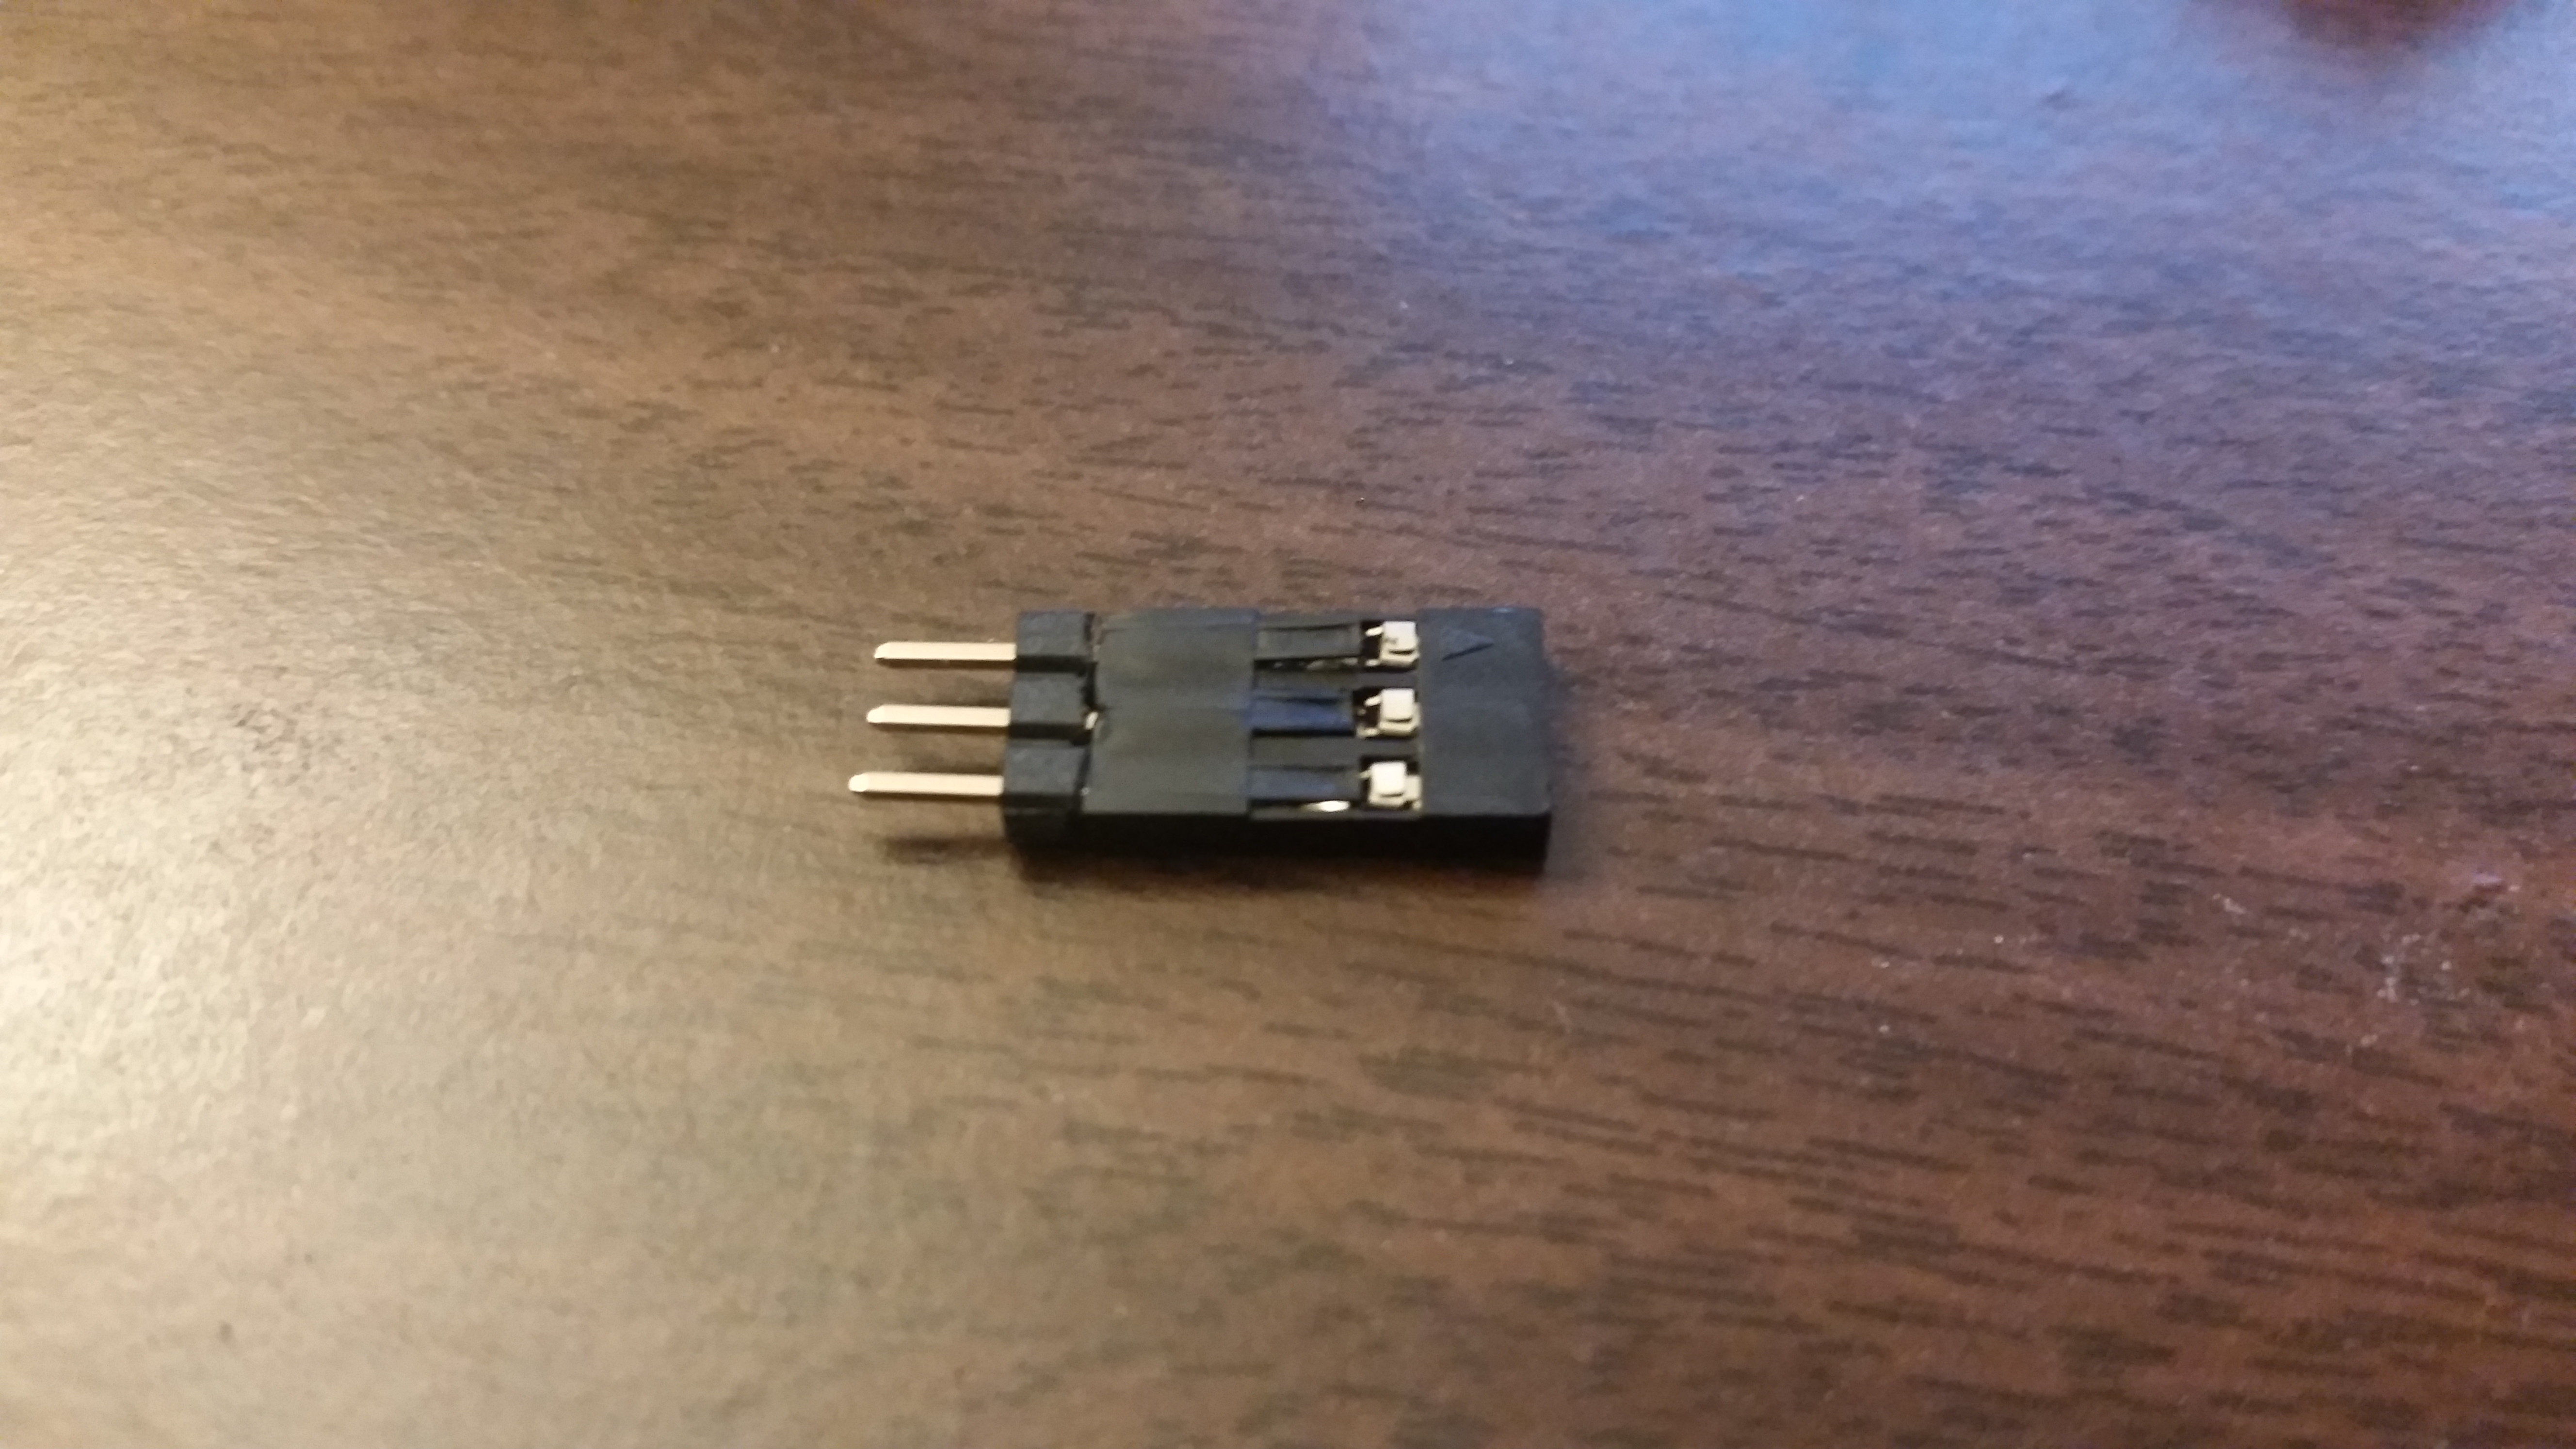
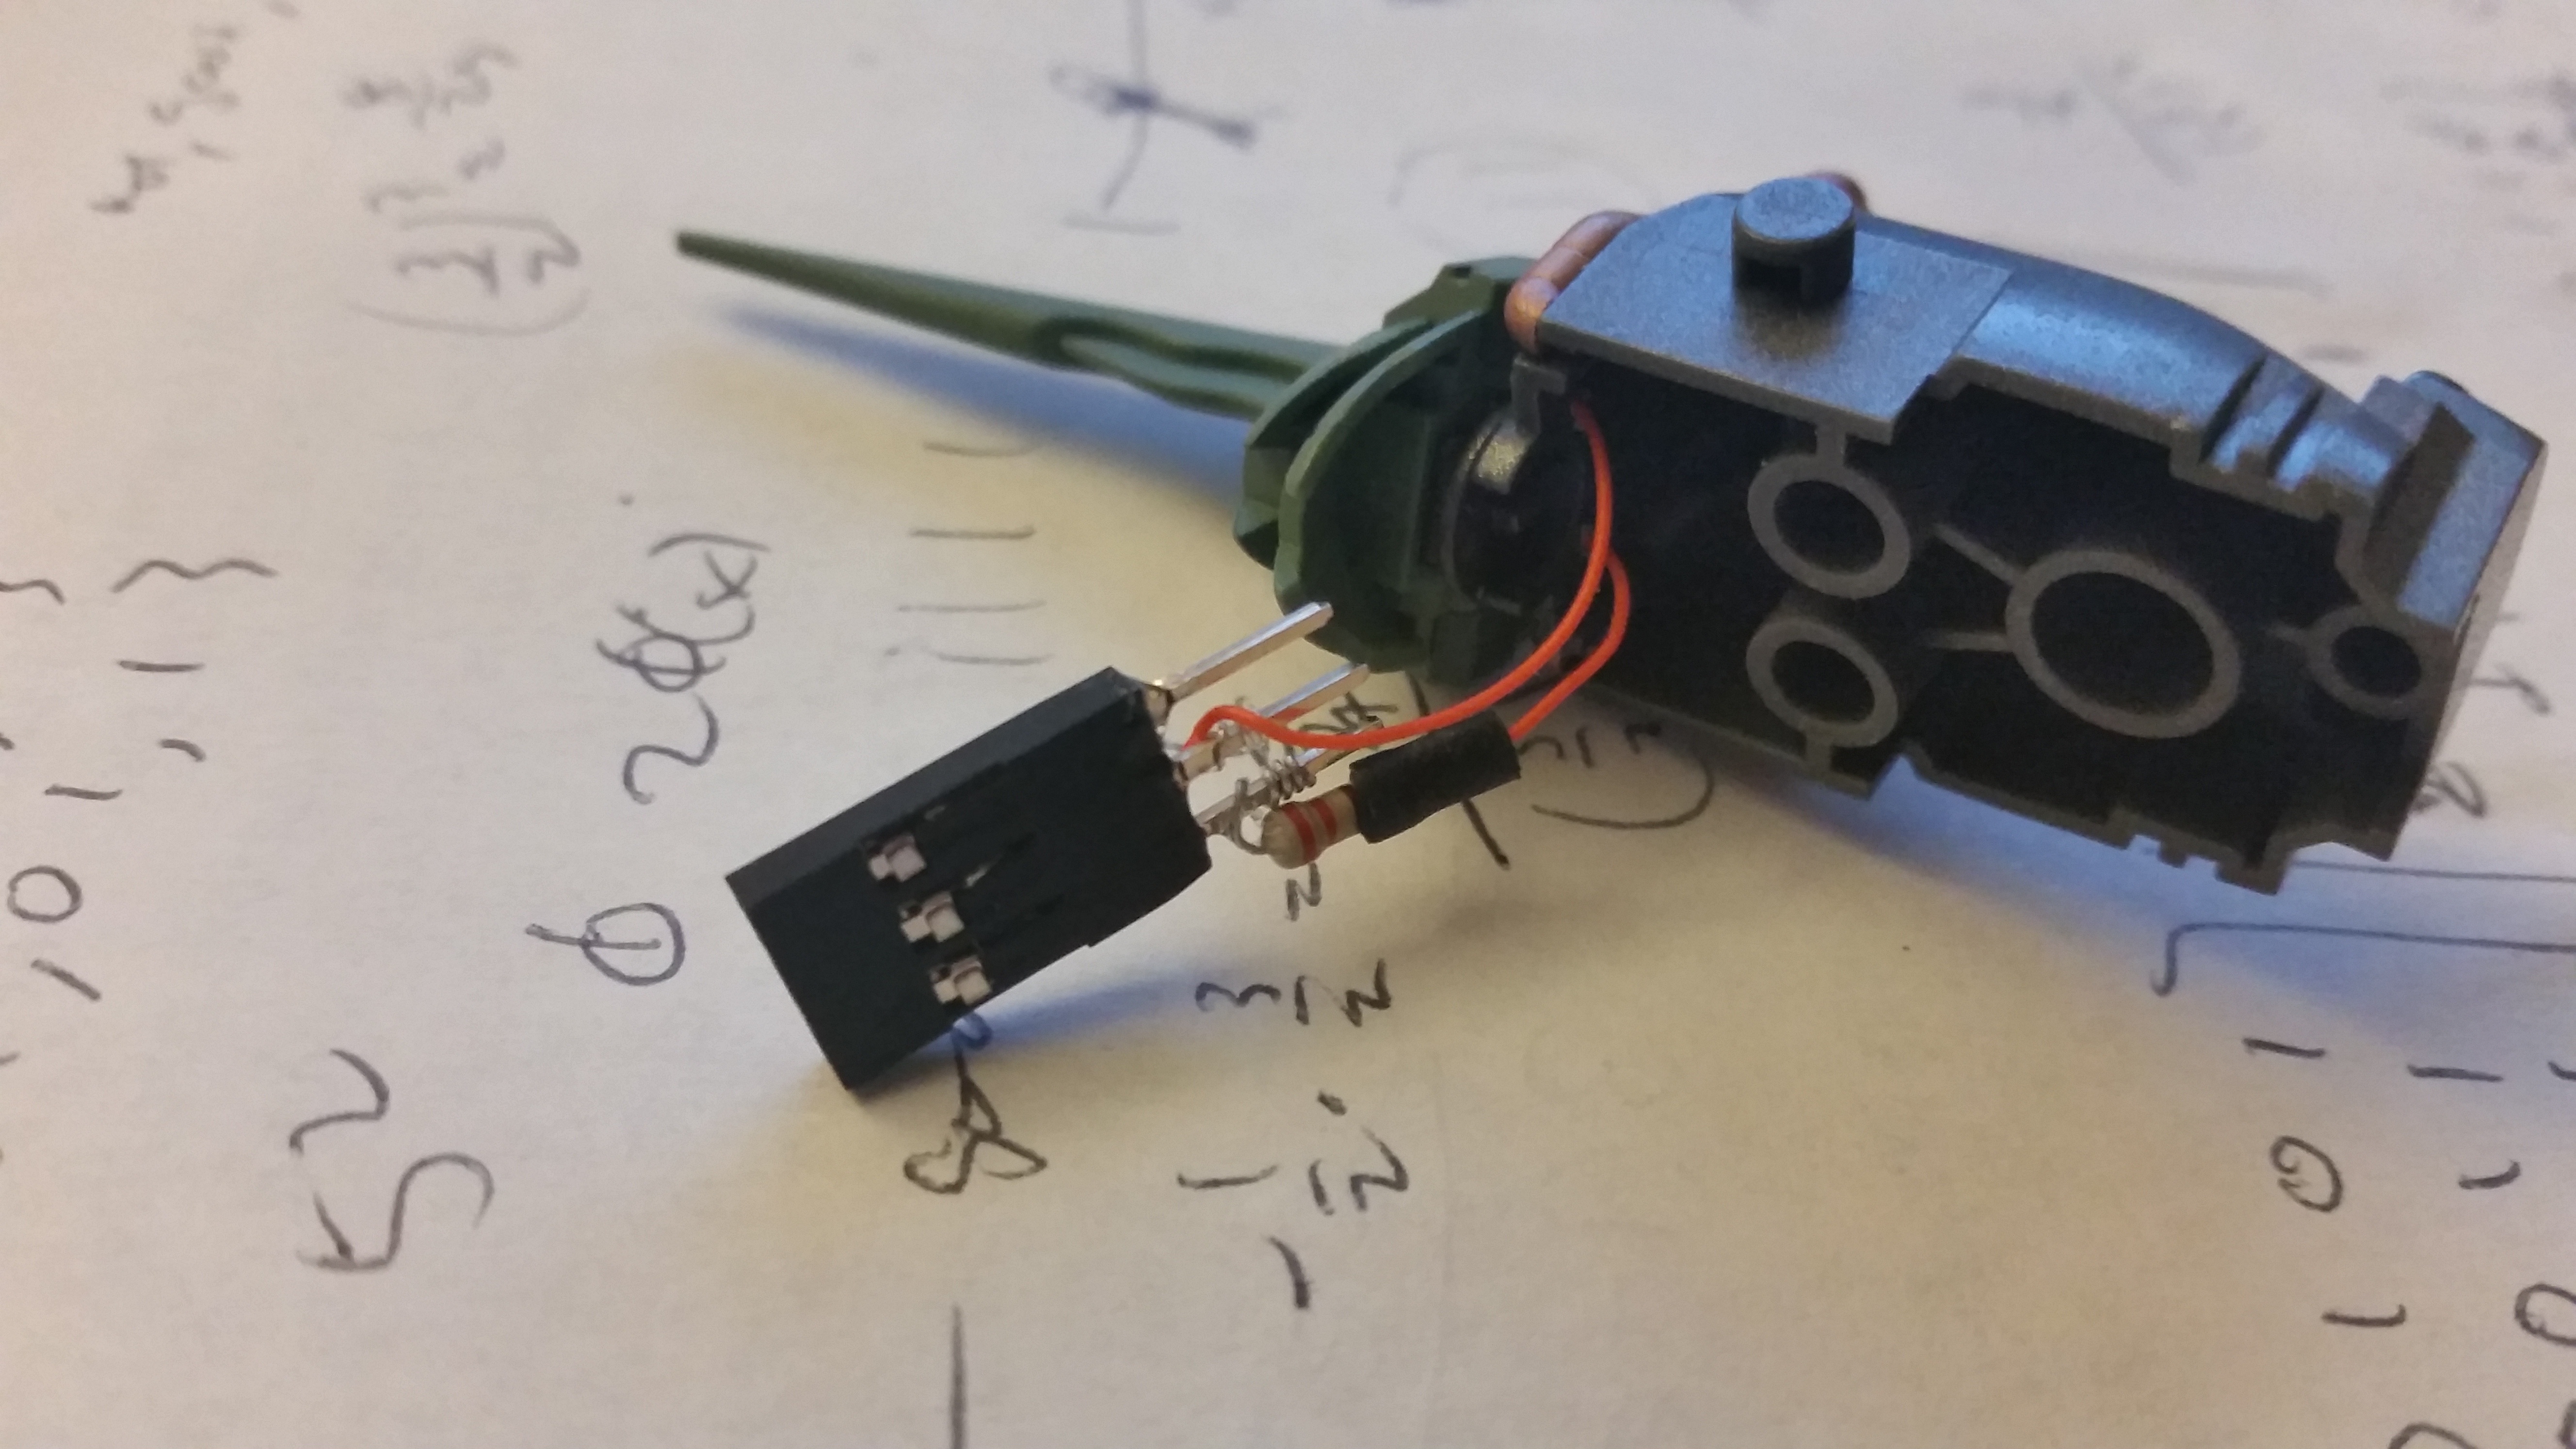
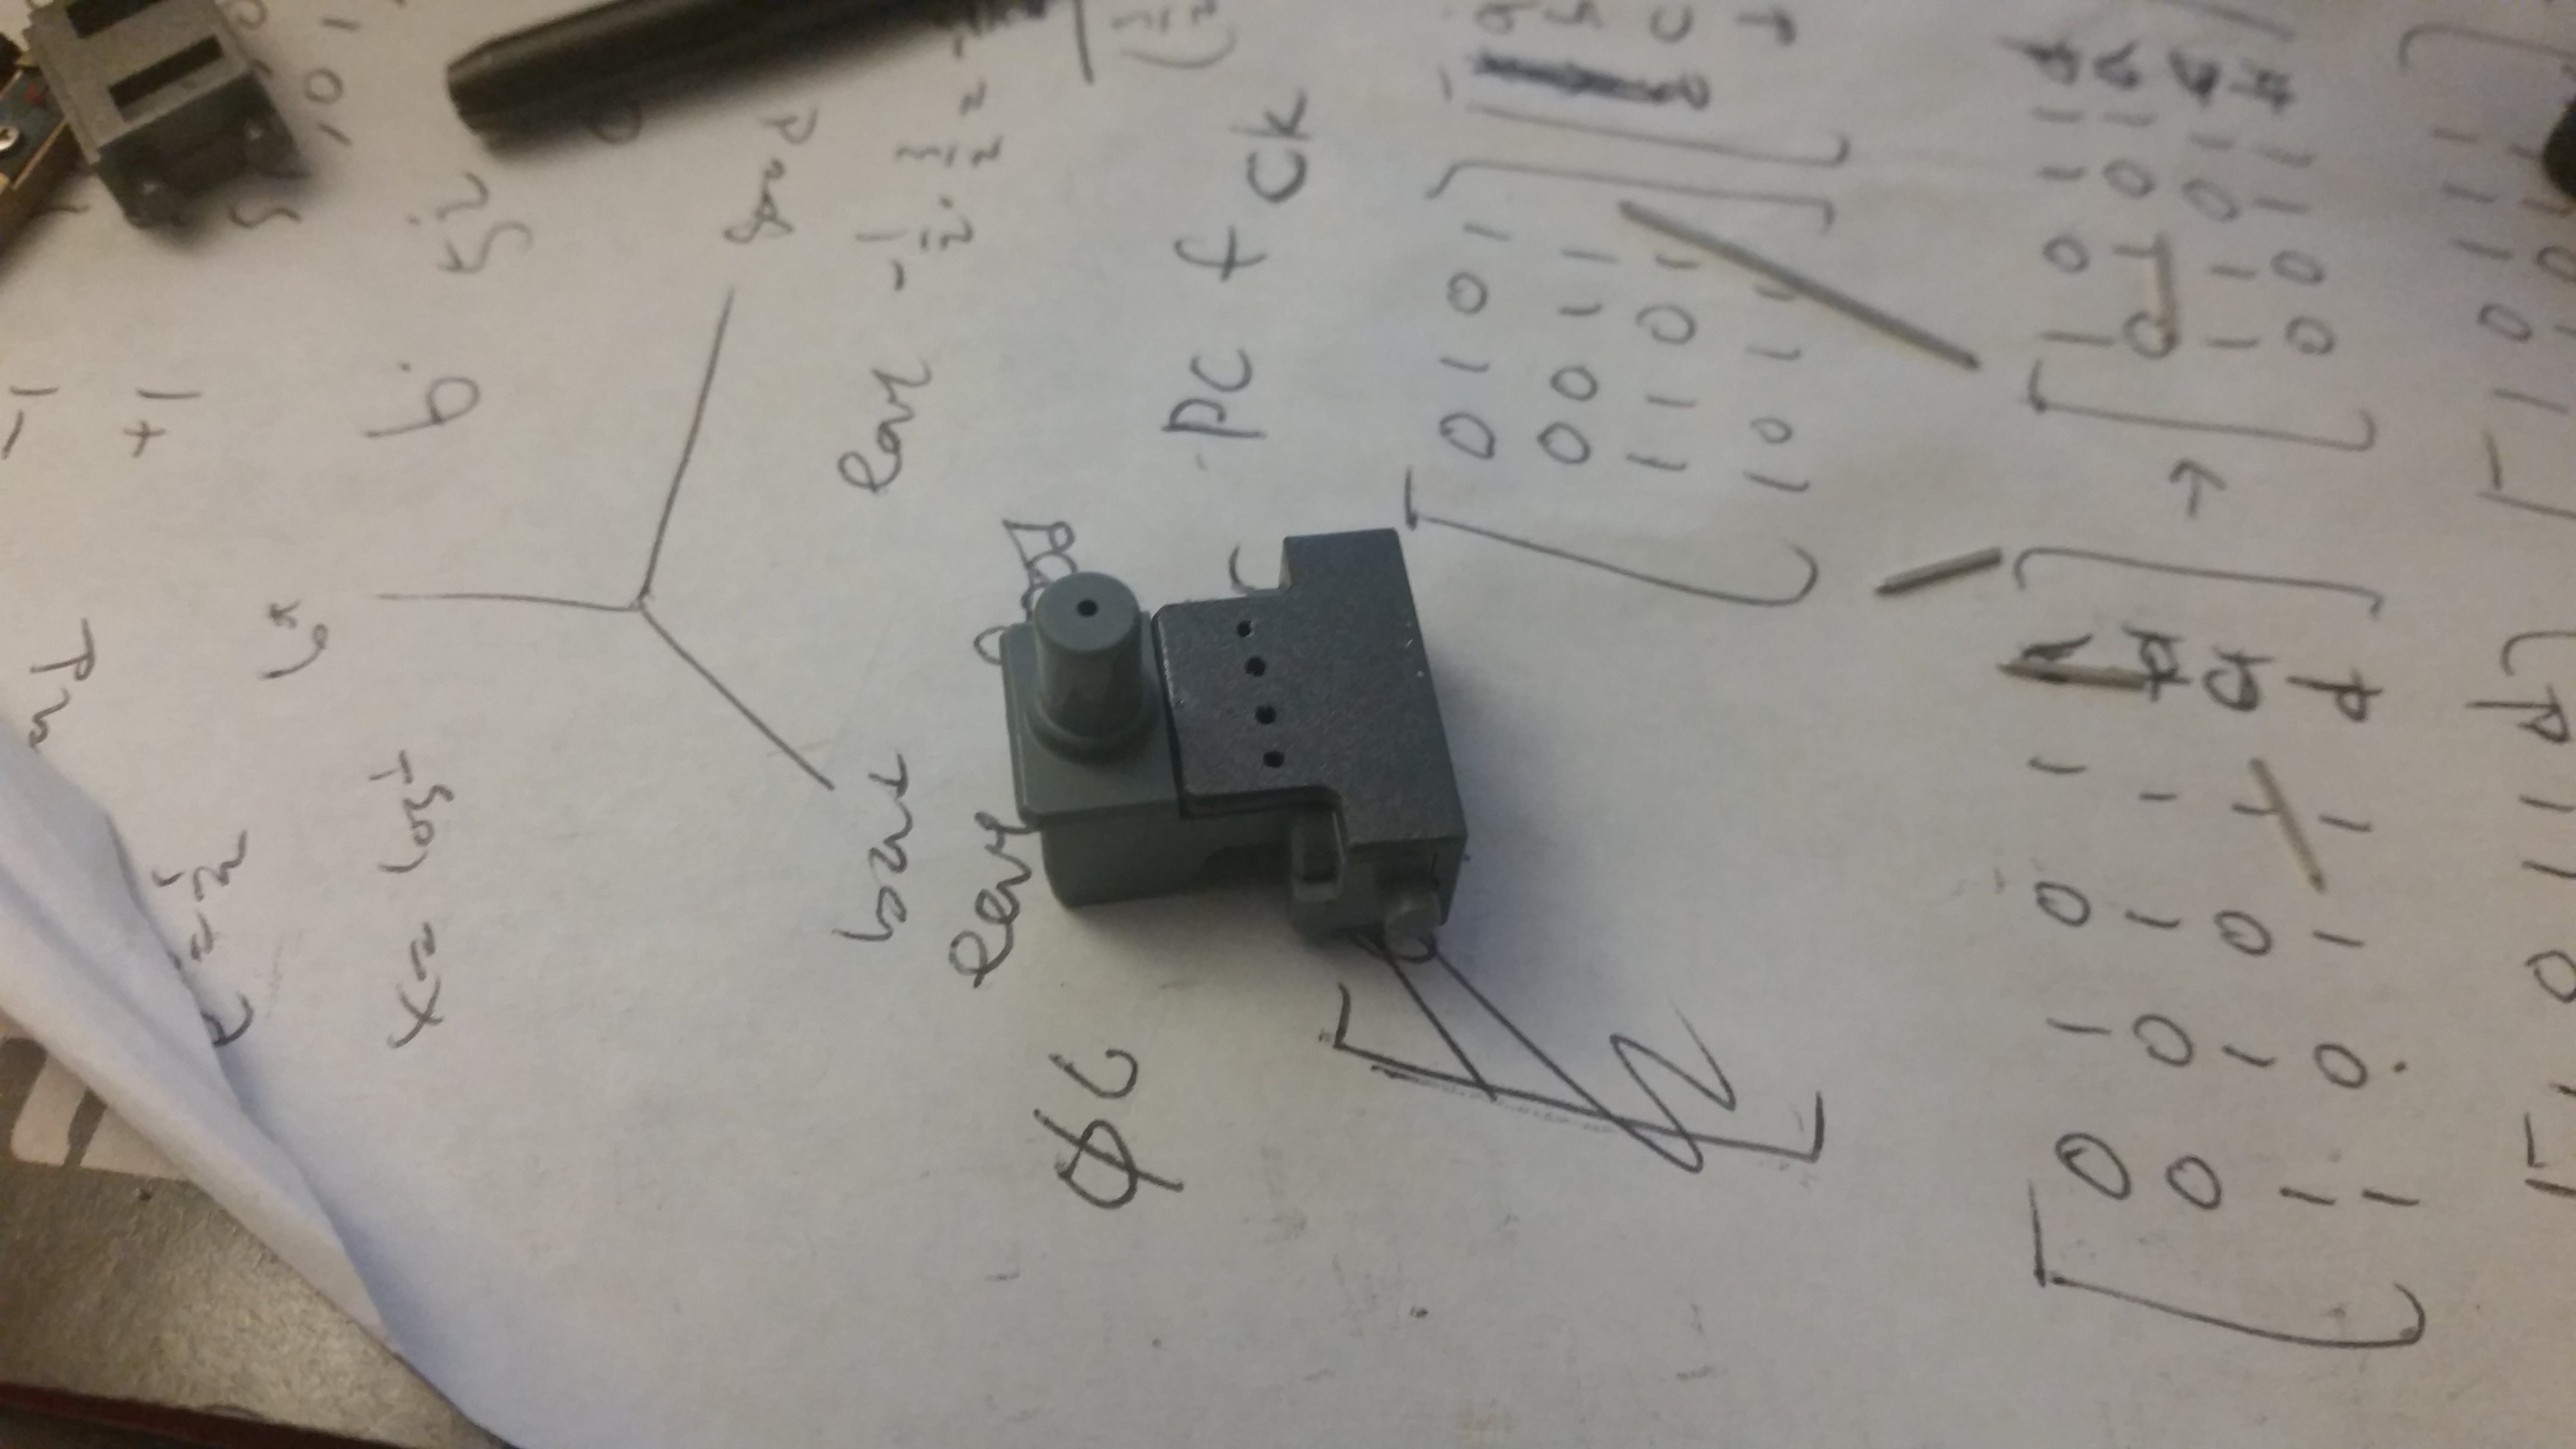
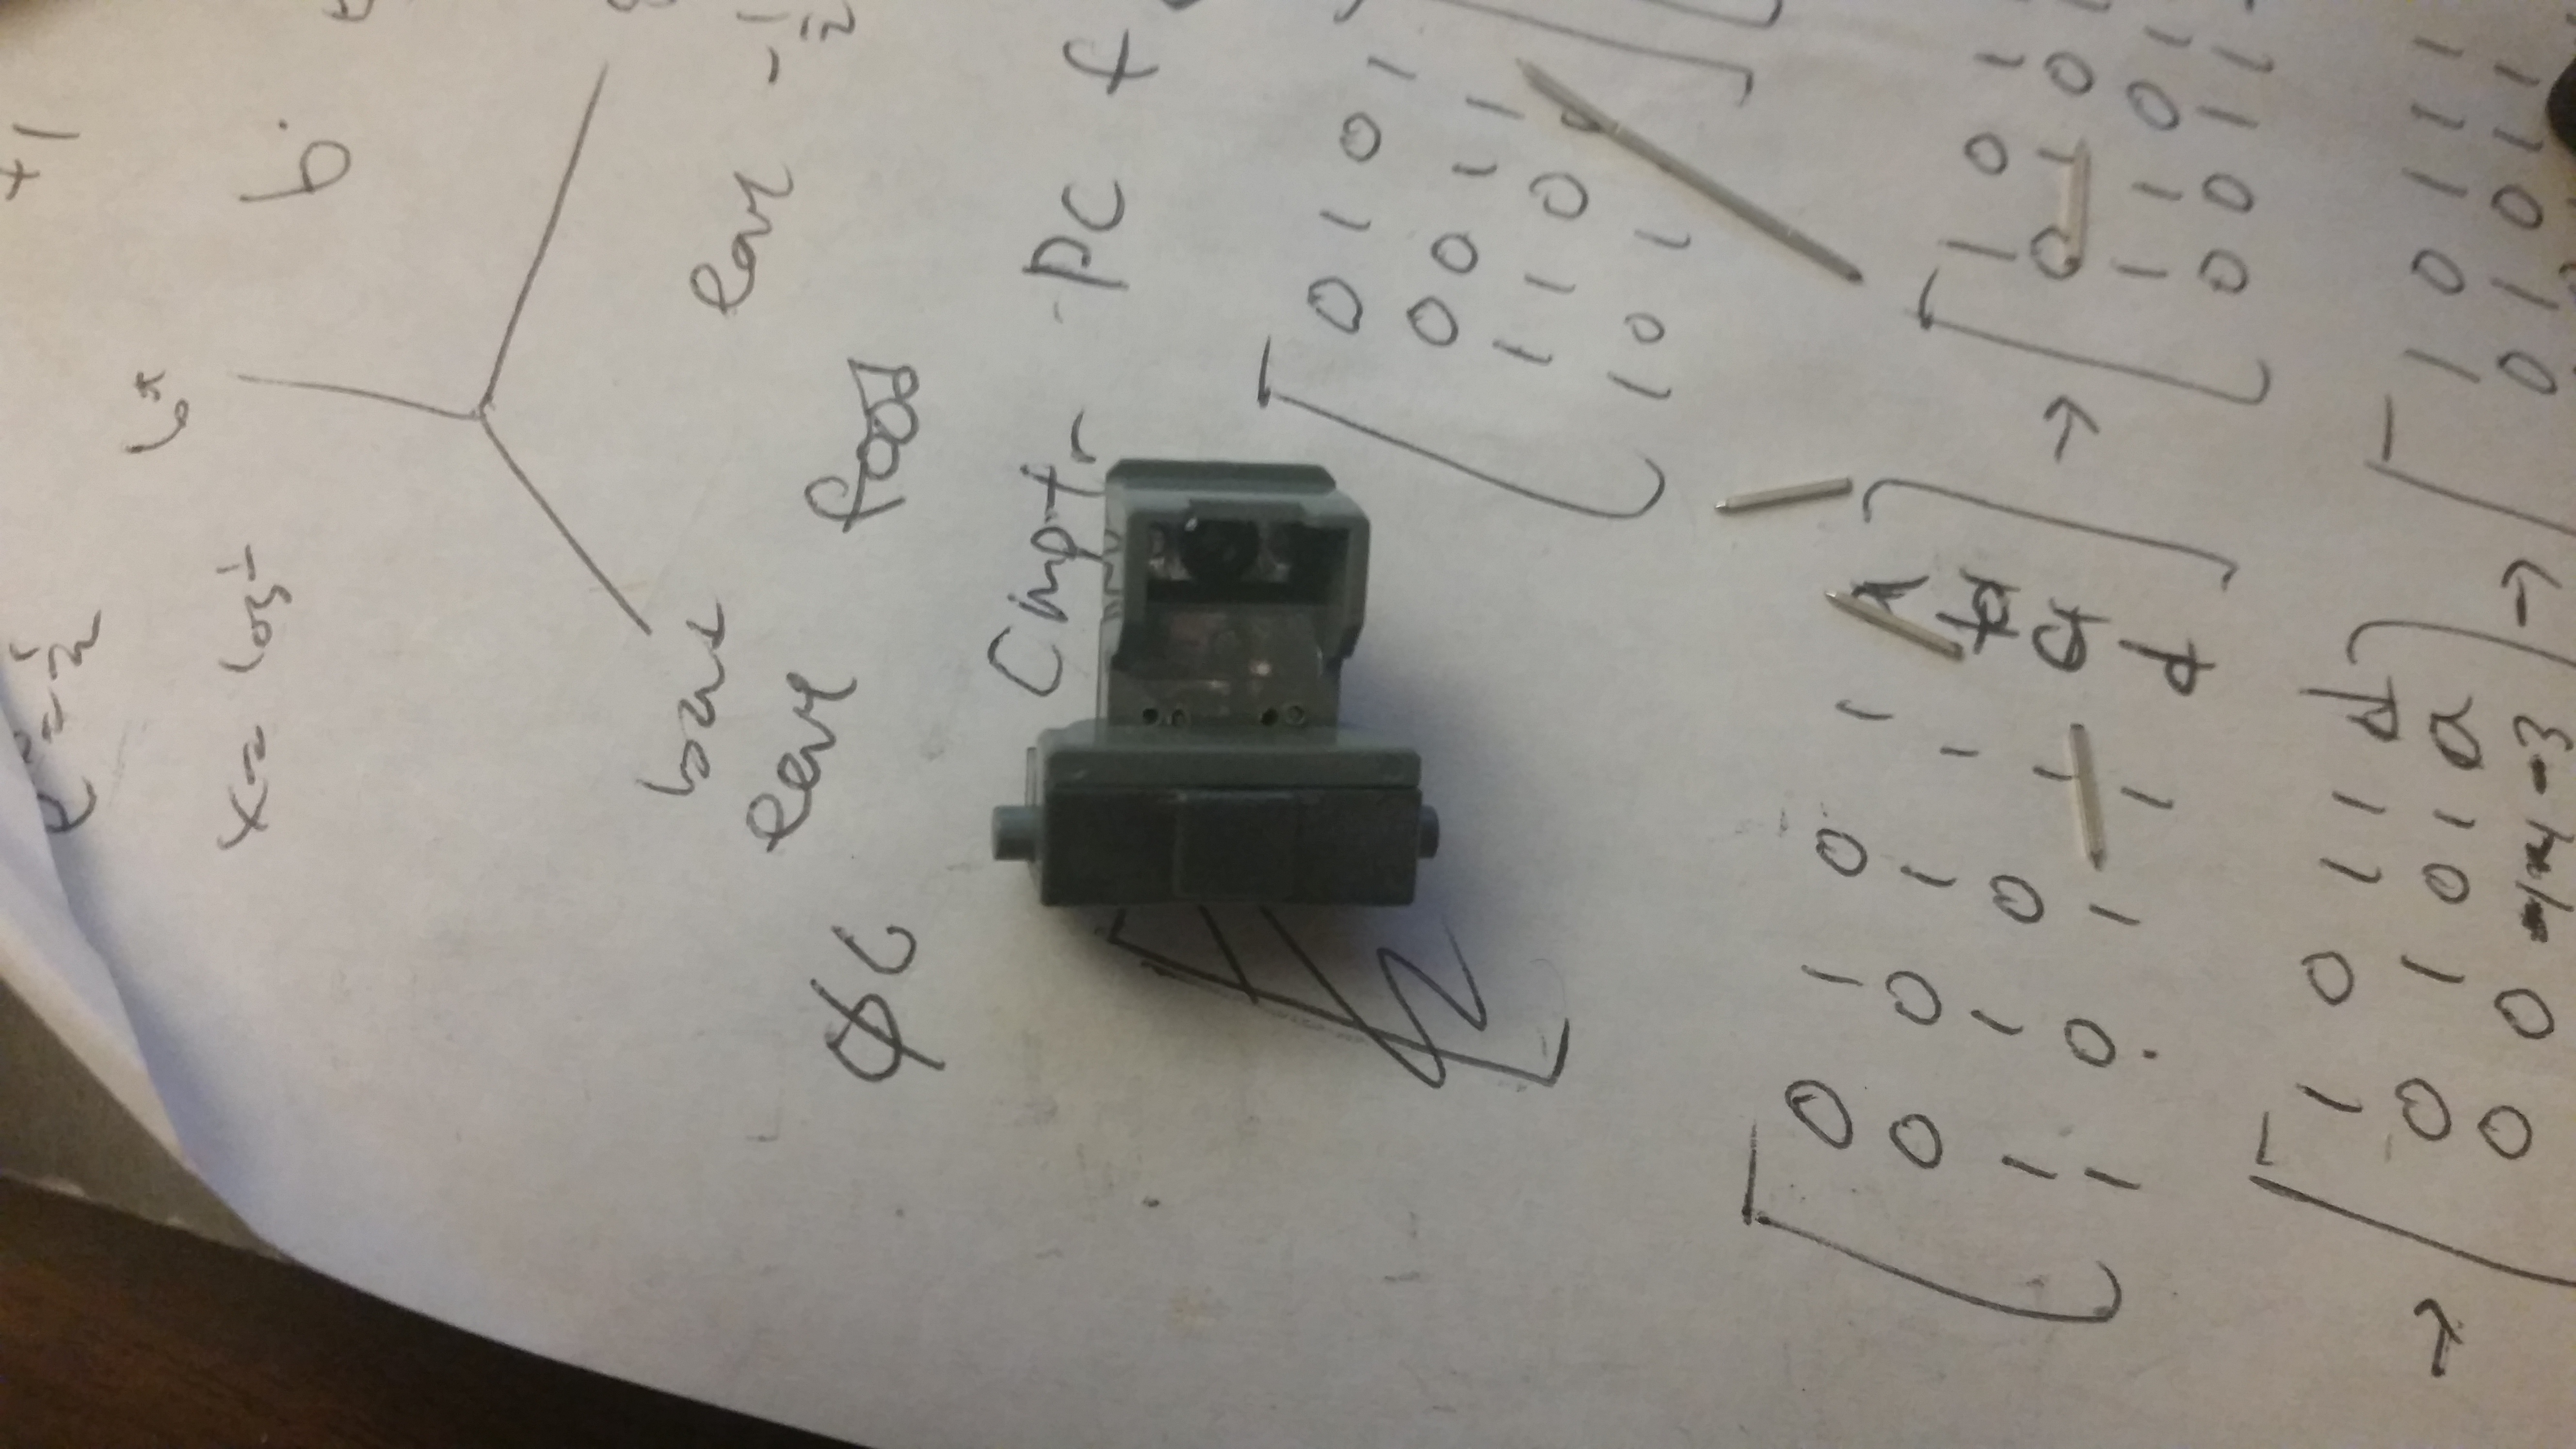
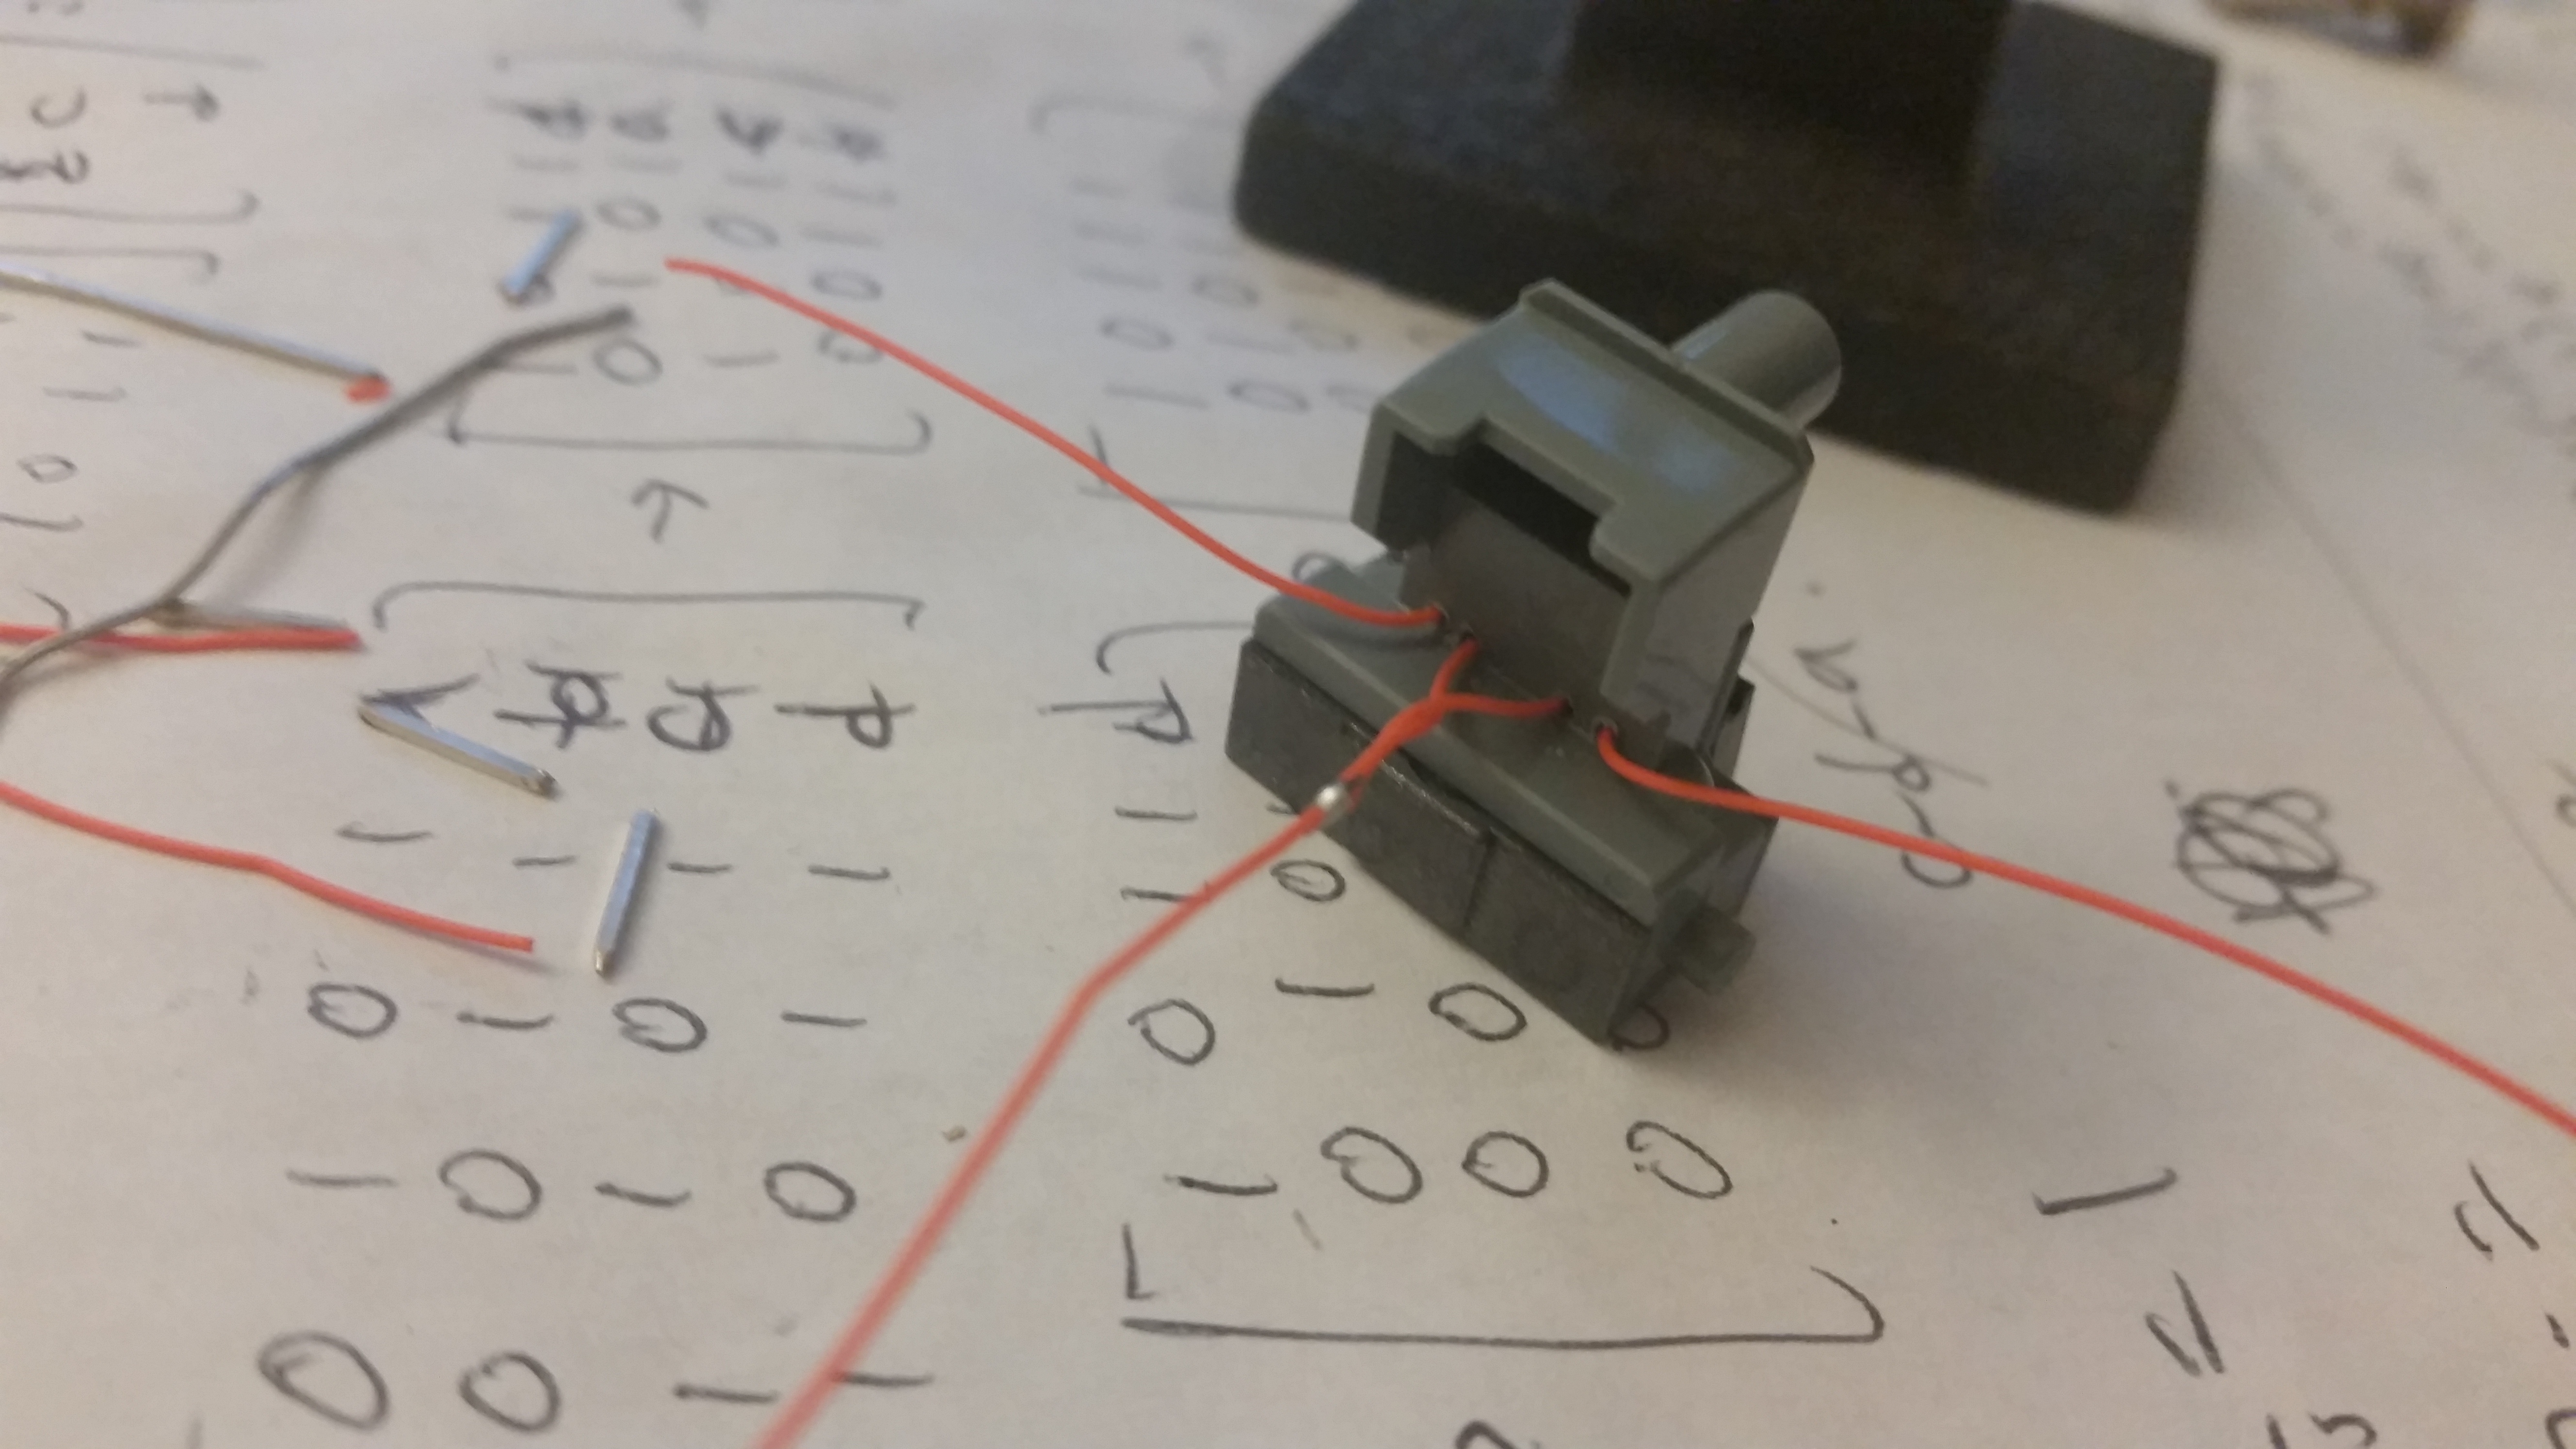
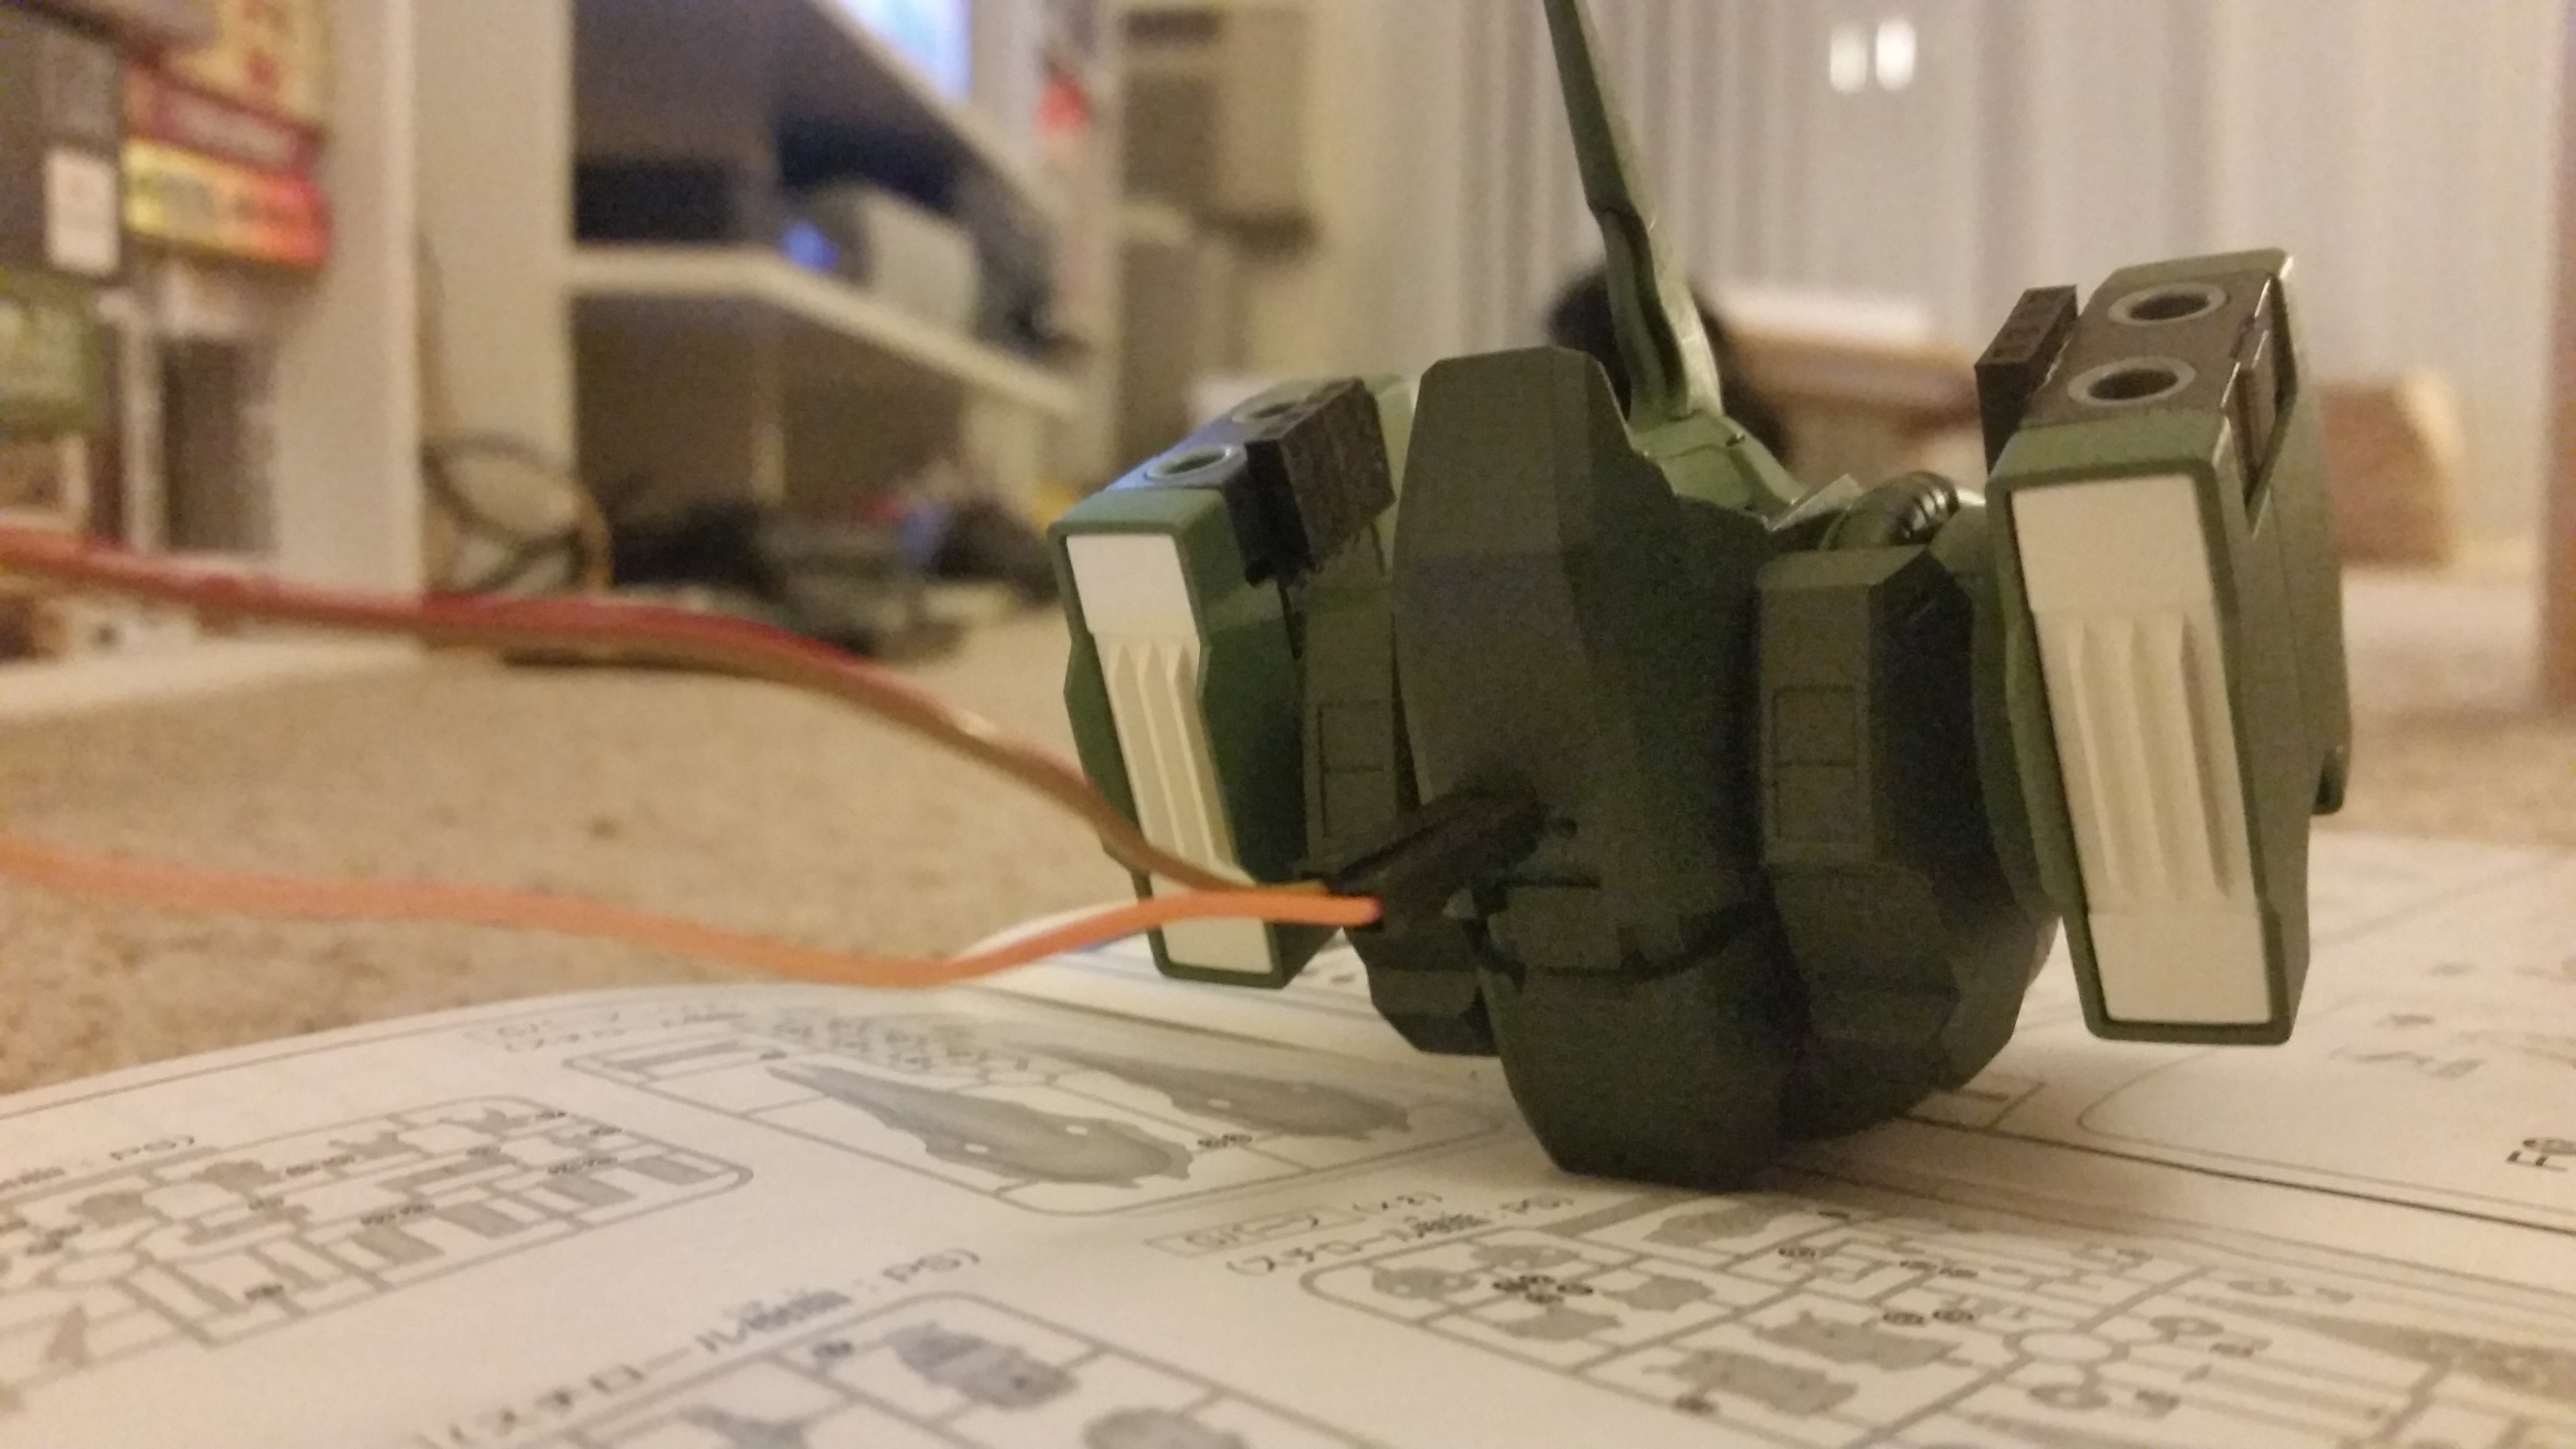
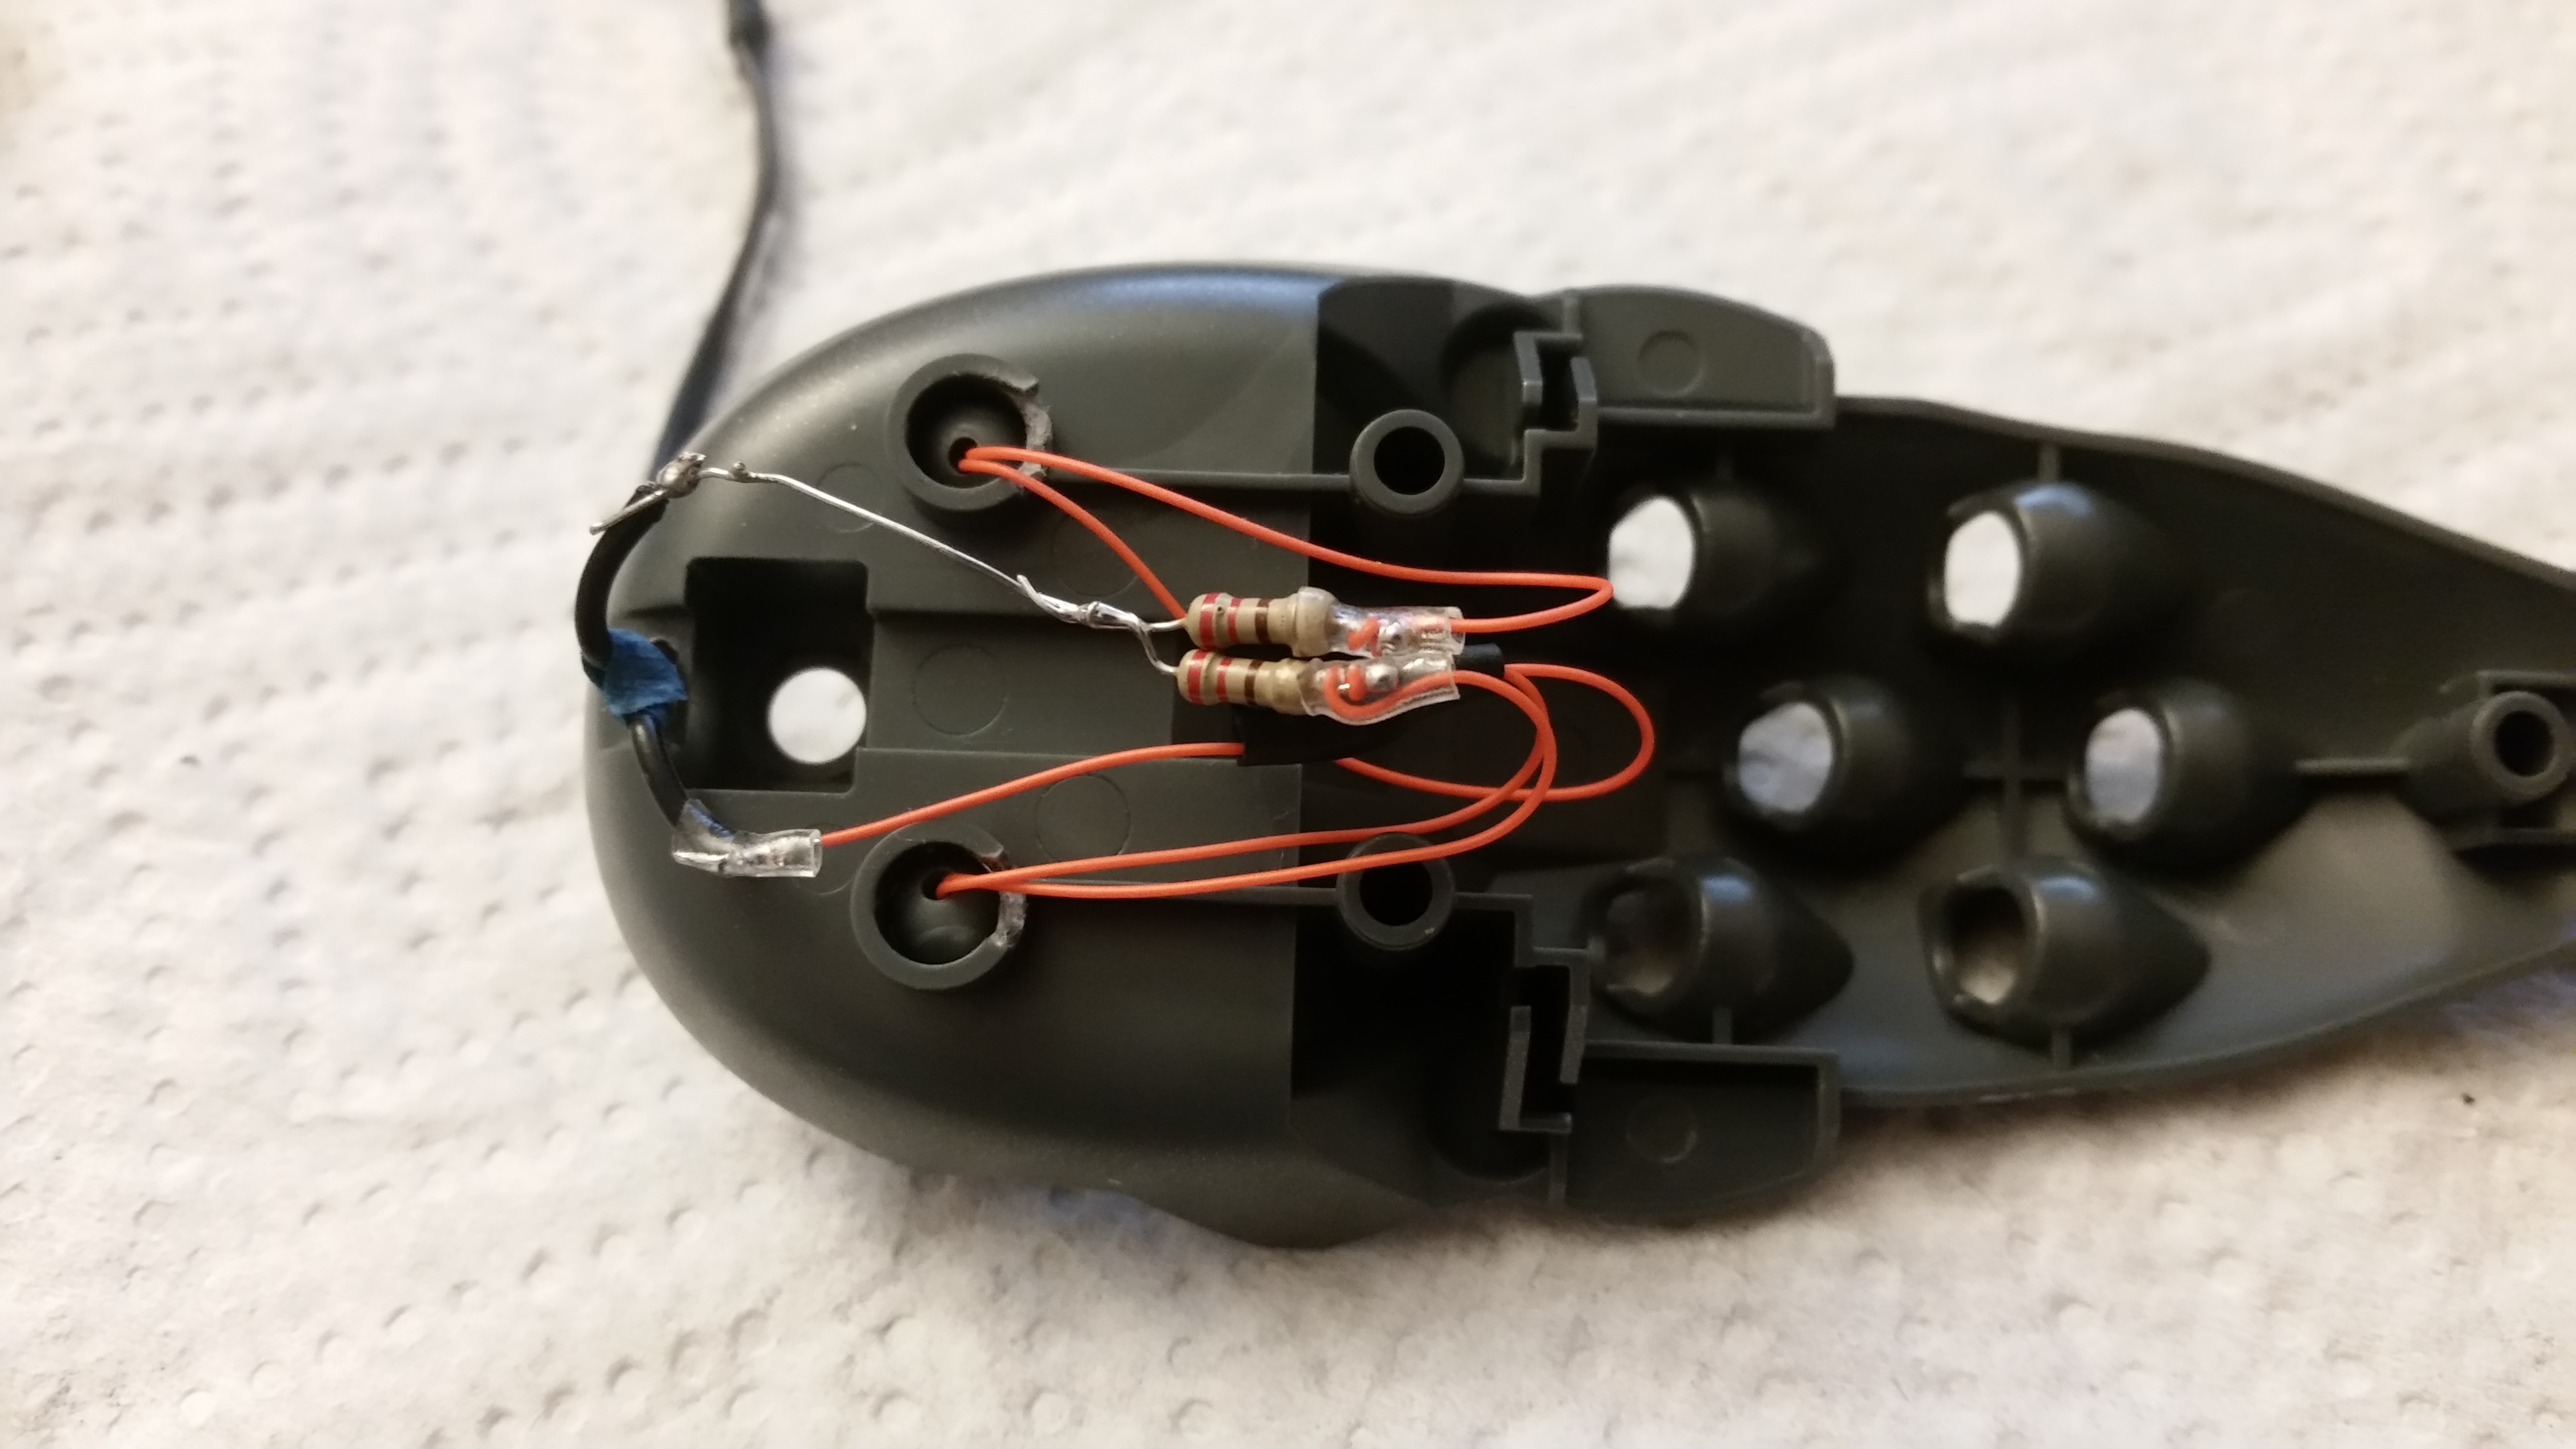
I decided to power the LEDs externally, so I routed the wires to a socket in the back. I wanted to be able to detach the wings, so I added female eaders on the shoulders as a connection point - the wiring for these go through the shoulder joint into the chest too. Getting the socket glued in place while getting everything fit together was a bit tricky.

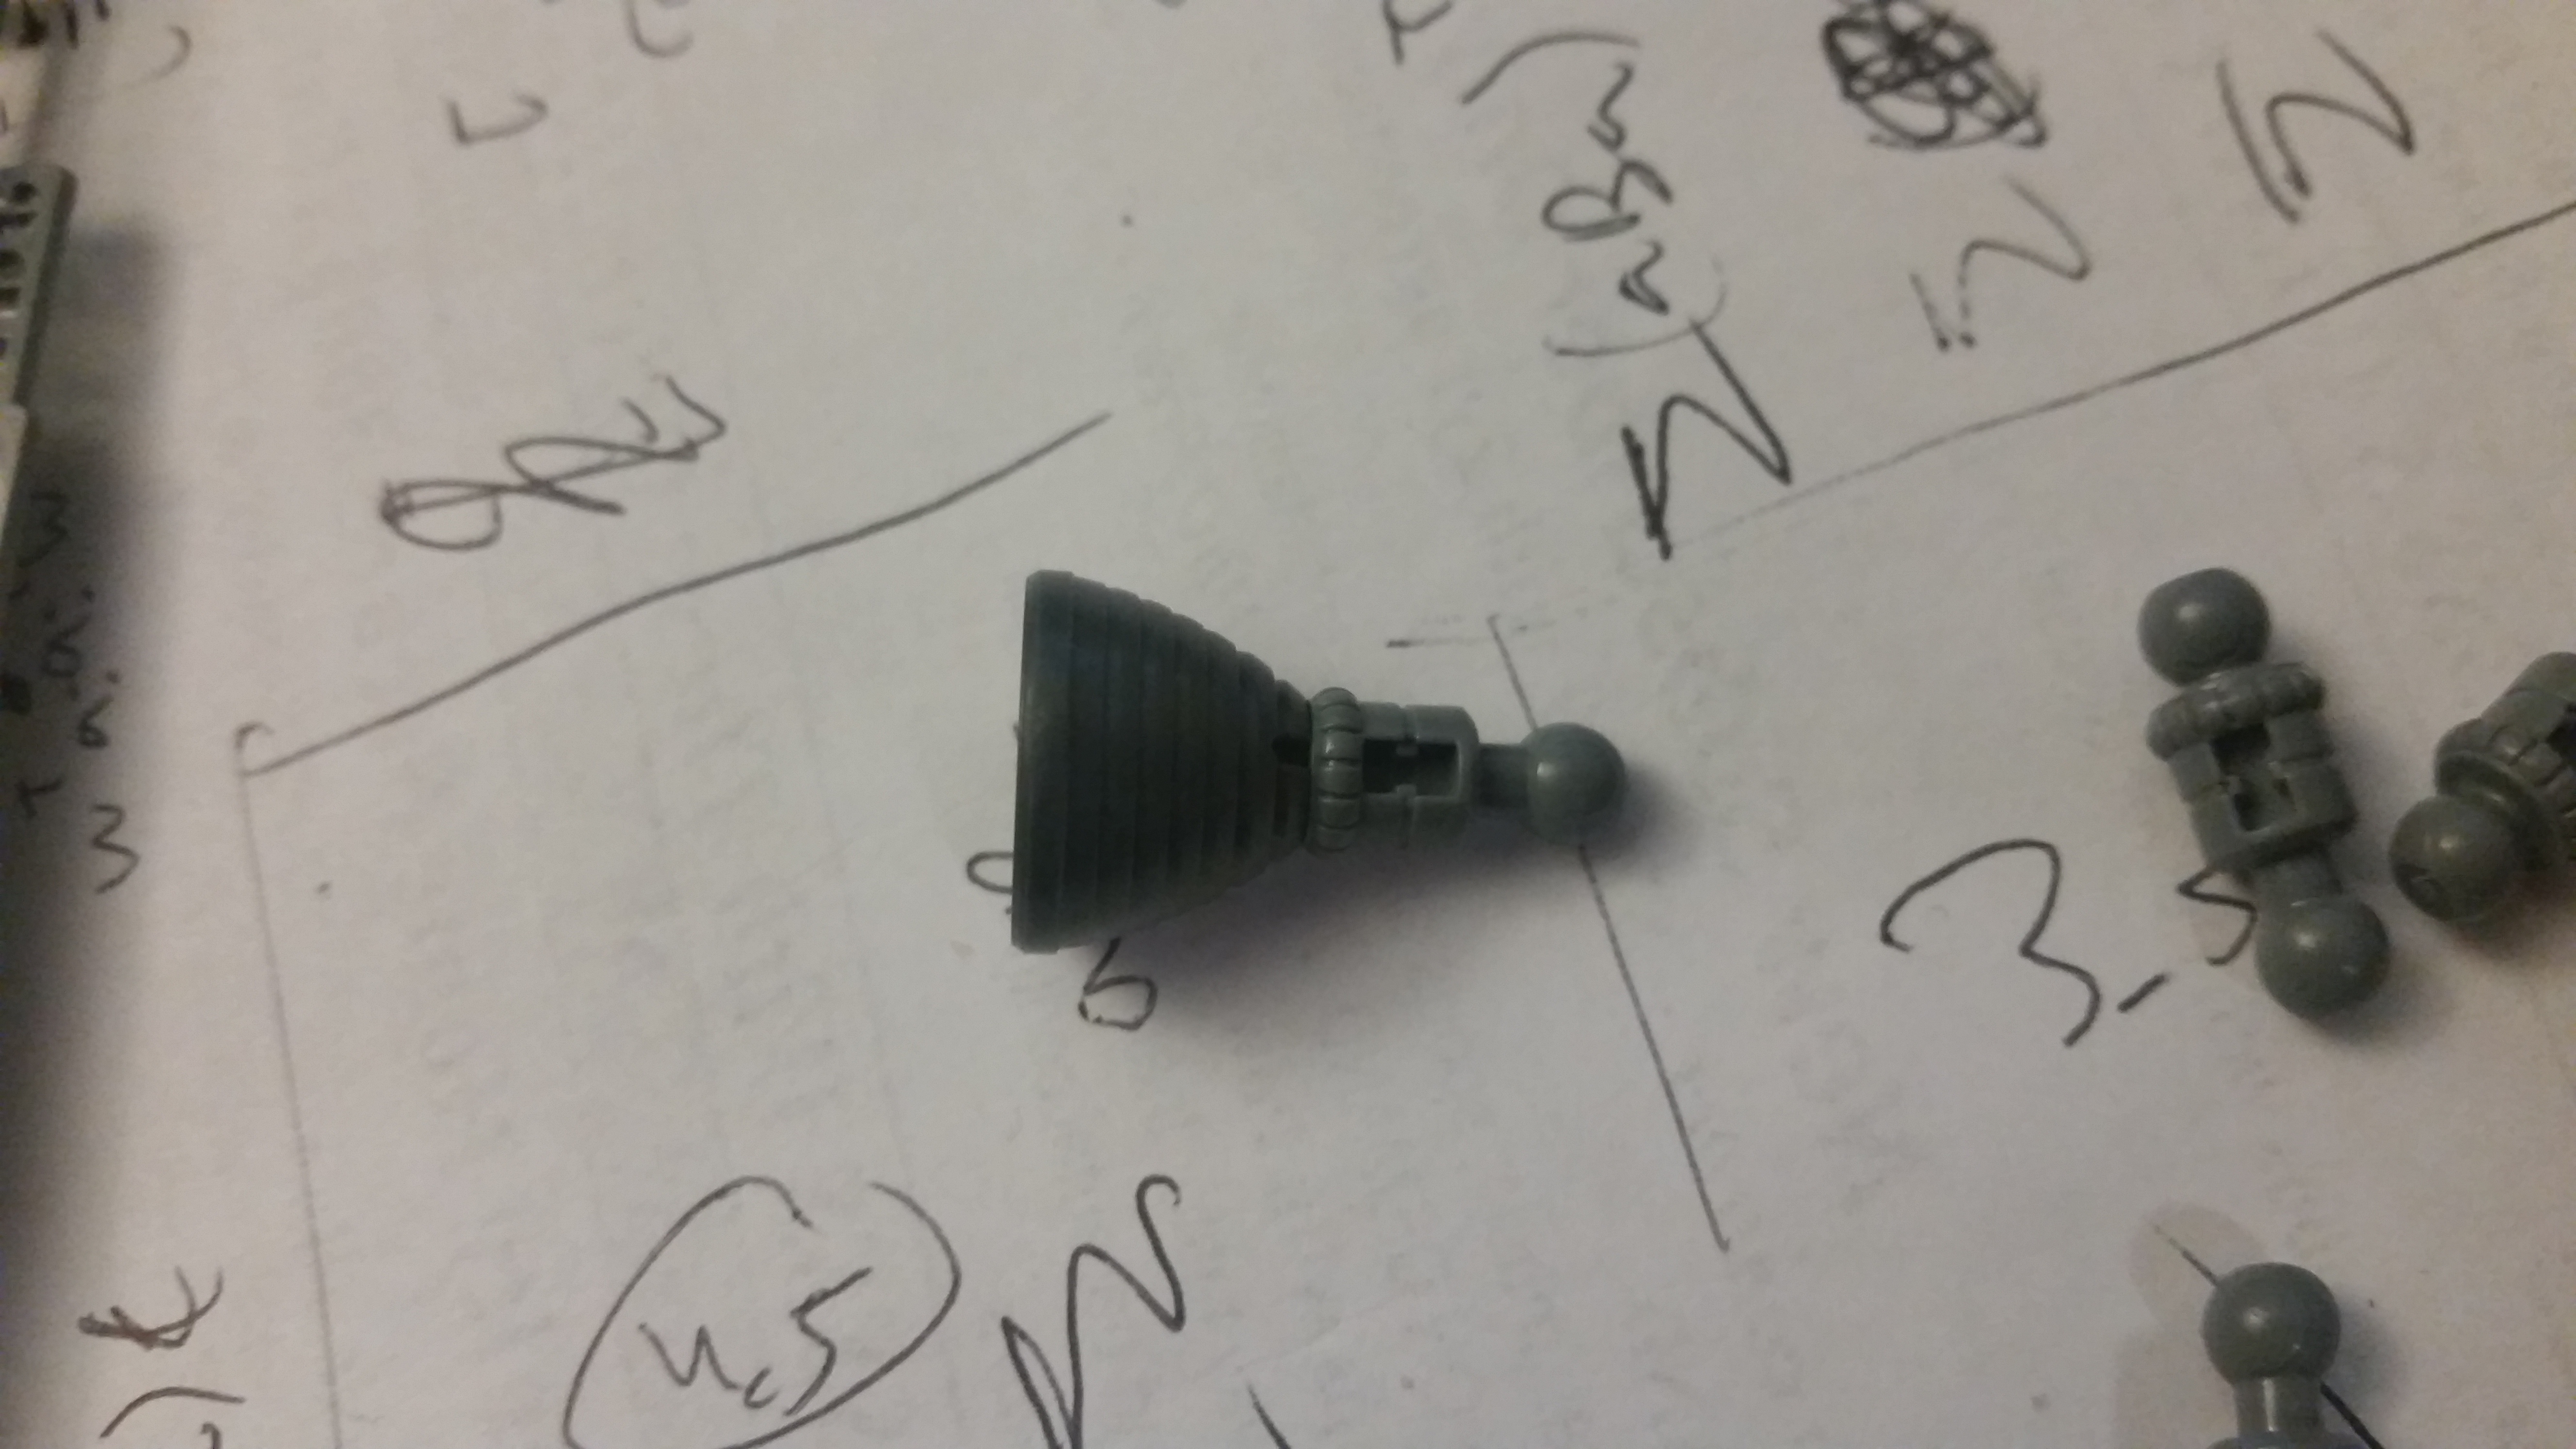
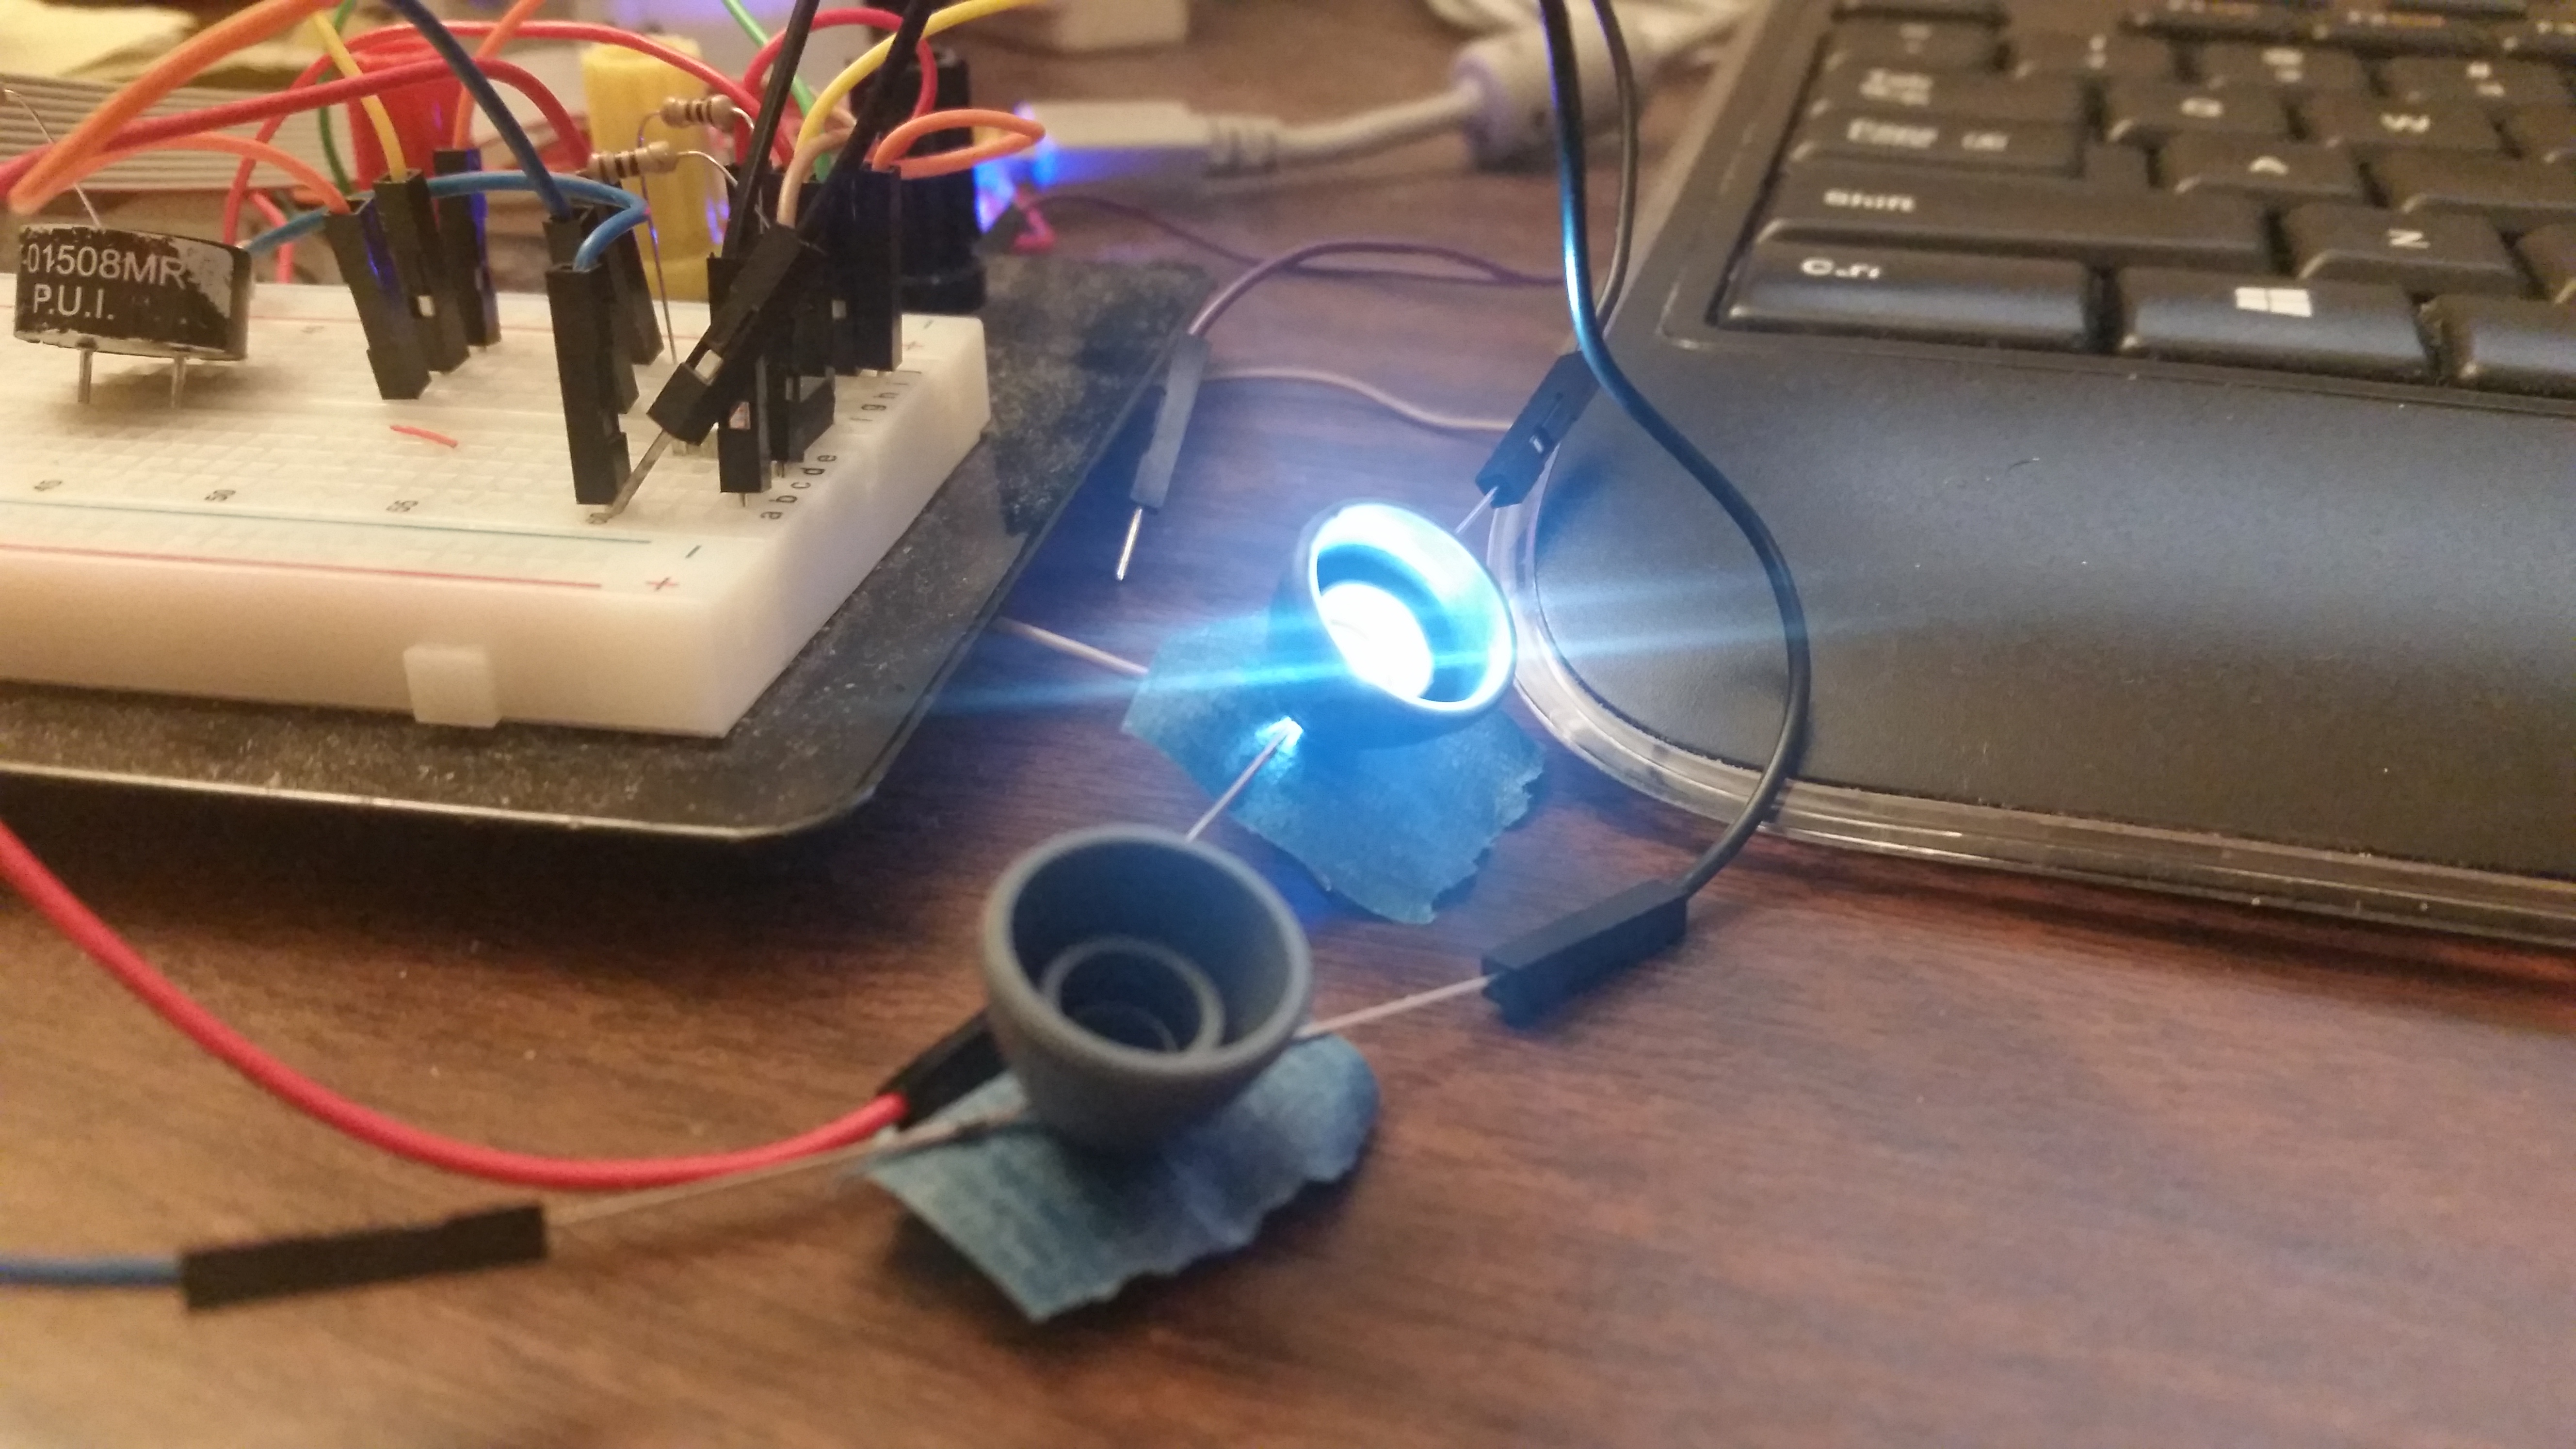
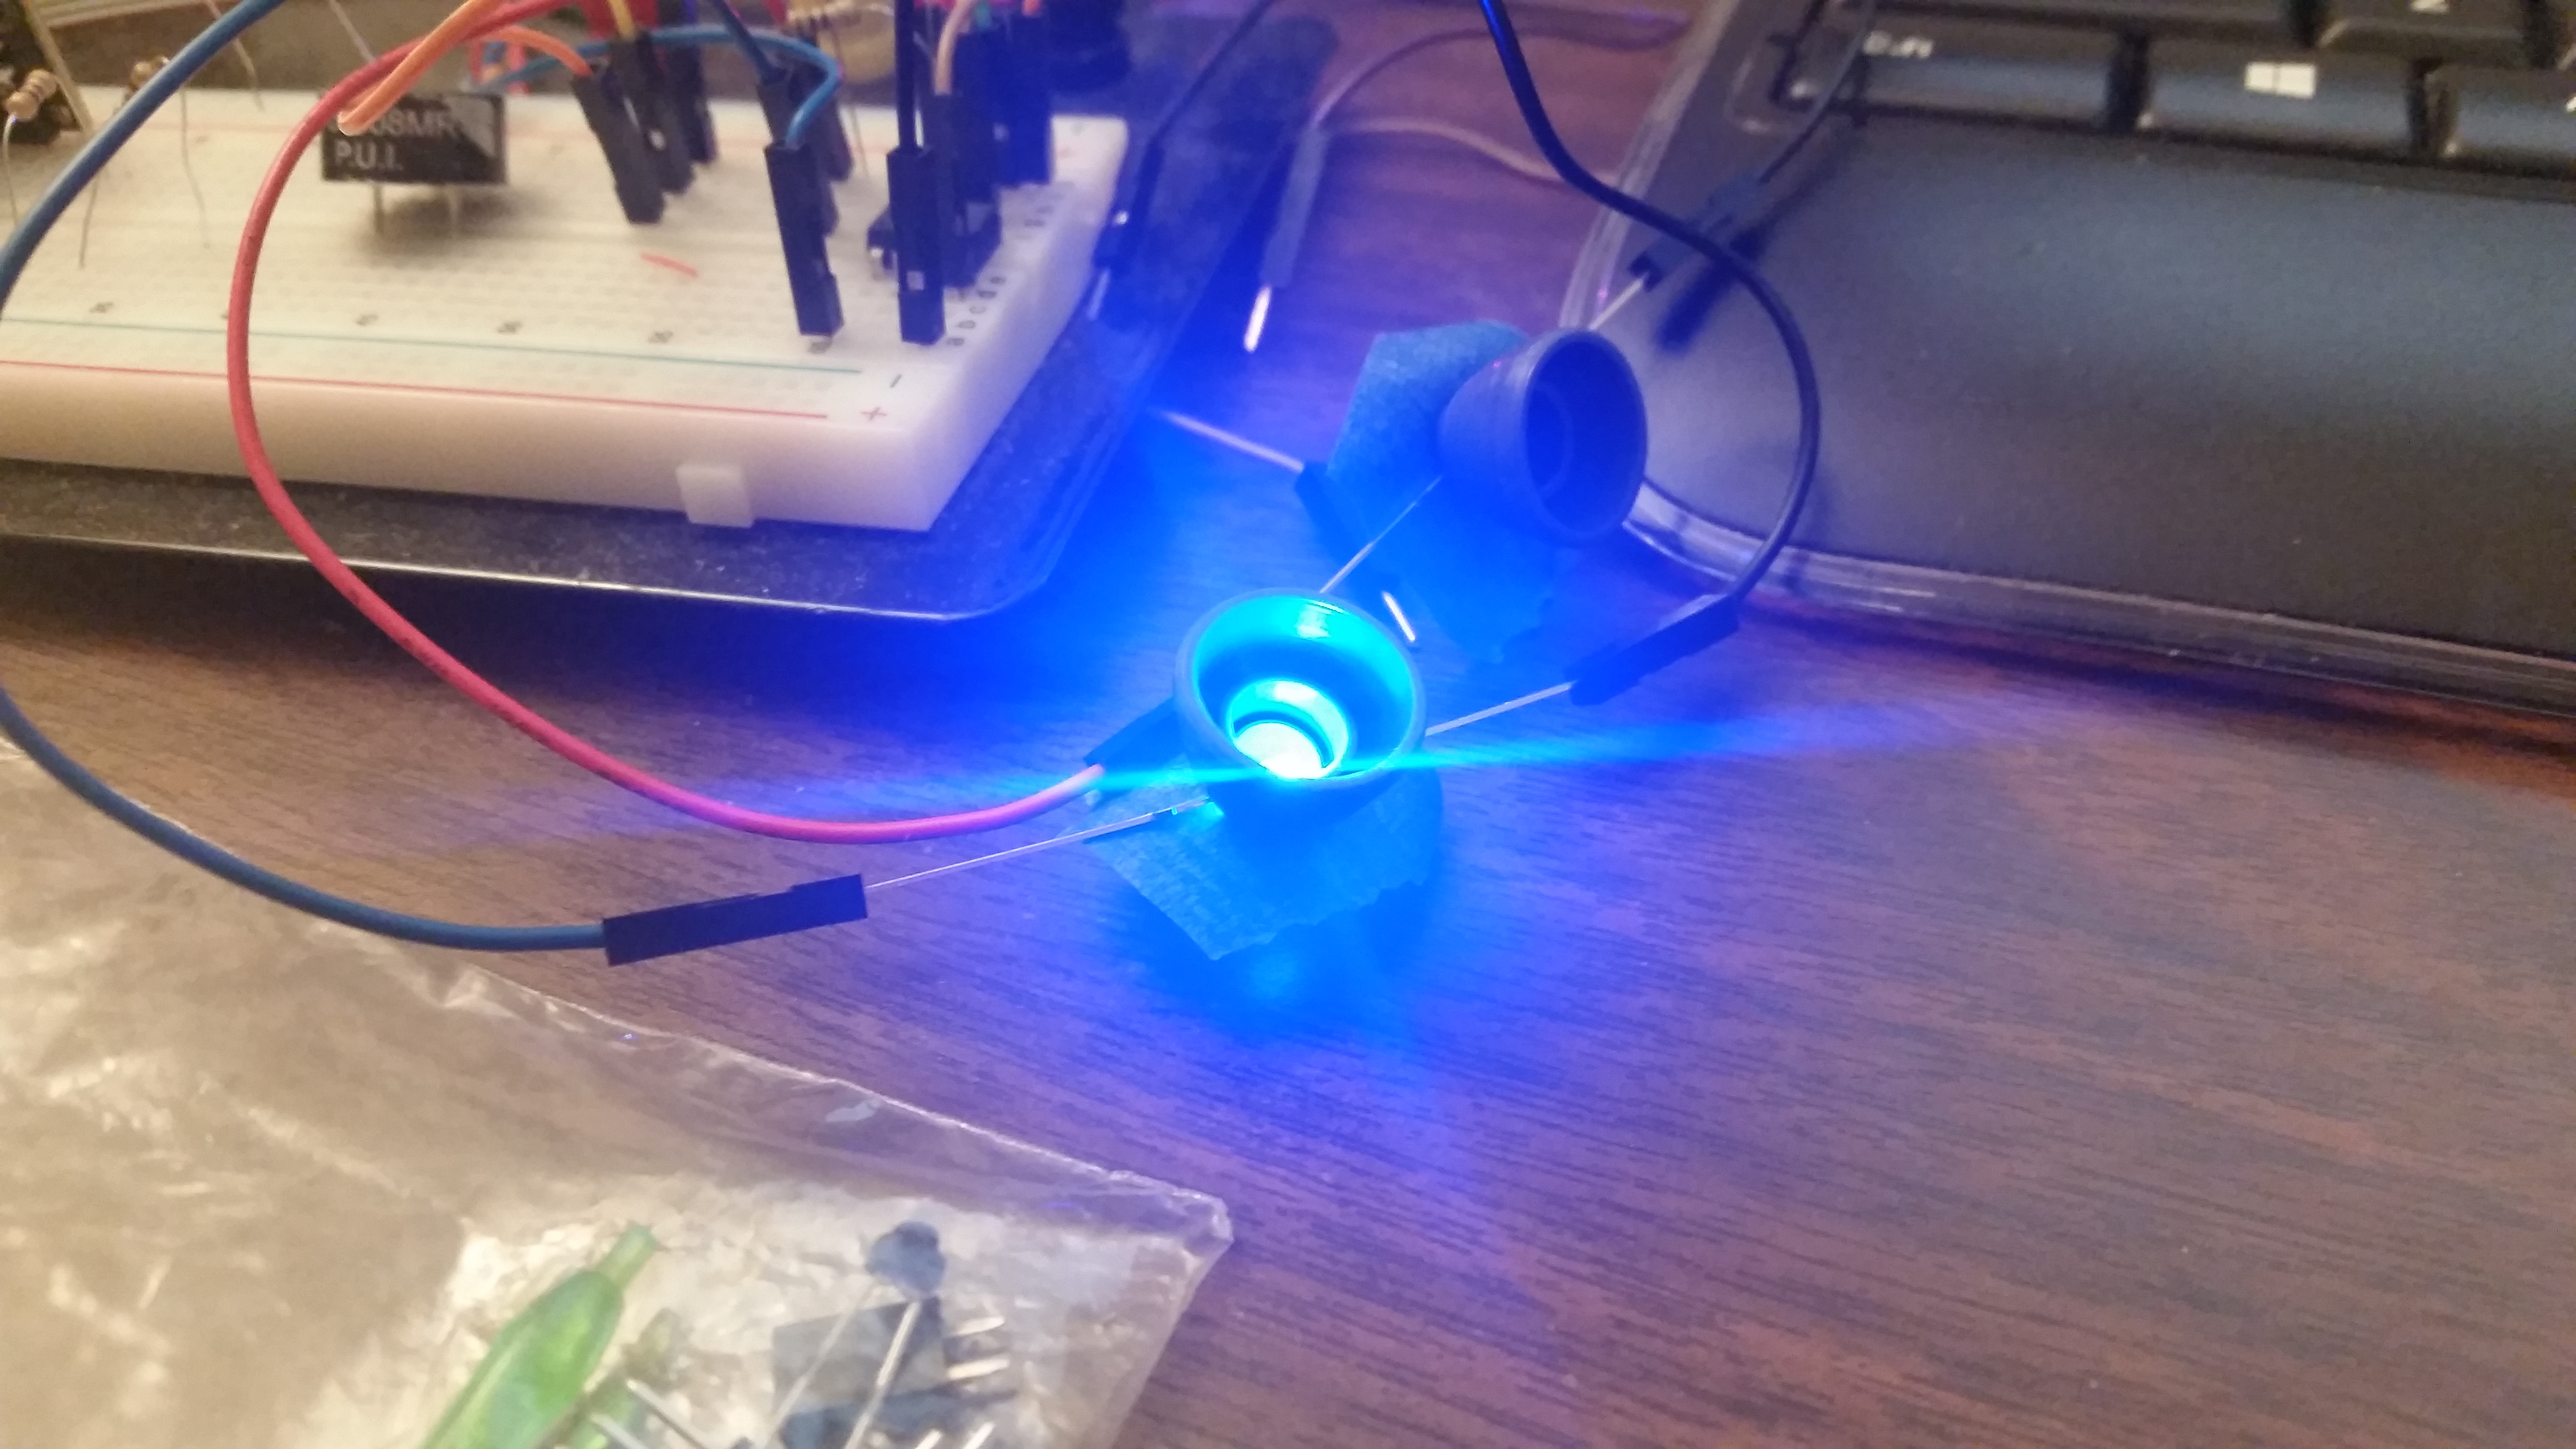
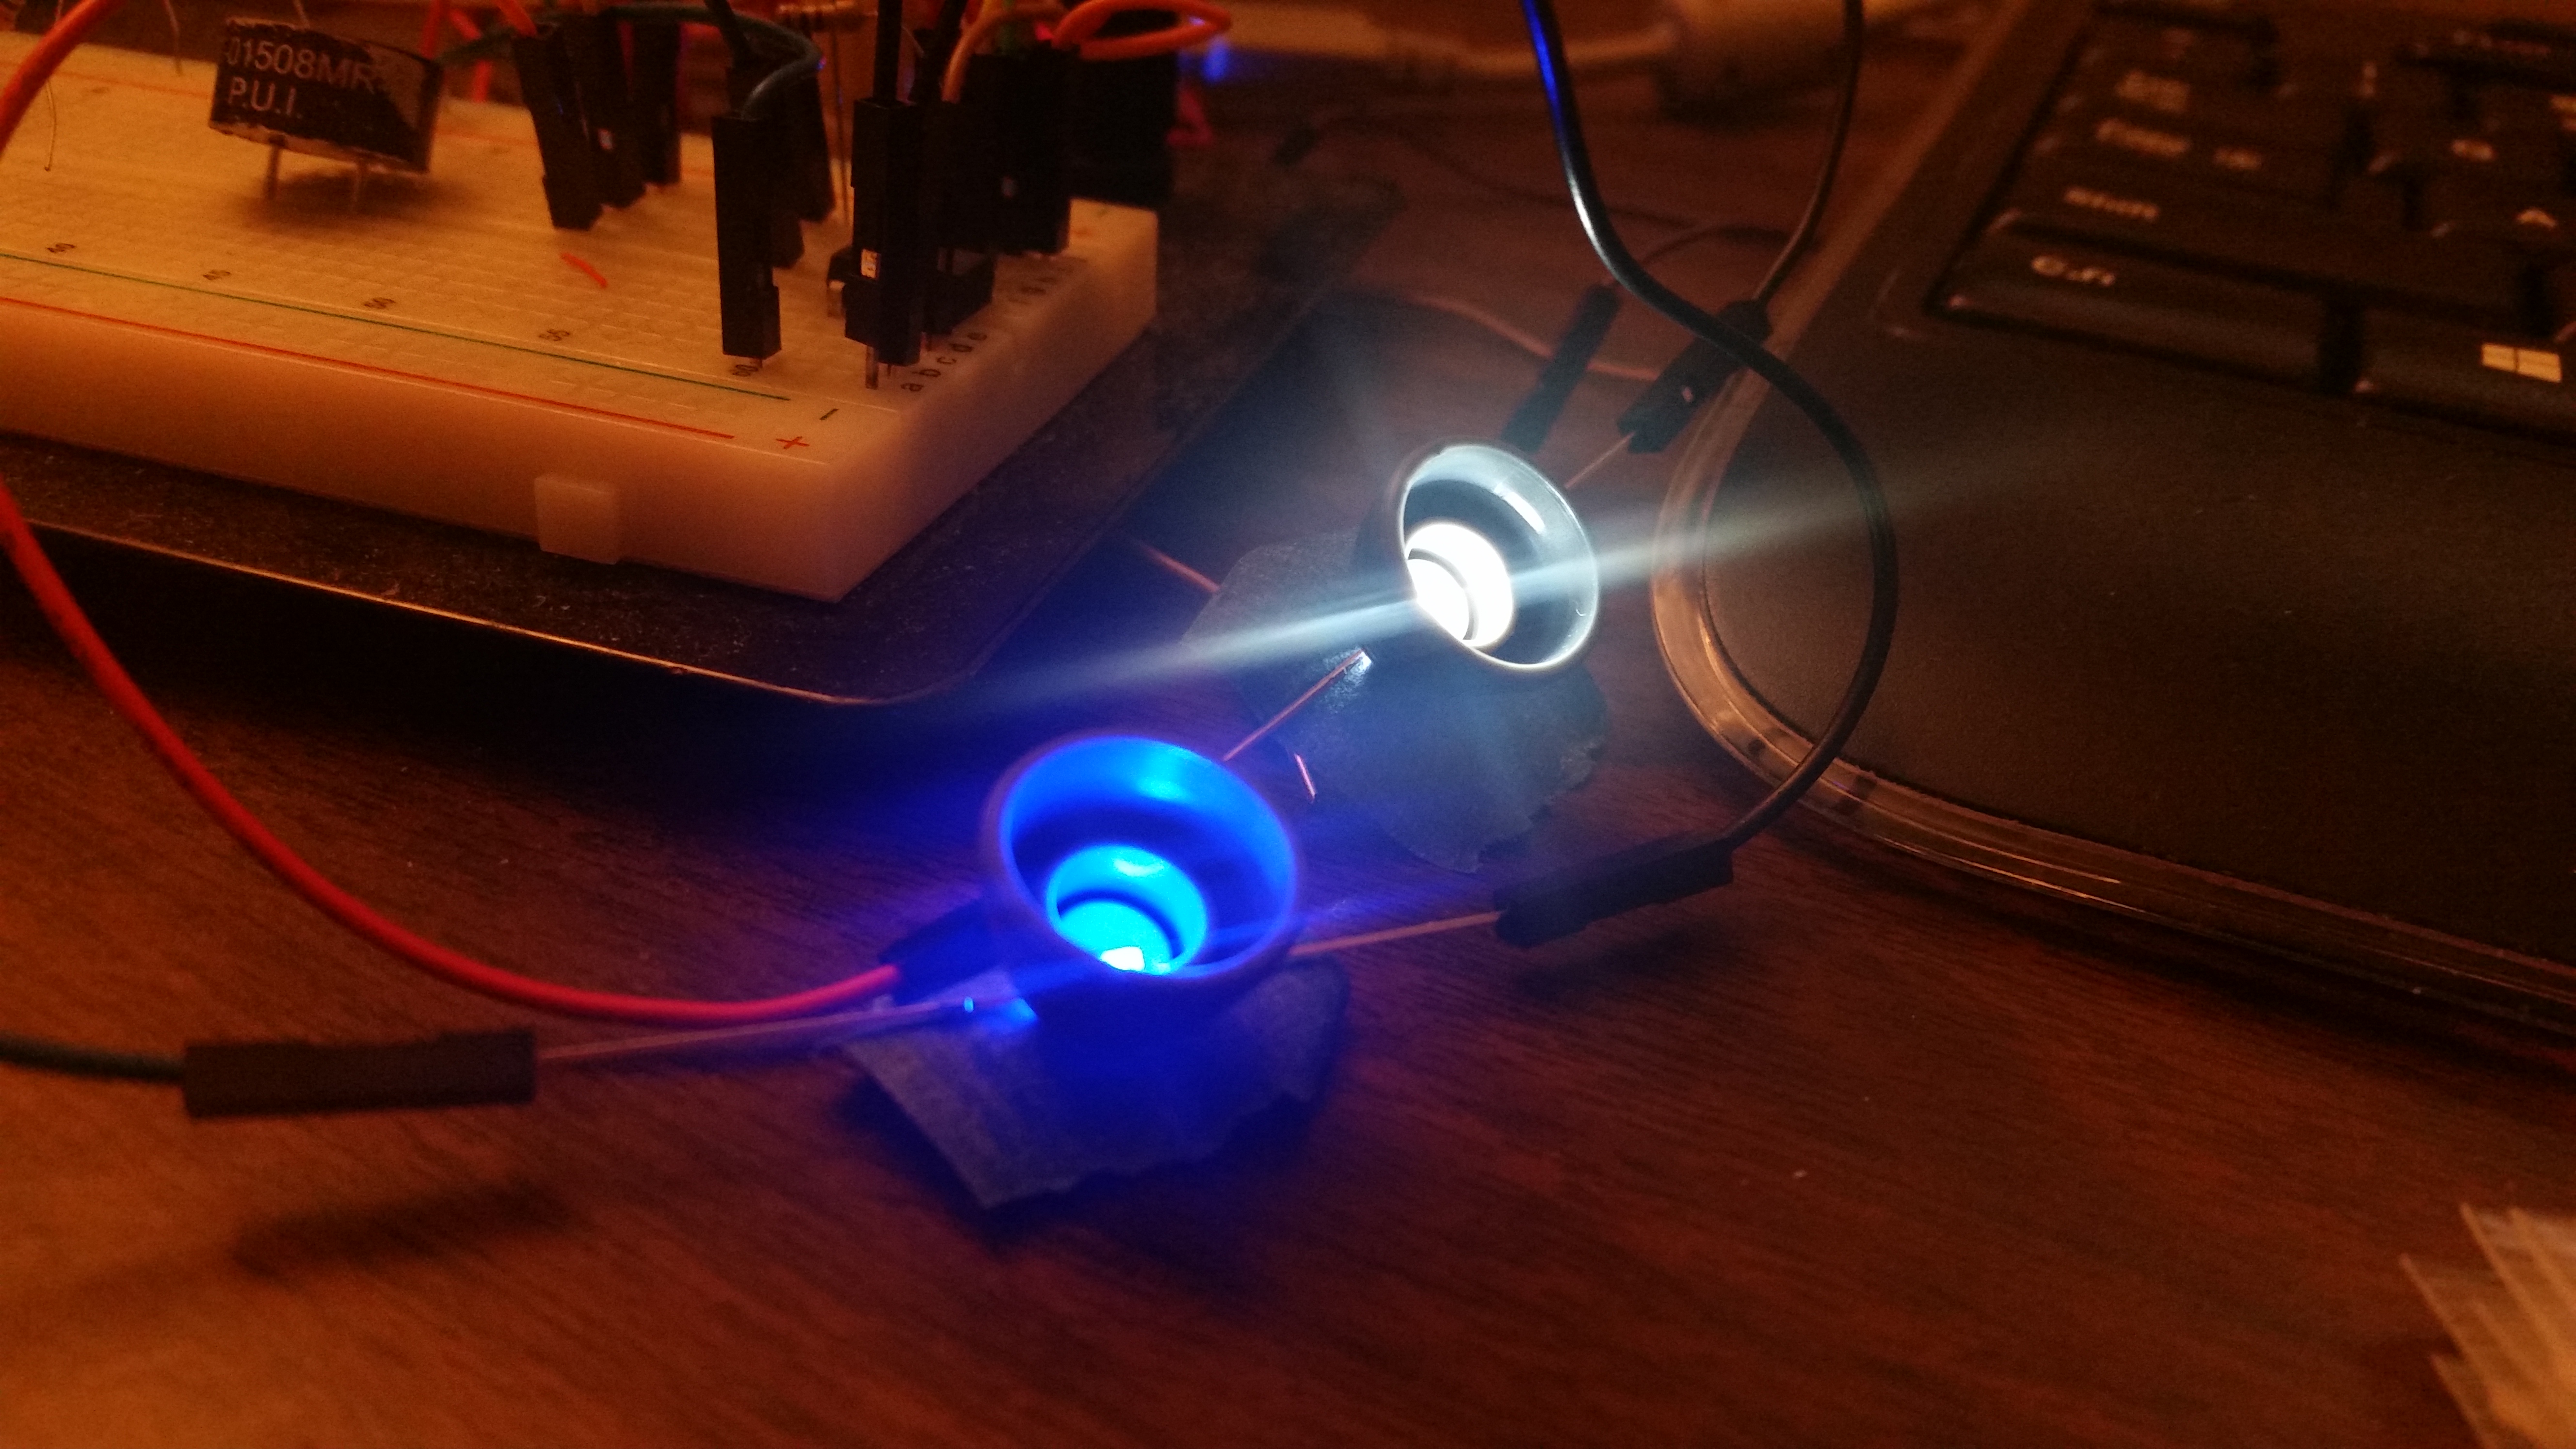
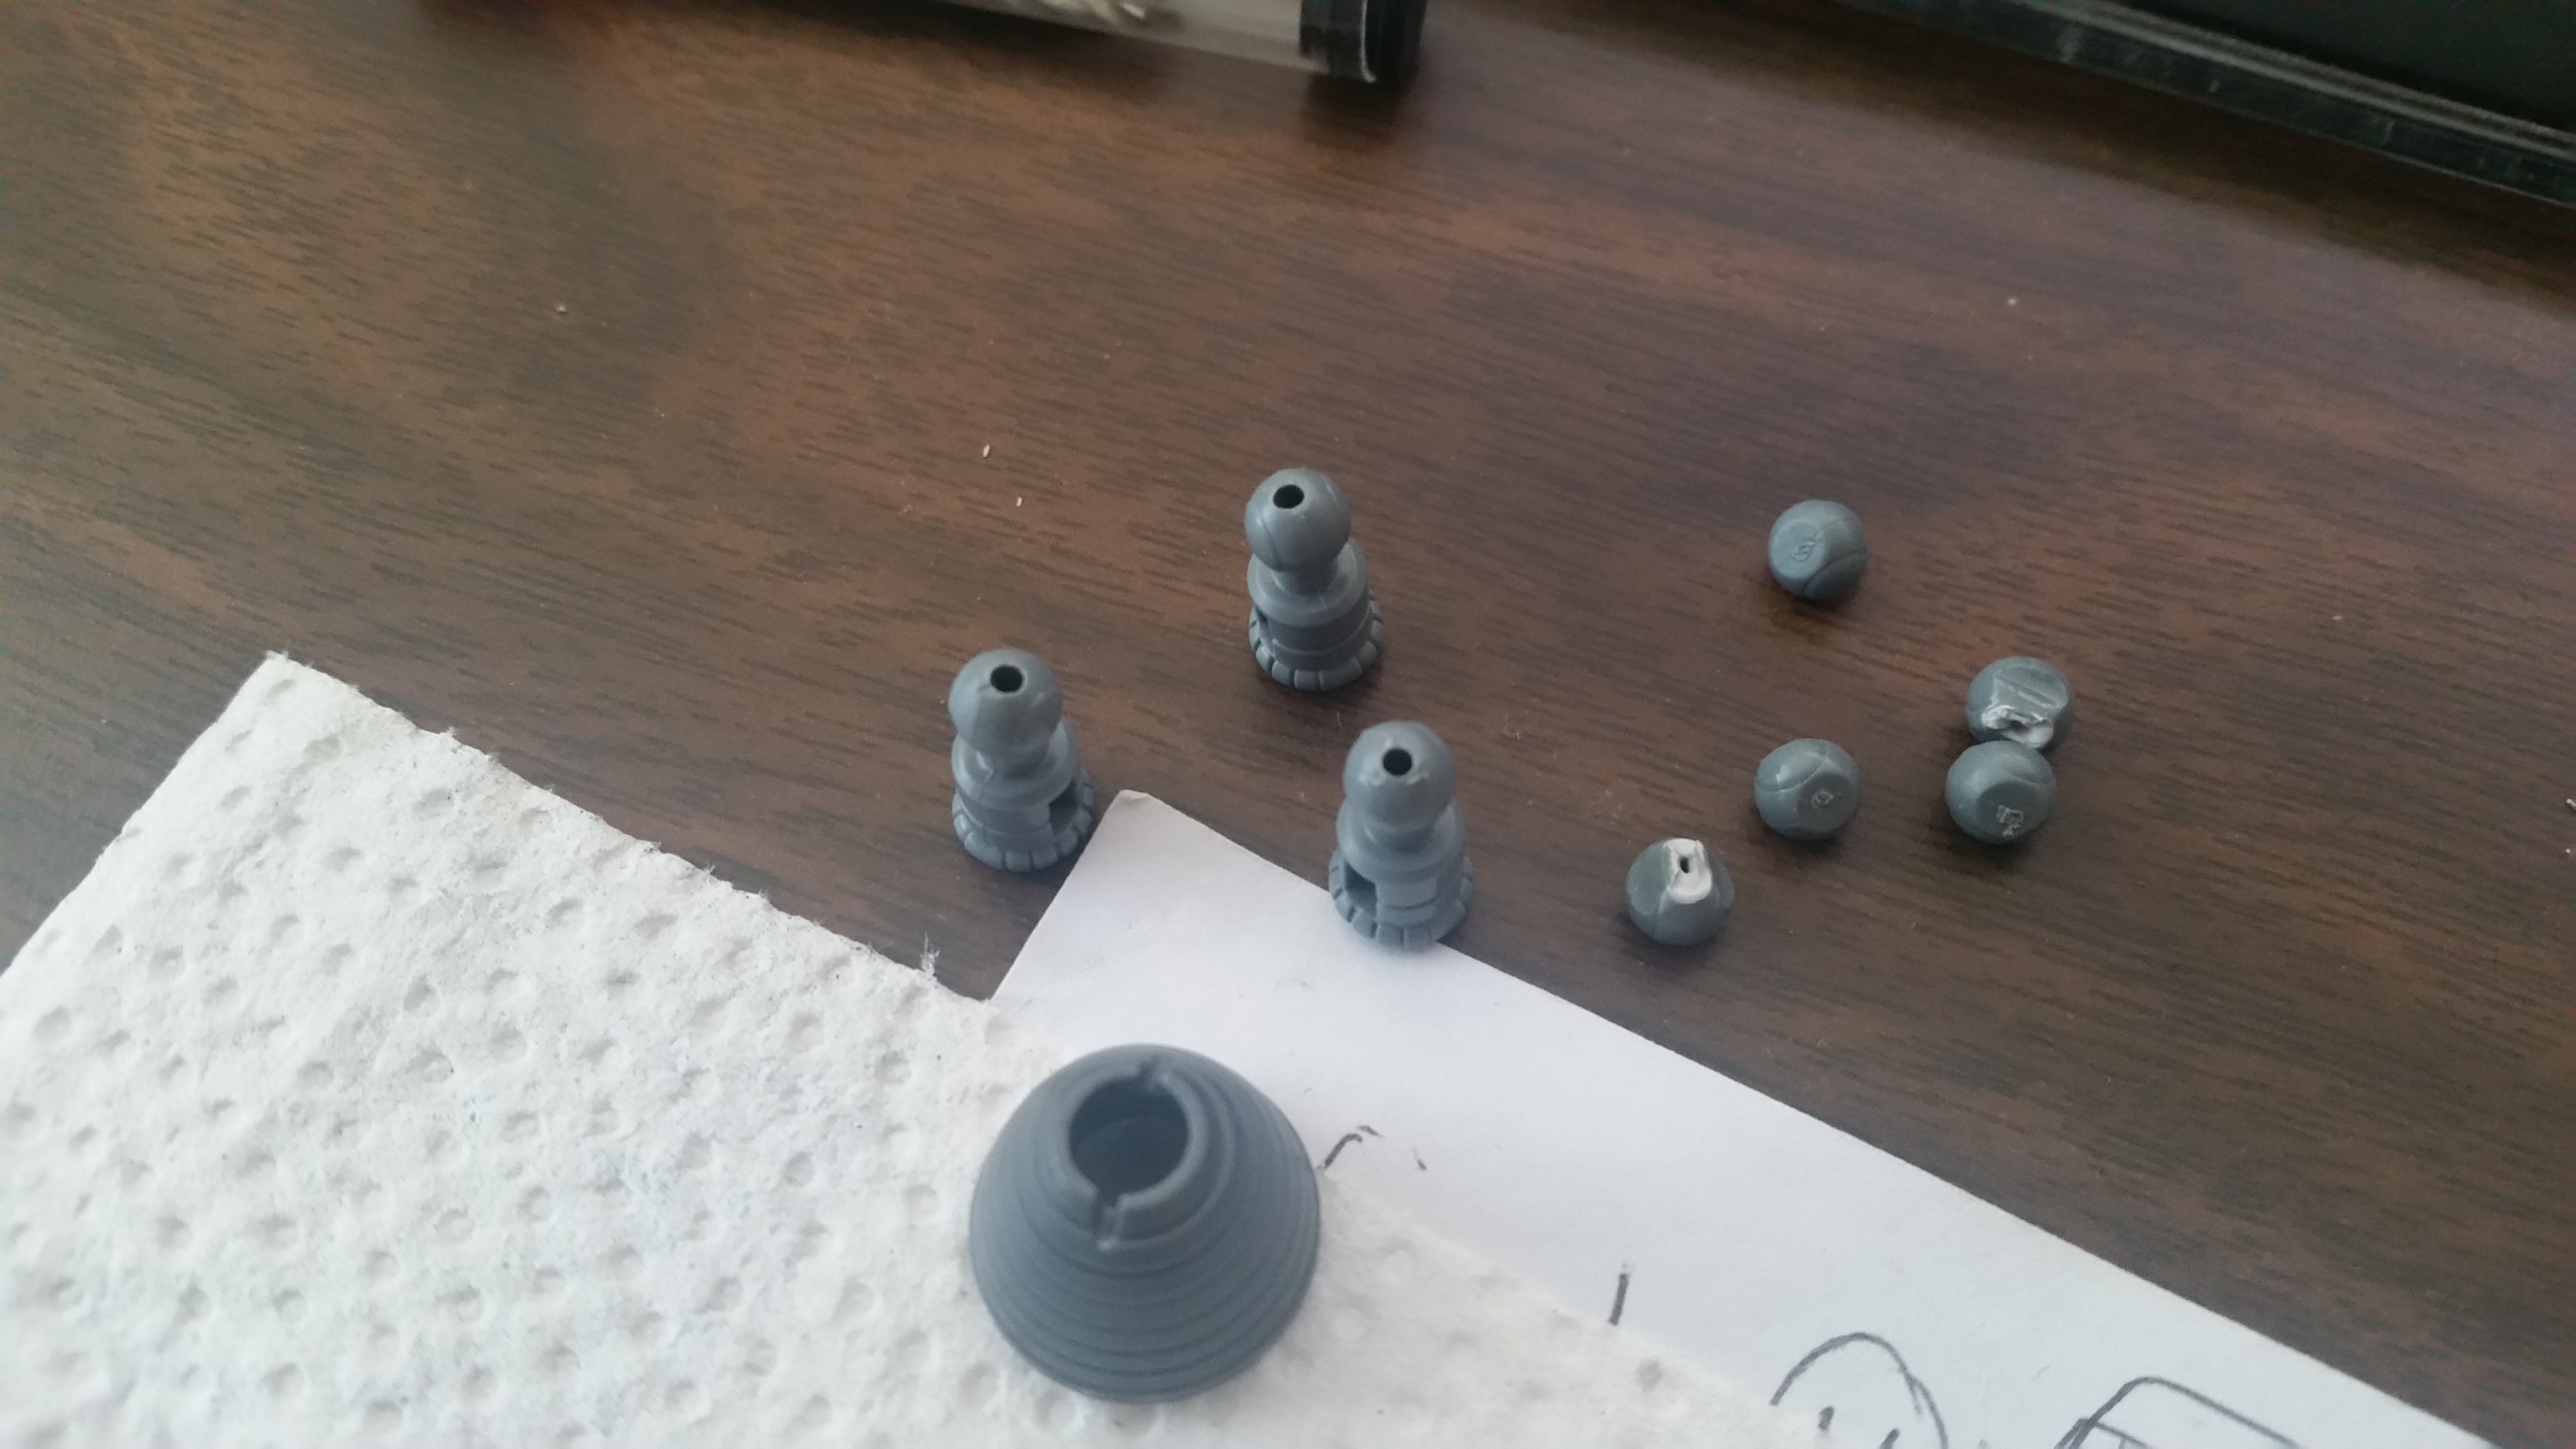
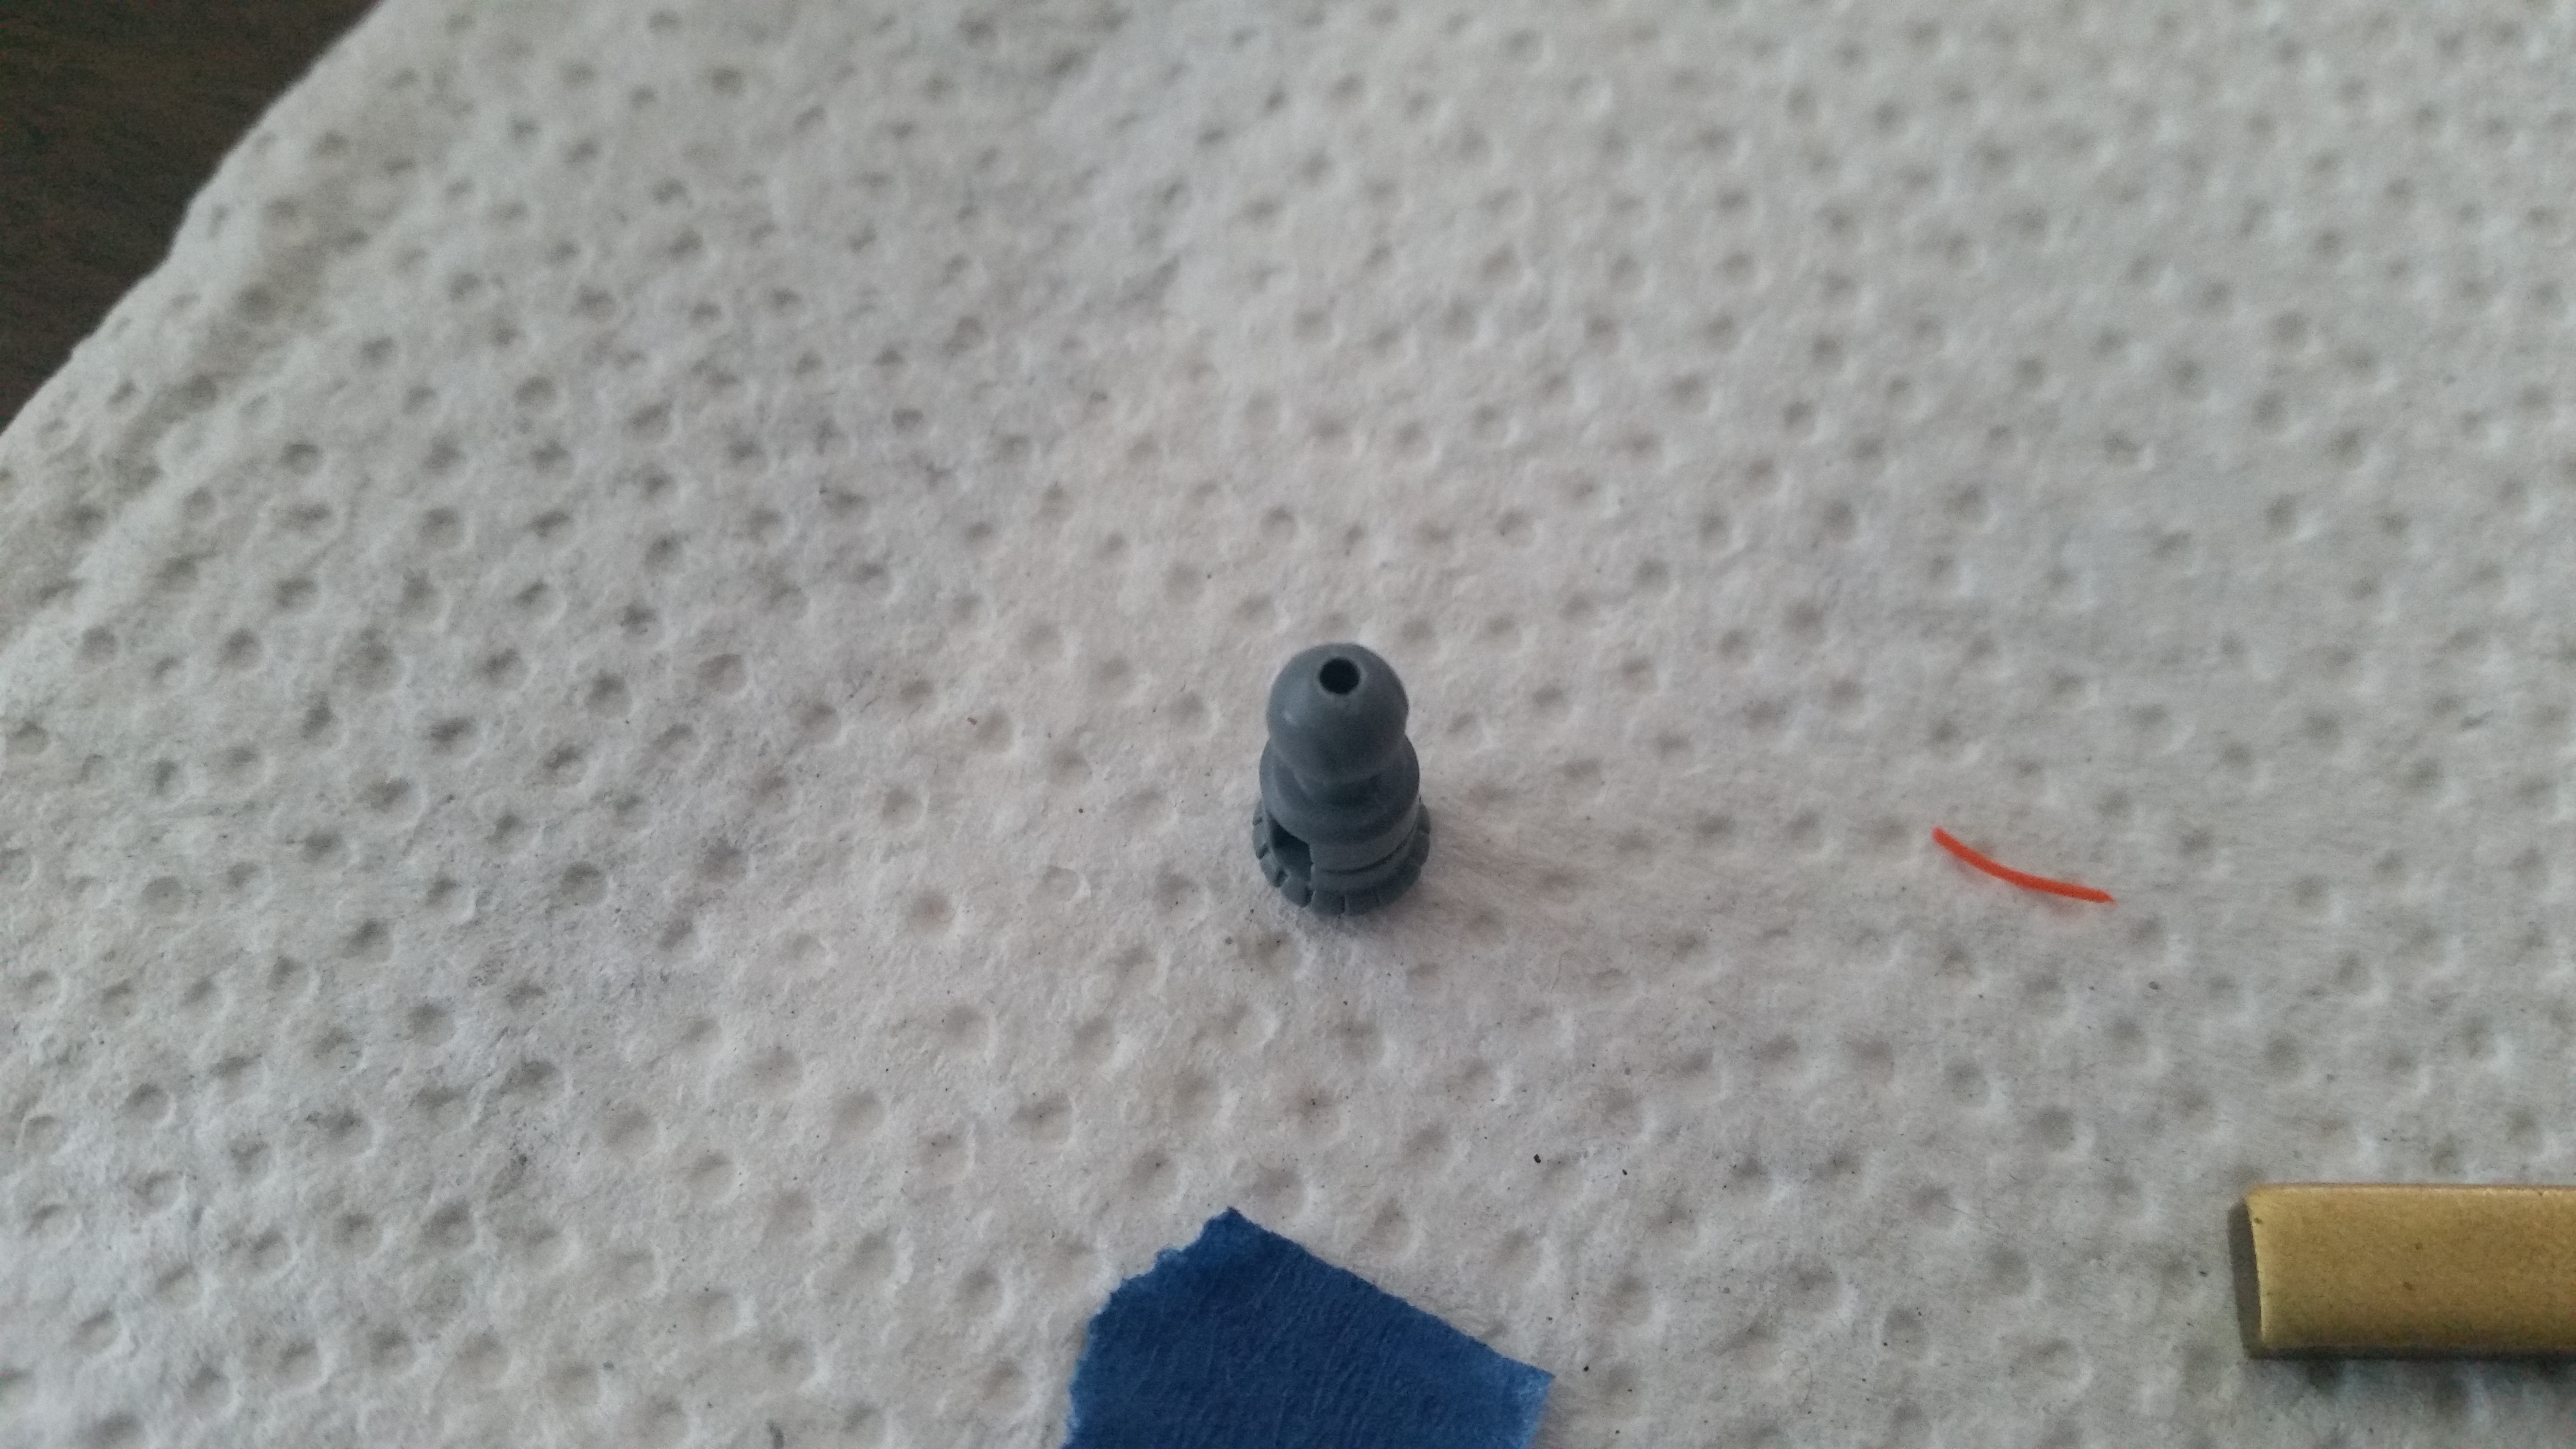
Thrusters
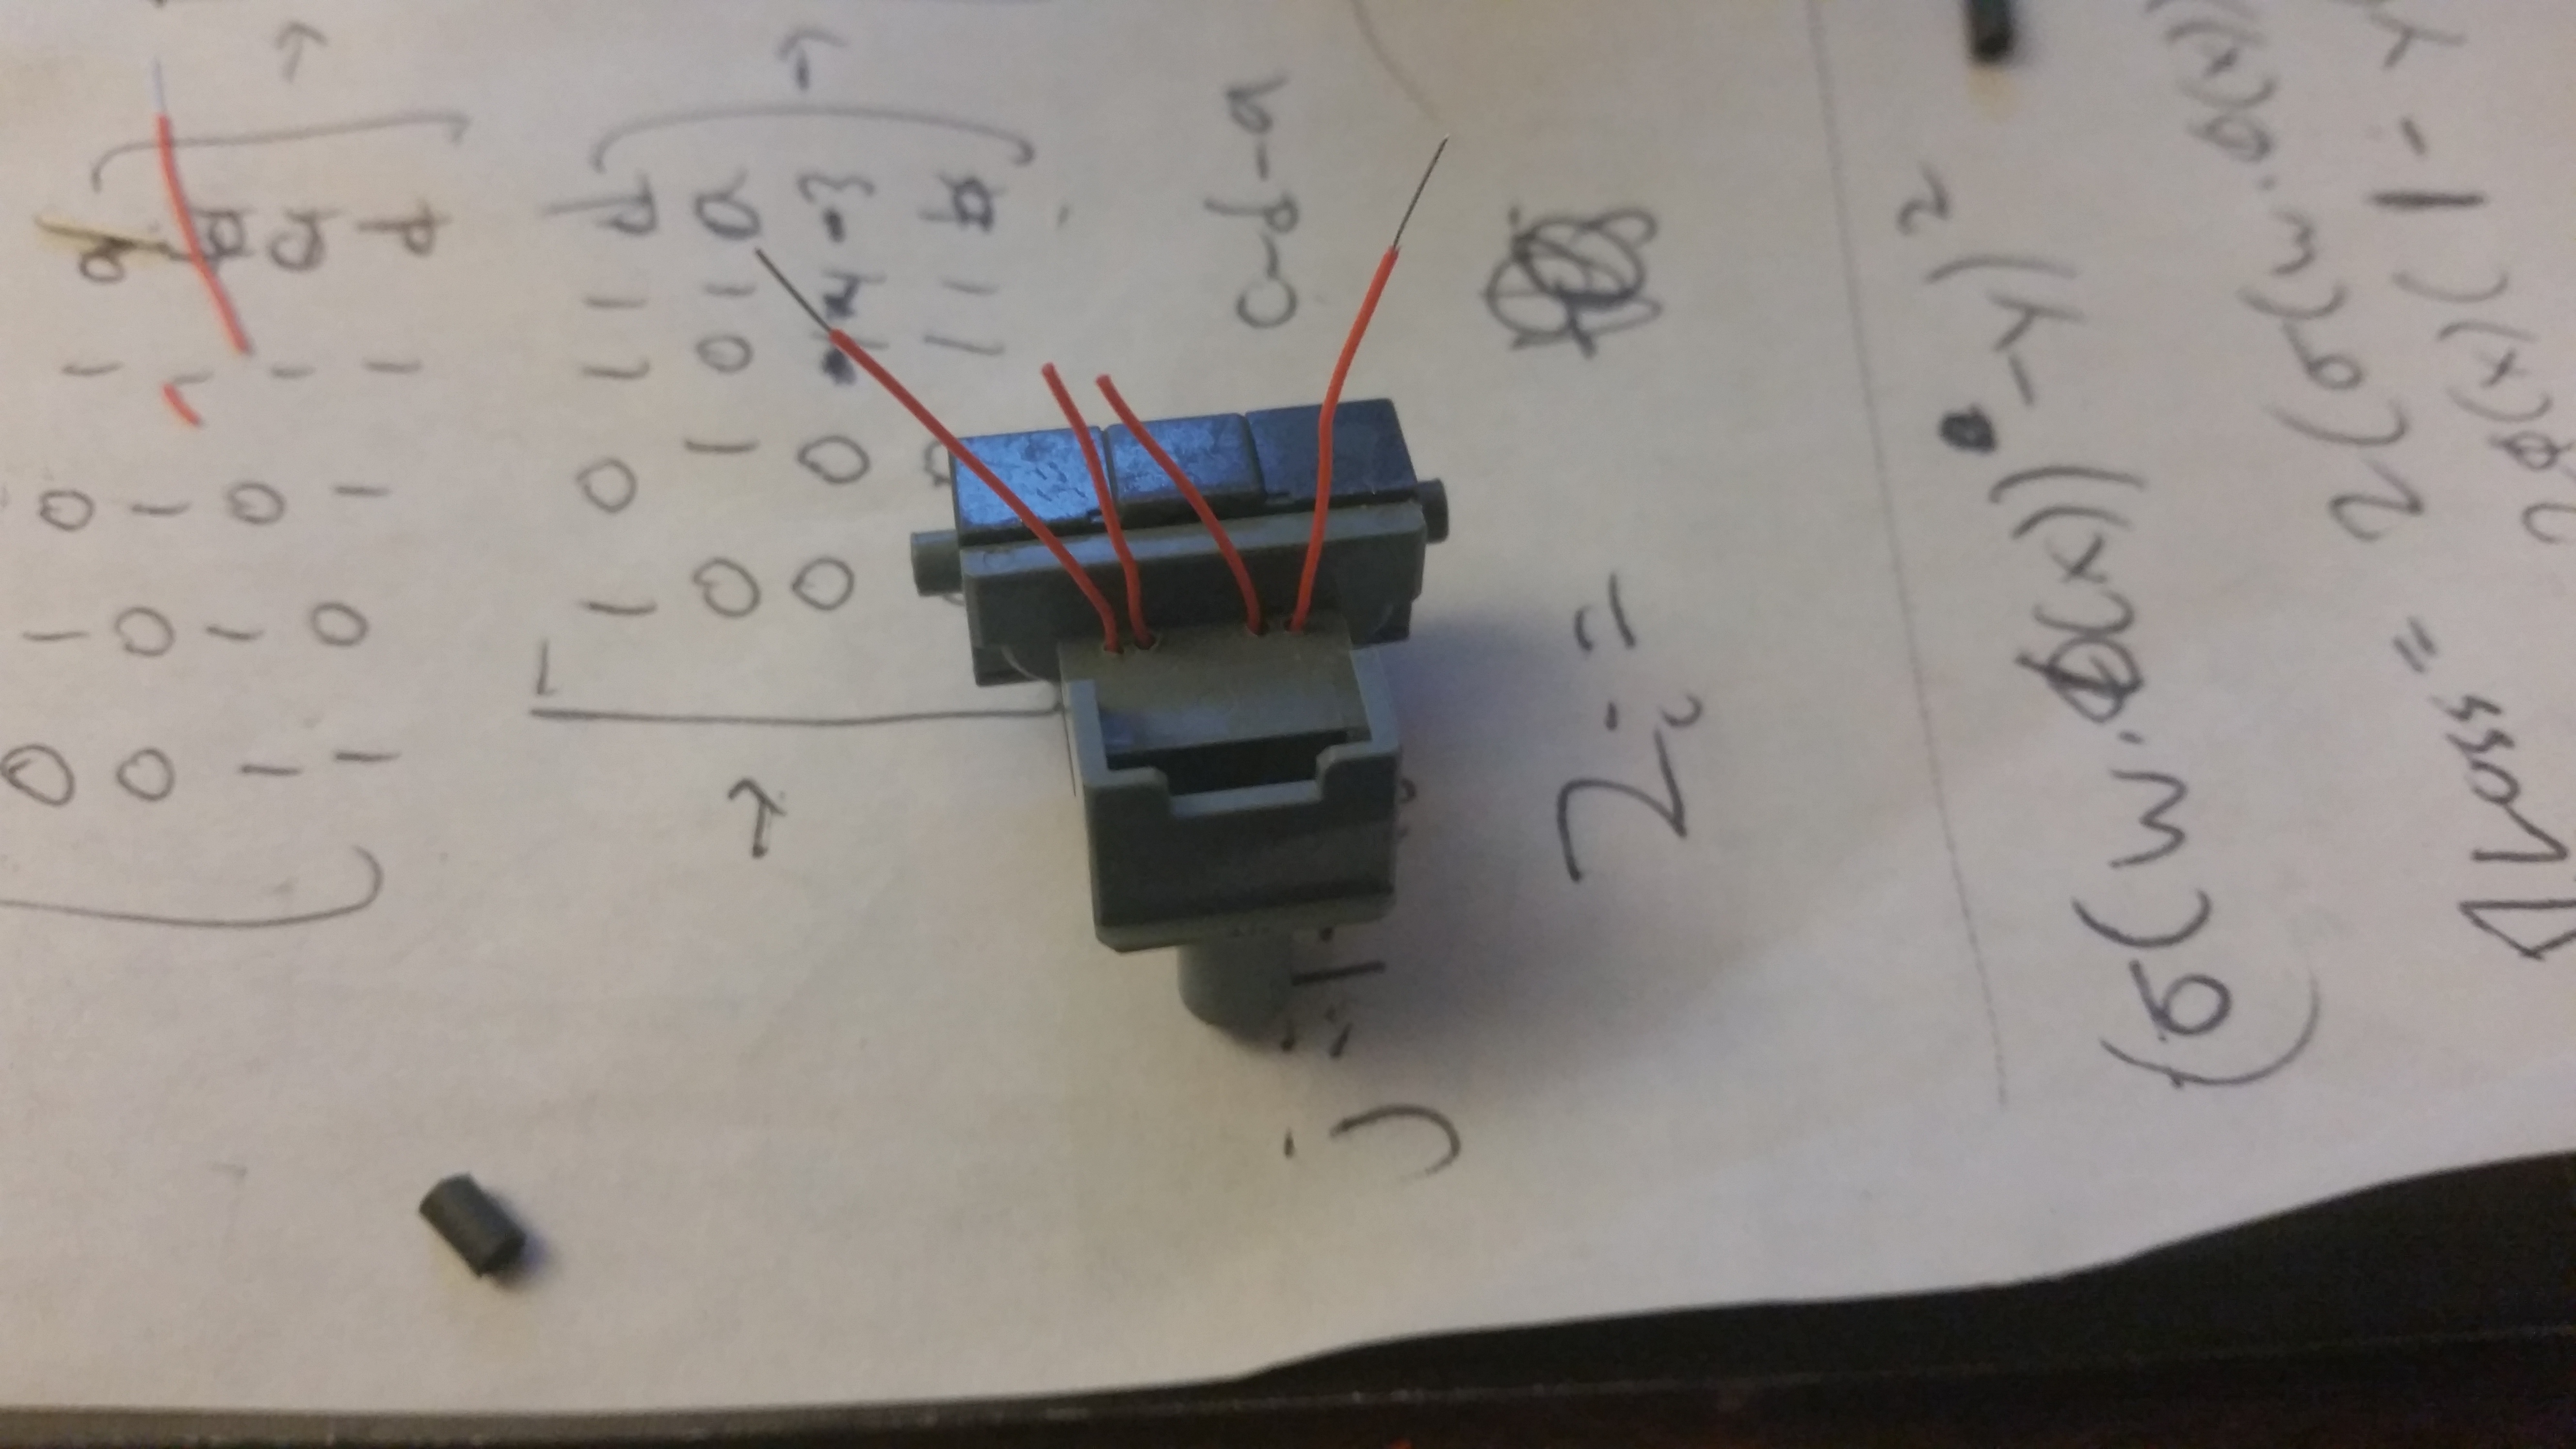
I experimented with both blue and white LEDs for the wing thrusters, but went with the blue since it matched the anime a bit better. There were 8 thrusters in total (2 per wing), so a lot of wires! Instead of trying to hide the wiring within the wing arm connections, I decided to just route them externally with stranded 28 AWG black wire. This was definitely more simple, but also added a bit of mechanical detail that I liked.

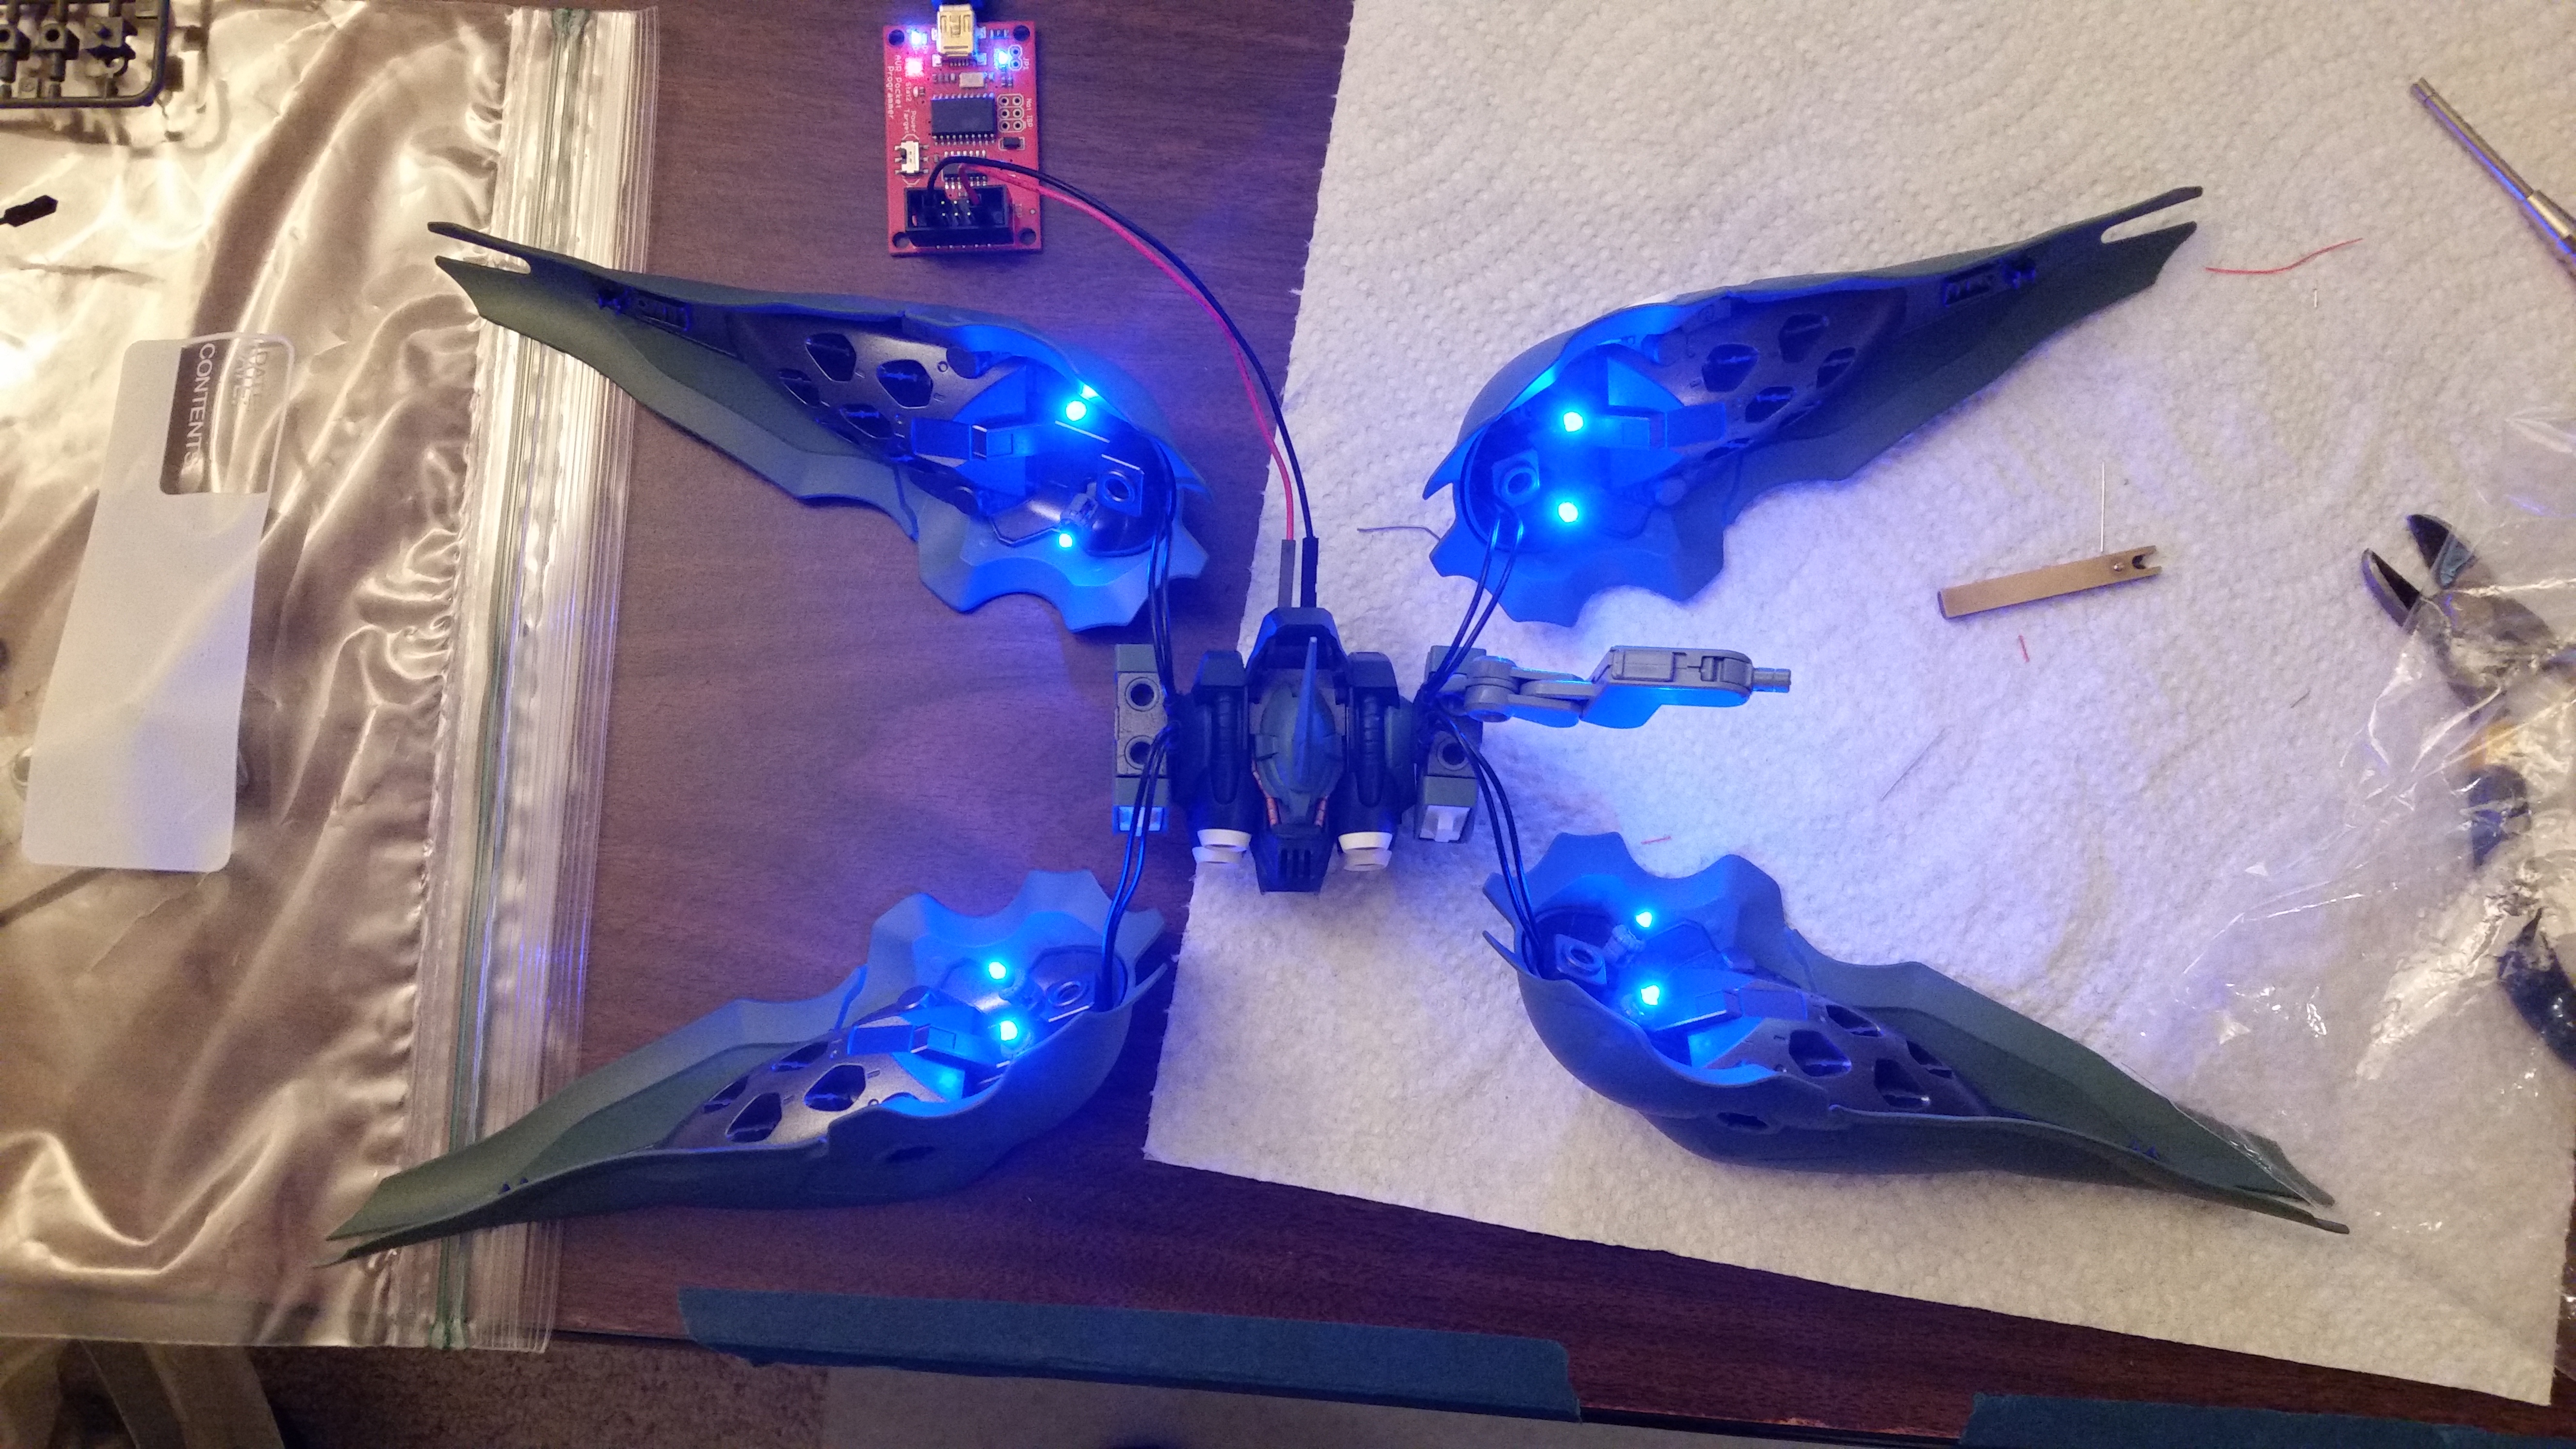
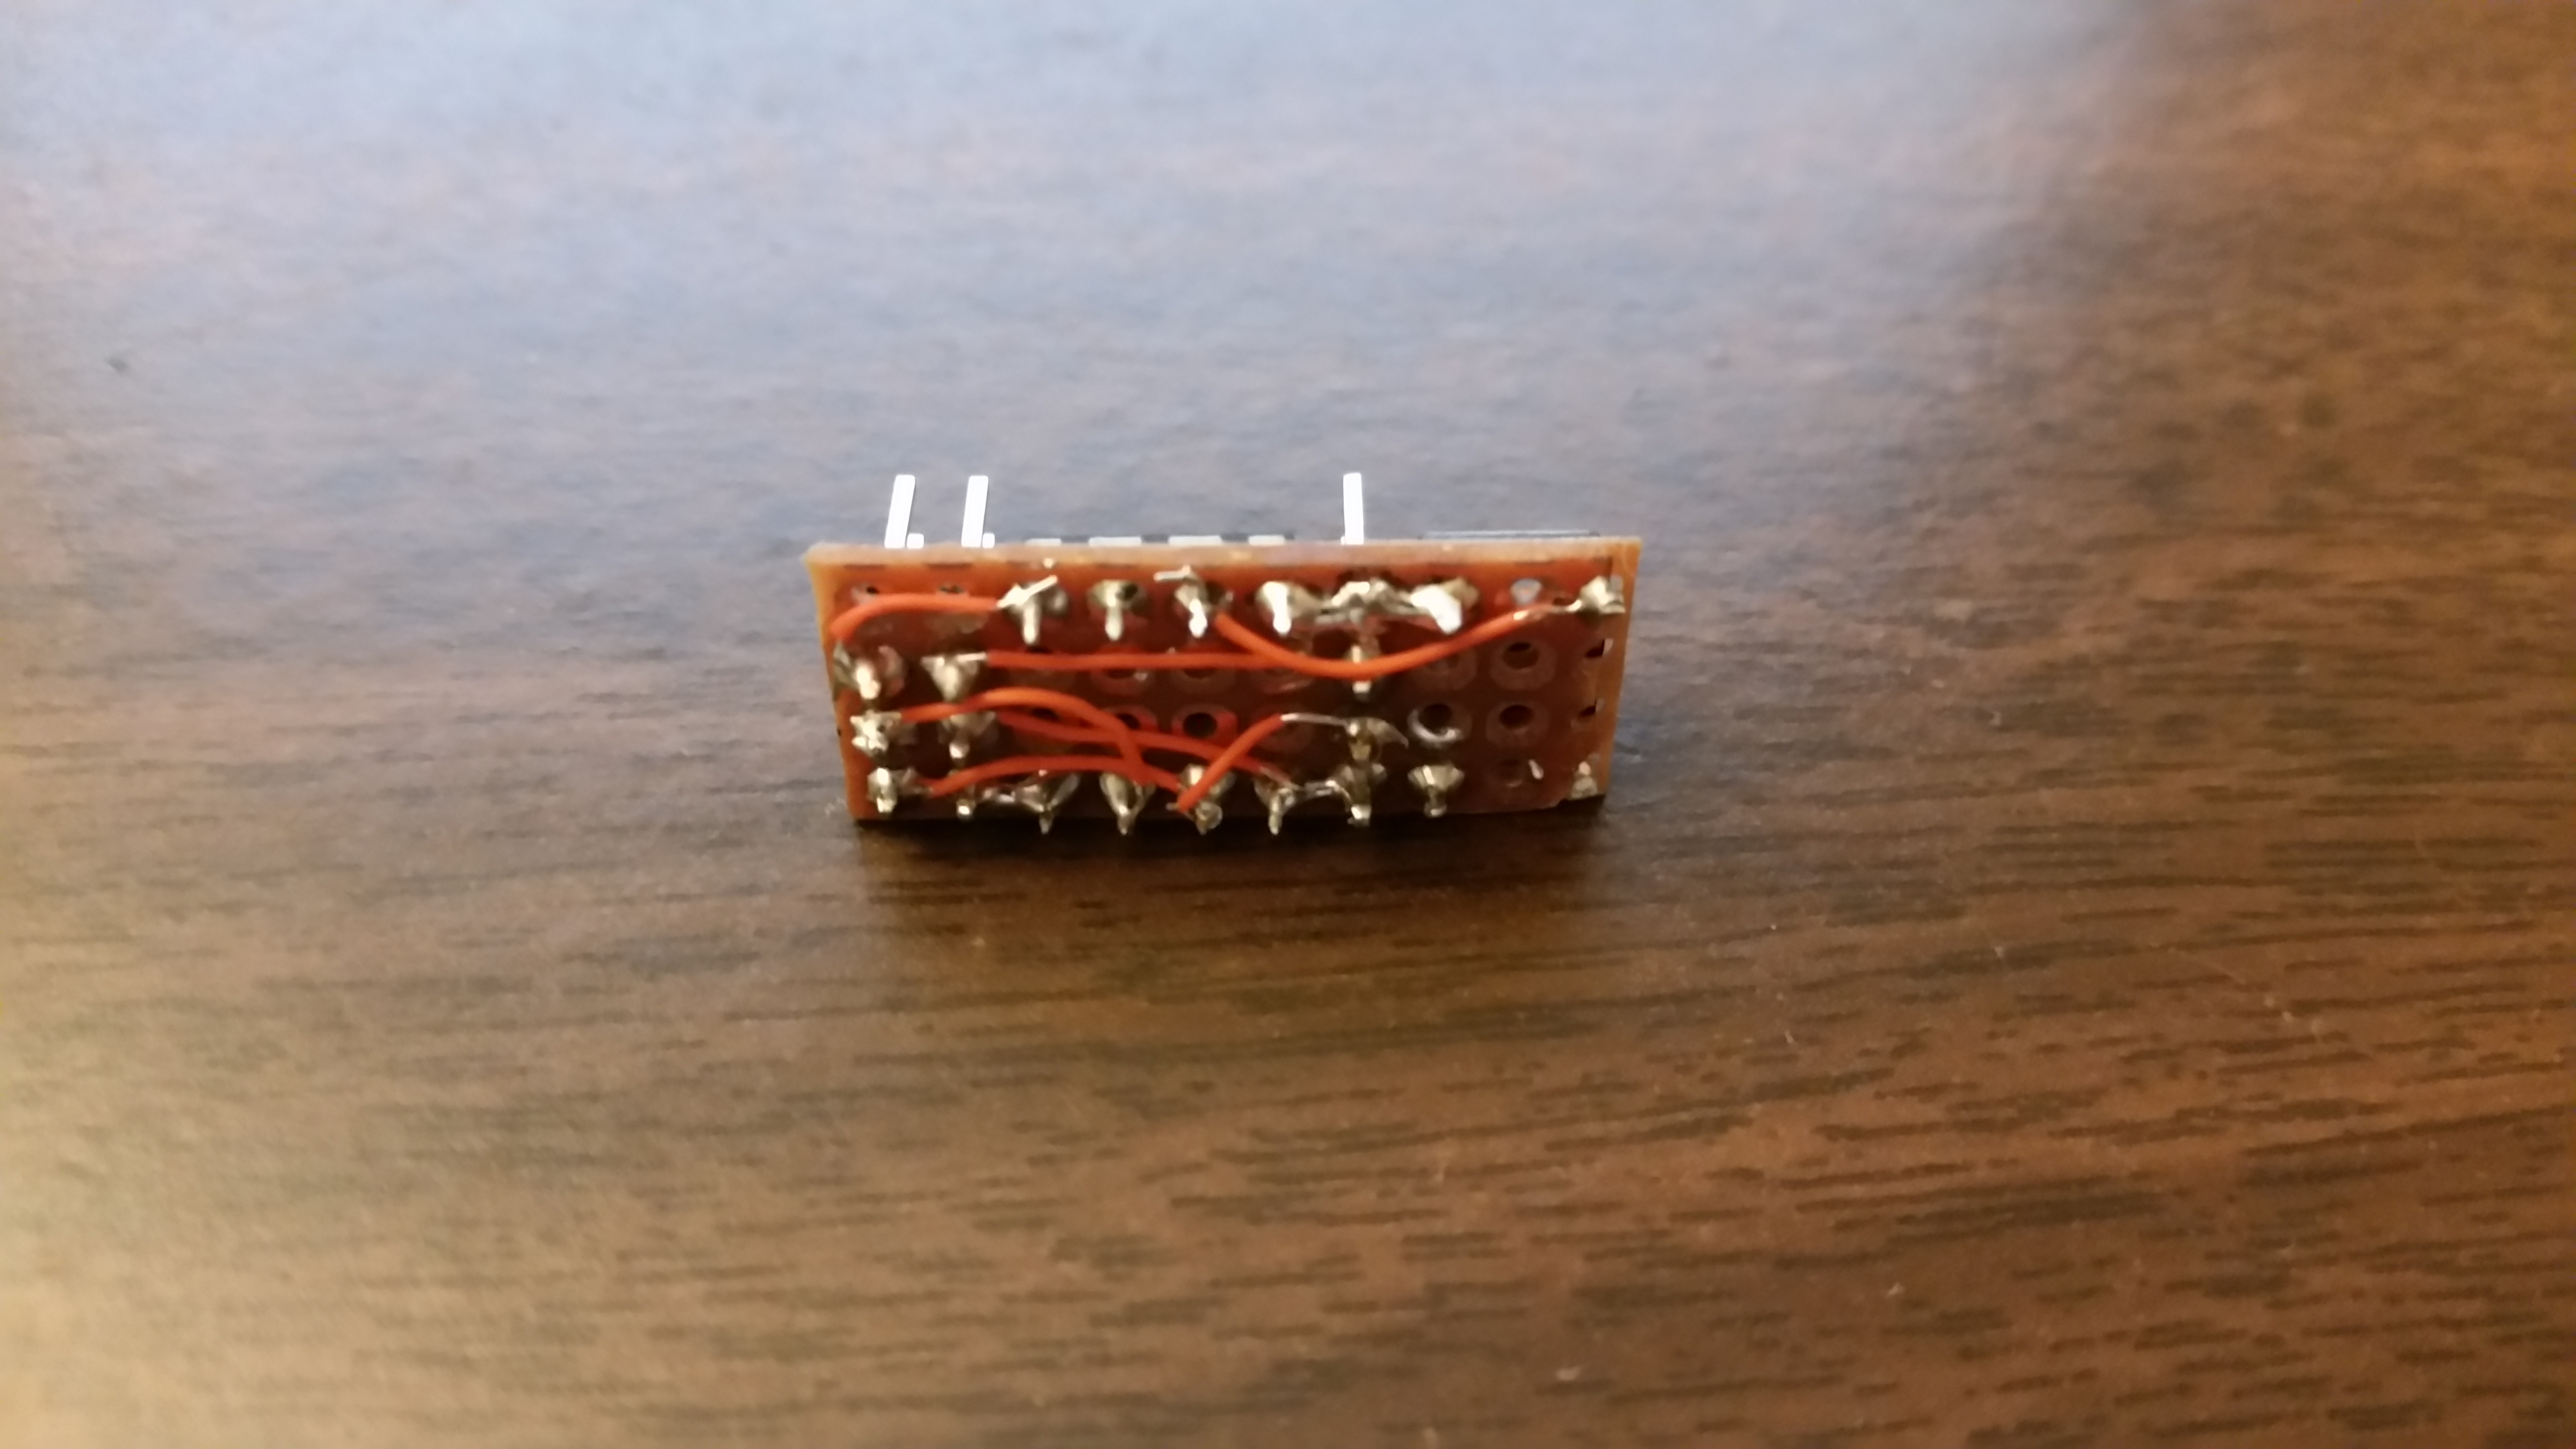
Controller
To programmatically control the brightness of the LEDS, I made a small controller with an ATtiny and a button. Currently it just does a simple “power-on” pulse effect.

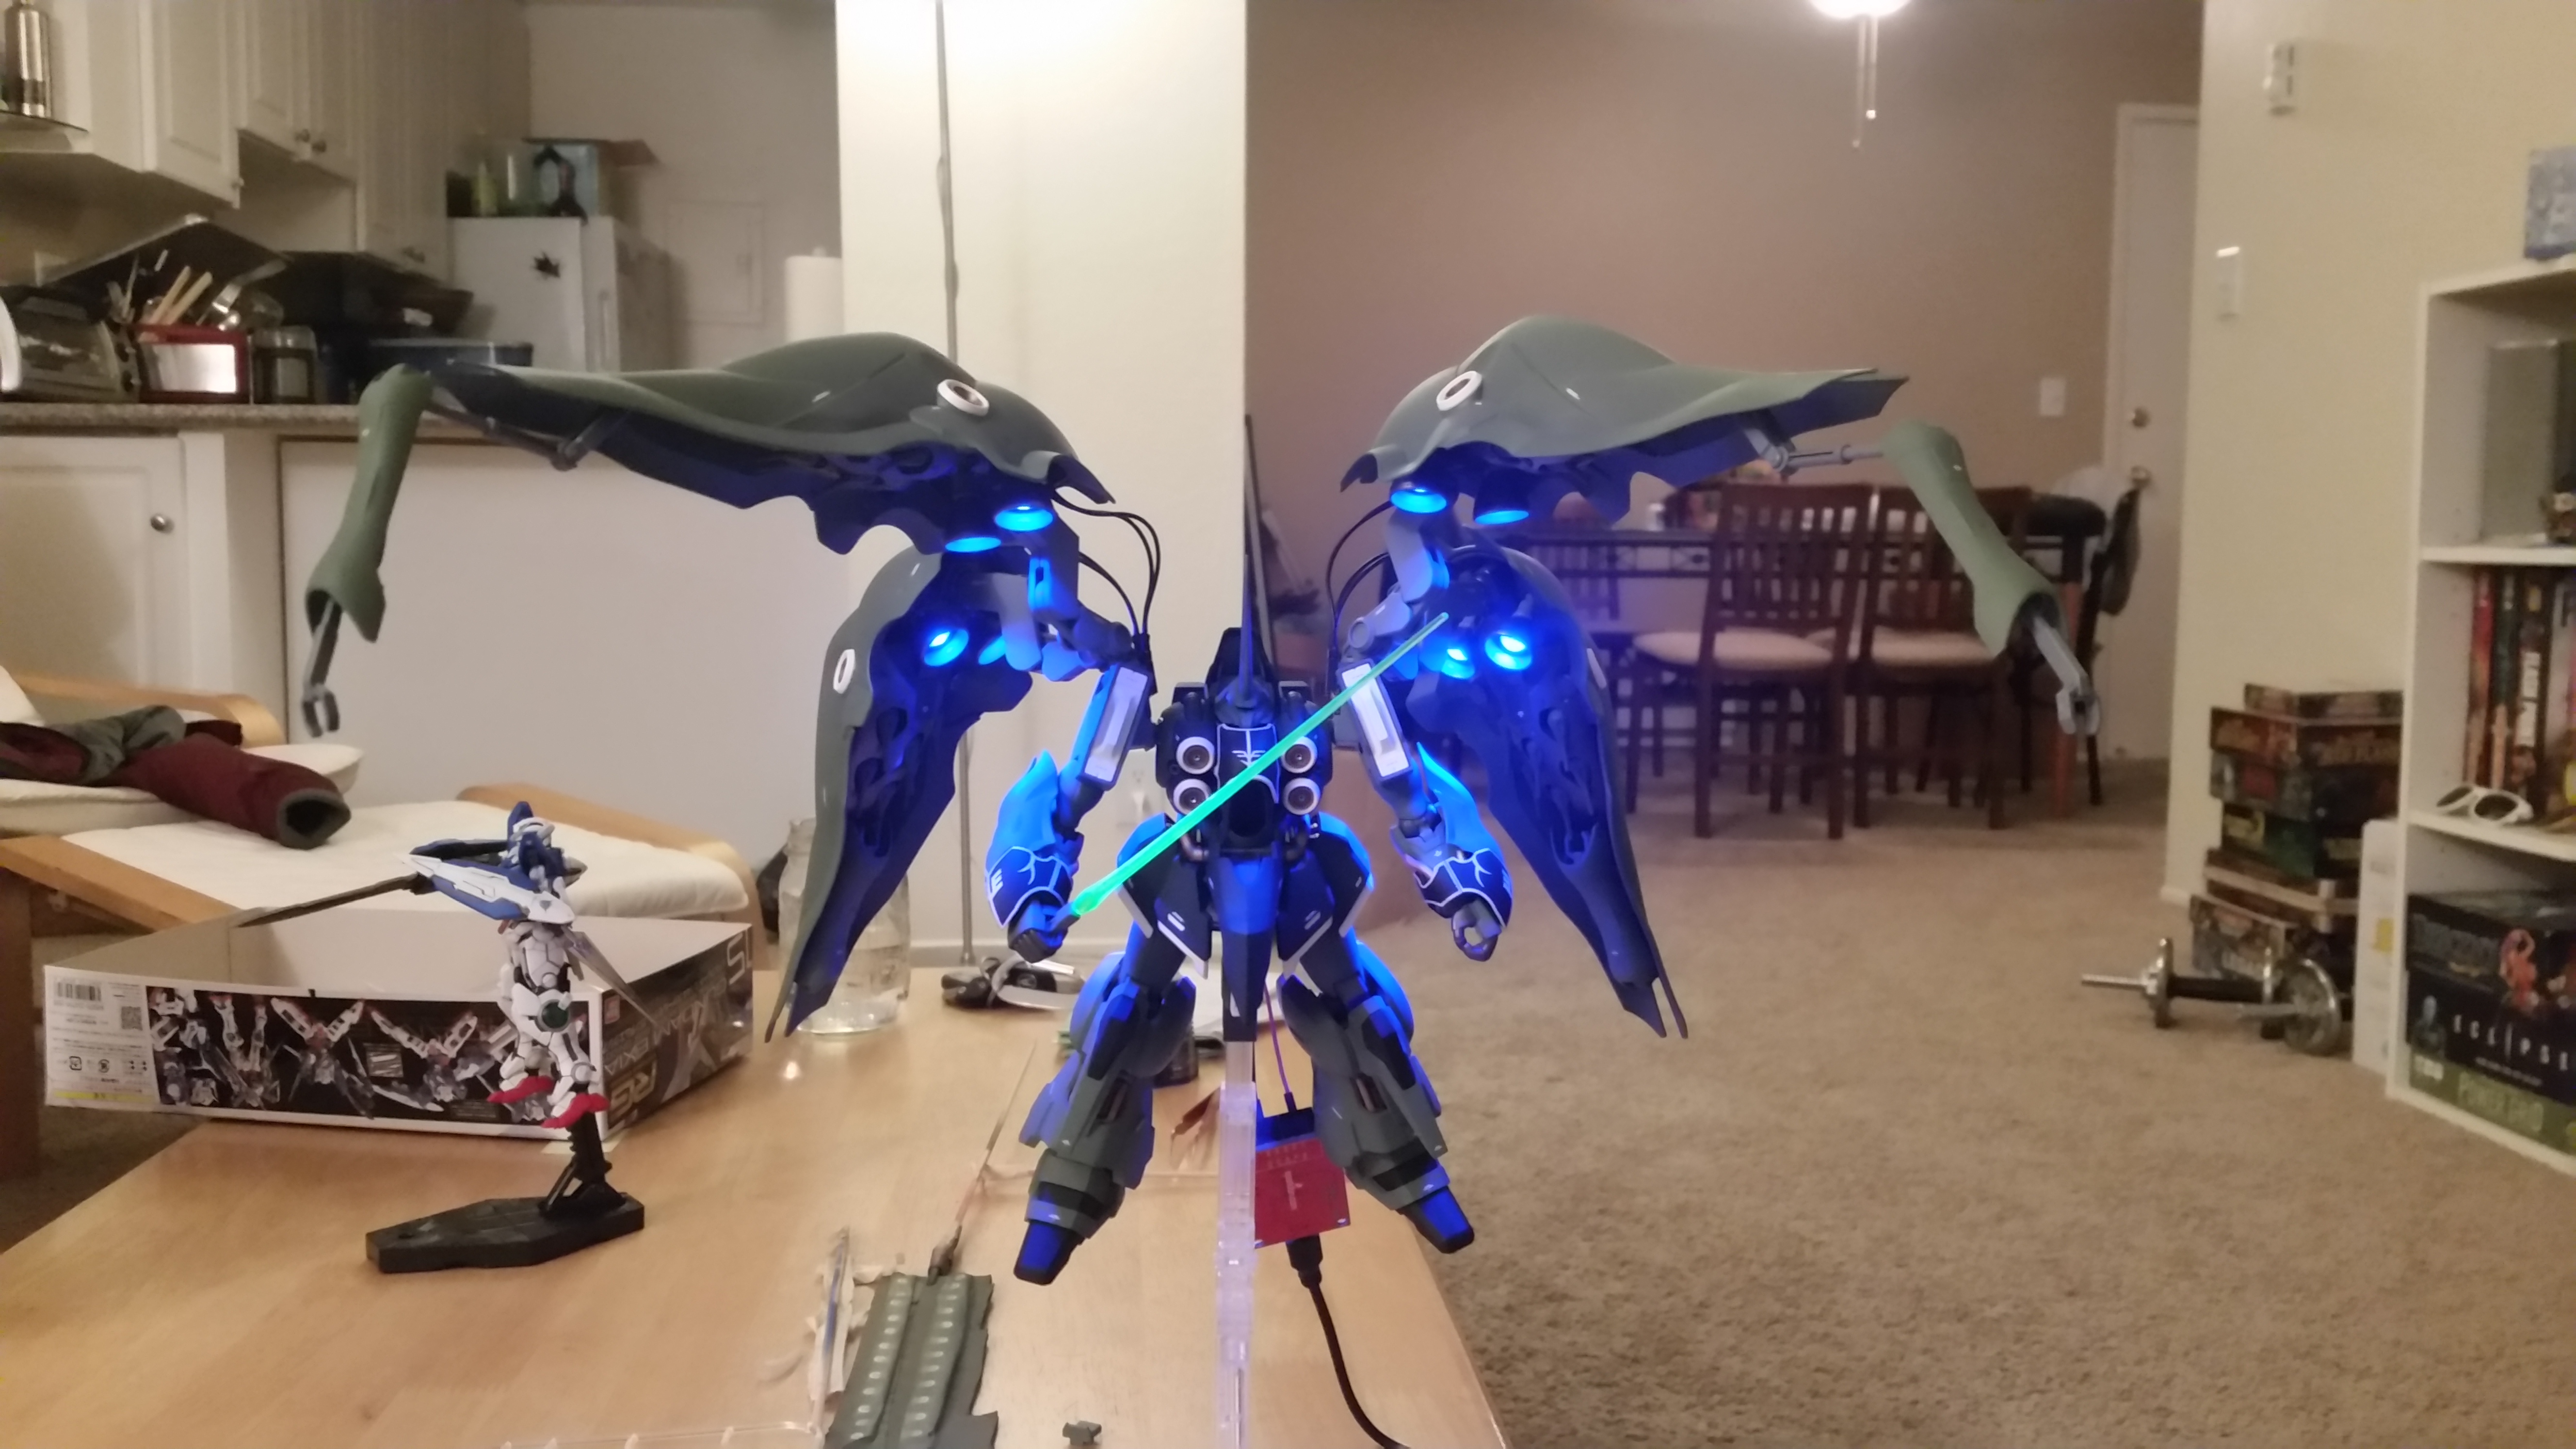
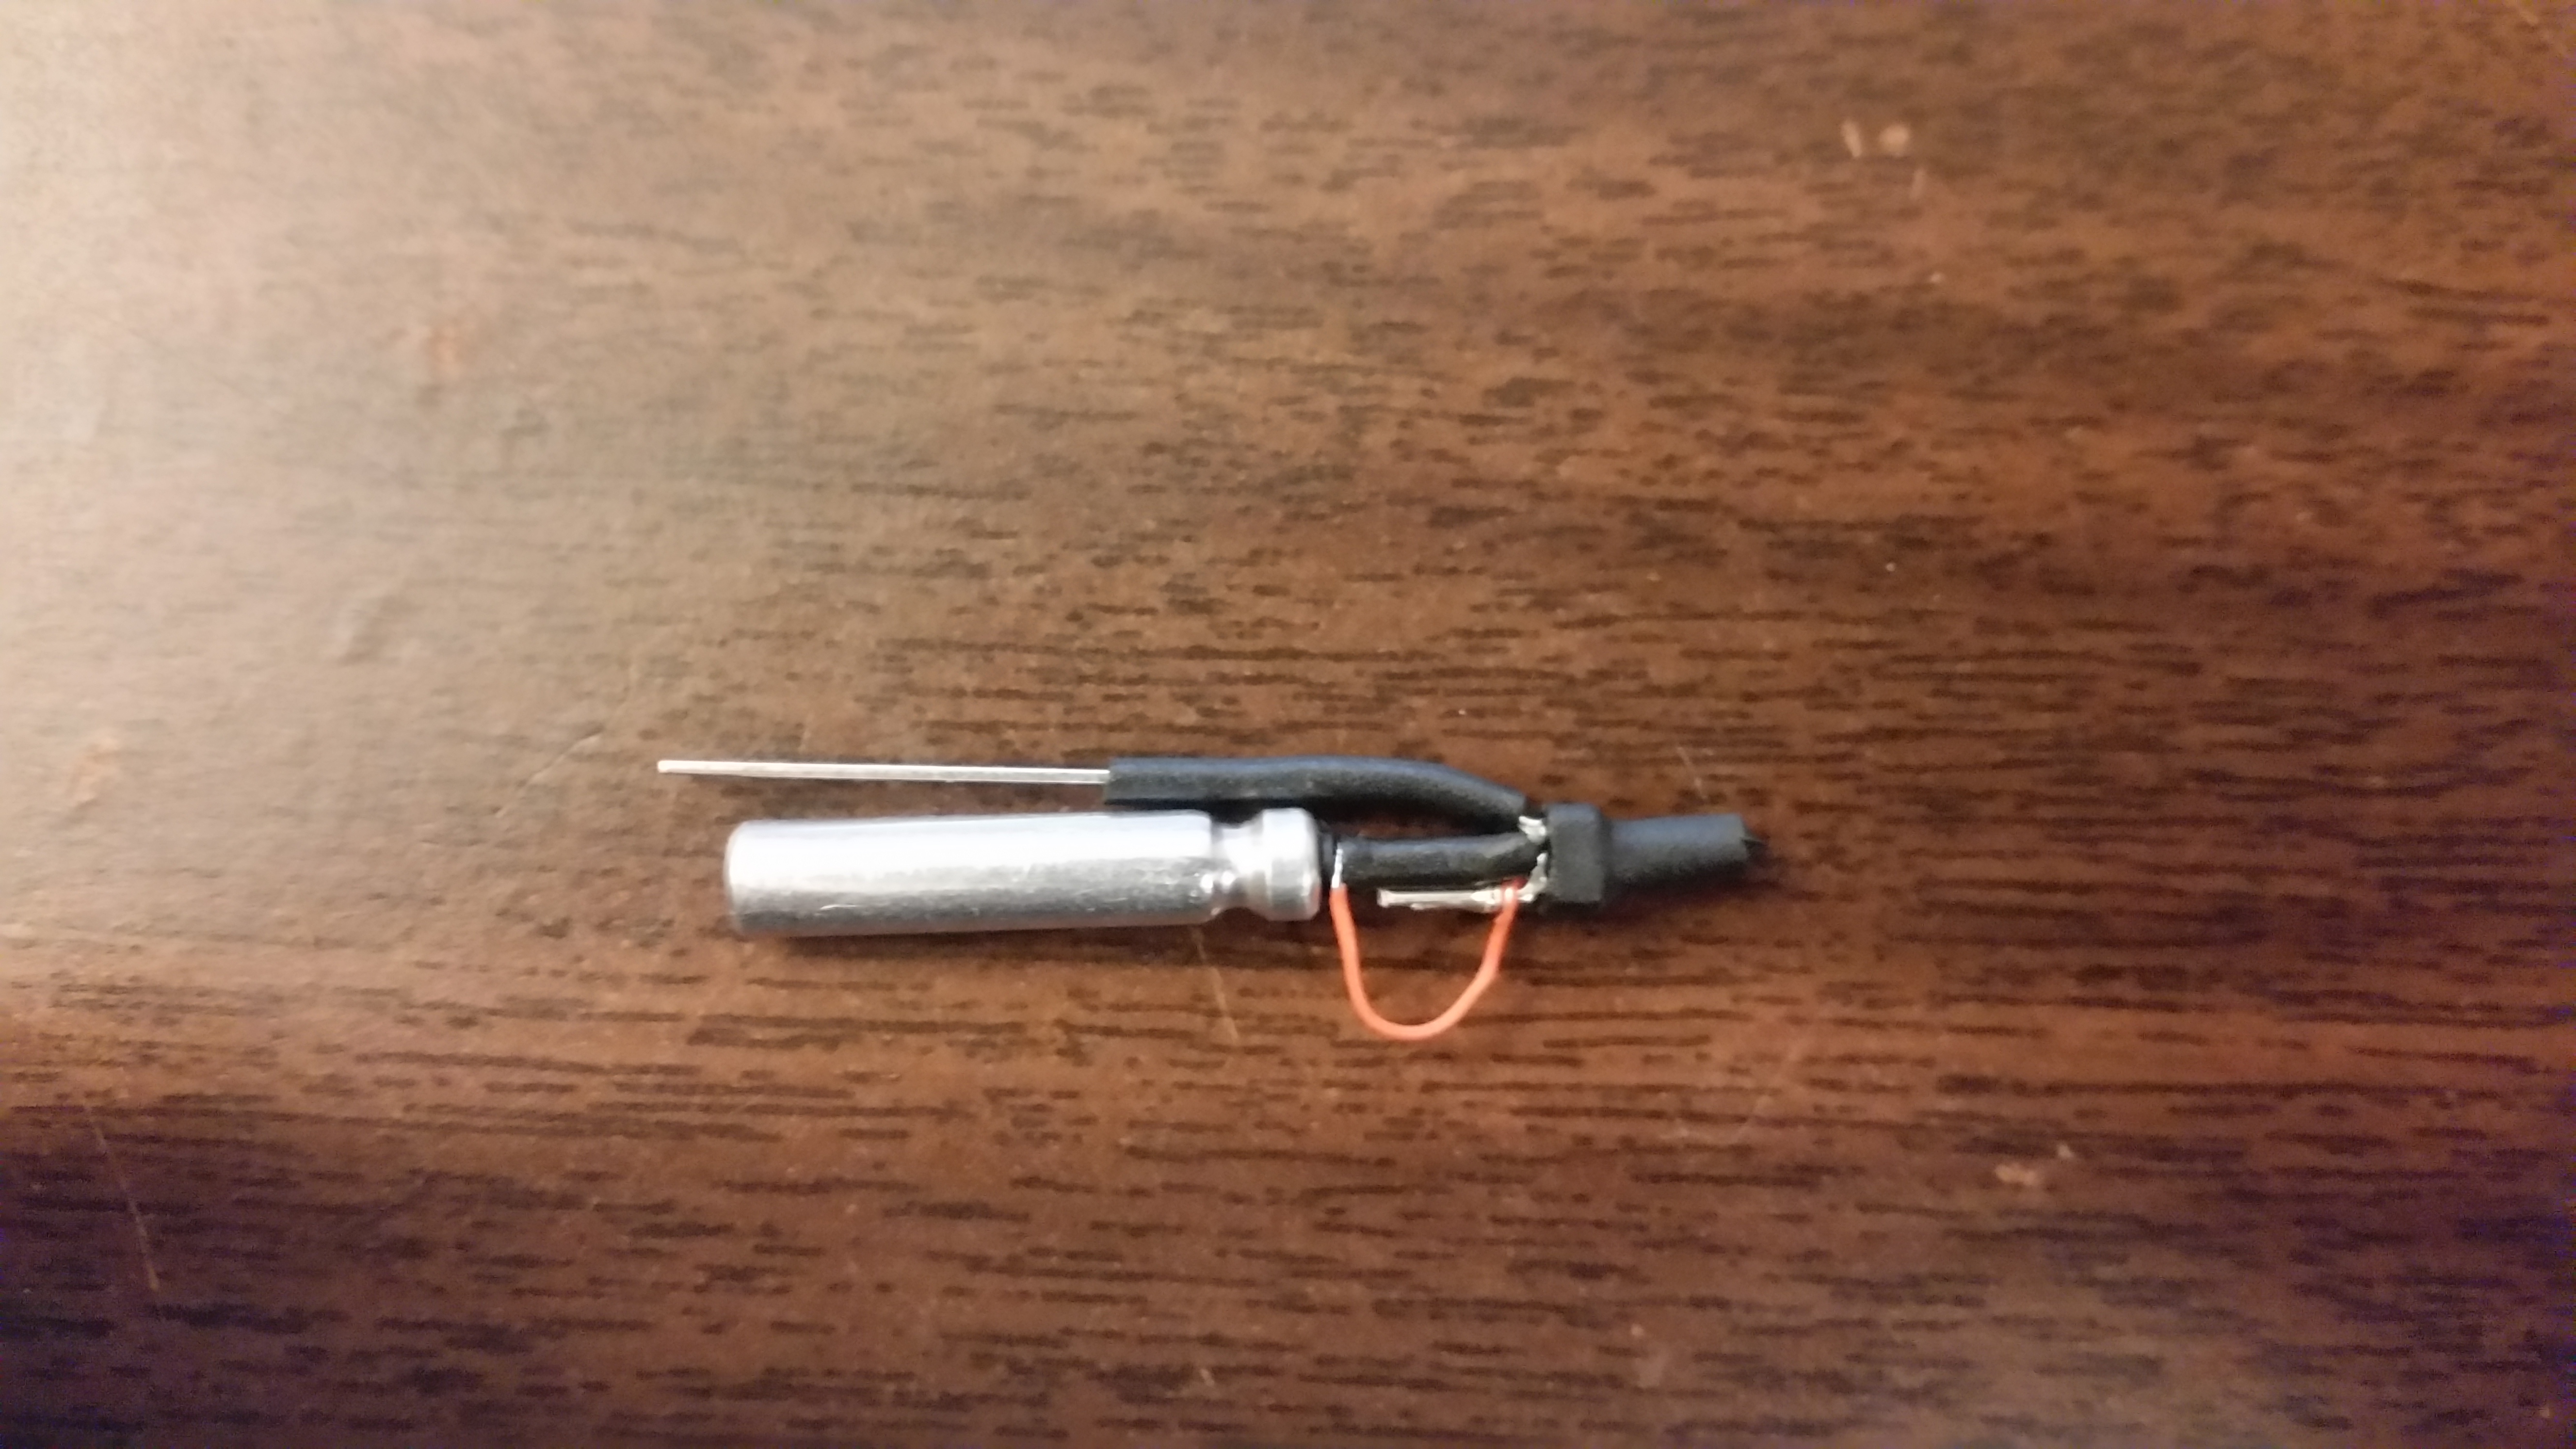
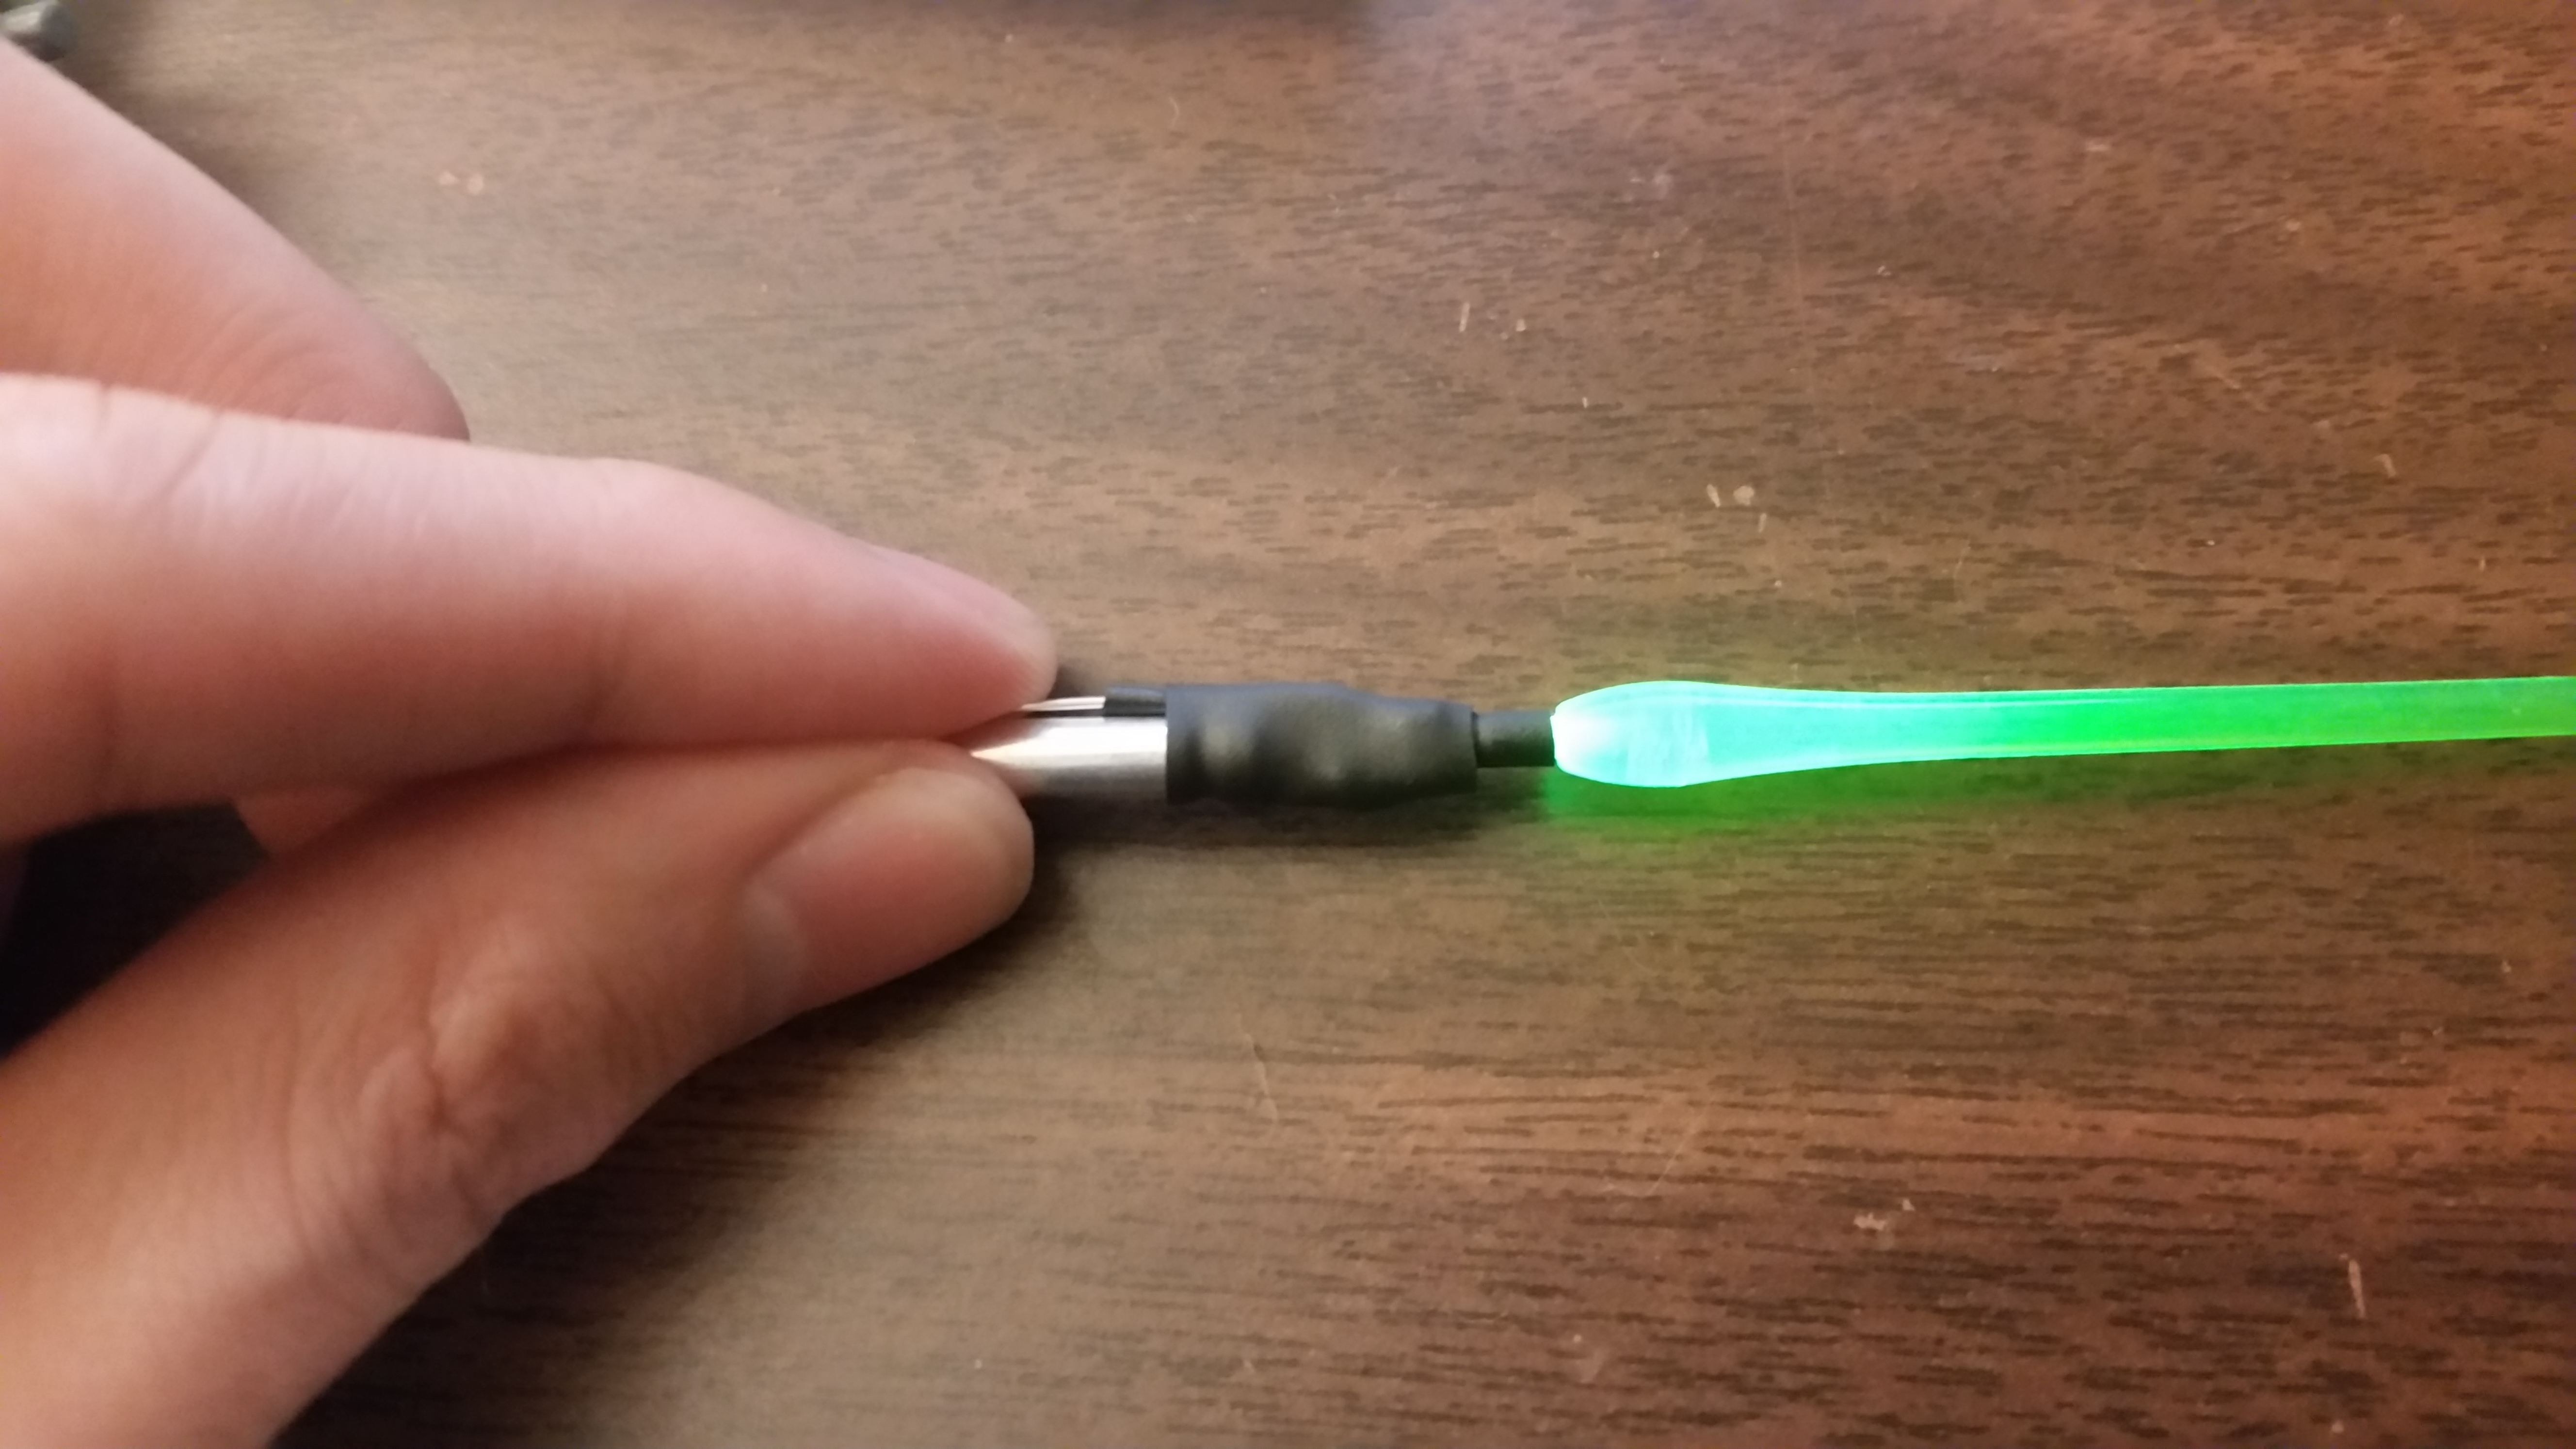
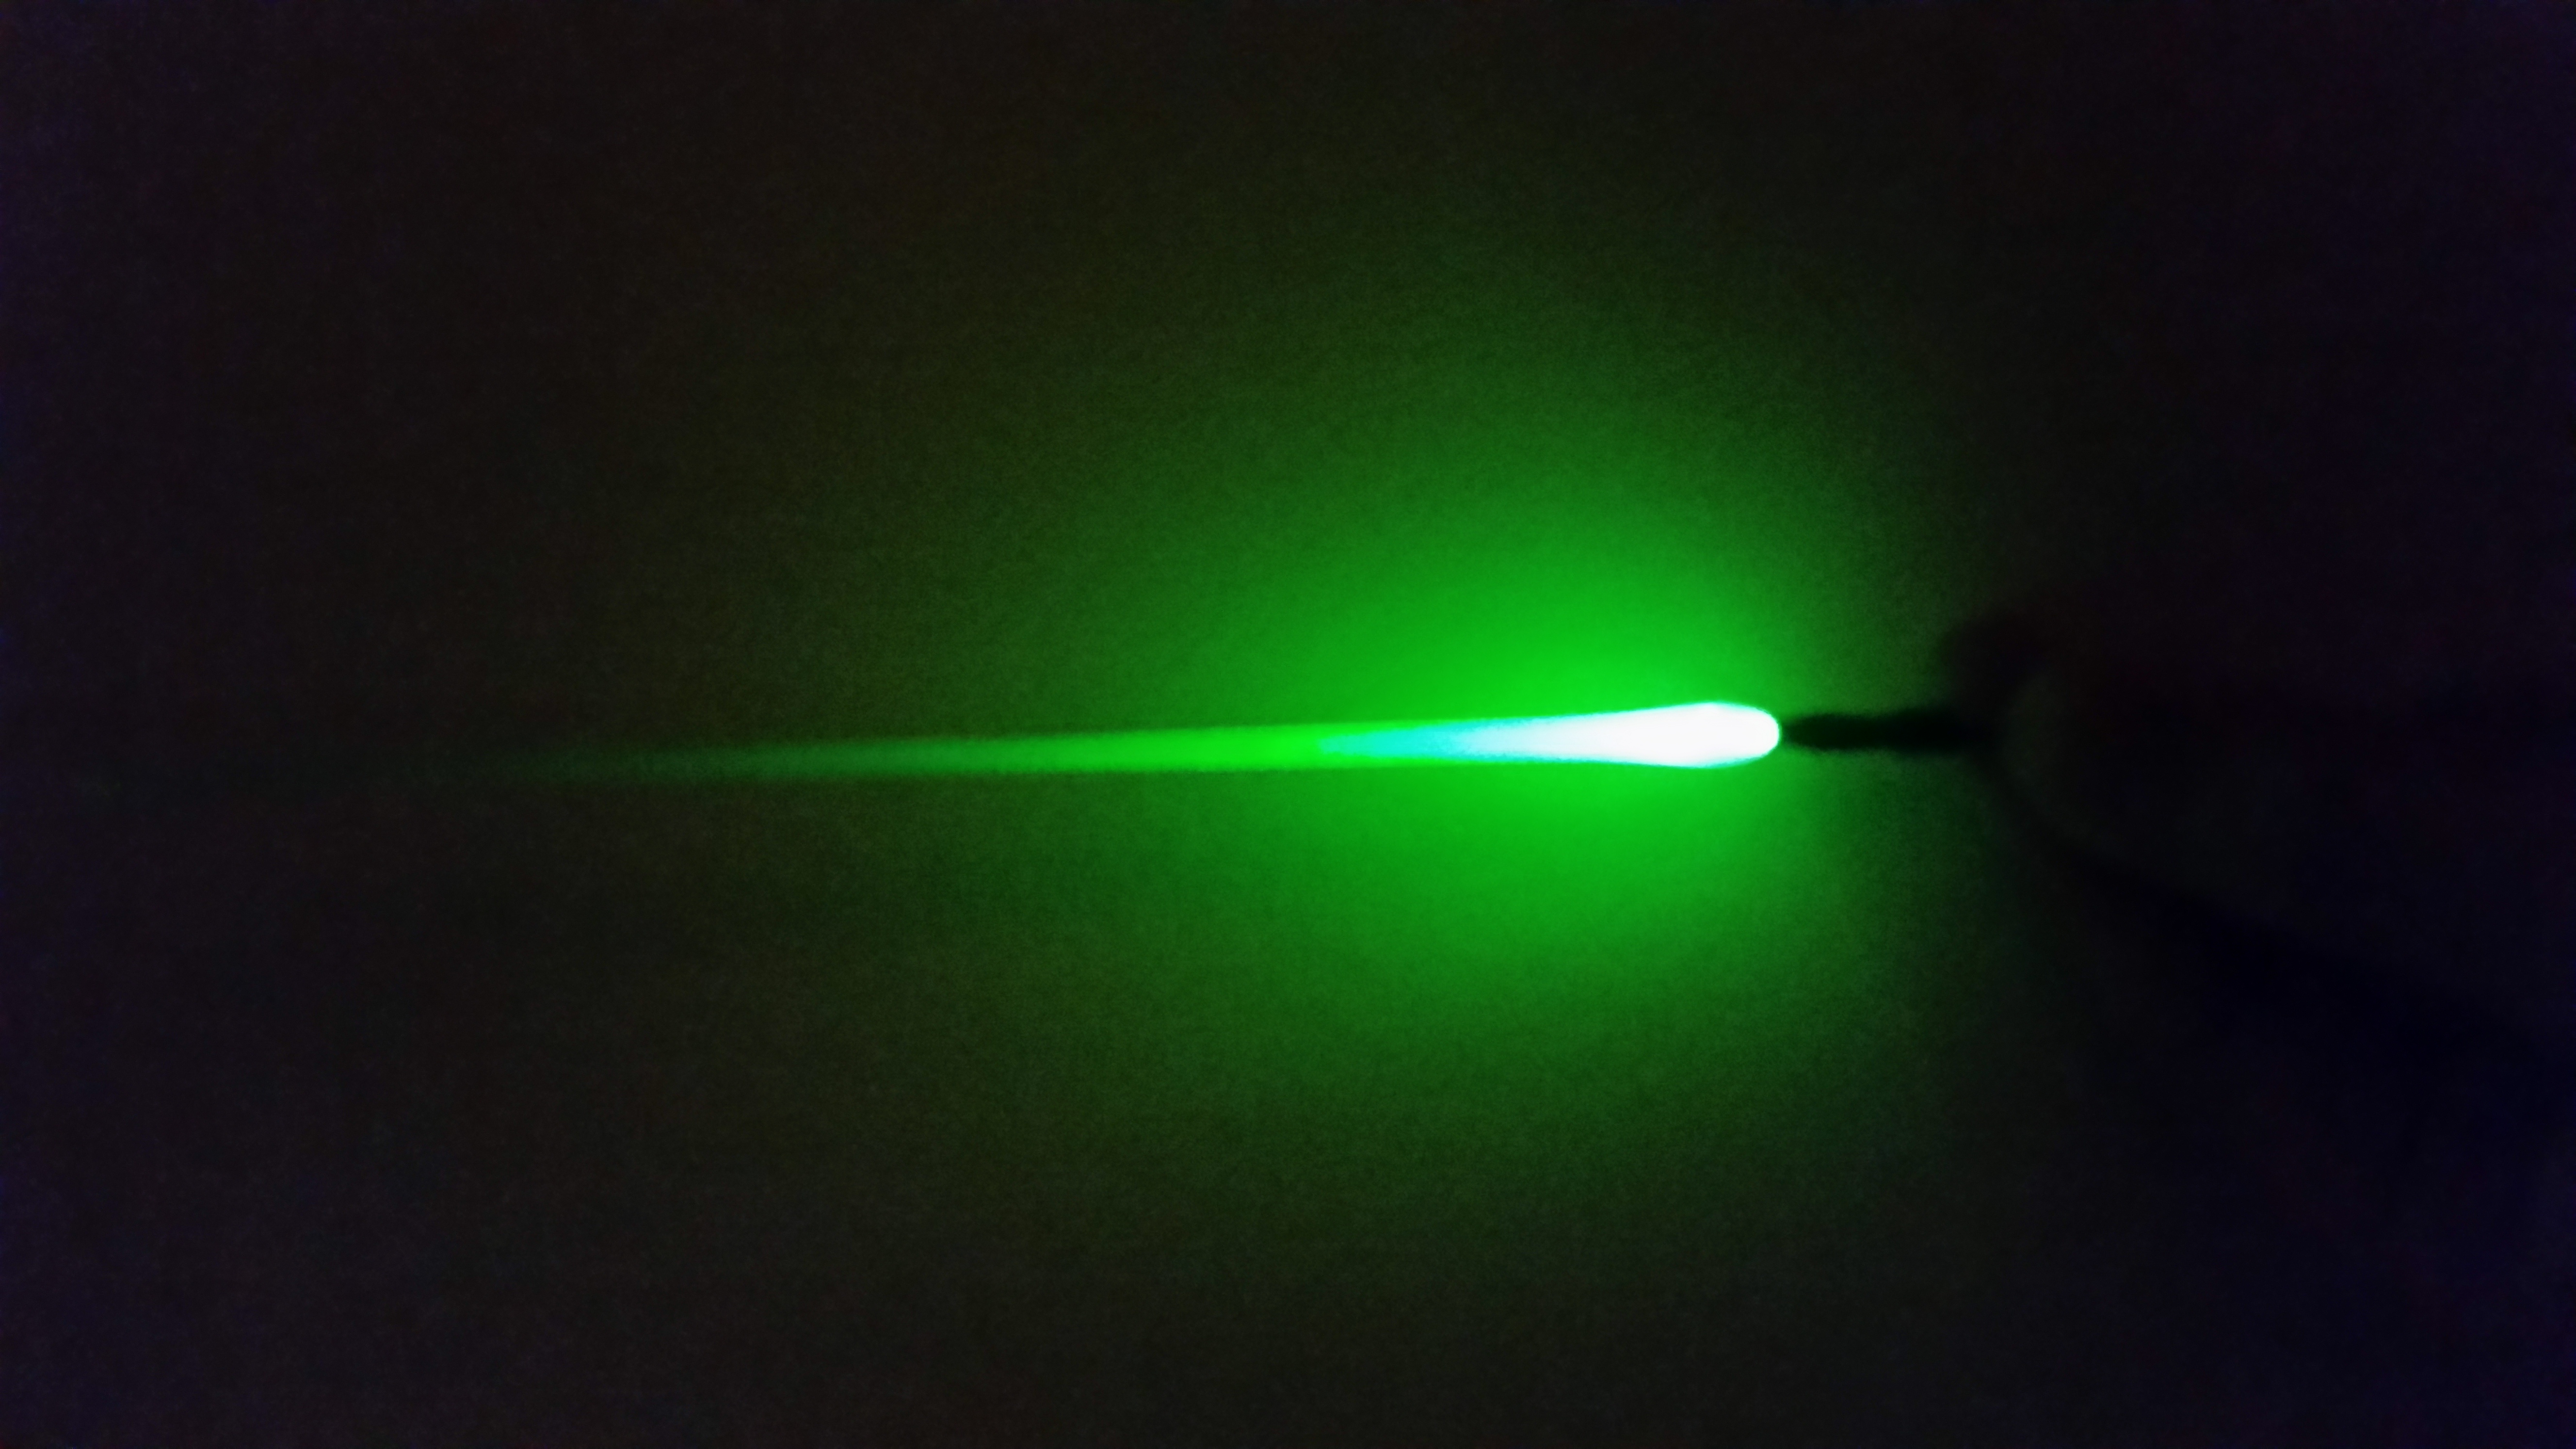
Beam saber
I also made a light up beam saber using a small 3V battery. Unfortunately, it’s just slightly to big for Kshatriya’s hands, but it’d be perfect for a Master grade.


Details
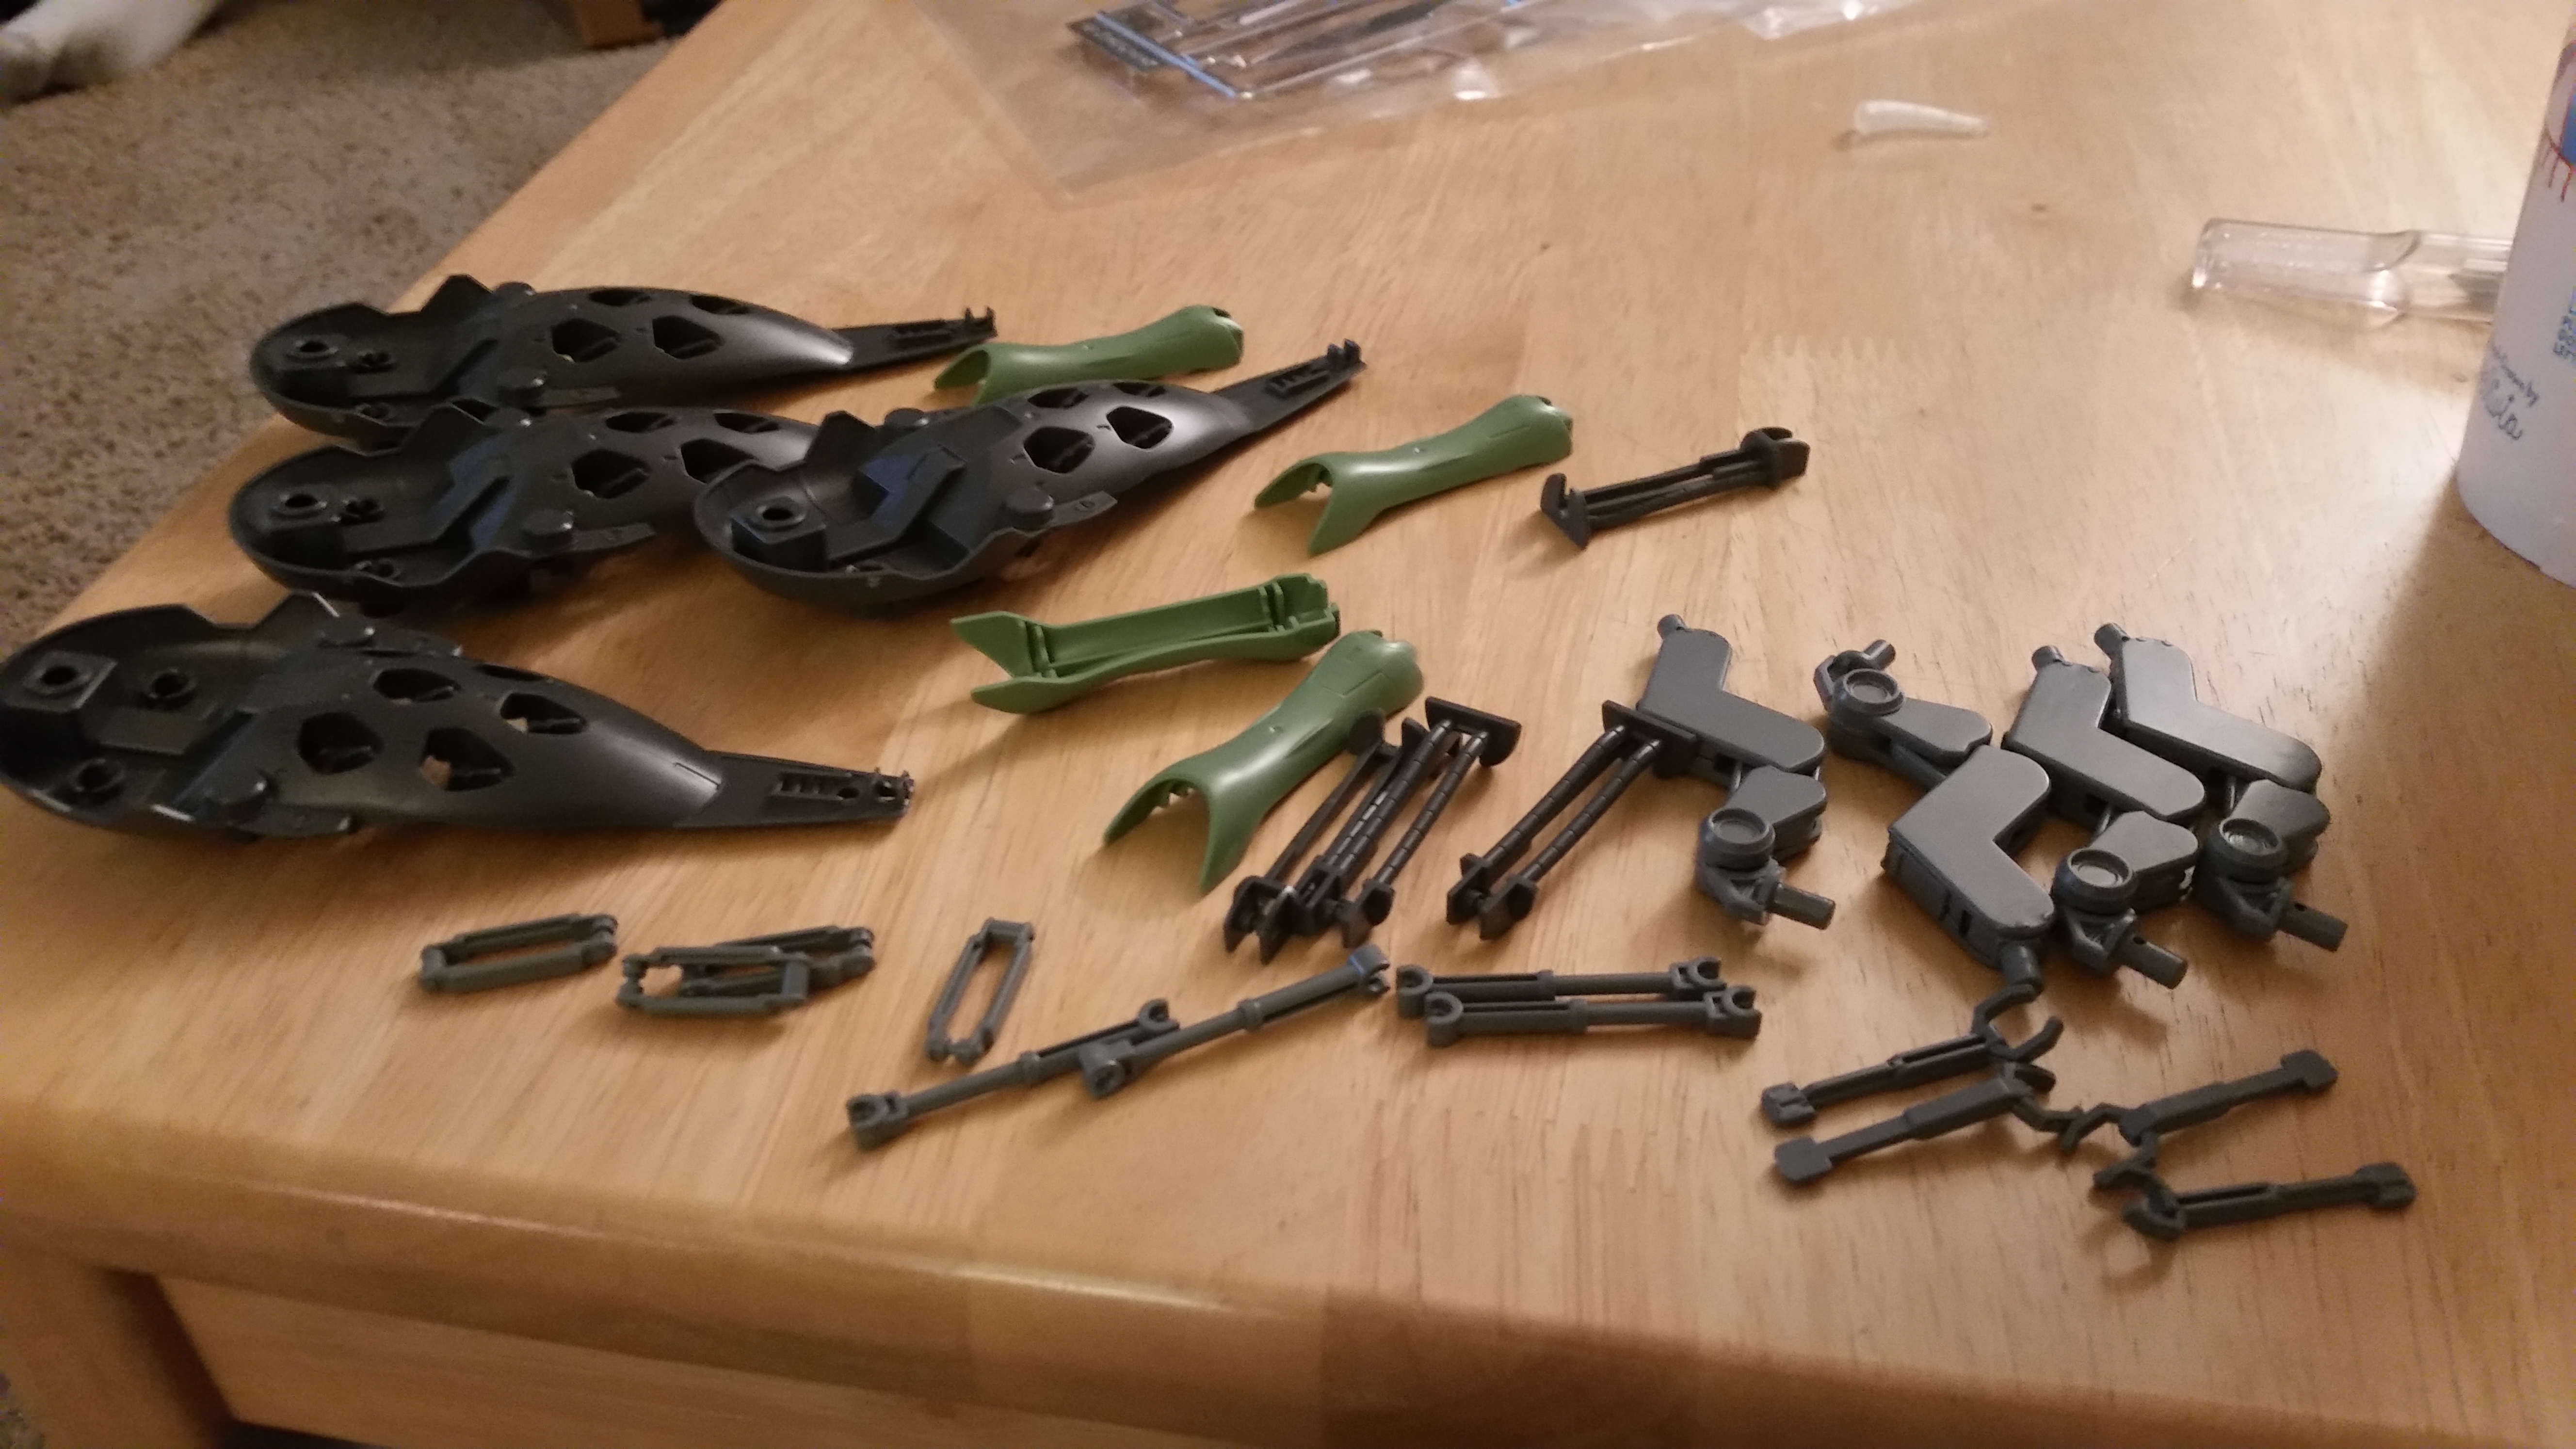
Finally, I added some small detailing:
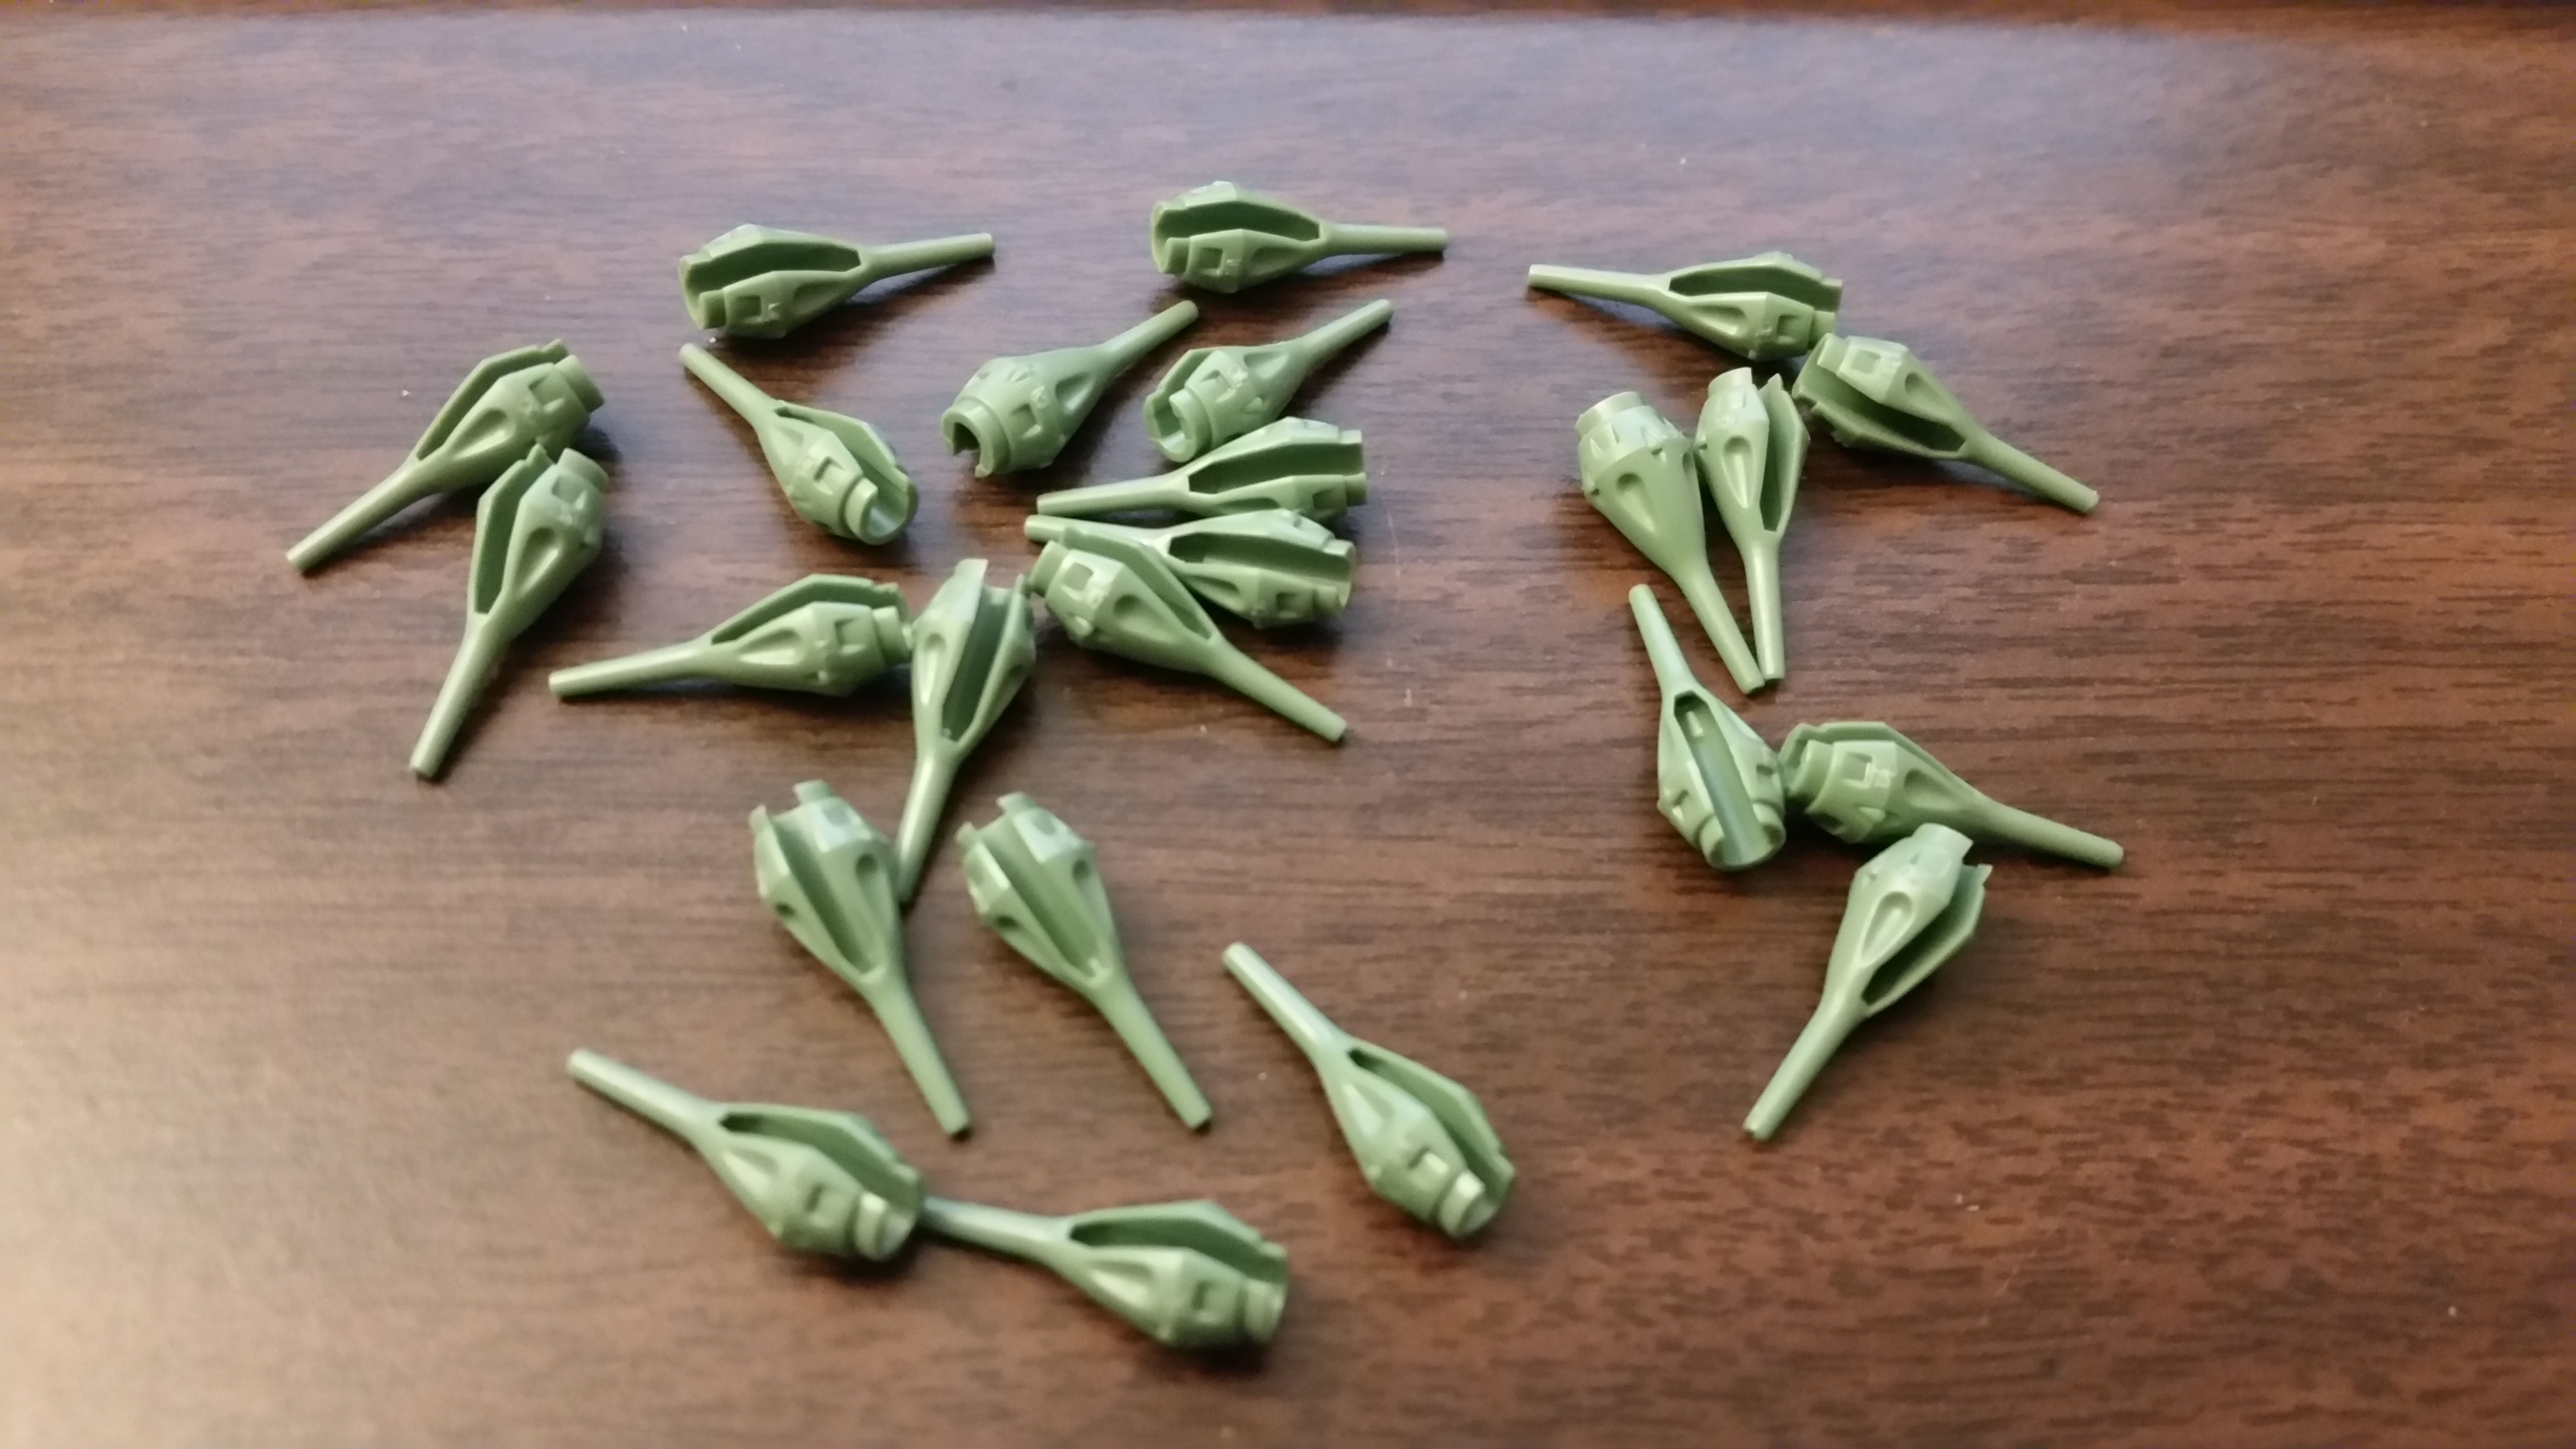
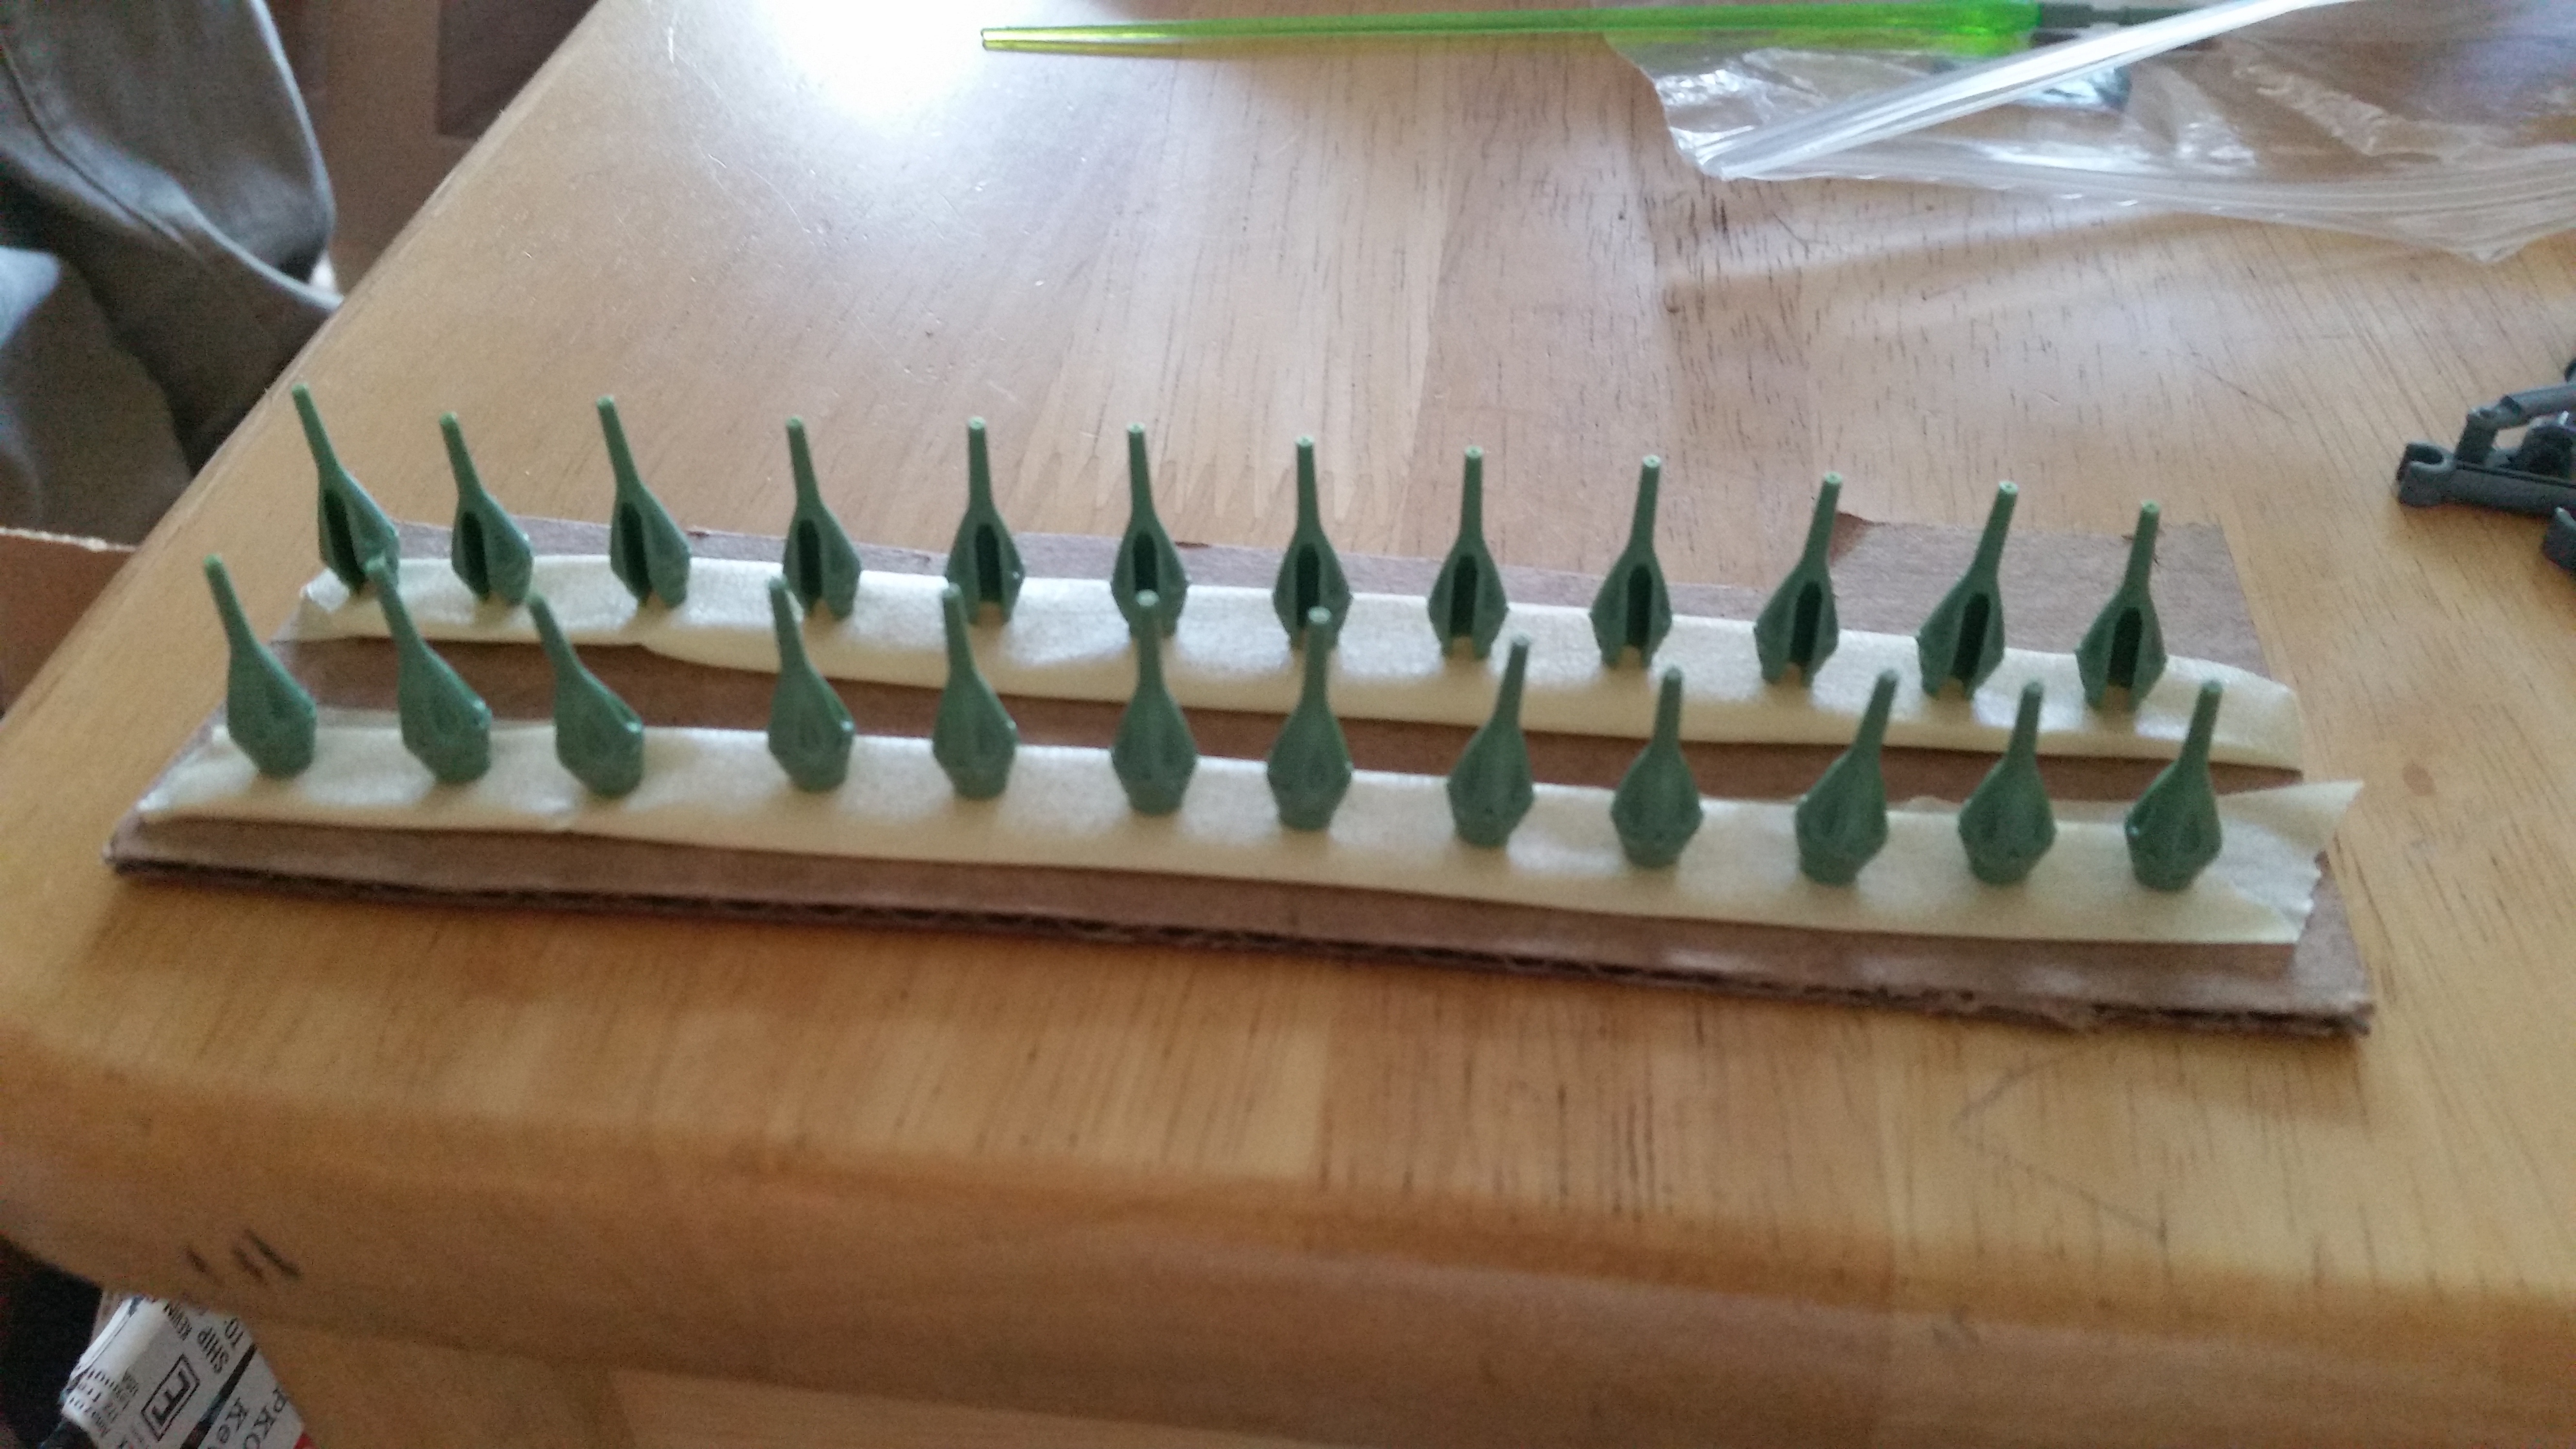
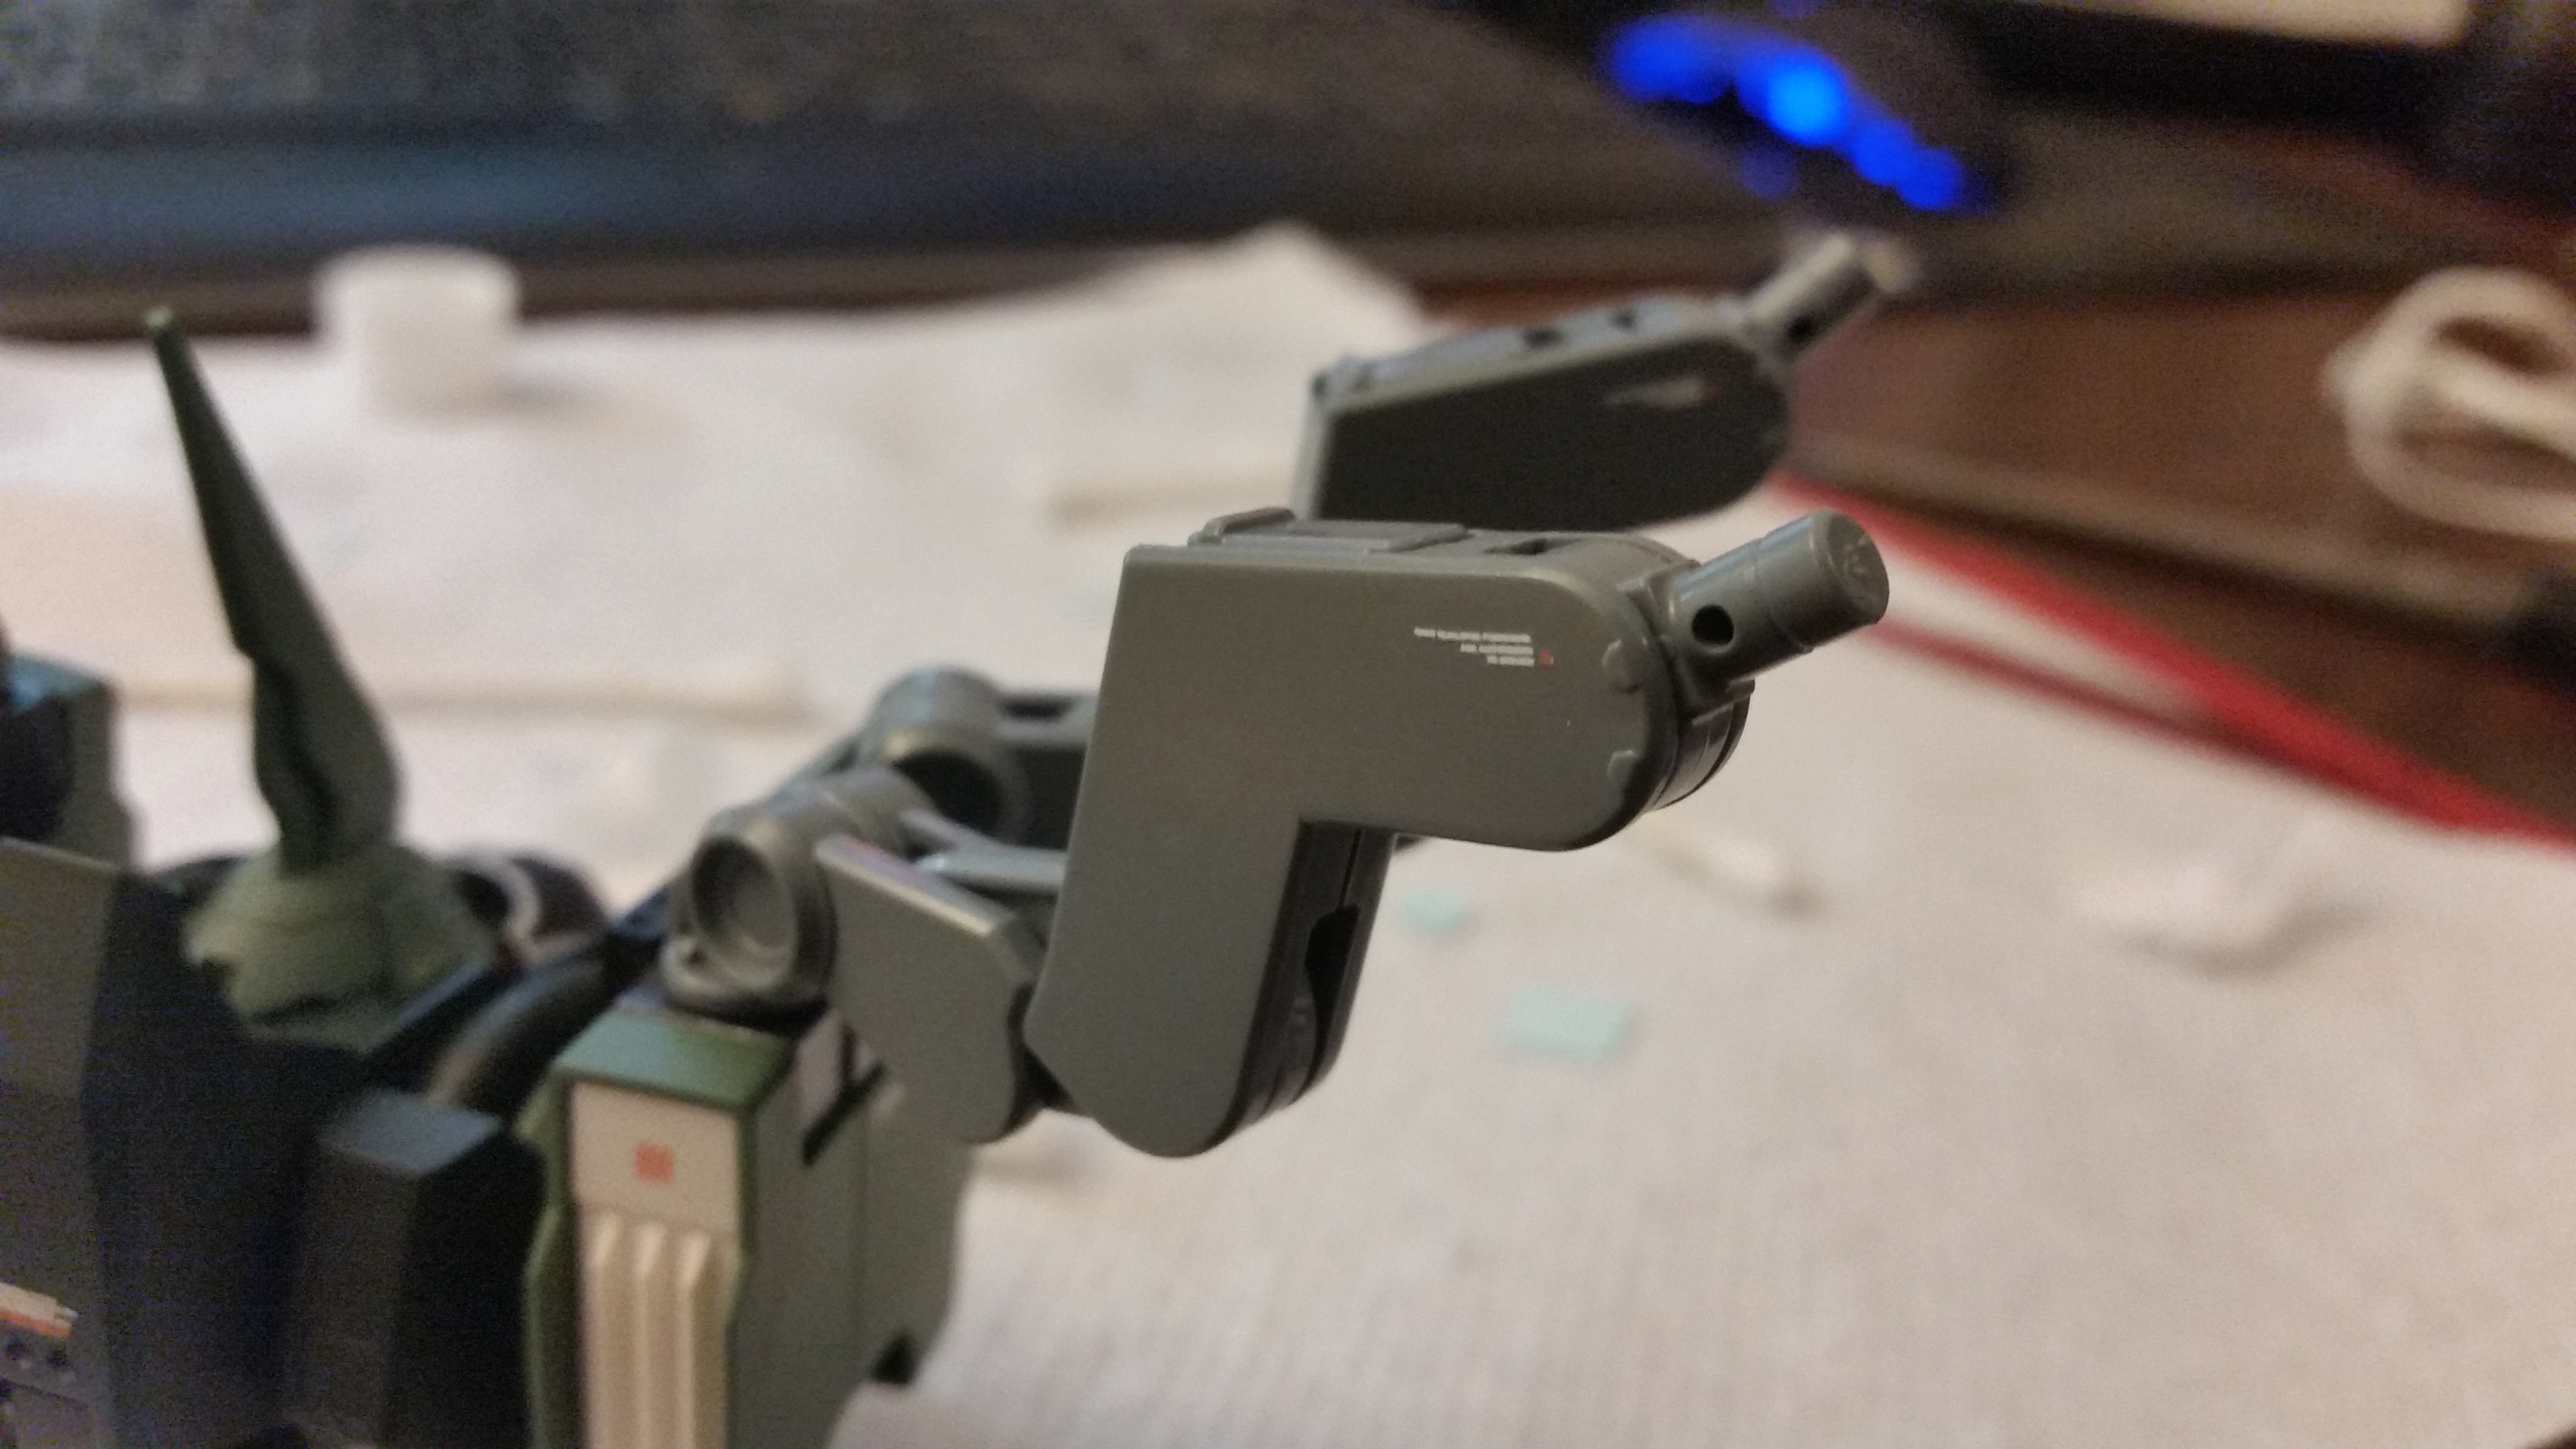
- Drilled out the machine cannons on the chest
- Added metal IC pins for the mega-particle cannons on the chest and wings
- Applied waterslide decals
.jpg)


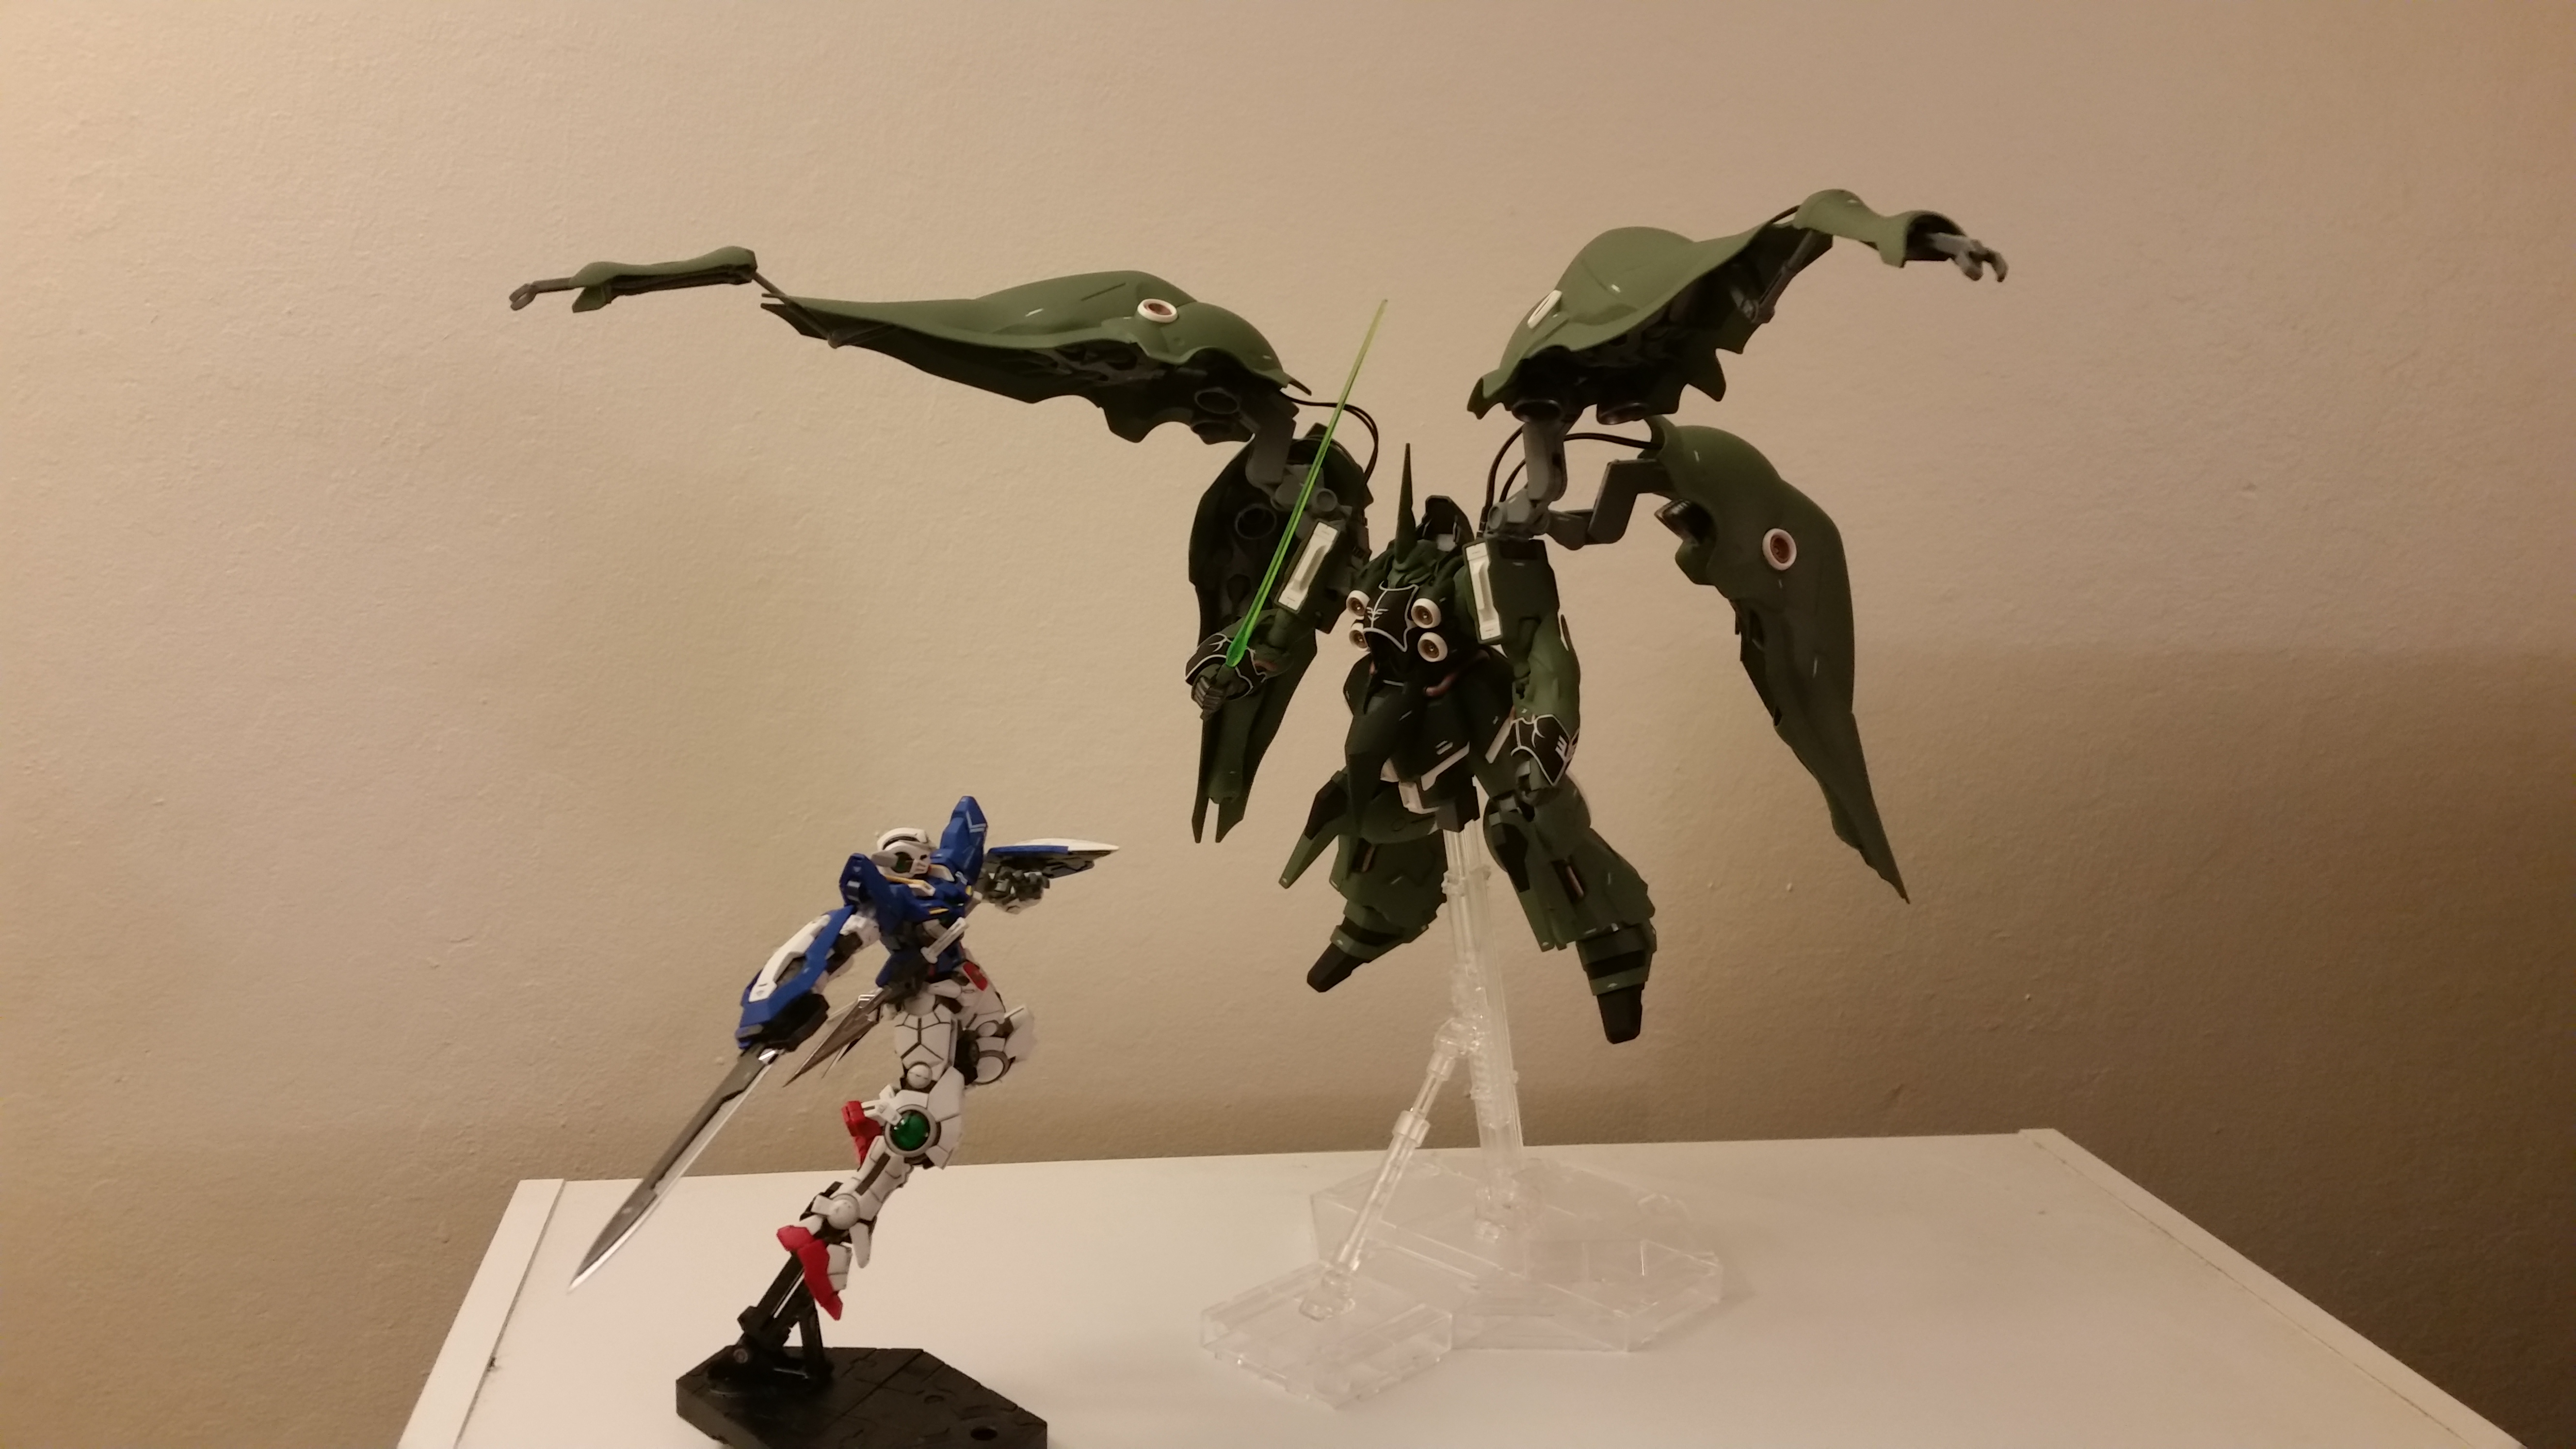
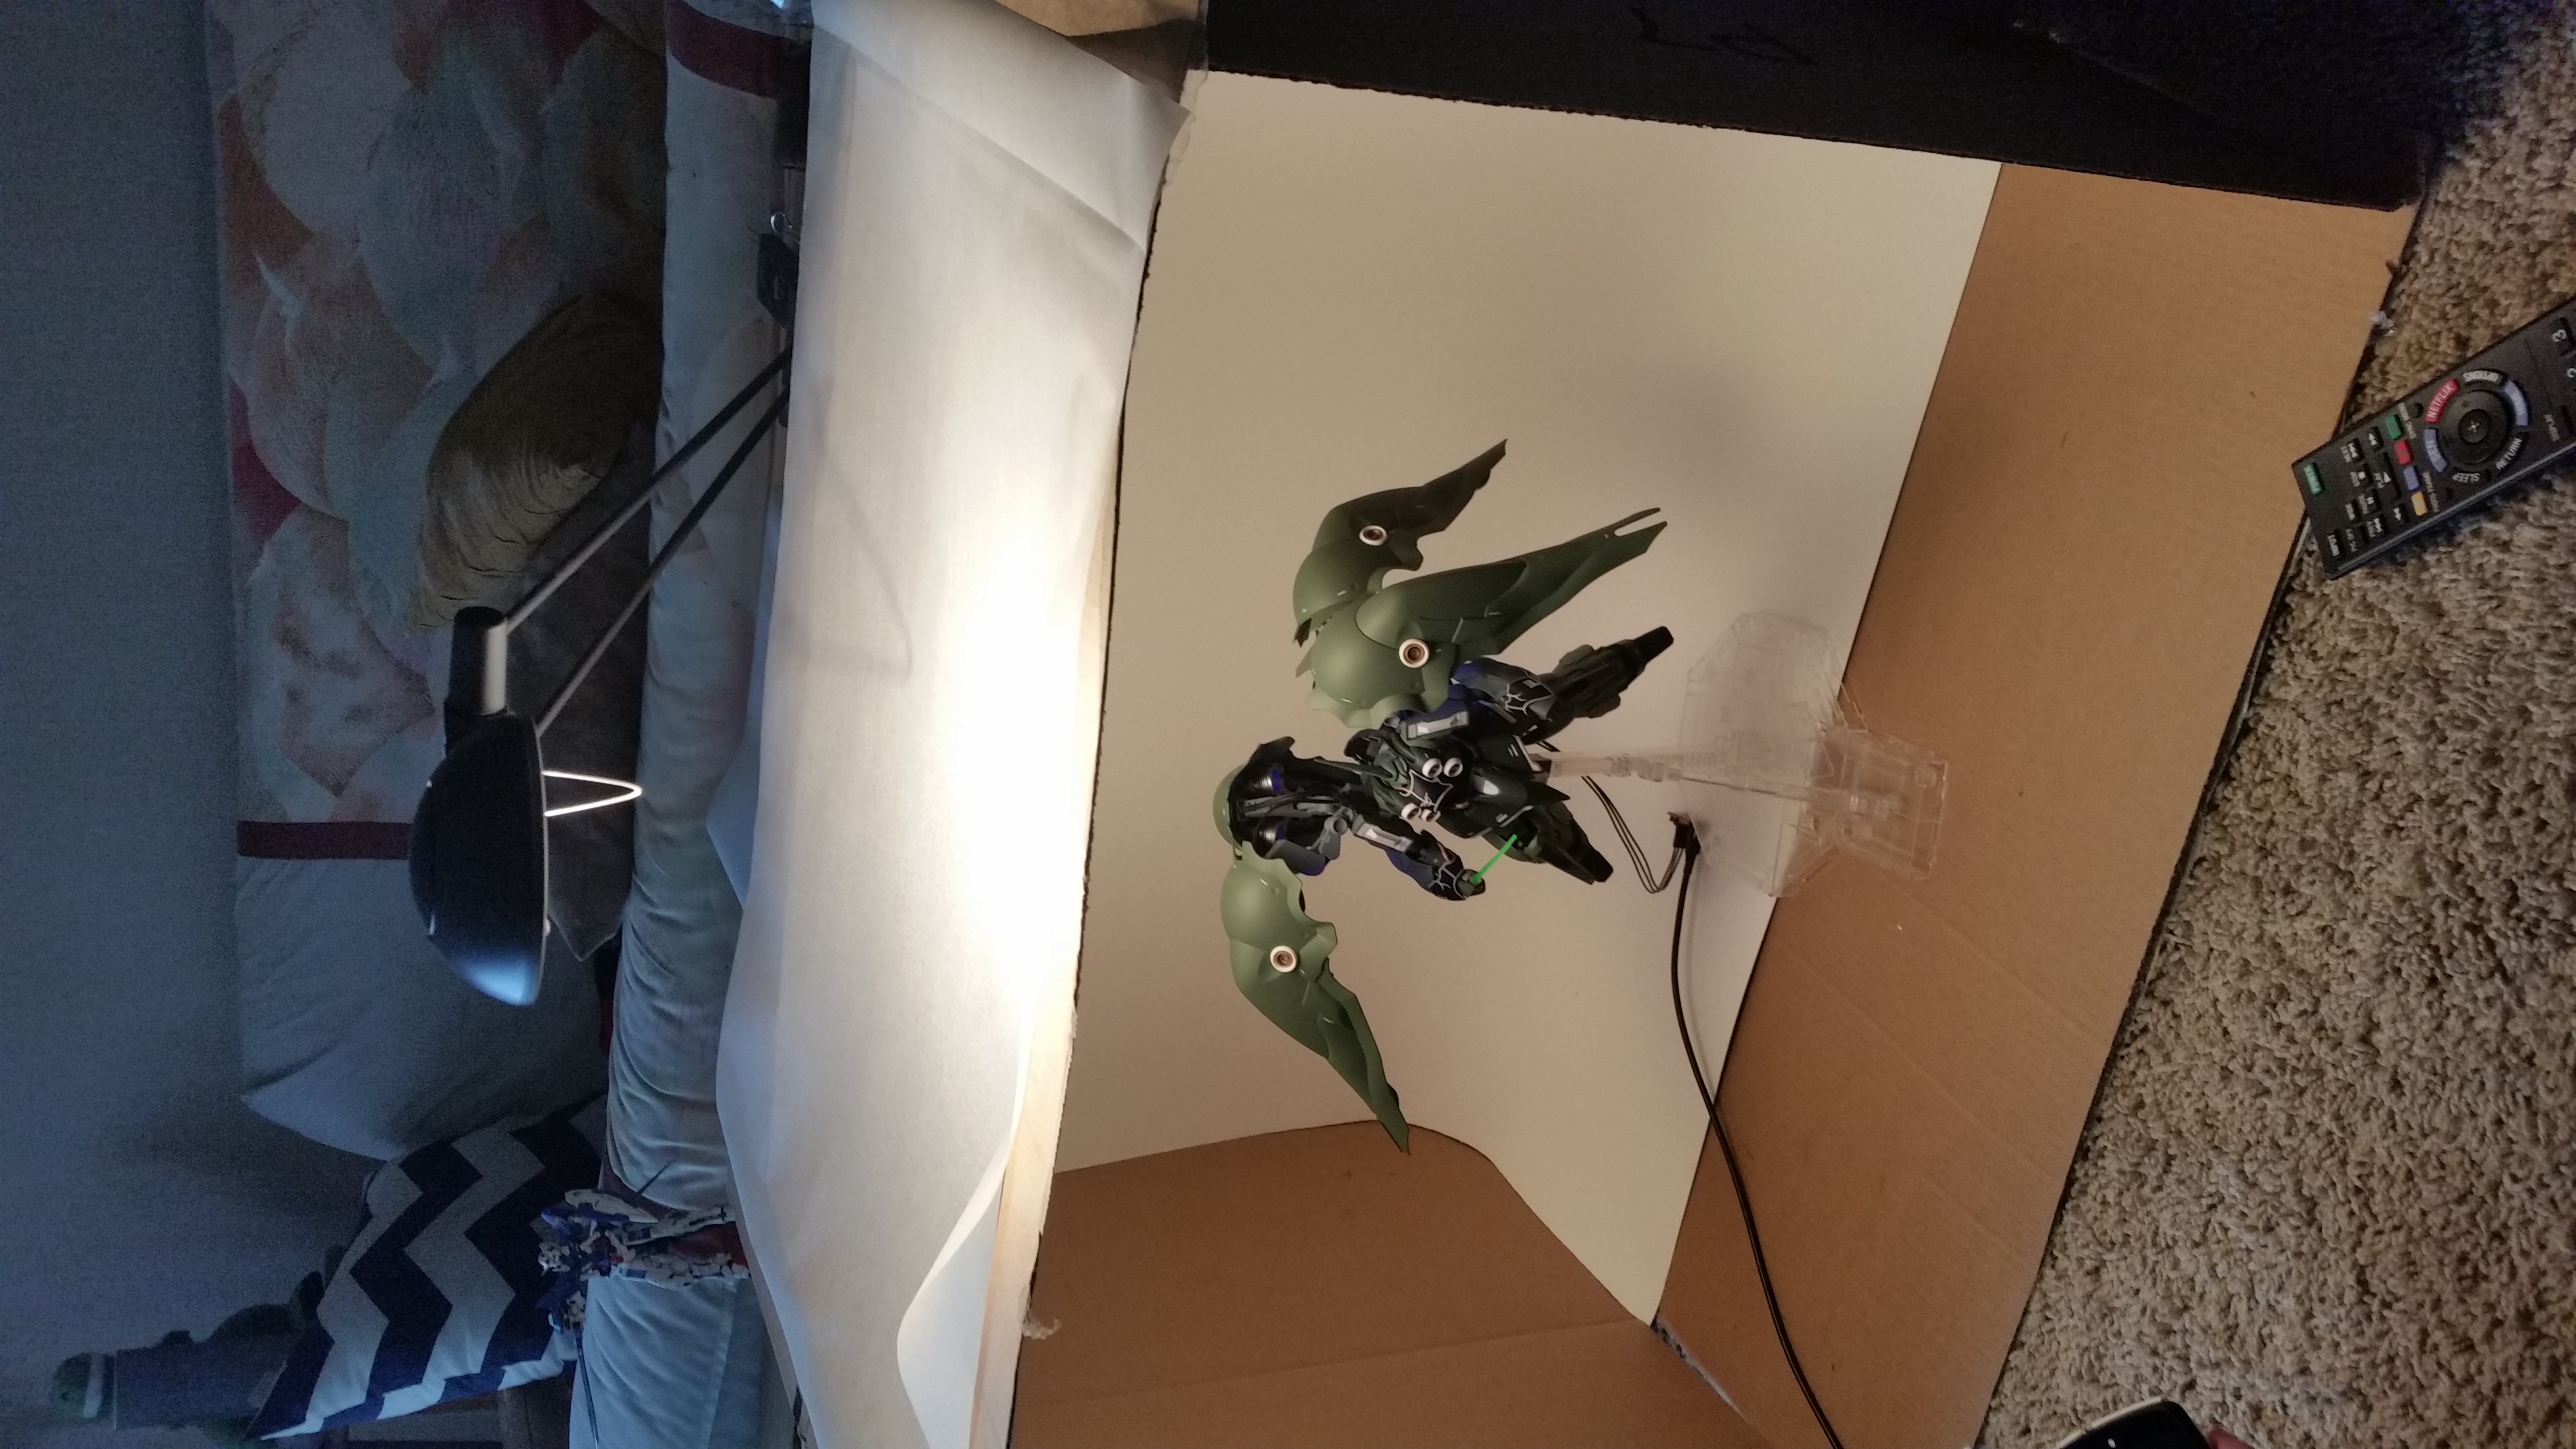
Some fully assembled shots! You can see how the Kshatriya compares in size to my friend’s RG 1/144 Exia. We also made a makeshift lightbox for a final photoshoot.